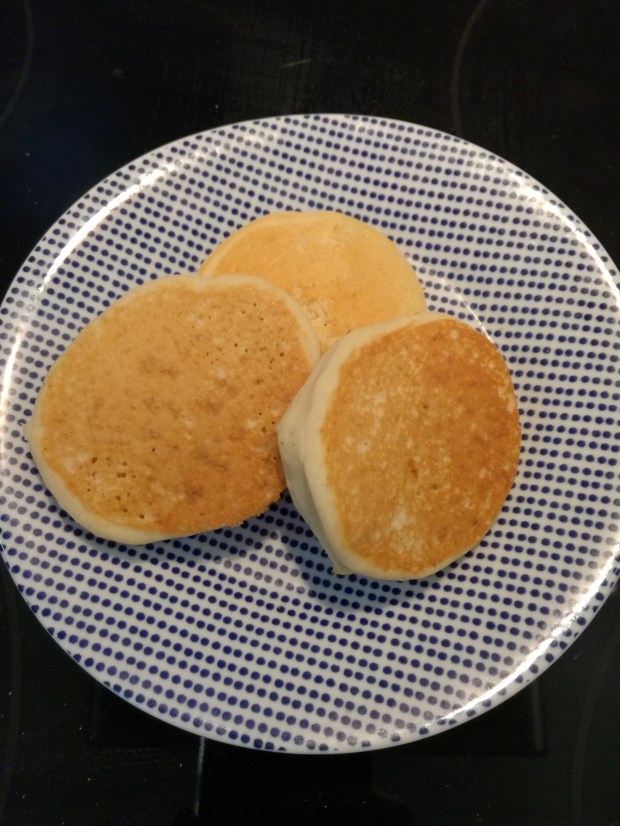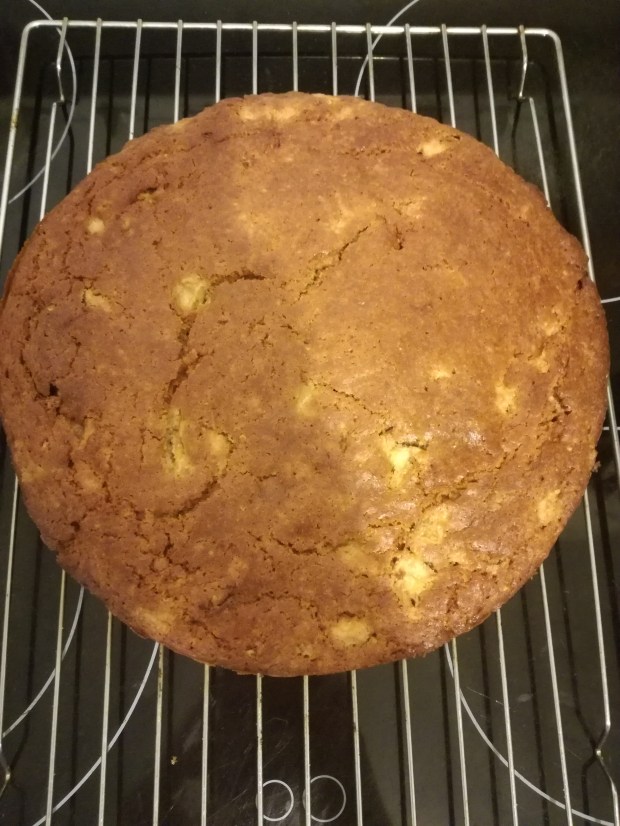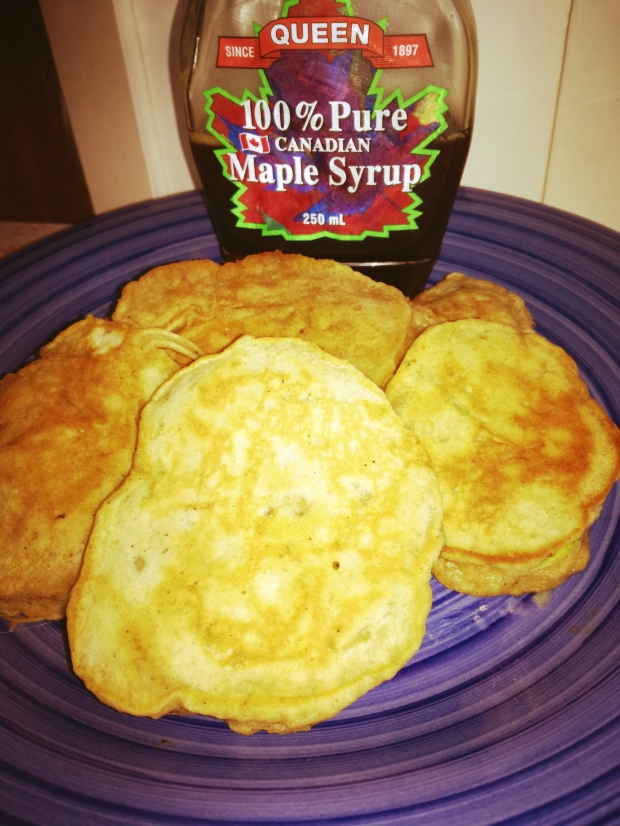
Choko pikekets (apple pie style!)
I posted earlier about why choko are awesome and such a versatile vegetable; as well as being nutritious they are also cheap, easy to grow, and low in natural food chemicals (amines, salicylates, glutamates) which makes it suitable for sensitive guts, and those following a RPAH Failsafe diet (often useful for allergy sufferers).
It easily takes the place of fruits like apple or pear which means it’s a great way of adding a vegetable into your baking! Miss 2 loved these apple pie style Choko Pikelets and kept asking for more!
I’ve kept the spices mild but you can definitely play around with them to suit your palate! Try increasing the cinnamon to 1 tsp, or adding 1/2 tsp ground ginger, a pinch of nutmeg, a pinch of ground cloves, or a combination of these!
Ingredients
- 1 cup plain flour
- 1 tsp Baking Powder
- 1/2 tsp Baking Soda
- Pinch salt
- 1/2 tsp ground cinnamon
- 1/4 tsp allspice
- 2 Tbsp maple syrup + 1 Tbsp brown sugar, or, 1/4 cup white sugar.
- 1/2 cup grated fresh choko
- Just like grating potatoes, a lot of water comes out. Pat the grated choko dry before use.
- 3/4 cup milk (can use almond or rice milk)
Note: Other names for choko include – chayote, sayote, labu siam, seemai kathrikai, Buddha’s Hand Melon, lóng xü.cài, ishkus, इस्कुस, স্কোয়াশ, Bangalore brinjal, chou chou, pipinola.
Tip: Although the recipe is gluten based, you can easily use Nana’s Yummy Gluten Free Pikelets and just add the choko + spices.
Allergies: gluten free*, dairy free*, soy free, nut free.
Directions
- Whisk the egg and 1/2 cup milk until frothy.
- Combine the dry ingredients.
- Stir in the choko. Then mix in the frothy egg + milk mixture.
- Slowly mix in the additional 1/4 cup milk until you have a smooth consistency.
- Allow mixture to stand for a few minutes.
- Heat a non-stick frying pan over medium heat. Wait until it is hot and then brush with butter or allergy-free spread (like Nuttelex).
-
Drop level tablespoonfuls of the mixture into the pan and cook for half a minute or until bubbles appear on the surface.
-
Turn over and cook other side for 1 minute until golden.
-
Allow to cool and serve with butter / spread and honey or jam.