
Decorating Christmas Trees
Christmas Crafts for kids
I posted recently about making our own Christmas Crackers (bonbons). I also like making our own Christmas cards. It’s nice because it’s an activity in itself and you can theme it around your children’s skills / ages. Christmas stickers or stamps are good way place to start with toddlers; or save their paintings through the year and turn those into cards!
Christmas Tree cards
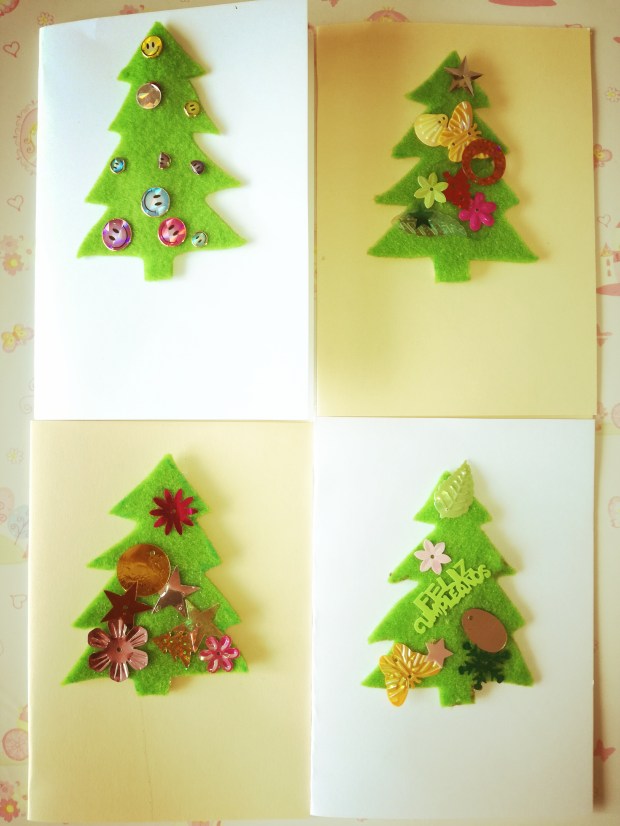
This year, I decided to print a Christmas tree template and trace around it on a sheet of green felt. I also picked up a shiny bag of beautiful decorations that included everything from stars, to shells, to butterflies, to Christmas greetings. I wanted to make Christmas tree cards that would let Miss 3 be creative and feel involved.

Christmas trees and decorations
Ingredients
- Green felt
- Stickers / glitter / craft shapes
- Card stock / paper
- Scissors
- Craft Glue / P.V.A. / glue gun
- Blu-tak
- Baking paper
- Double sided sticky foam squares (like for scrapbooking)
Directions
- Create a Christmas tree template on paper / cardboard. Trace around it on green felt and cut out all of the trees that you need. (An adult will need to do this for toddlers / preschoolers; older children may be able to do all of the steps themselves).
- Blu-tak the felt onto a large sheet of baking paper. This helps keep them in place while busy little hands decorate them and also raises them off the paper a little in case the glue soaks through.
- Glue the decorations onto the trees. Craft glue will need to set over night, whereas a glue gun has the advantage of setting almost immediately.
- Make plain cards by folding the card stock / paper. Once the glue is dry, use the double sided sticky foam squares to attach the trees to the cards. These have a nice effect as they raise the tree slightly and make the cards look a bit prettier but you can just as easily glue the trees on if you wish.
- Ta da! Now you have a beautiful collection of cards and each one is unique.

Decorations on Christmas Trees

