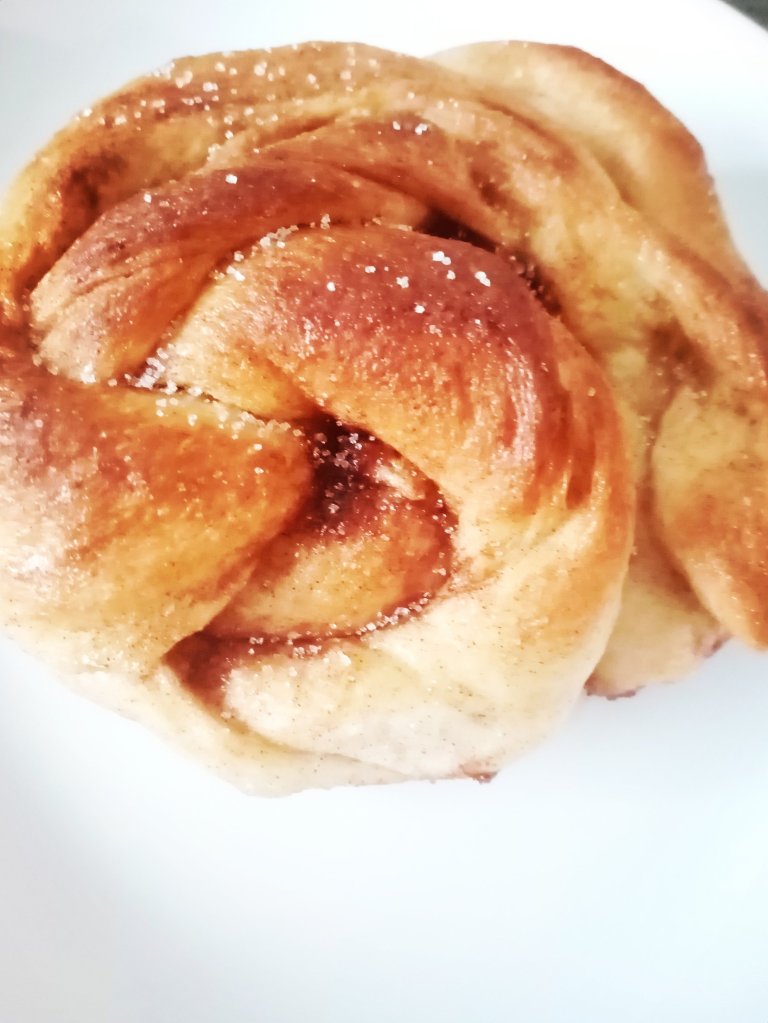
Discover Sweden – how to make Swedish Cinnamon Buns (kanelbullar)

Swedish cinnamon buns differ from their American counterparts in several ways – the inclusion of cardamom, the wonderful looping and knotting to form them, and the simple glaze that traditionally uses Swedish pearl sugar. This is a small batch recipe that I made for family – feel free to double it!

Ingredients

Group 1 – Activating Yeast

  • 1 1/2 tsp surebake yeast
  • 1 1/2 Tablespoons sugar
  • 1/2 cup warm water (or milk)

Group 2 – Making Dough

  • 2 cups flour
  • 1 tsp ground cardamom
  • 1/2 tsp salt
  • 4 Tablespoons rice bran oil (or 1/4 cup melted butter)
  • 2 Tablespoons sugar
  • 3 Tablespoons water

Group 3 – Filling

  • 1/2 cup soft brown sugar
  • 1 Tablespoon ground cinnamon
  • 1/2 tsp ground cardamom
  • 1/4 cup buttery nuttelex (or butter, or margarine)
  • Few drops vanilla

Group 4 – Glaze (optional but traditional)

  • 1 egg + 1 Tbsp water + Swedish Pearl Sugar to decorate.

Allergy: free from dairy*, soy, nuts, egg*.

Note: We differed from traditional recipes by not using dairy or egg but I have included these in the recipe notes so that families can make their own choices.

Directions

  1. Combine Group 1 (yeast, sugar, warm water) in a bowl. Wait about 10 minutes until frothy and giving a yeasty smell (indicating that the yeast has activated). In winter, I use a metal bowl and sit it in a sink of hot water.
  2. Add Group 2 to Group 1. Into the bowl, add the flour, cardamom, salt, rice bran oil, and sugar. Combine. Add the 3 Tbsp of water. You will now be able to use fingers to mould into dough.
  3. Fold and knead the dough until smooth and elastic. Cover and place in a warm place until doubled in size. Tip: in winter, I do some kneading for the share joy of it and then place in the breadmaker on a dough setting!
  4. Use Group 3 to make the filling. Combine brown sugar, cardamom, cinnamon, nuttelex/butter, and vanilla. Mix until smooth.
  5. Folding and shaping:
    • Roll out the dough on a lightly floured surface and form it into a large rectangle. Evenly spread the filling over it.
    • Lift the top edge of the dough and fold the top 1/3 down to the middle; lift the bottom edge of the dough and lift up to the middle.
    • Roll the dough again into a large rectangle.
    • Cut the dough into 6 strips.
    • Pick up a strip, stretch and twist lightly, loop twice around the three middle fingers of your other hand, then once over the loop, and coil with the bottom tucked in.
  6. Place the knotted cinnamon buns onto a baking sheet and place in a warm place. Allow them time to rise until almost doubled in size.
  7. Preheat the oven to 180’C / 350’F.
  8. While the oven is heating, make up the egg wash if desired. Whisk the egg and water, then lightly brush over the scrolls. Sprinkle with crunchy Swedish pearl sugar.
  9. Bake for 15 – 20 minutes until golden brown. Serve warm.

Nutritional Information

Based on 6 servings.

Average Quantity
per Serving
Energy1692.7 kJ (404kcal)
Protein4.8 g
Fat, total17.9 g
– saturated4.1 g
Carbohydrate55.2 g
– sugars24.1 g

Gluten Free Lemon Cake

This delicious gluten free lemon cake was inspired by both our study of Colombia, where corn flour is a key ingredient in many traditional foods, and our sun drenched lemon tree.

Ingredients

  • 1 cup GF cornmeal flour
  • 1 cup sugar
  • 2 cups gluten free plain flour
  • 1 1/2 tsp Baking Powder
  • pinch salt
  • 2 eggs
  • 120g Nuttelex (or margarine, or butter)
  • Zest of 1 lemon
  • Juice of 2 lemons
  • approx. 3/4 cup water (or rice milk, or milk, or greek yoghurt).

Allergies: gluten free, dairy free*, soy free, nut free.

Directions

  1. Line or grease a large spring-form cake tin. Preheat the oven to 180’C / 350’F.
  2. I like to keep things simple. Put everything in a big bowl in the order listed EXCEPT the water. Tip: a flour sieve is great for keeping out the lemon pips!
  3. Add 1/4 cup liquid and mix with an electric beater. Slowly keep adding water and mixing until you have a good cake batter consistency.
  4. Pour the cake batter into the cake tin, smooth, and bake for 30-35 mins (or until a toothpick / sharp knife comes out clean).
  5. Sprinkle with a little icing sugar, or whip up a lemon icing for a more lemony flavour.

Tip: I like to eat it warm from the oven and then freeze the rest to pull out as needed.

Tip: For a more lemony flavour, pierce many times with a toothpick when the cake is half cooked. Cover the top of the cake in a thin layer of sugar and squeeze a fresh lemon over the top; then place back in the oven. The lemon syrup will soak into the cake while it continues baking.

Black Forest Slice (GF, DF, SF, EF)

Black Forest Slice (GF, DF, SF, EF)

Black Forest Slice (GF, DF, SF, EF)

This delicious slice is full of goodness from almonds, brazil nuts, and cashew nuts. It can be served as a dessert or be frozen and added to school lunches. I wish I’d found such an easy way to make allergy free chocolate earlier!

NOTE: This is a small batch perfect for an 18x15cm pyrex dish; feel free to double the recipe for a larger quantity.

Ingredients

BASE

MIDDLE

TOP

  • 4 Tbsp dutch cocoa
  • 2 Tbsp coconut oil
  • 1 1/2 Tbsp maple syrup

Allergies: gluten free, soy free, dairy free, egg free, peanut free. Contains tree nuts.

Directions

  1. Line a pyrex dish with baking paper with overhanging sides so that you can lift it out easily. (This works better than greasing for slicing and freezing).
  2. Place the base ingredients into a food processor. Blend until well combined and sticking together. Press into the prepared dish and place in the fridge.
  3. Wash the food processor and then use it to blend the middle ingredients until smooth.
  4. Pour the fruit mix over the base and then place in the freezer for 30 minutes to set.
  5. Place the ingredients for the top into a bowl and blend until smooth.
  6. Spread the chocolate mix over the frozen middle layer and return to the freezer for another 20 minutes to set.
  7. Remove the slice from the freezer. Lift out the baking paper and slice into small serves. Enjoy delicious goodness!

Tip: The chocolate will soften easily in summer temperatures so this is best stored in the fridge or freezer. For school lunch boxes, place it in frozen.

How to make a vegan chocolate spread that is allergy free and tastes amazing!

Chocolate Buttercream Frosting

Chocolate Buttercream Frosting. I use Nuttelex + coconut milk to make a vegan, allergy free frosting that tastes amazing!

If you have a child with food allergies then you may find it difficult to source safe versions of products like Nutella. Alternatively, you may have a child attending a nut free kindergarten or school in which case Nutella isn’t permitted (as it contains hazelnuts). If you want to use a treat spread, for school lunches or parties, then this recipe will help you make your own!

Ingredients

  • 115g allergy friendly spread like Nuttelex (buttery taste)
  • 2 cups icing sugar
  • 1/2 cup Dutch Cocoa Powder
  • 1/2 tsp vanilla essence
  • 1 – 5 Tbsp  coconut milk

Allergies: gluten free, dairy free*, soy free, egg free, nut free. Vegan*.

Directions

  1. Whip the Nuttelex.
    • I like to use the food processsor (with a plastic beating tool rather than the metal cutting one).
  2. Sift in the cup icing sugar, and cocoa powder. Add the vanilla and 2 Tbsp milk.
  3. Beat until smooth.
    • I like to pulse it slowly in the food processor.
  4. Mix in more coconut milk, 1 Tbsp at a time, until you have a good thick smooth consistency.
  5. Store in an airtight container in the fridge.

Easy Banana Muffins (or Banana Cake) that can be made vegan and allergy free!

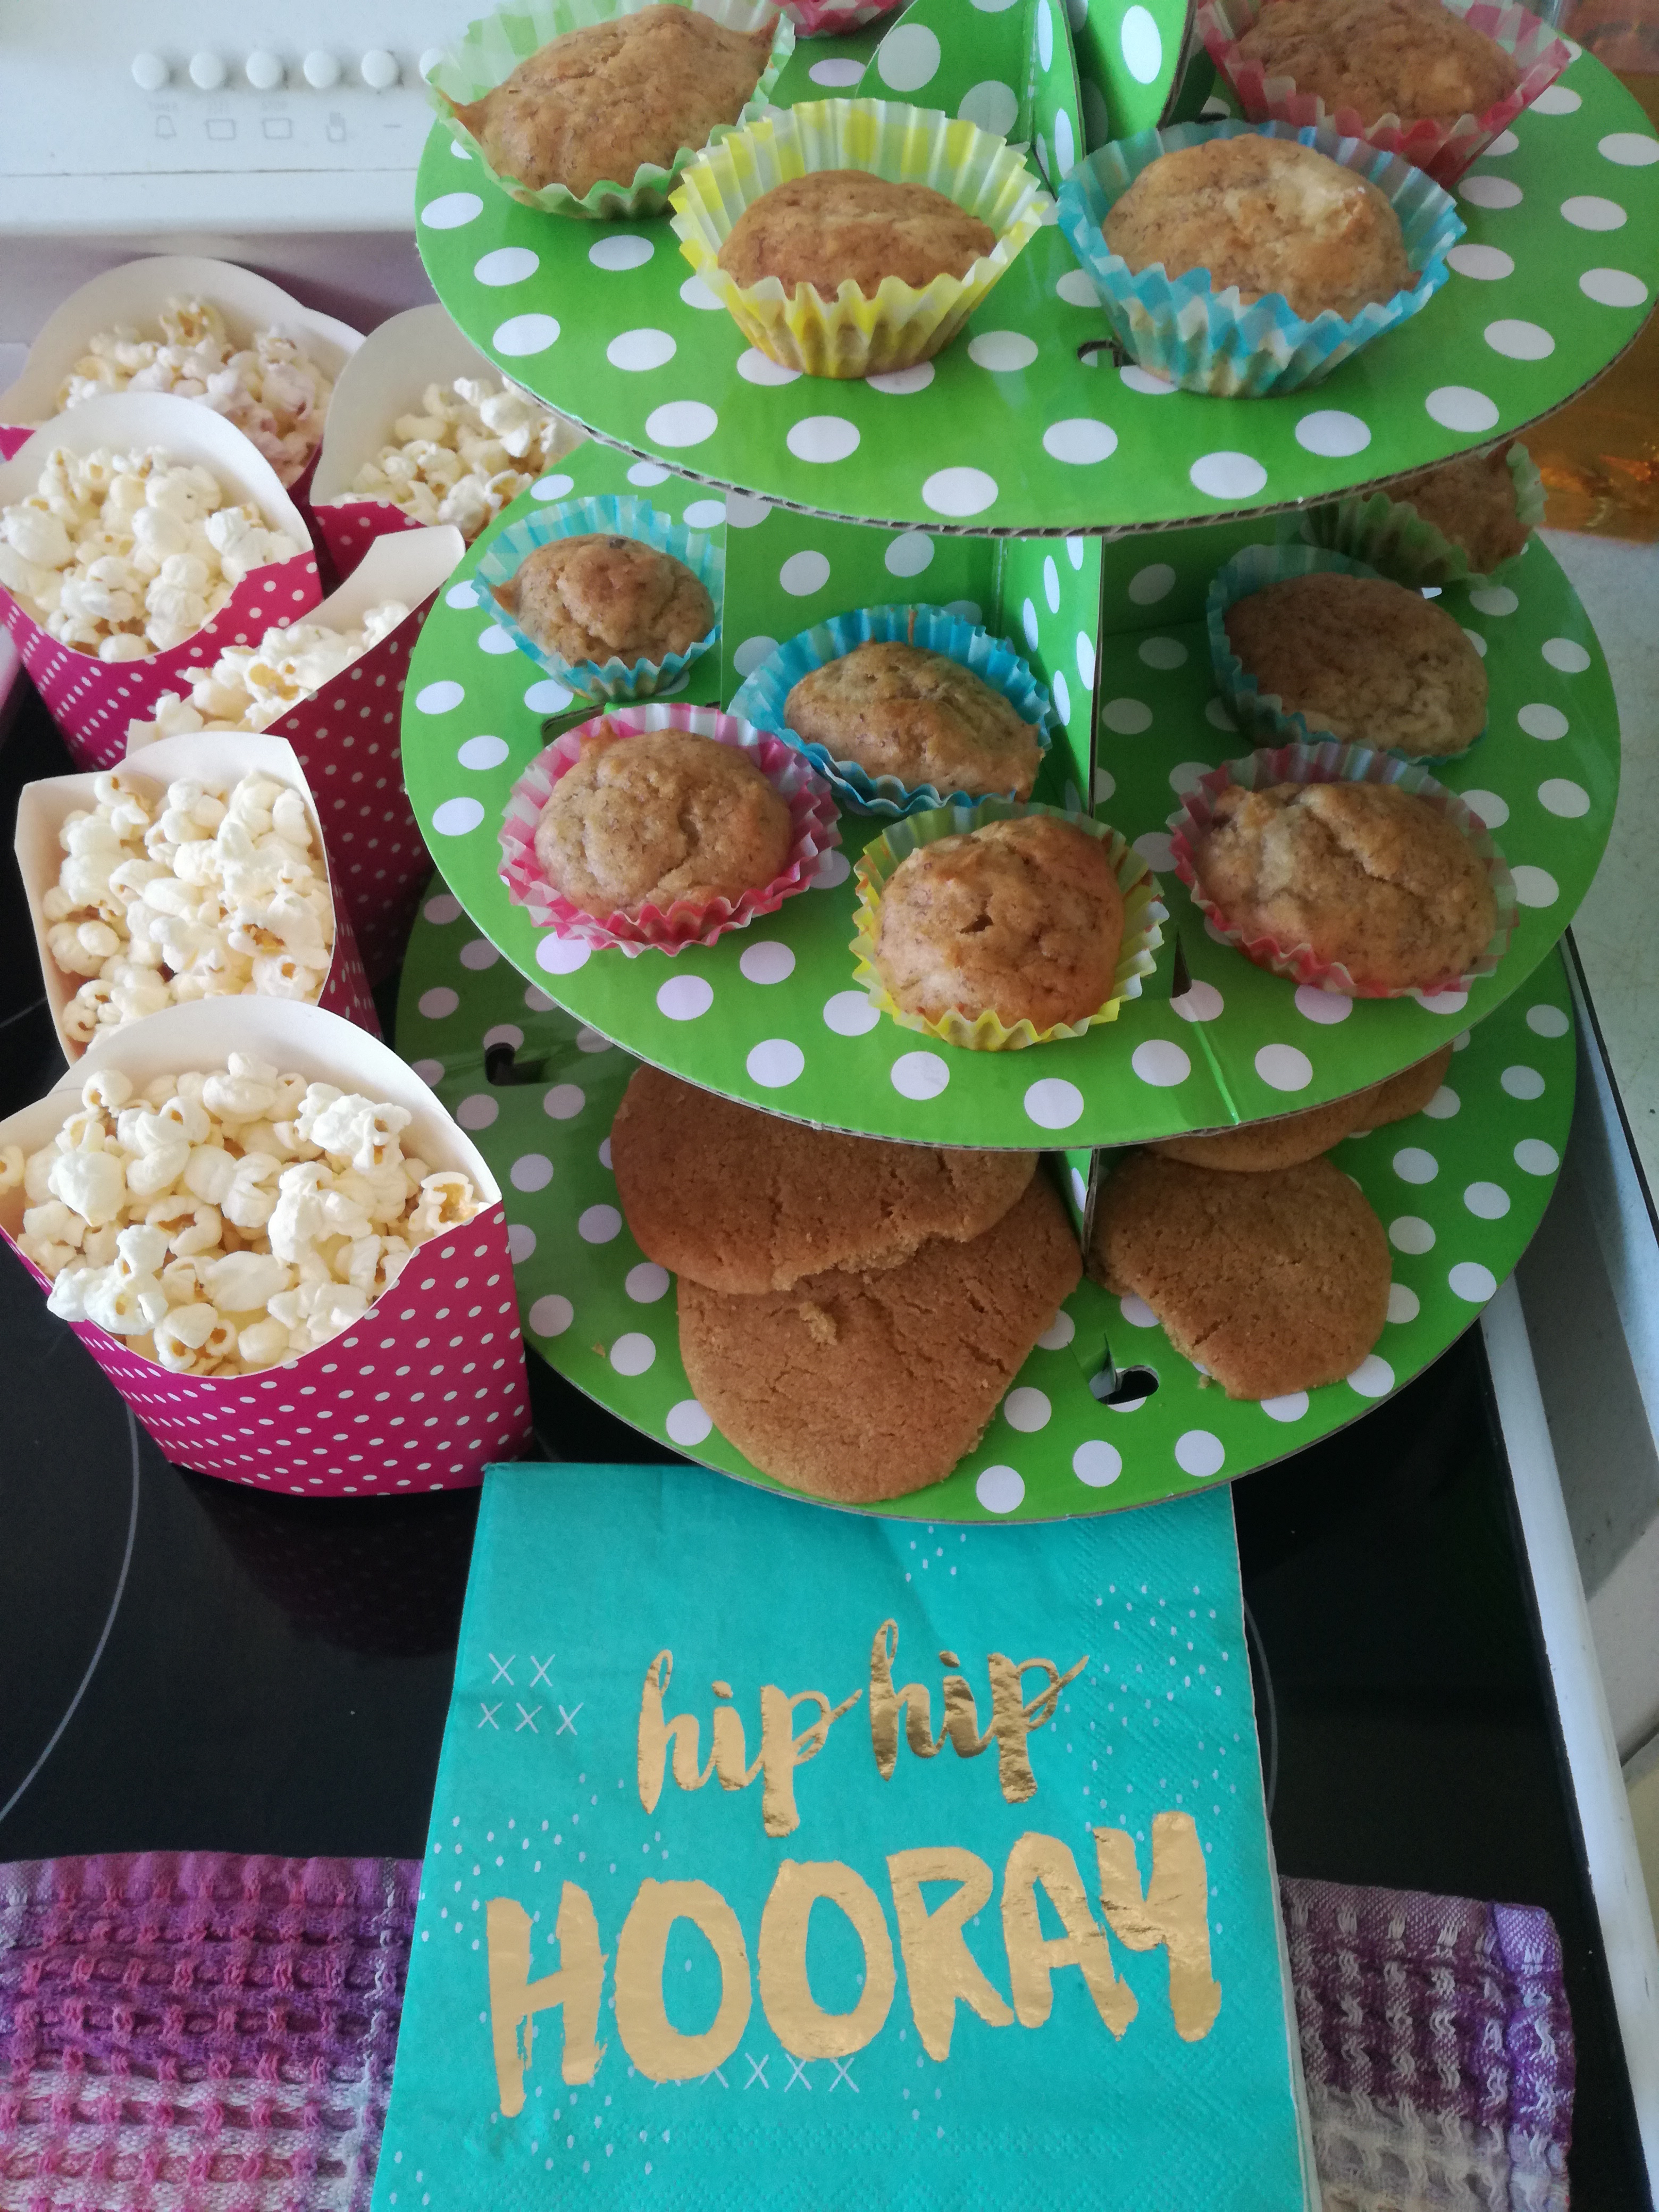
Banana cupcakes & gingerbread spice cookies

Banana cupcakes & gingerbread spice cookies. Made vegan and allergy free.

Banana cake has long been one of my nemesis; I just haven’t had the knack. I’m so glad to have finally found a recipe that works! It also has the wonderful bonus of being dairy, egg, soy, and nut free! I have also made it gluten free 🙂

Ingredients

  • 2 mashed / pureed ripe bananas*
  • 5 Tbsp neutral oil (I use rice bran)
  • 1/2 cup water + 1/2 cup water
  • 1 1/2c plain flour (or Healtheries Gluten Free Bread Mix).
  • 3/4c sugar
  • 1 tsp baking powder
  • 1/2 tsp salt
  • 1 tsp baking soda
  • 1 Tbsp vinegar (I use apple cider)

Tip: The riper the bananas, the better this will work! As the bananas ripen they convert starch to sugar. Really ripe bananas will mash more easily, be sweeter, and have a more intense banana flavour.

Gluten Free: You can, of course, use a different gluten free flour! The reason that I’ve listed that one is because it contains guar gum but no raising agents (as the recipe includes those). You could, for instance, substitute superfine rice flour and add guar gum. Personally, I don’t use xanthan gum as it can be grown using soy as a base. You may need to experiment a little with gluten free flours to get the cake just right (you may want to start with muffins as it’s easier to tell when they’re cooked). Keep in mind that gluten free baking is often moister, denser, and may require a longer baking time.

Allergies: soy free, dairy free, egg free, nut free, gluten free*

Directions

  1. Preheat oven to 180’C and prepare muffin trays / cake tin.
  2. Mash your bananas until you have a smooth texture. Tip: A food processor can do this quickly for you but you’ll want to do the actual mixing by hand.
  3. Mix in the oil and 1/2 cup water.
  4. In a separate bowl, sift the flour, sugar, baking powder, baking soda, and salt.
  5. Add the wet ingredients (banana, oil, water) to the dry ingredients. Add the vinegar.
  6. Stir till just combined. (Slowly add additional water if required).
  7. Quickly get into cupcake cases, muffin trays, or cake tin, and pop in oven.
  8. Bake until skewer comes out clean. Approximately 12 – 15 mins for muffins and 30-40 mins for cake.

Icings: Check out these ideas for completely natural icings that don’t use any artificial additives and are easy to make.

Tips: I’ve made this recipe several times. Lessons learned: using the plastic batter-stirrer-attachment-thingy for the food processor makes for a denser end product (so does over stirring by hand); the rising effect that you get from the vinegar + baking soda means that you want to get this into the oven quickly (instead of having a lengthy sidebar with your toddler about how baking is really just chemistry in the kitchen).

Making natural icings for kids

All natural colourful icing for kids with no artificial colours or additives

Tropical jungle mango & pear icing | Princess pink beetroot icing

Chocolate Buttercream Frosting

Chocolate Buttercream Frosting. I use Nuttelex + coconut milk to make a vegan, allergy free frosting that tastes amazing!

Making all natural icings is easy and is a great way to avoid issues with allergies, chemical sensitivities, or the fact that countries like New Zealand and Australia still allow artificial food dyes that are banned in Europe due to health concerns. My daughters 3rd birthday party used three all natural icings that were vegan, free of all the top allergens, and contained no artificial additives.

Allergies: gluten free, soy free, dairy free, egg free, nut free, additive free.

Gingerbread / Spice Cookies (Allergy Free)

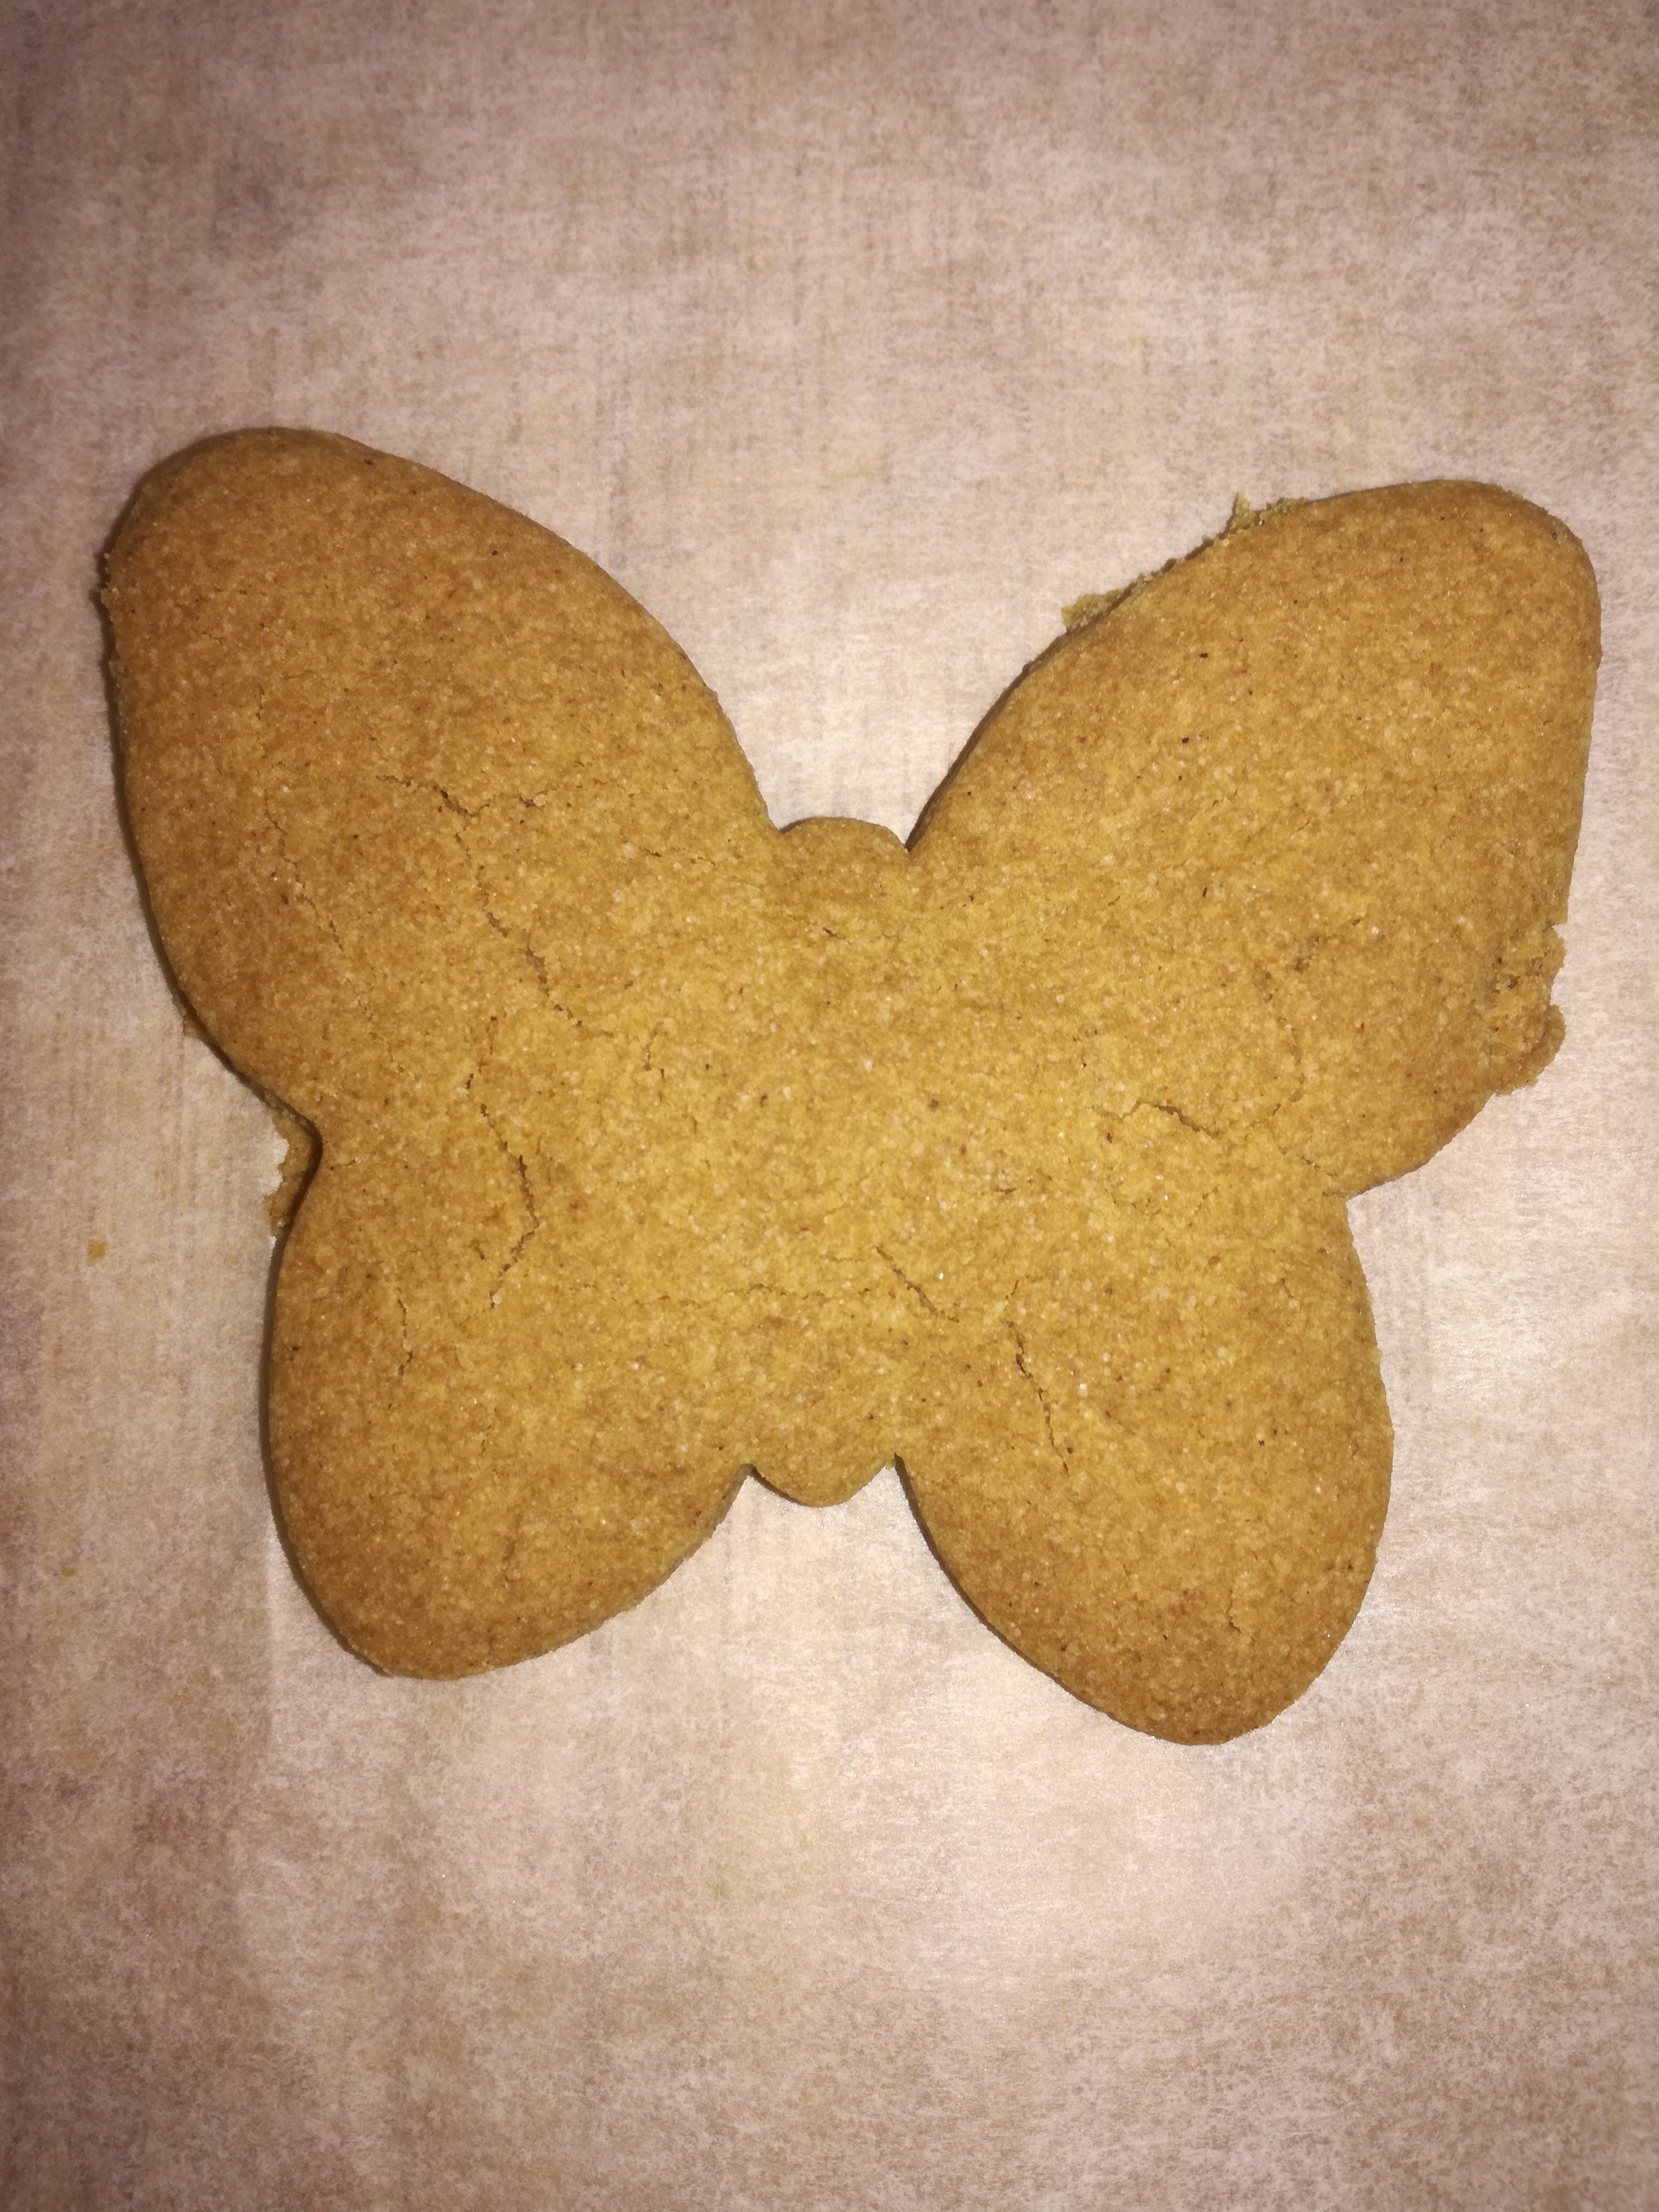
Gingerbread cookies

Gingerbread cookies

Ingredients

  • 2 cups plain flour (I have also used Healtheries GF Bread Mix)
  • 1 tsp Baking Soda
  • 1 tsp Baking Powder
  • 2 tsp ginger
  • 1 tsp cinnamon
  • 1/2 tsp allspice
  • 150g butter or allergy free spread (I use Nuttelex)
  • 3/4 cup brown sugar
  • 2 – 3 Tbsp Maple Syrup or Golden Syrup
  • Drop vanilla
  • Pinch salt

Note: These make a light more-ish spices gingerbread cookie (as opposed to one denser and chewier). Maple syrup will provide a more delicate flavour, golden syrup a more traditional one. The flavour notes are easy to experiment with, you can add more ginger and a pinch of nutmeg. I’ve made these a lot as my daughter loves them and this is her favourite combination.

Allergies: dairy free*, gluten free*, soy free, egg free, nut free.

Directions

  1. Cream ‘butter’, sugar, maple (or golden) syrup, and vanilla.
  2. Add flour, baking soda, baking powder, salt, and spices.
  3. Knead everything together. It will gradually turn from breadcrumbs to a soft cookie dough. Add a little water if you need to but just a tablespoon at a time.
  4. Refrigerate for 30 – 60 mins. You can leave it in a ball or roll it out. It’s tempting to try cutting it but (and I speak from experience) it doesn’t work very well at room temperature.
  5. Preheat oven to 180’C while rolling out the cookies.
  6. Place cookies on a baking sheet / lightly oiled baking tray.
  7. Bake for 12-15 mins.
  8. Take out from oven and allow to cool briefly before placing on cooling rack to continue cooling.

Tip: If you want a fancy (and easy) dessert reserve some of the cookie dough. Serve balls of French vanilla ice cream with little balls of cookie dough and a warm gingerbread cookie.

Note: These cookies are soft coming straight out of the oven and will harden overnight. They are delicious either way. They also freeze well.

Gingerbread cookies with chocolate icing

Gingerbread cookies with chocolate icing

Butter bean dip

butter bean dip

Butter bean dip

This is a great way to use up leftover Butter Beans with Butter & Garlic. Serve it with freshly made bread, rice crackers, pita chips etc.

Ingredients

  • Sauteed butter beans with butter (or rice bran oil) & garlic
  • Natural greek yoghurt
  • Lemon juice (or a pinch or citric acid)
  • Optional: fresh herbs like parsley, chives, coriander.
  • Optional: for a Moroccan style dip: add 1 tsp ground cumin, 1 tsp paprika, and garnish with dukkah.

Note: Most of the ingredients for the dip have already been included when you cooked the beans; the flavour of the dip will be impacted by which optional extras you cooked with the beans (i.e. leek, shallots etc.)

Allergies: gluten free, soy free, egg free, nut free, dairy free*.

Directions

  1. In a bowl, mix natural greek yoghurt with a teaspoon of lemon juice (or a pinch of citric acid).
  2. Mash the beans.
  3. Mix the bean mash into the yoghurt mix.
  4. The dip is tangy with smokey notes. You can adjust the flavour, if desired, by slowly adding any of the following: lemon juice, olive oil, salt, maple syrup, chilli.
    • Just remember that it’s easy to add more of something but much harder to balance if you put too much of something in!
  5. Garnish with fresh herbs and serve with freshly made bread, rice crackers, pita chips etc.

Tip: You can fork mash these for a rustic blend or pop everything in a food processor to get it smooth.

Butter Bean Dip

Butter Bean Dip (rustic blend)

Baked Meatballs (easy to make)

Baked Meatballs

Baked Meatballs & Onion Rings

I haven’t made meatballs in the past; for some reason I thought they would be really tricky to make. I found these to be super easy and have now made them both in passata and oven baked. The two cooking styles create different textures – if you cook in oven they will be drier and denser (good to dip in an accompanying sauce) whereas meatballs cooked in passata they will have a softer, moister mouthfeel. Both ways are great!

This recipe will make a big batch of meatballs so feel free to halve it if desired (or to cook half in oven and half in passata to enjoy both styles!)

Tip: Baked meatballs are really just little round sausages (a great way to market them to toddlers) so they are easy to play around with flavours. Why not try Lamb & Cumin, Chicken & Cranberry, or Pork & Apple instead of the traditional Beef & Onion!

Ingredients

Meatballs

  • 150g breadcrumbs / gluten-free breadcrumbs / cooked quinoa
  • 3/4c milk / almond or rice milk
  • 600g beef mince (ground beef)
  • 1 small finely chopped onion
  • Optional: 1/2c parmesan cheese (powder or finely grated)
  • 1T ground chia seeds
  • Salt & pepper
  • Parsley (dried or finely chopped fresh)
  • Chives (dried or finely chopped fresh)
  • Garlic (dried granules or crushed fresh garlic)

Allergies: gluten free*, dairy free*, egg free, soy free, nut free.

Directions

  1. Preheat oven to 180’C.
  2. Soak the breadcrumbs in the milk until the liquid has been absorbed.
    • If you’re using cooked quinoa instead: put the quinoa in the mixing bowl for the next step and add the milk after the other ingredients are roughly combined (you may not need to add all the milk).
  3. In a large mixing bowl, add all of the meatball ingredients (including the soaked breadcrumbs). Mix until combined. The mixture will be a little sticky but should be thick and not overly wet.
  4. Lightly oil your hands and roll meatballs; I like to do lots of small ones (approx. 2T of meat mix). Sit the rolled meatballs on a sheet of baking paper (on an oven tray).
  5. Bake for 18-25 minutes (or until no longer pink in the middle).
  6. Serve as a snack with a dipping sauce, or serve with pasta sauce and spaghetti, gluten-free pasta, or rice noodles.

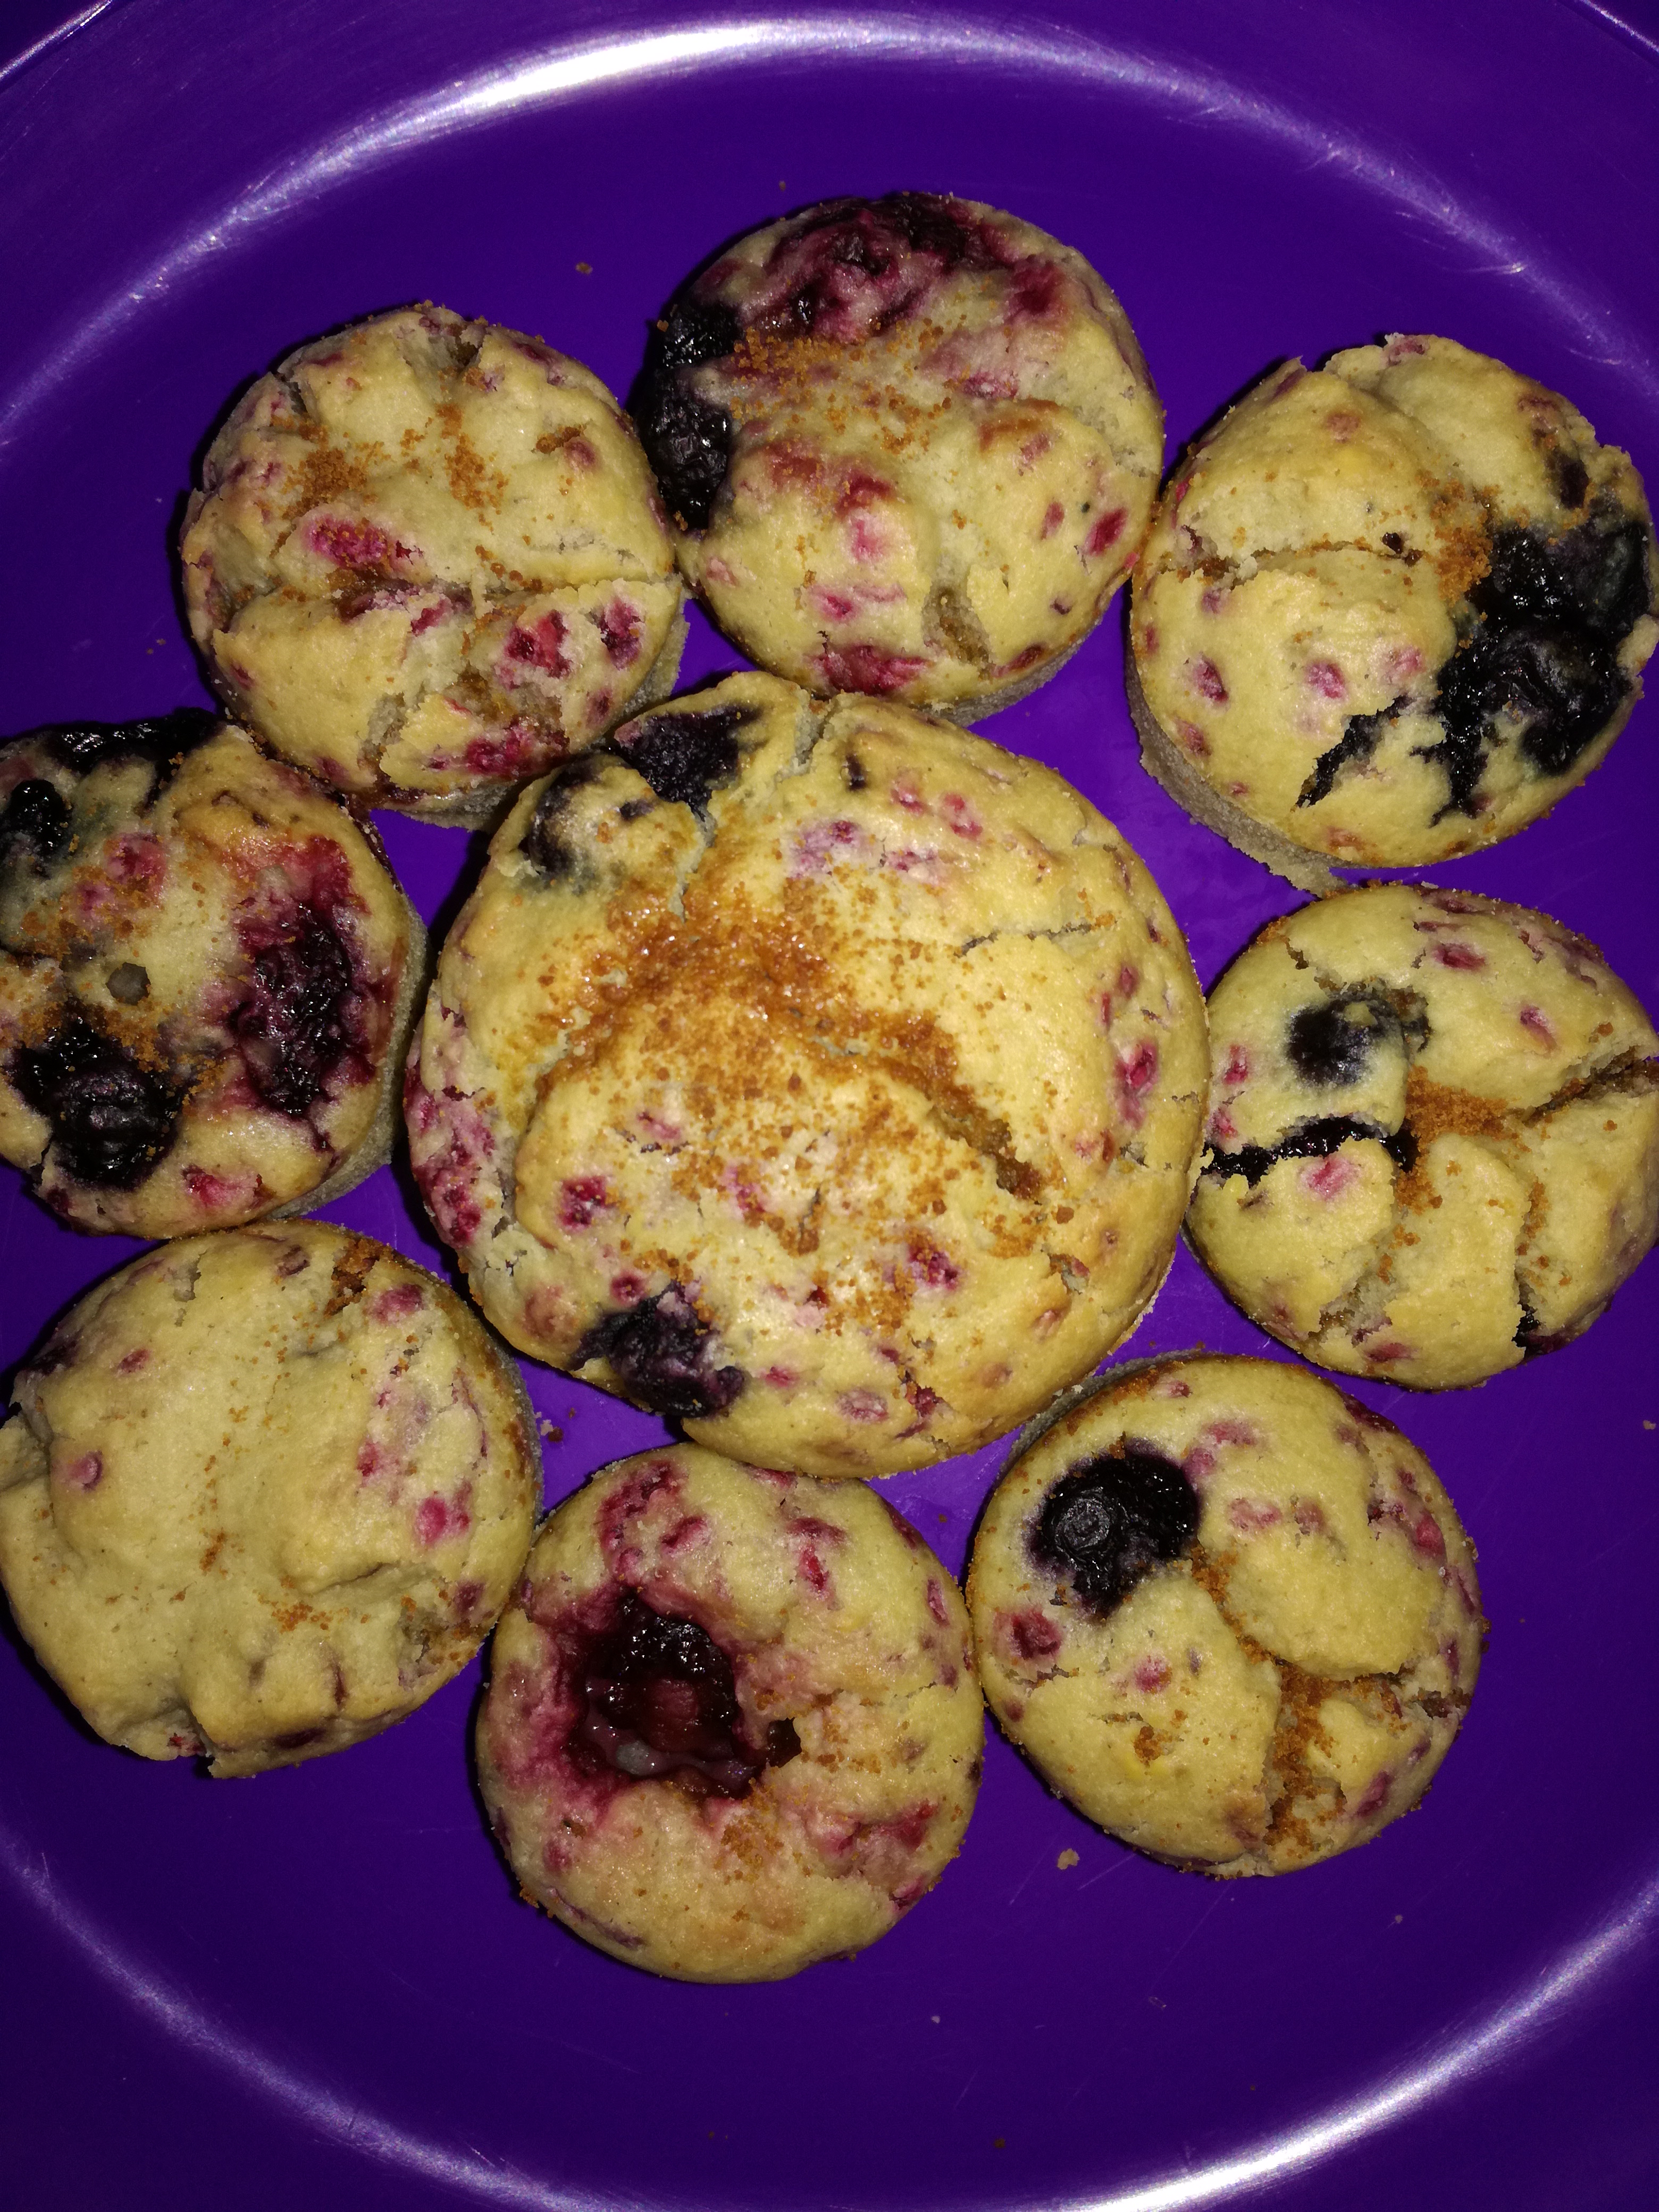
Gluten Free Berry Muffins

Gluten Free Berry Muffins

Gluten Free Berry Muffins

I love experimenting with gluten free flours. This is a different recipe again from the gluten free Vanilla Cupcakes and moist Chocolate Cupcakes. I was really stoked as Miss 2 kept asking for more of the mini ones and her playdate didn’t notice they were gluten free!

Like most gluten free baking, these are best served same (or next day); I free flow the rest in the freezer and pull them out as needed.

Ingredients

Group 1

  • 1 cup hot water
  • 1/2 cup neutral vegetable oil (like Rice Bran oil)
  • 1 egg
  • 1 tsp vanilla
  • Generous pinch ground cinnamon

Group 2

  • 3/4 cup sugar
  • 1 cup superfine white rice flour
  • 1/2 cup garbanzo flour (also called chickpea flour)
  • 1/4 cup oat flour
  • 1T sweet (glutinous) rice flour
  • 1/4 cup cornstarch (cornflour)
  • 1/2 tsp guar gum
  • 1/2 tsp Baking Soda
  • 1/2T Baking Powder
  • 1/2 tsp salt

Other ingredients

  • 1/3 – 1/2 cup frozen berries
    • I recommend raspberries and blueberries.
  • Raw unrefined coconut sugar

Allergies: dairy free, soy free, gluten free, nut free.

Directions

  1. Preheat the oven to 180’C.
  2. Whisk together the ingredients in Group 1. This helps to aerate the mix. You can use a stick blender or I used the food processor (with a plastic mixing attachment, not a metal cutting blade!).
  3. Sift together the ingredients in Group 2.
  4. Mix the combined dry ingredients into the whisked liquid.
  5. Prepare the frozen berries and mix in gently.
    • Raspberries crush really easily into tiny teardrops (which provide a pretty pink speckled effect when baked); blueberries are already a good size; boysenberries are large enough to need cutting in half.
  6. Pour into cupcake / muffin trays.
    • I made 6 large and 12 mini cupcakes.
  7. Preheat the oven to 180’C. The mixture will thicken slightly while the oven heats.
    • The mix will appear very runny compared to a gluten mix – the rice flour and cornstarch will cause it to thicken as it cooks.
  8. Bake at 180’c for approx. 25-35 mins or until cooked.
    • I found the mini muffins took 25 mins and the normal ones took 35 mins.


Icing 

I liked these with dusted with coconut sugar. I pulled them out of the oven after approx. 15 minutes (once they had risen), dusted with coconut sugar, and then placed back in the oven to finish baking.

I also have recipes for other icings that don’t use any artificial colours, glycerin, additives etc.