Flavours of the world: How to make Hojarascas Mexican Cookies

How to make delicious Mexican Hojarascas cookies!

One of the wonderful things about homeschooling is that making cookies can definitely be part of the curriculum! We’re studying Mexico at the moment and were sitting in the garden working with clay after watching videos about pottery. Miss decided to make and paint cookies – which then started us researching different types of Mexican cookies.

We settled on hojarascas (oh-ha-rascas) a kind of cinnamon sugar shortbread cookie. The name comes from a Spanish word referring to Autumnal leaves falling from the trees (and the crackling, crunching sound as they crumble beneath feet).

We started with a traditional recipe, and then adapted it to a Kiwi kitchen and making a small batch of about 18 cookies.

Ingredients

  • 100g butter
  • 1/4 cup sugar
  • 1 egg
  • 1/2 Tablespoon baking powder
  • 1 tsp ground cinnamon
  • 1.5 cups high grade flour
  • Topping: 1/2 cup sugar + 2tsp ground cinammon

Directions

  1. Preheat the oven to 180’C / 350’F and line a cookie tray with baking paper.
  2. In a large Pyrex bowl, soften or melt the butter.
  3. Add the sugar and mix well.
  4. Add the egg, cinnamon, and baking powder. Stir to combine.
  5. Slowly mix in the flour until you have a soft dough.
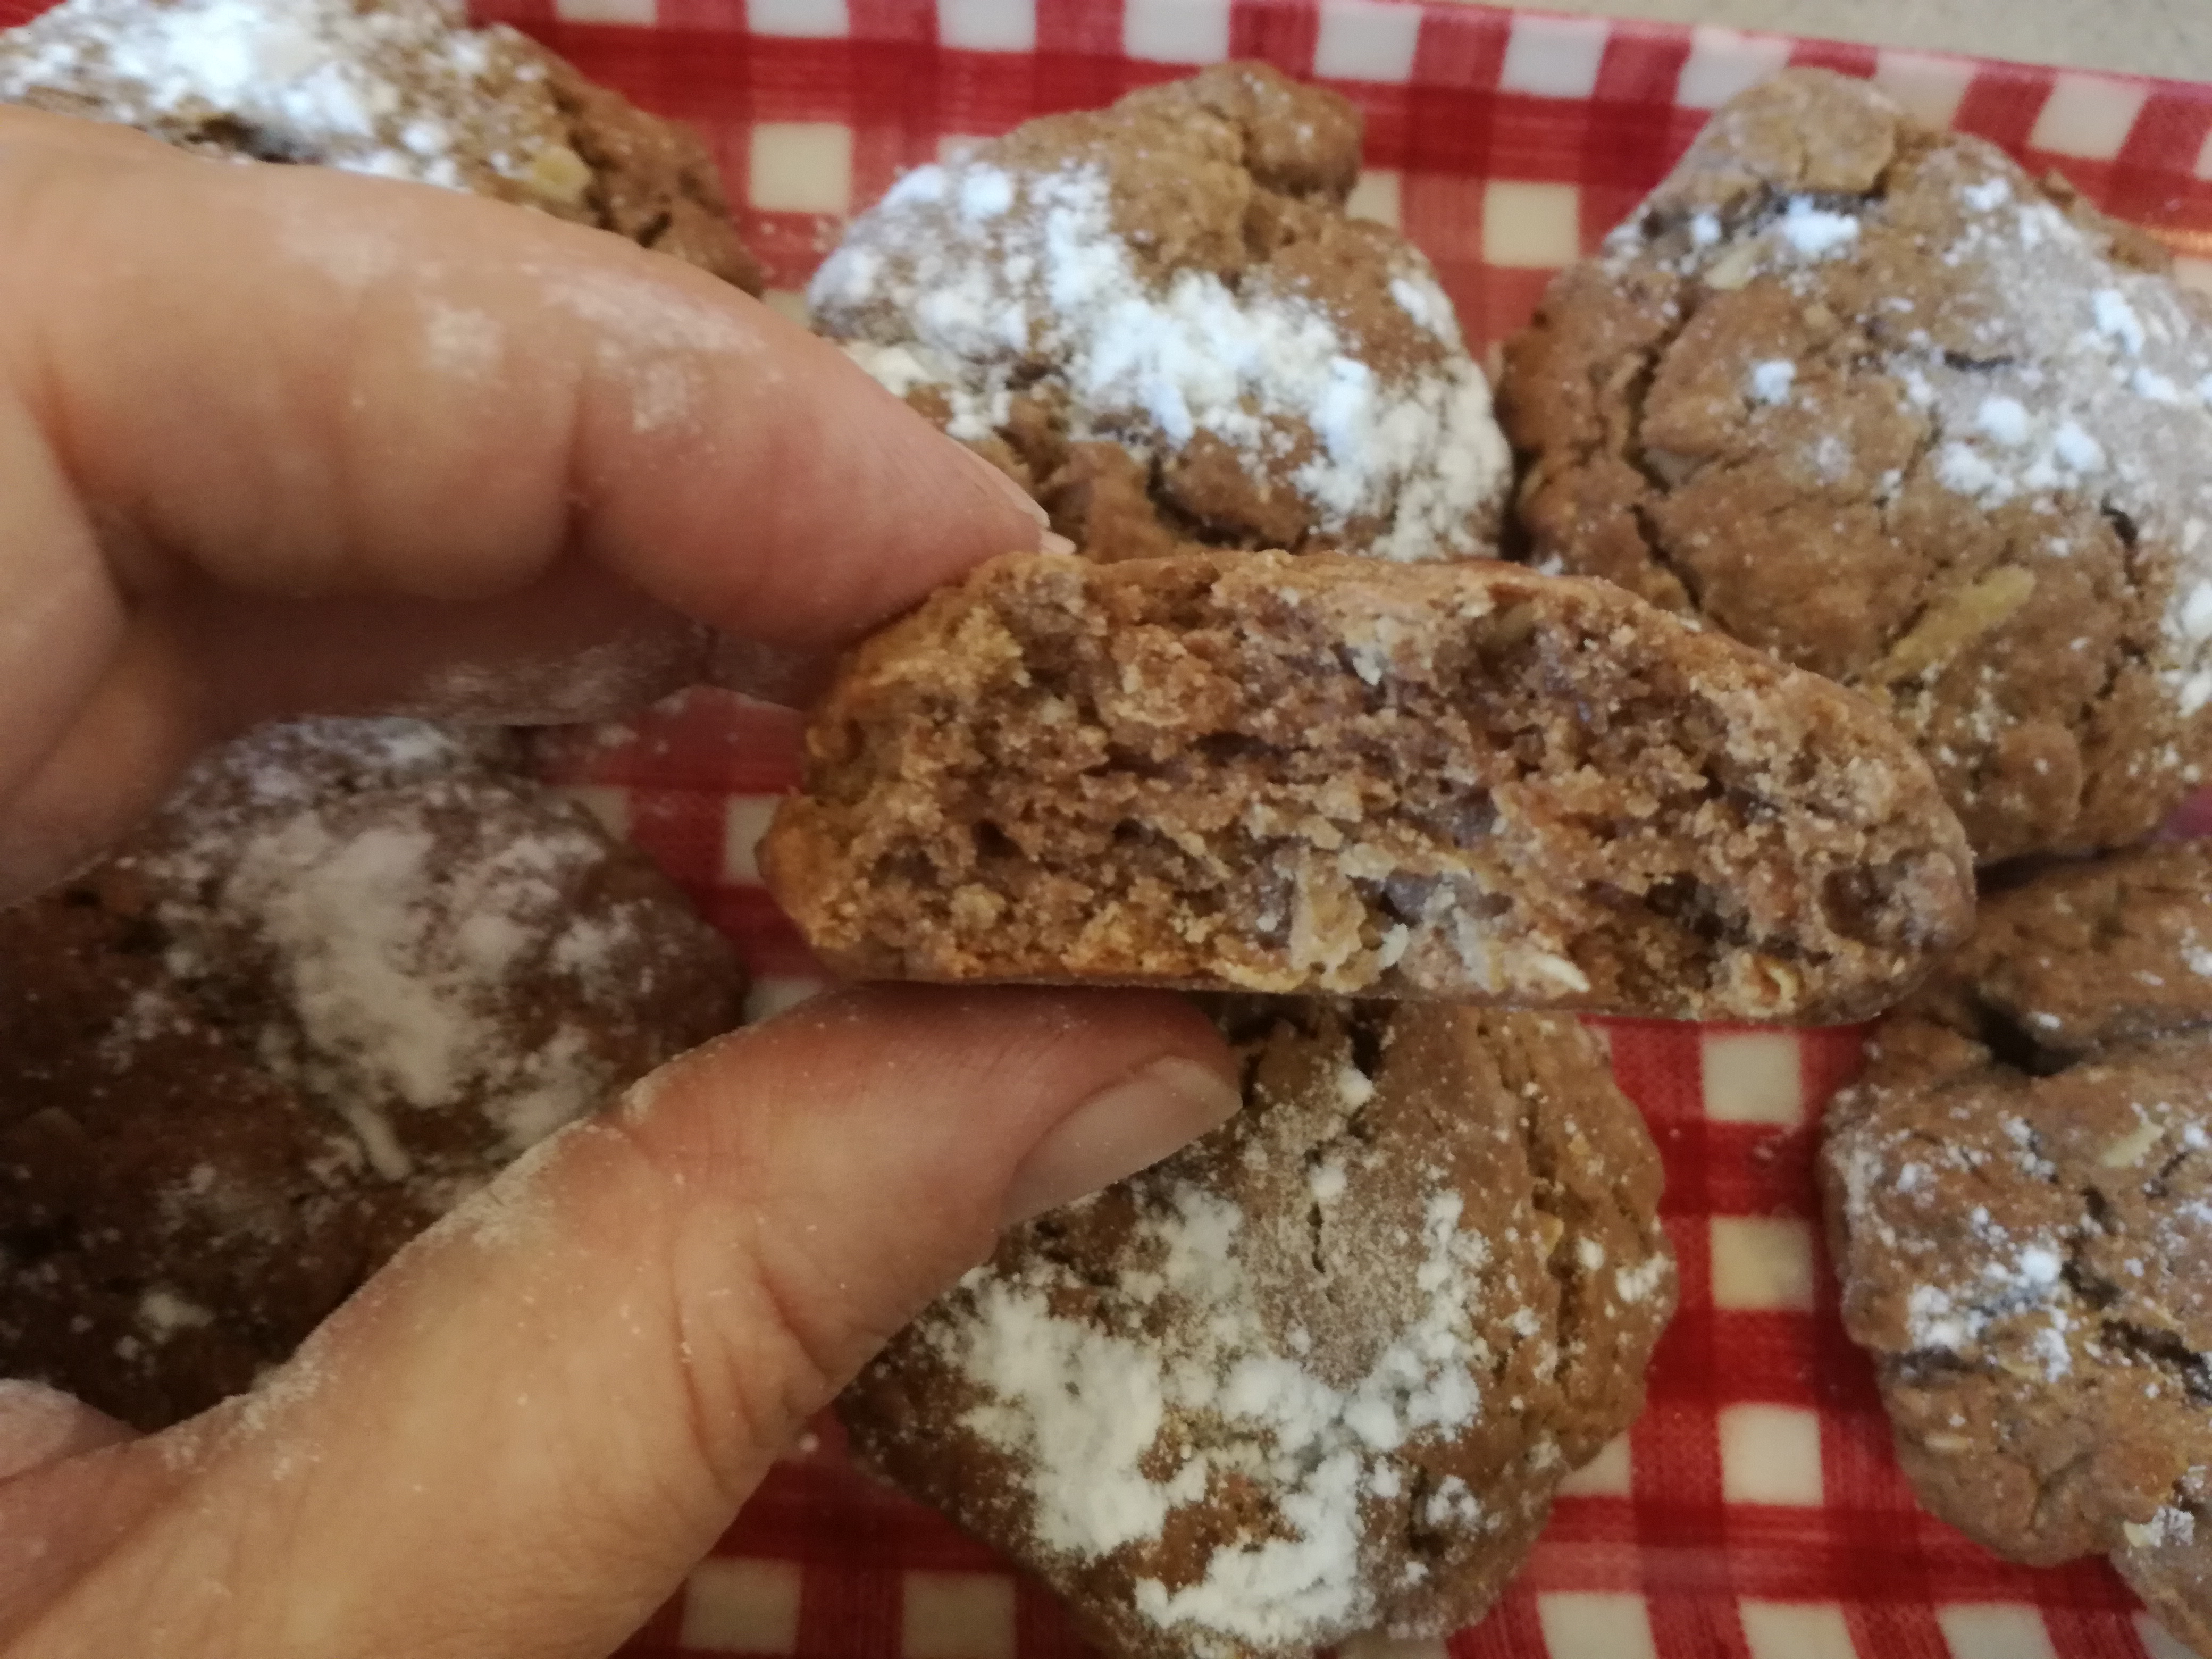
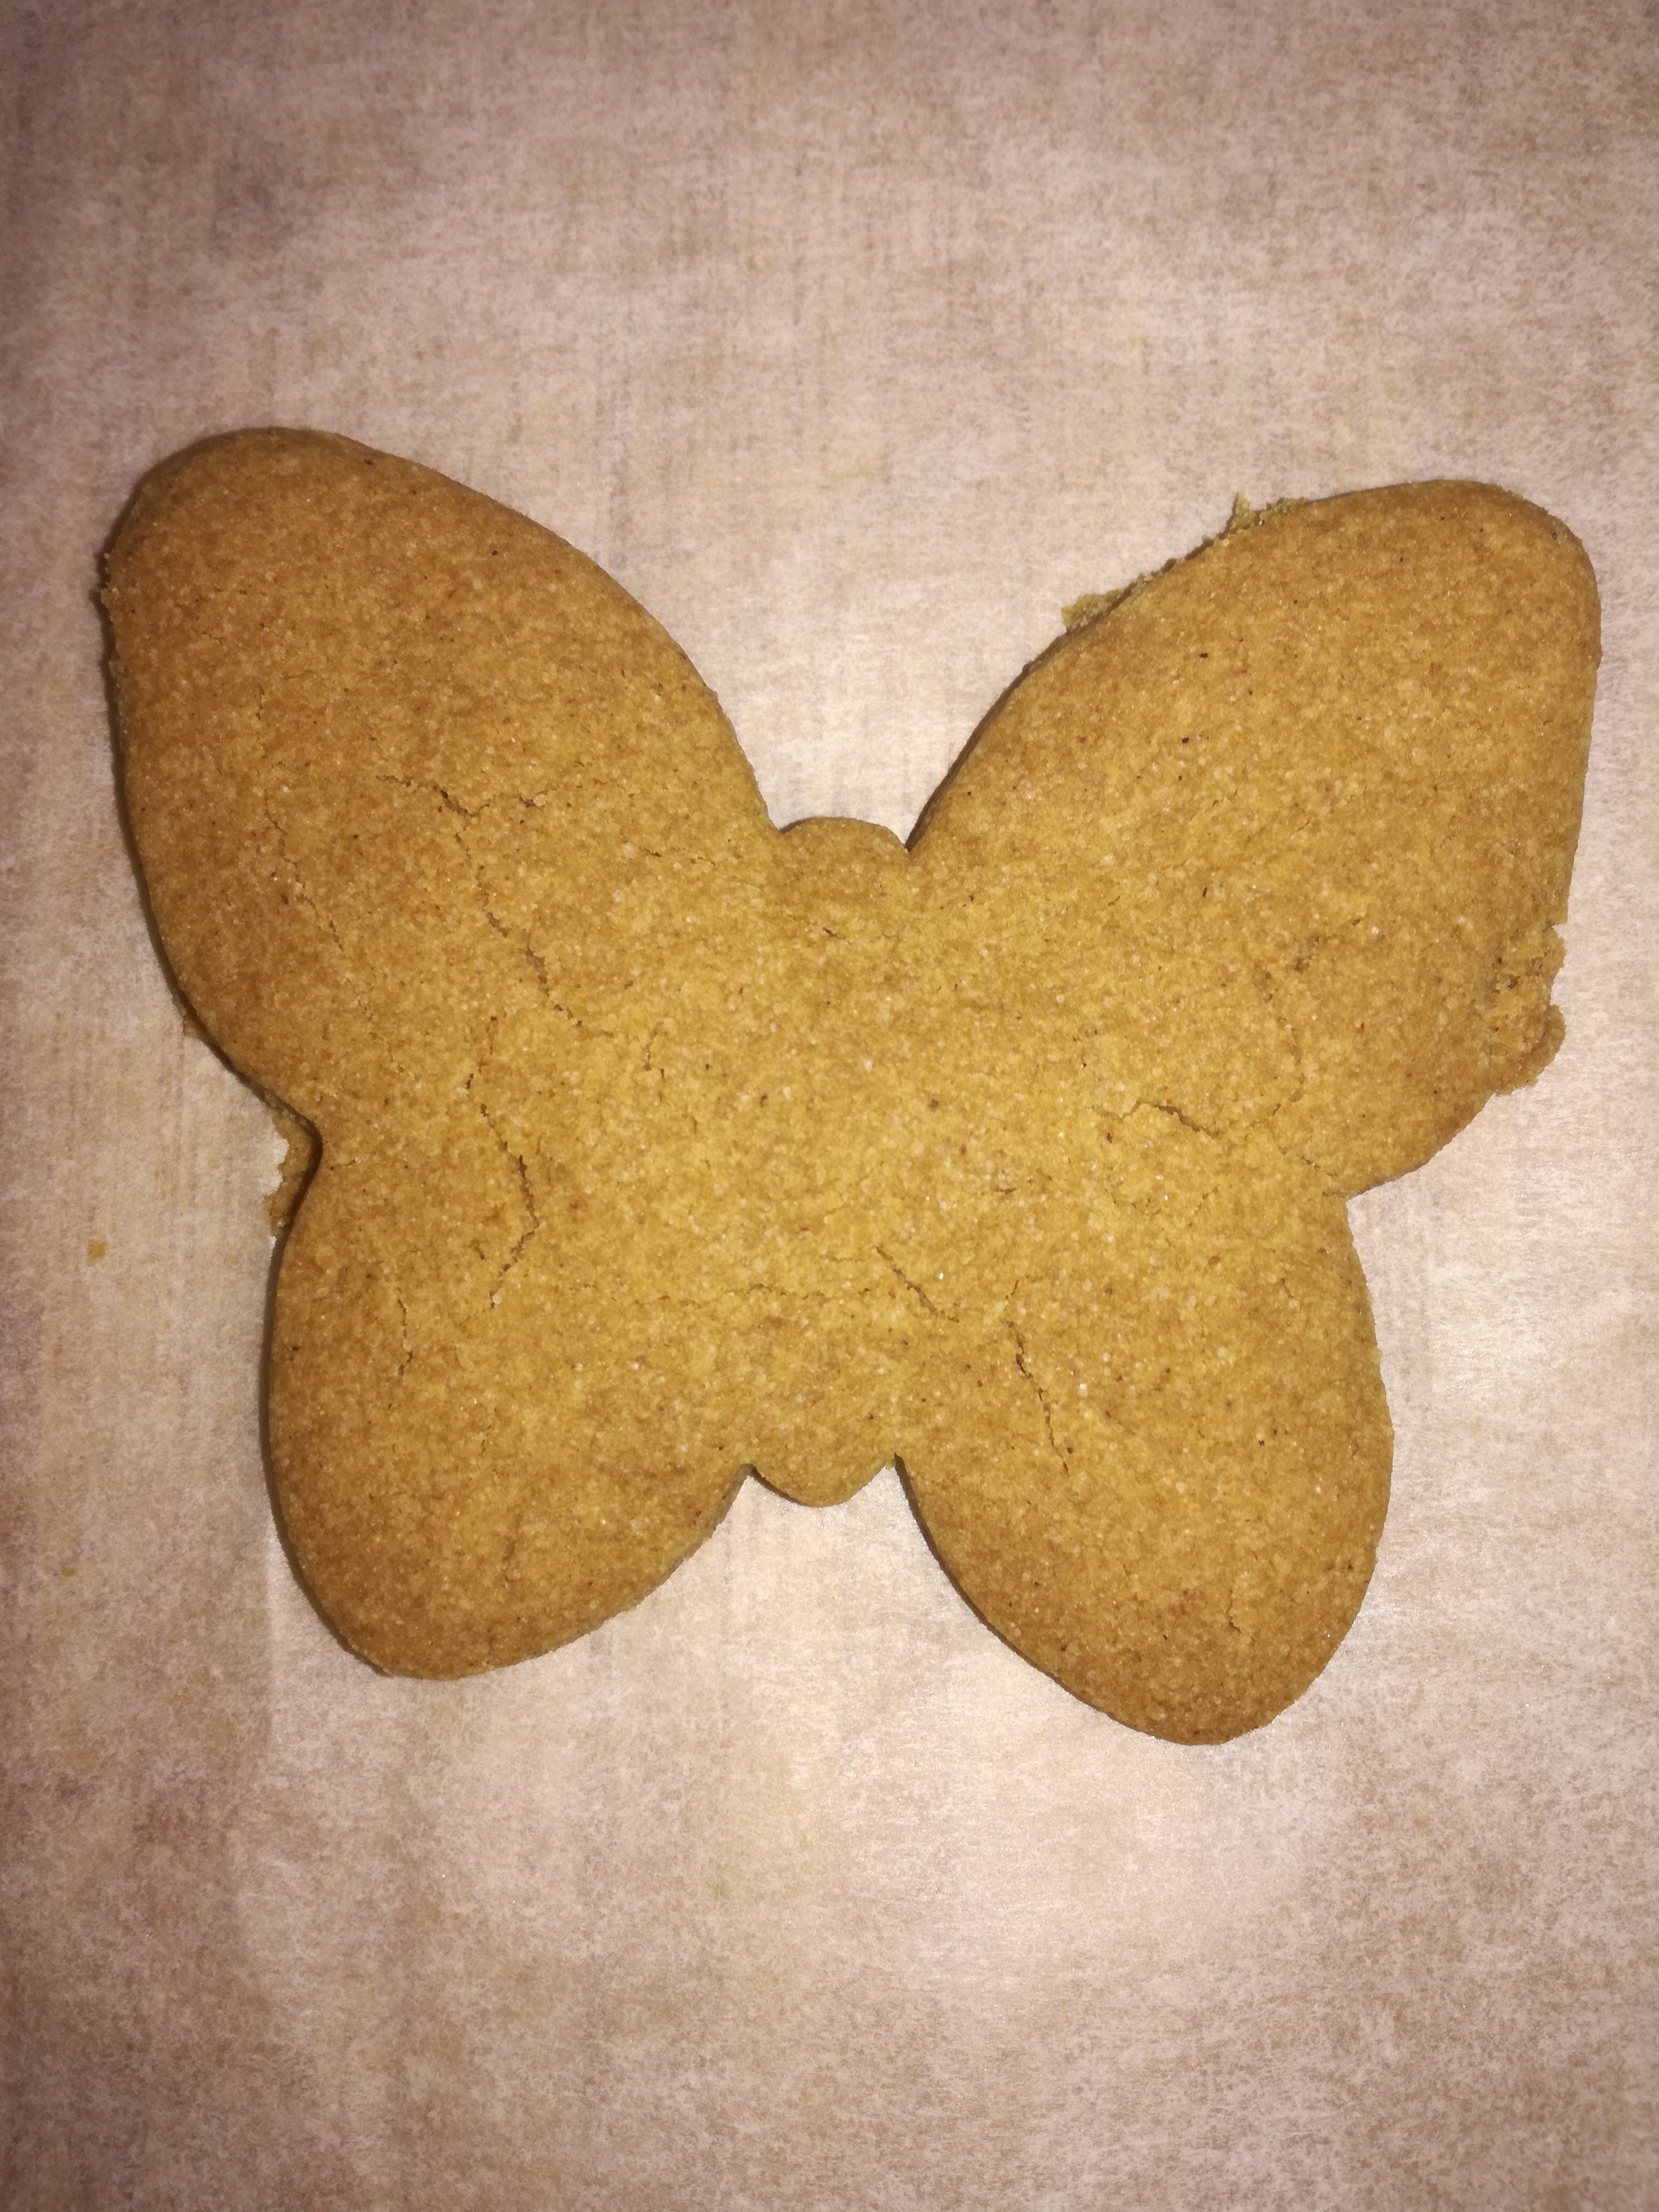
  6. You can can roll it out and use cookie cutters if you want to, but I like to just roll small balls with my fingers and softly flatten them.
  7. Mix the sugar and cinnamon topping on a plate and gently press the cookies into the mix on both sides.
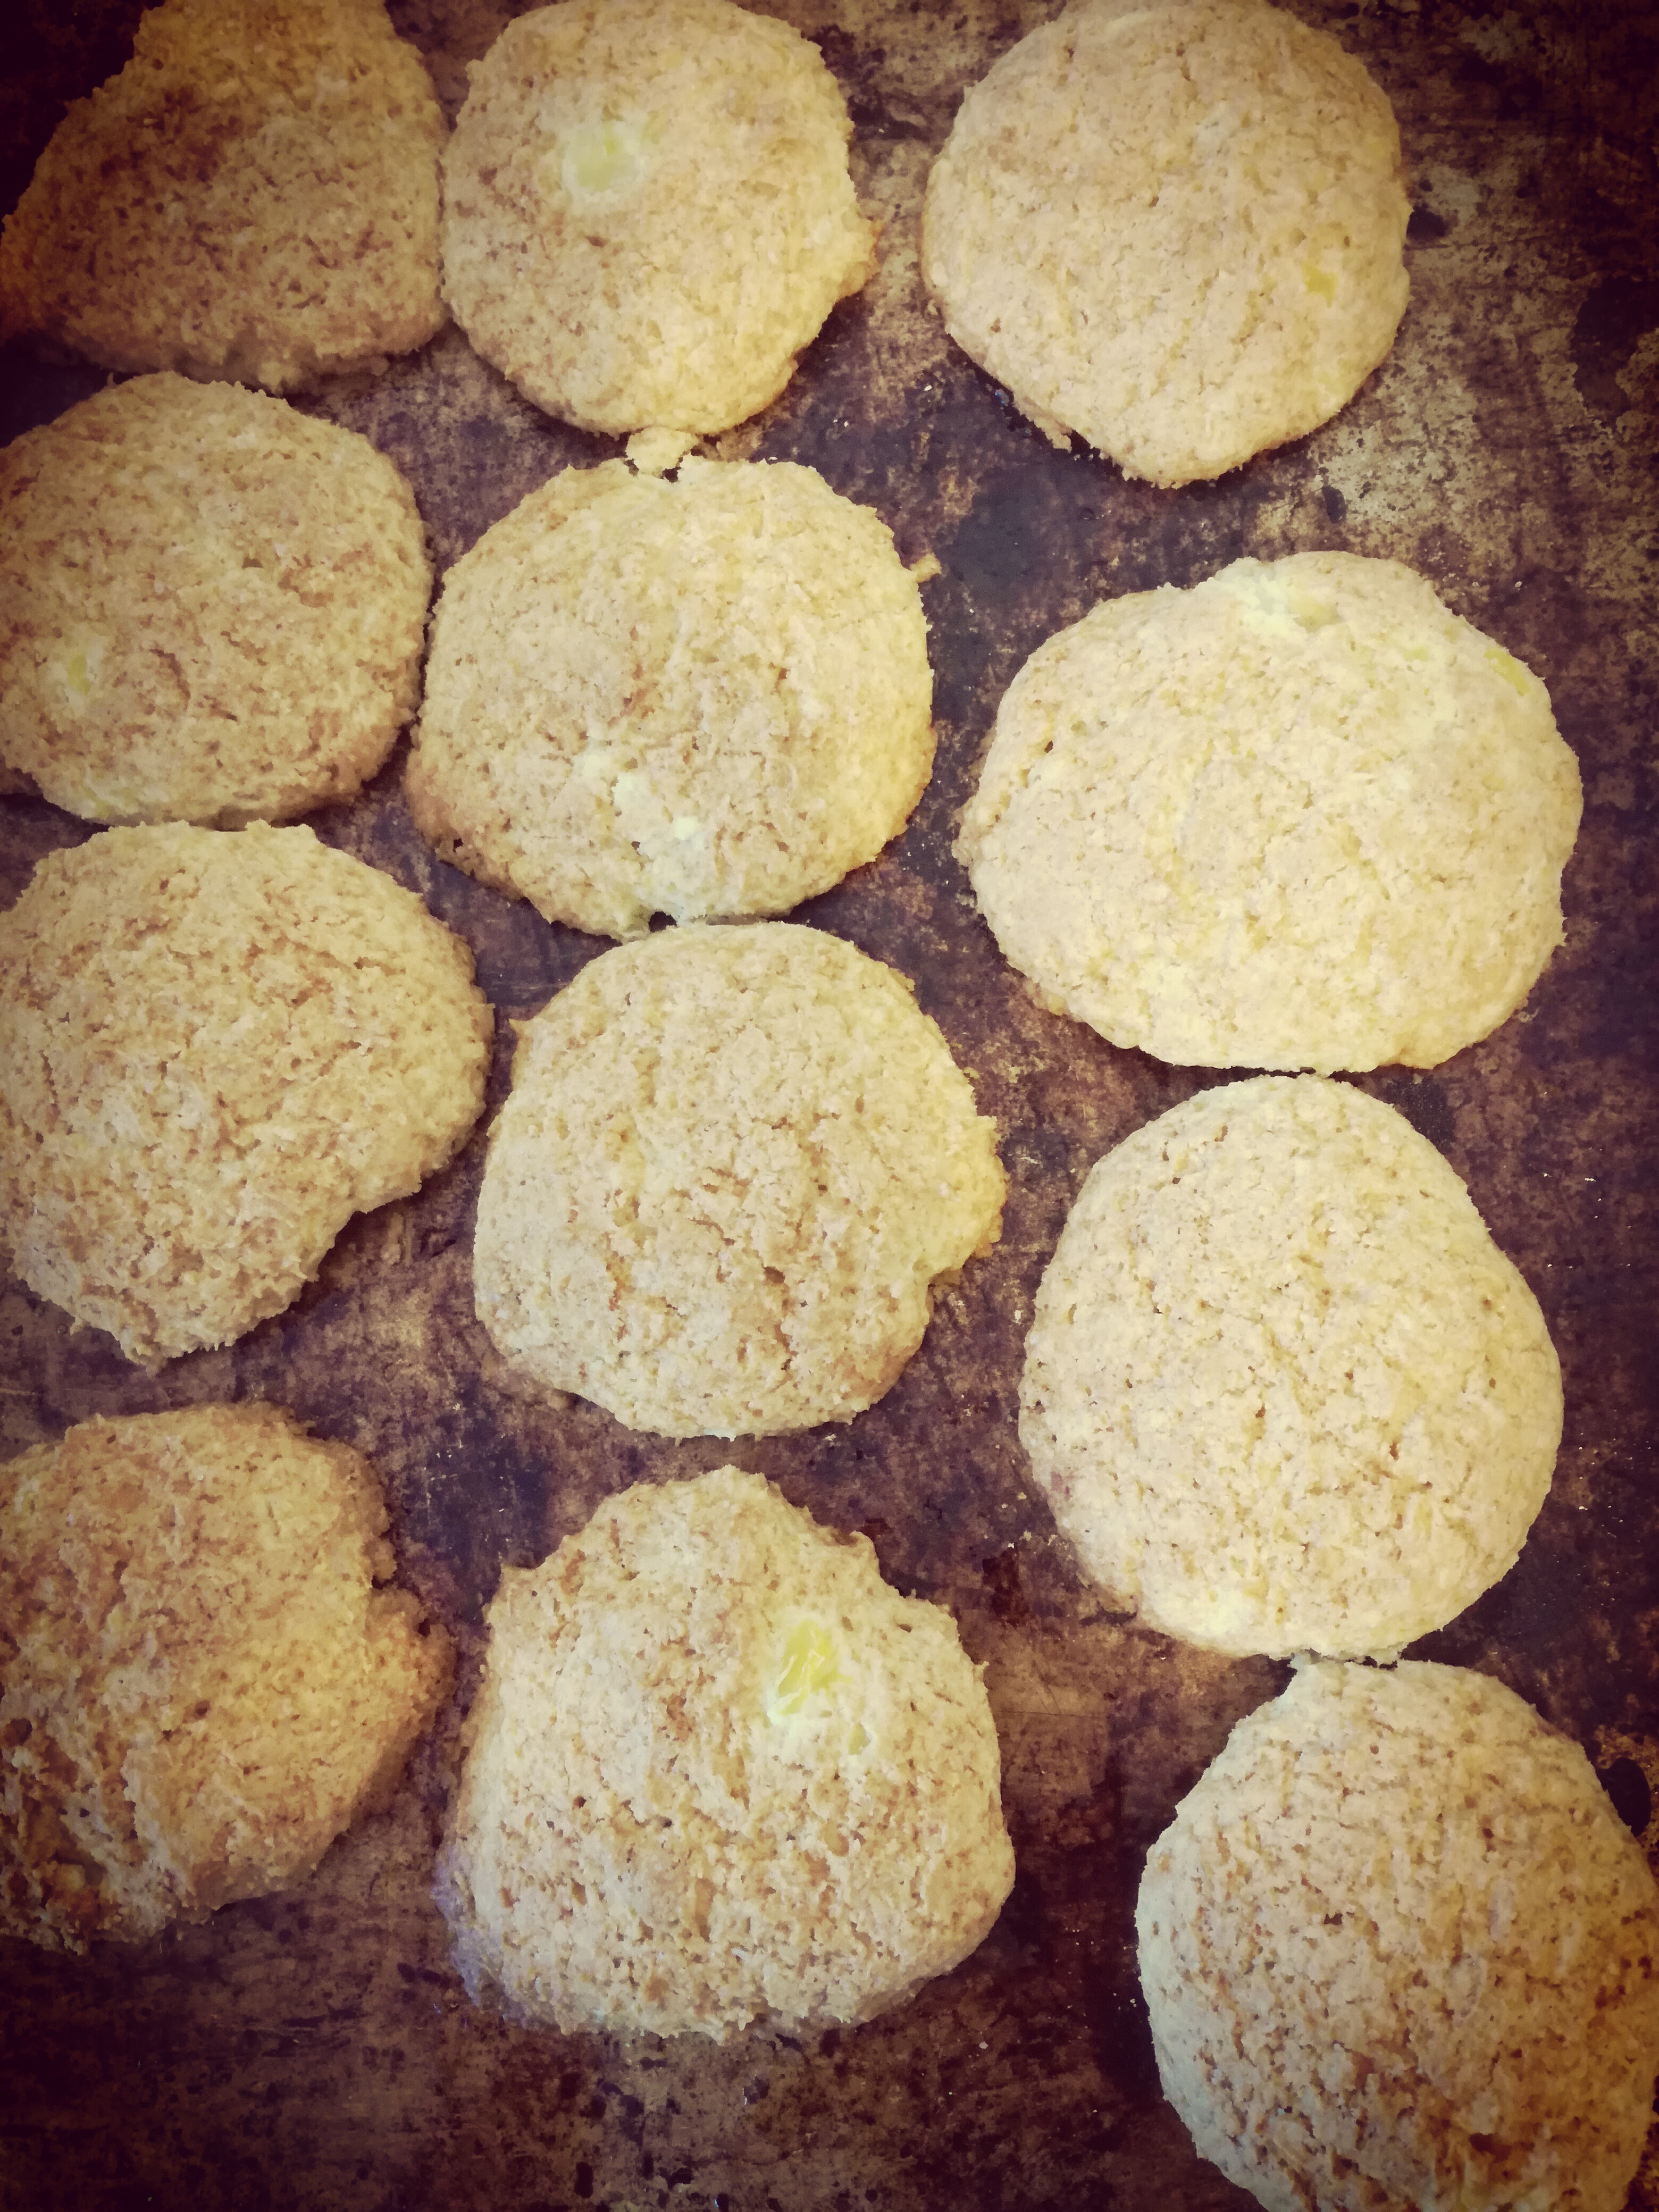
  8. Place the cookies on the tray and bake for 10-15 mins (my oven took exactly 13 minutes!).
  9. Place on a cooling rack and sprinkle with leftover cinnamon-sugar mix. (You could also wait until they are cooled, place the cinnamon-sugar in a ziploc bag, and shake the cookies gently.)

Notes

There are many versions of hojarascas cookies online and although some use butter, traditionally they use lard or shortening. Most recipes have the sugar and cinnamon mix added after baking, whereas I added mine beforehand to help it adhere more firmly. Some recipes add vanilla, or star anise, orange zest, or nuts (like pecans) but the cinnamon and sugar are consistent throughout – it does mean that you can experiment with many variations if these become a firm favourite in your household.

You can also experiment with the ratios of cinnamon:sugar and whether you’d like the cinnamon weighted more to the cookie or topping. I made the cinnamon flavour in the cookie quite mild but others may like it stronger.

Advertisement

Caramel Crunch Cookies

Caramel Crunch Cookies

These delicious crunchy cookies are also a great opportunity to discuss science in the kitchen! STEM discussion points follow after the recipe 🙂

Ingredients

  • 125 butter
  • 1/2 brown sugar
  • 1 Tbsp maple syrup or golden syrup
  • 1 Tbsp milk
  • 1 1/2 cups plain flour
  • 1 tsp baking soda

Allergies: soy free, egg free, nut free.

Directions

  1. Start the oven preheating to 180’C / 350’F.
  2. Have a grown up mix the butter, sugar, maple syrup, and milk in a pot. Heat until the butter is melted and the mixture is almost boiling – you’ll be able to see the surface tension change as it begins to think about bubbling. Make sure that you stir constantly so that it doesn’t stick or burn.
  3. Remove from heat and allow the caramel to cool to lukewarm.
  4. Sift the flour and baking soda into the pot and mix into the caramel.
  5. Stir well and it will turn into a caramel coloured cookie dough.
  6. Roll the cookie dough into balls and flatten on a baking tray (either greased or lined with baking paper).
  7. Bake for 10-15 mins or until golden brown.

Science in the Kitchen (STEM)

  1. Gravity & Weight: When you’re using kitchen scales to measure out the butter, take a few moments to talk about why things have weight and why we weigh them. That butter would weigh about 20g on the Moon and about 315g on Jupiter.
  2. Solids, Liquids, Gas: It’s a good idea to have a grown up do the stirring with the caramel mixture as it gets very hot; keep young helpers interested by helping them to safely view the way the ingredients change. Ask them if the butter and sugar going into the pot are liquids or solids (the latter); then show them what happens when heat is applied (becomes liquid); as the mixture cools and is combined with the flour it’s state changes again (solid).
  3. Gassy Bubbles: Ask young helpers what’s different about the ingredients in this recipe. The answer is that it uses baking soda rather than baking soda. The baking soda causes small carbon dioxide gas bubbles in the cookie mix causing it to rise when it goes into the hot oven. Tip: Get the cookies in the oven quickly as the longer the mix is left at room temperature, the less the cookies will rise.
  4. Sweet Surprise: A great way to see baking soda in action is to make a candy version of these cookies. Have a go at making Hokey Pokey!

Chocolate Peanut Butter Cookies

Chocolate Peanut Butter breakfast cookies


These are more of a crisp or crunchy cookie that can be eaten on the run or dipped in yoghurt as a breakfast cookie; or topped with a thin layer of Nutella for the lunchbox. They are comparatively low in sugar with good amounts of fat, fibre, and protein. For a soft and chewy version, try these vegan Peanut Butter Cookies.


I note that the peanut butter used contains only two ingredients: peanuts + salt. It’s also easy to make peanut butter at home as an alternative to commercial brands containing sugar, molasses, and hydrogenated oils.

Ingredients

  • 2c flour
  • 1/4 cup almond meal
  • 1/4 cup fine oats (i.e. Milk Oaties or Instant Porridge)
  • 1/2 cup crumbled Weetbix
  • 3 Tbsp Dutch Cocoa
  • 1/2 tsp salt
  • 1 tsp Baking Powder
  • 1 tsp Baking Soda
  • 1 Tbsp apple cider vinegar
  • 2 eggs
  • 1 tsp vanilla essence
  • 1/2 cup coconut oil
  • 3/4 cup brown sugar
  • 3/4 cup smooth peanut butter
  • 1/4 cup milk (or rice milk)

Allergies: soy free, dairy free*.

Directions

  1. Preheat oven to 180’C / 360’F.
  2. In a large mixing bowl, combine all ingredients. I prefer to add all the dry ingredients, and then in mix in the wet ingredients.
  3. Knead everything together. It will gradually turn to a soft cookie dough. 
  4. Roll the dough into small balls and lightly flatten (with a fork or fingers).
  5. Place cookies on a baking sheet / lightly oiled baking tray.
  6. Bake for 15-18 minutes or until cookies begin to brown.

Peanut Butter Cookies (Vegan)

Peanut Butter Cookies (Vegan)

Peanut Butter Cookies (Vegan). Free from dairy, egg, and soy.

These are a soft chewy peanut butter cookie with a hint of chocolate that went down very well with an audience of young taste testers. They are comparatively low in sugar with good amounts of fat, fibre, and protein. For a crunchier cookie try these Chocolate Peanut Butter breakfast cookies.

I note that the peanut butter used contains only two ingredients: peanuts + salt. It’s also easy to make peanut butter at home as an alternative to commercial brands containing sugar, molasses, and hydrogenated oils.

Ingredients

  • 2c flour
  • 1/4 cup almond meal
  • 1/4 cup fine oats (i.e. Milk Oaties or Instant Porridge)
  • 2 Tbsp Dutch Cocoa
  • 1/2 tsp salt
  • 1 tsp Baking Powder
  • 1 tsp Baking Soda
  • 1 Tbsp apple cider vinegar
  • 2 Tbsp Orgran egg replacer + 4 Tbsp water
    • OR: 2 flax eggs
    • OR: 2 eggs
  • 1 tsp vanilla essence
  • 1/2 cup coconut oil
  • 3/4 cup brown sugar
  • 3/4 cup smooth peanut butter
  • approx. 100g apple puree
    • TIP: baby food pouches or tins are an easy way of adding fruit puree to baking recipes.

Allergies: soy free, dairy free, egg free.

Directions

  1. Preheat oven to 180’C / 360’F.
  2. In a large mixing bowl, combine all ingredients. I prefer to add all the dry ingredients, and then in mix in the wet ingredients.
  3. Knead everything together. It will gradually turn to a soft cookie dough. 
  4. Roll the dough into small balls and lightly flatten (with a fork or fingers).
  5. Place cookies on a baking sheet / lightly oiled baking tray.
  6. Bake for 12-15 minutes or until cookies begin to brown.

Gingerbread / Spice Cookies (Allergy Free)

Gingerbread cookies

Gingerbread cookies

Ingredients

  • 2 cups plain flour (I have also used Healtheries GF Bread Mix)
  • 1 tsp Baking Soda
  • 1 tsp Baking Powder
  • 2 tsp ginger
  • 1 tsp cinnamon
  • 1/2 tsp allspice
  • 150g butter or allergy free spread (I use Nuttelex)
  • 3/4 cup brown sugar
  • 2 – 3 Tbsp Maple Syrup or Golden Syrup
  • Drop vanilla
  • Pinch salt

Note: These make a light more-ish spices gingerbread cookie (as opposed to one denser and chewier). Maple syrup will provide a more delicate flavour, golden syrup a more traditional one. The flavour notes are easy to experiment with, you can add more ginger and a pinch of nutmeg. I’ve made these a lot as my daughter loves them and this is her favourite combination.

Allergies: dairy free*, gluten free*, soy free, egg free, nut free.

Directions

  1. Cream ‘butter’, sugar, maple (or golden) syrup, and vanilla.
  2. Add flour, baking soda, baking powder, salt, and spices.
  3. Knead everything together. It will gradually turn from breadcrumbs to a soft cookie dough. Add a little water if you need to but just a tablespoon at a time.
  4. Refrigerate for 30 – 60 mins. You can leave it in a ball or roll it out. It’s tempting to try cutting it but (and I speak from experience) it doesn’t work very well at room temperature.
  5. Preheat oven to 180’C while rolling out the cookies.
  6. Place cookies on a baking sheet / lightly oiled baking tray.
  7. Bake for 12-15 mins.
  8. Take out from oven and allow to cool briefly before placing on cooling rack to continue cooling.

Tip: If you want a fancy (and easy) dessert reserve some of the cookie dough. Serve balls of French vanilla ice cream with little balls of cookie dough and a warm gingerbread cookie.

Note: These cookies are soft coming straight out of the oven and will harden overnight. They are delicious either way. They also freeze well.

Gingerbread cookies with chocolate icing

Gingerbread cookies with chocolate icing

Gluten Free Pina Colada Cookies

Gluten Free Pina Colada Cookies

Gluten Free Pina Colada Cookies!

These Gluten Free Pina Colada cookies (UK/USA)  are a light fluffy cookie that I don’t think most people realize are gluten free when eating them! They use the Gluten Free Vanilla Cookie recipe as a base but the variations make this a moister cookie (as well as tasting of the sunny tropics). These are very welcome to add a bit of sunshine to a cold winter day and also make a great tropical treat for birthday parties!

Ingredients

  • 1/2 cup superfine white rice flour
  • 1/2 cup Healtheries Gluten Free Bread Mix
  • 2 tsp Baking Powder
  • 1/2 tsp Baking Soda
  • 1/2 cup sugar
  • 3 Tbsp butter or allergy-free spread (i.e. Nuttelex)
  • 1 egg (whisked) or egg replacement.
  • 2 Tbsp greek yoghurt / coconut yoghurt / coconut milk
  • 1/4 cup dessicated coconut
  • 1/4 cup pineapple (crushed and drained)

Allergies: gluten free, dairy free*, egg free*, soy free, nut free.

Directions

  1. Cream the ‘butter’ and sugar. Mix in the egg.
  2. Mix in the rice flour, GF bread mix, baking powder. baking soda, yoghurt, coconut, and pineapple.
  3. Spoon out onto lightly oiled baking tray and flatten slightly.
  4. Bake at 180’C for approx. 15-20 mins (or until golden brown).

Makes approximately 12 cookies.

Note: There are several reasons that I choose to use the Healtheries Gluten Free Bread Mix instead of the Healtheries Gluten Free Baking Mix.

I prefer to use guar gum in my recipes and avoid xanthan gum; the latter is artificially derived and is often grown on an allergenic base (such as corn, soy, or wheat).

I like to control the rising agents in my baking so that I can tailor them to each recipe.

Frugality! The Bread Mix can be used to make both Gluten Free Bread and Gluten Free Baking whereas their Baking Mix can only be used for baking.

Gluten Free Vanilla Cookies

Gluten Free Vanilla Cookies

Gluten Free Vanilla Cookies are the base recipe for making Pina Colada Cookies!

These Gluten Free vanilla biscuits (UK) / cookies (USA) are a light crunchy cookie that I don’t think most people realize are gluten free when eating them! They’re also the base recipe for variations, like the GF Pina Colada cookie recipe that will be publishing soon!

Ingredients

  • 1/2 cup + 1 Tbsp superfine white rice flour
  • 1/2 cup Healtheries Gluten Free Bread Mix
  • 2 tsp Baking Powder
  • 1/2 cup sugar
  • 3 Tbsp butter or allergy-free spread (i.e. Nuttelex)
  • 1 egg (whisked) or egg replacement.
  • Vanilla Essence

Allergies: gluten free, dairy free*, egg free*, soy free, nut free.

Directions

  1. Cream the ‘butter’ and sugar.
  2. Mix in the egg and several drops of vanilla essence.
  3. Mix in the rice flour, GF bread mix, baking powder.
  4. Spoon out onto lightly oiled baking tray and flatten slightly.
  5. Bake at 180’C for approx. 15-20 mins (or until golden brown).

Makes approximately 12 cookies.


Note: There are several reasons that I choose to use the Healtheries Gluten Free Bread Mix instead of the Healtheries Gluten Free Baking Mix.

I prefer to use guar gum in my recipes and avoid xanthan gum; the latter is artificially derived and is often grown on an allergenic base (such as corn, soy, or wheat).

I like to control the rising agents in my baking so that I can tailor them to each recipe.

Frugality! The Bread Mix can be used to make both Gluten Free Bread and Gluten Free Baking whereas their Baking Mix can only be used for baking.