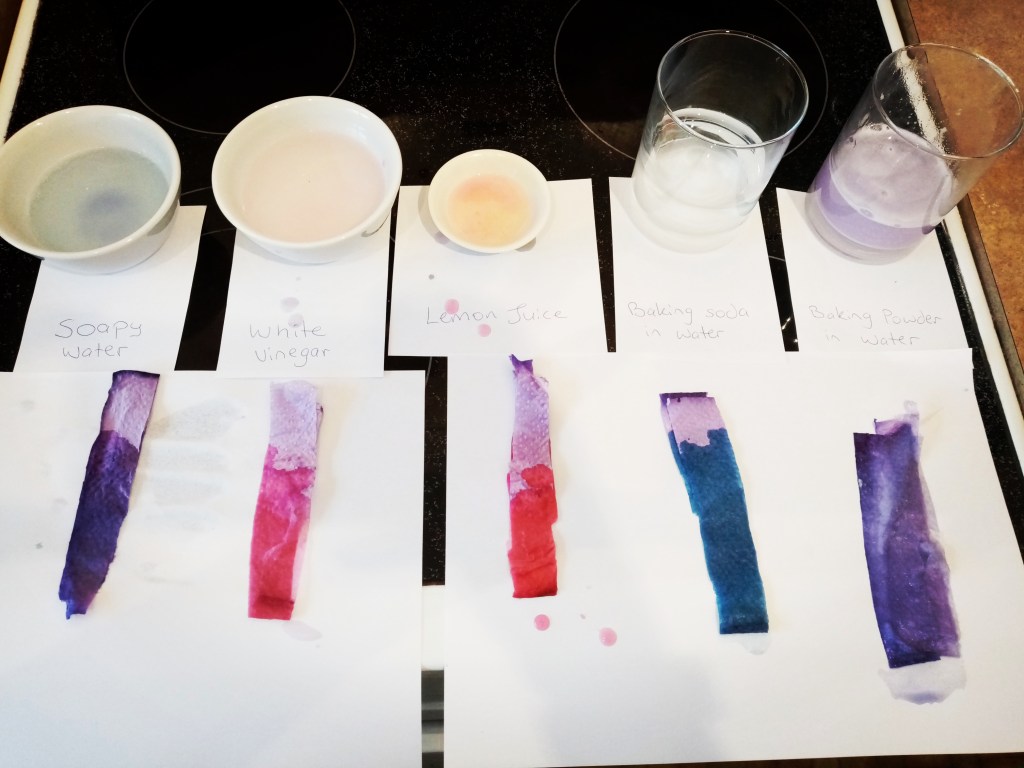
Pigments are molecules that contain colour and the ones in red cabbage juice ( anthocyanin ) are pretty special. By adding a base or acid, we can both change their shape and their colour! The pigments are easy to collect and the basis for two easy home experiments: Colour Changing Magic Potions and Making Litmus Paper.
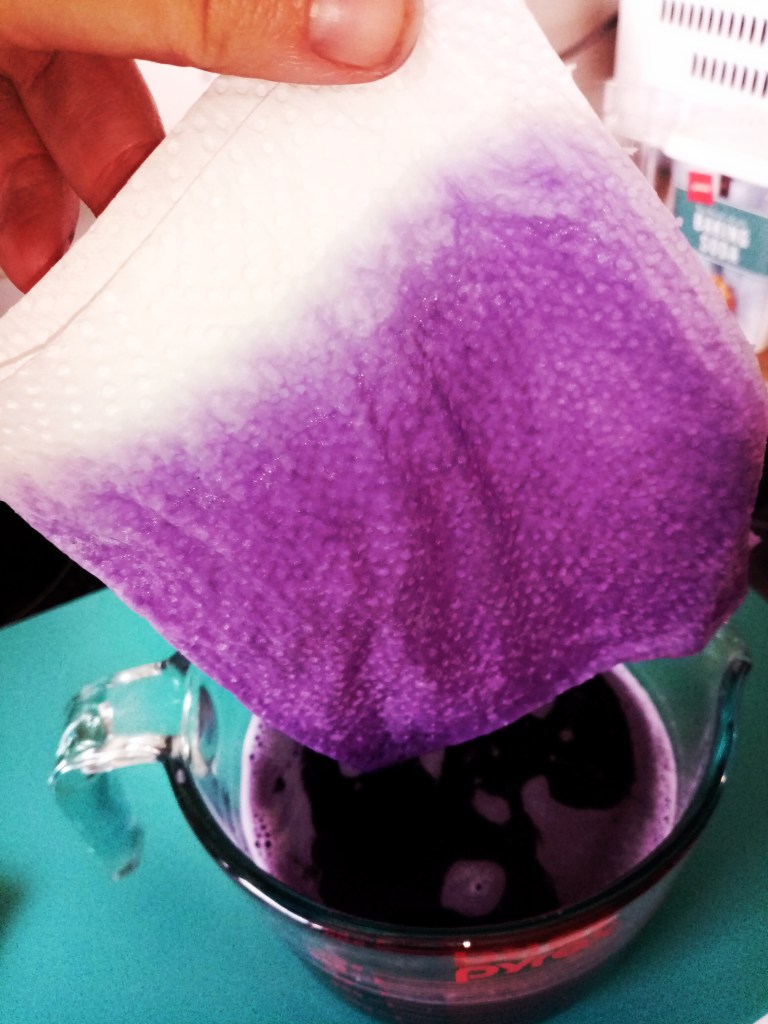
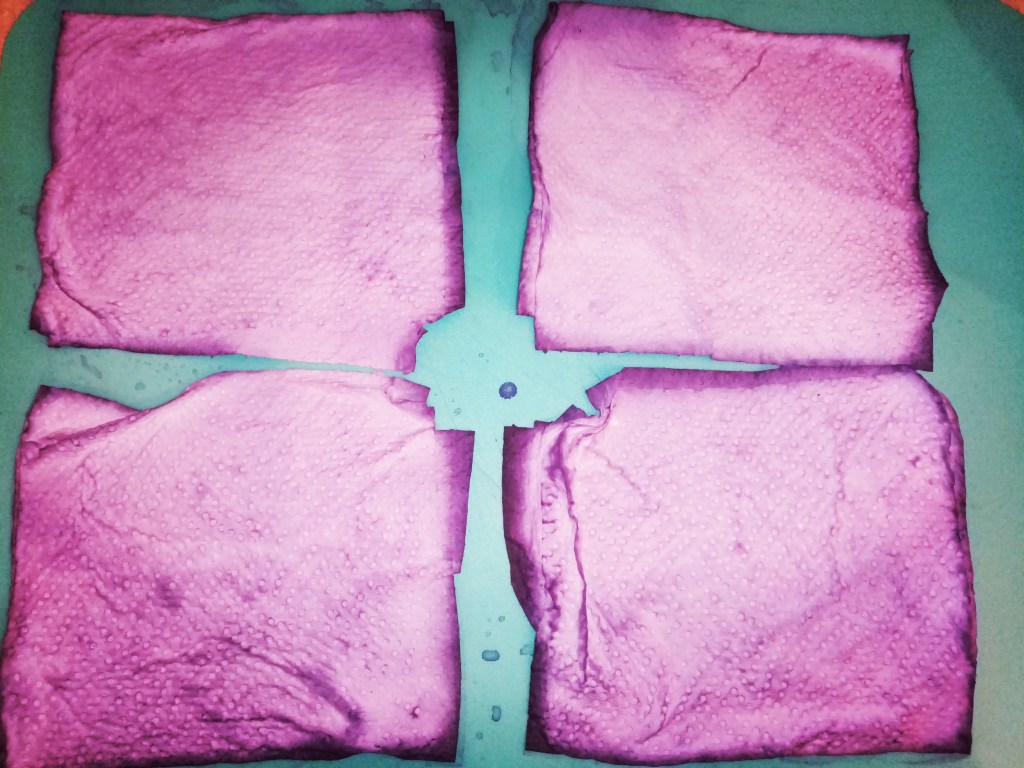
First, you will need to collect some magic molecules from a red cabbage: click here to find out how.
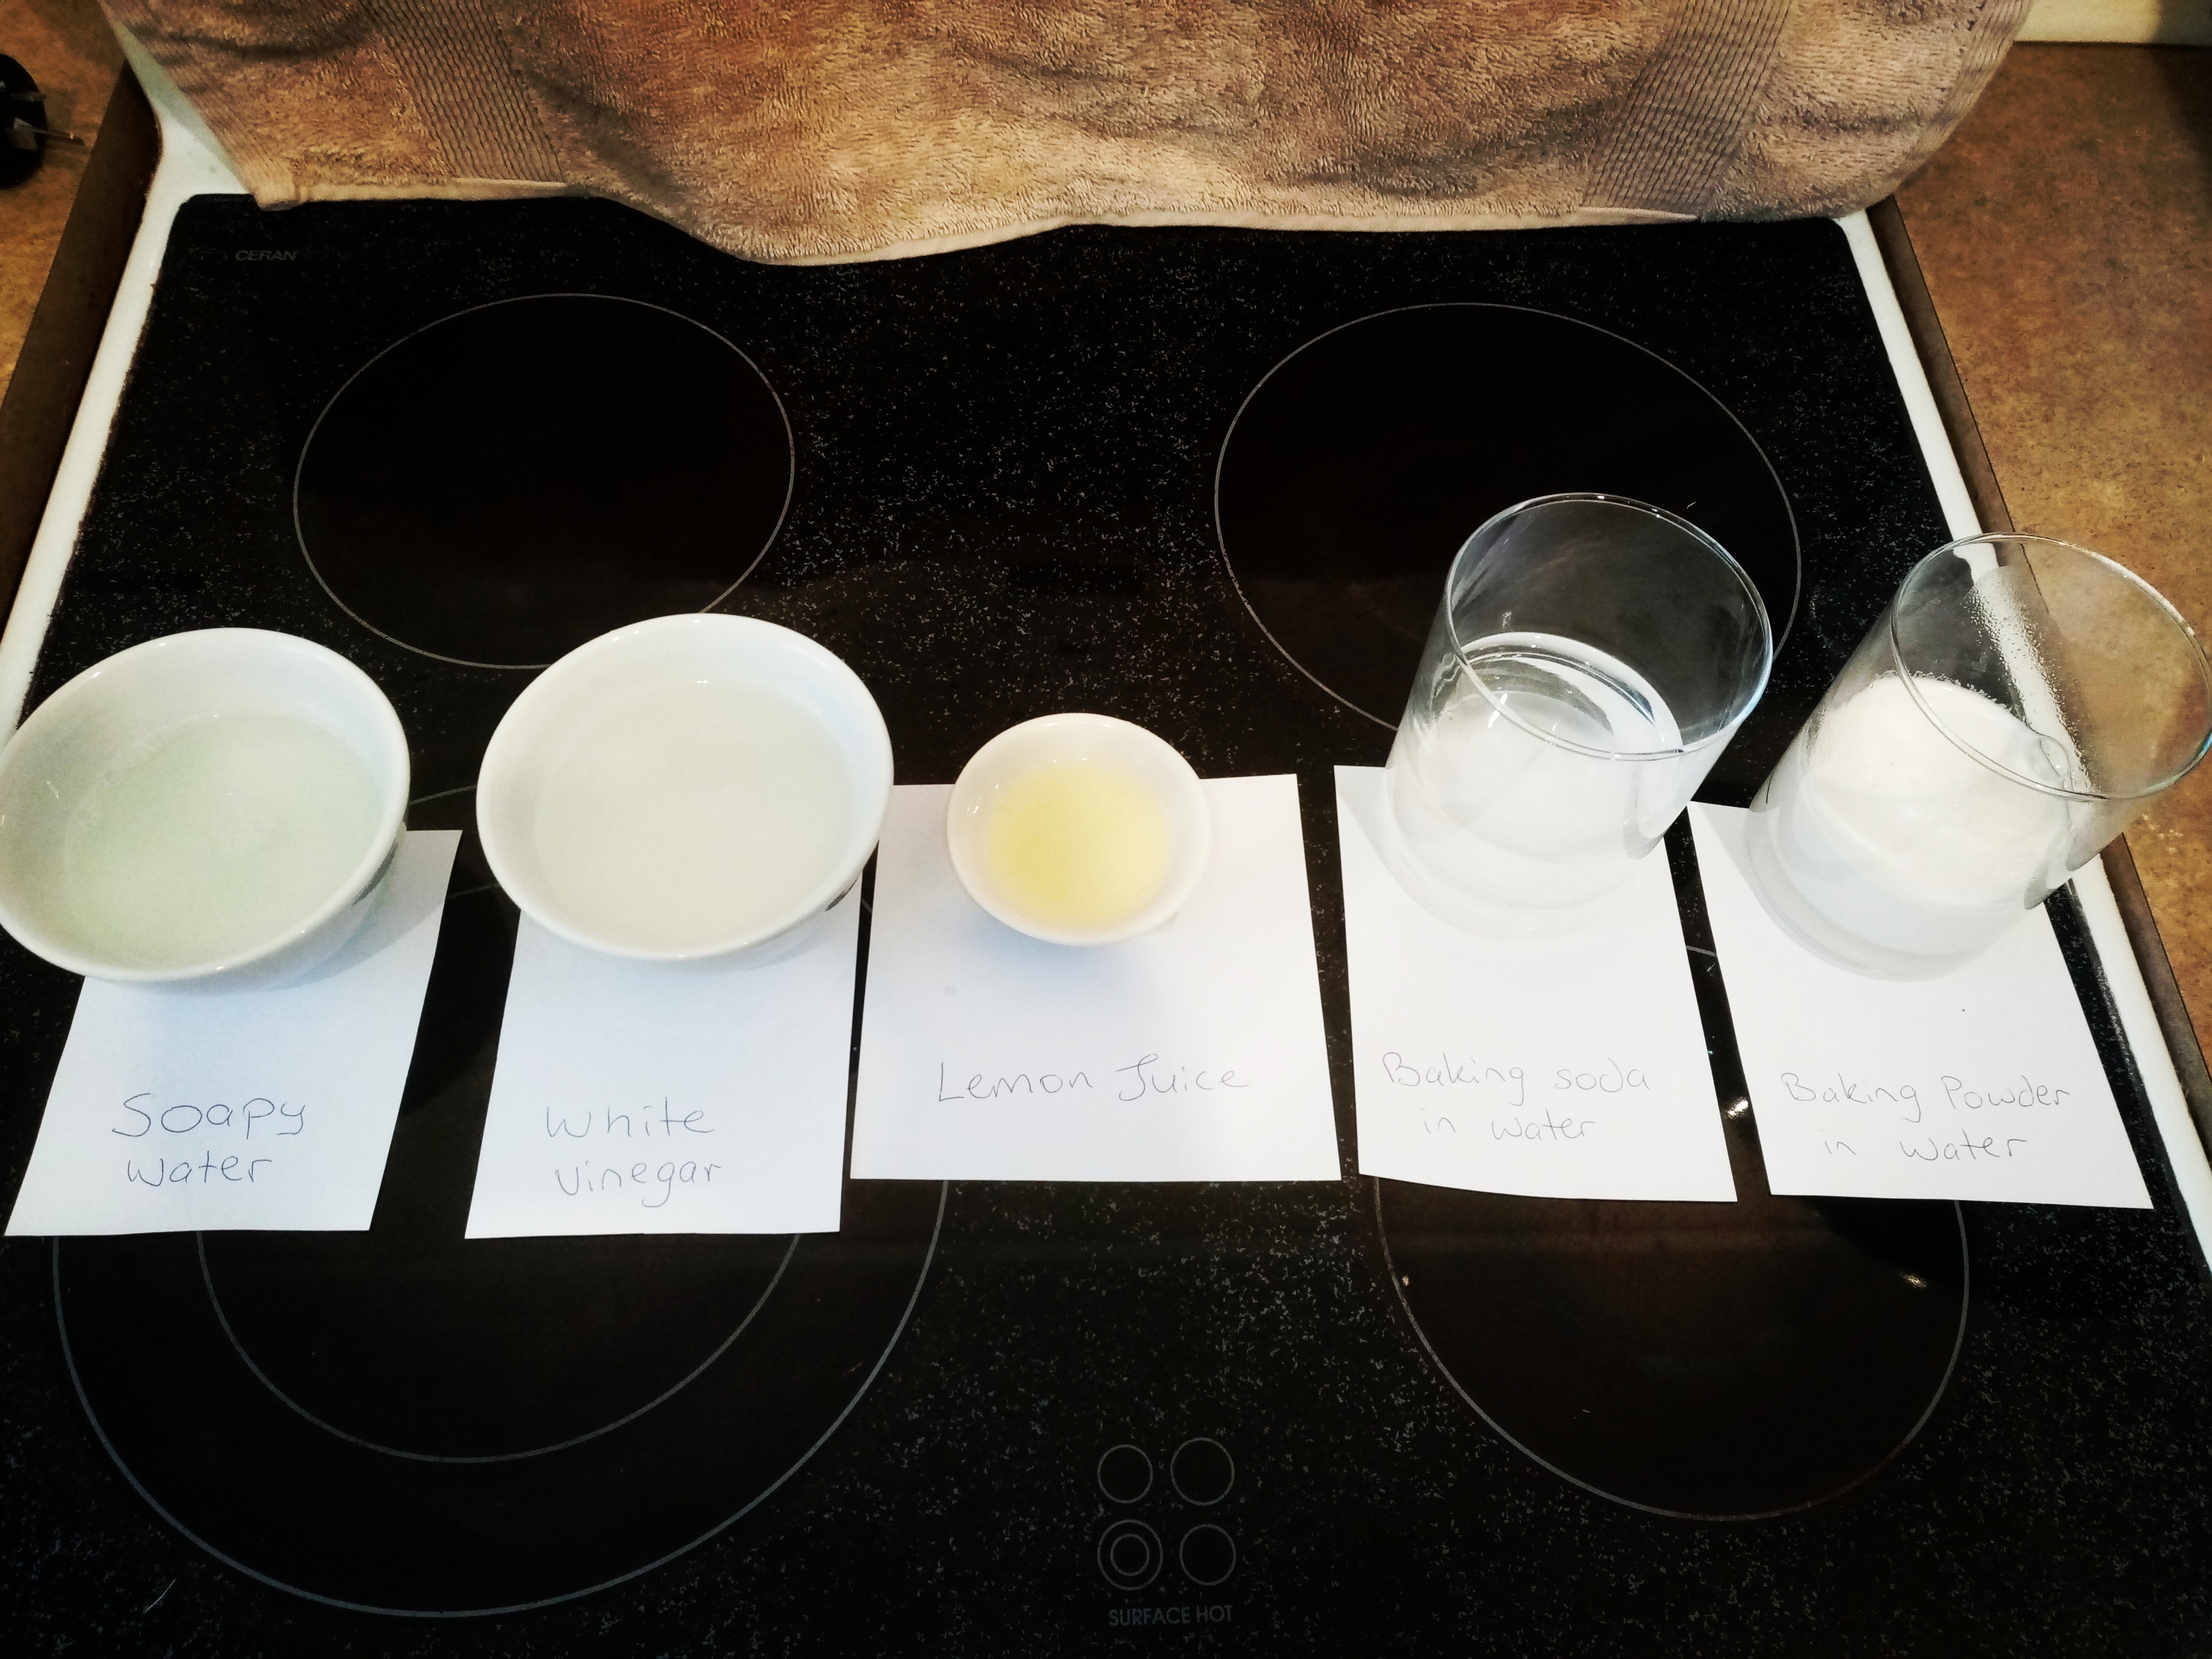
Materials
- Red cabbage juice
- 1 tsp baking soda
- 3 Tbsp white vinegar
- Clear glasses or bowls
Directions
- Pour your prepared red cabbage juice into two clear glasses or small bowls.
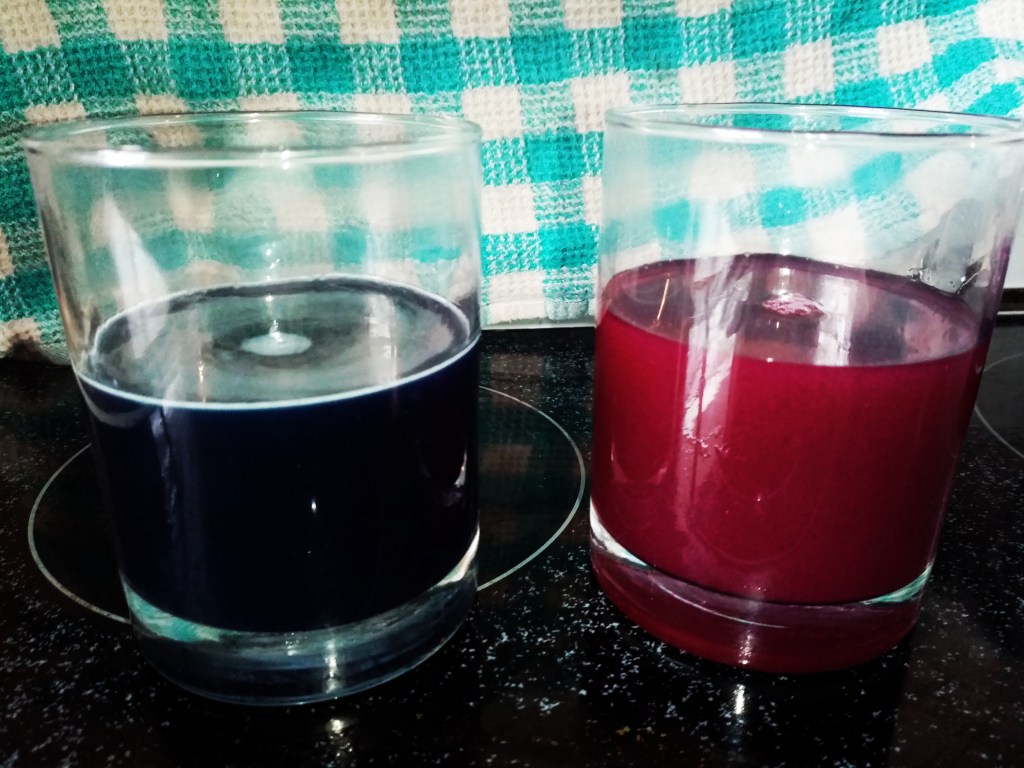
- Into one glass, stir 1 tsp of baking soda. Watch the solution turn blue – indicating that the pH has turned basic.
- Into the second glass, stir 3 Tbsp of white vinegar. Watch the solution turn red/pink – indicating that the pH has turned acidic.
- For fun, pour the glass containing vinegar into the glass containing baking soda and watch them foam! Tip: for less mess, pour both solutions into a big bowl!