Discovering Spring – Flower Press and Life Cycles Box (ExperisenseNZ review)

I love the ExperisenseNZ Life Cycles box which I purchased for $27. I was inspired by our annual Spring unit on seasonal cycles, growing food and flowers in the garden, and observing garden mini-beasts. We were thrilled to watch the hard work we had done earlier in the year, creating new wildflower beds to support our favourite pollinators, burst into colourful bloom.

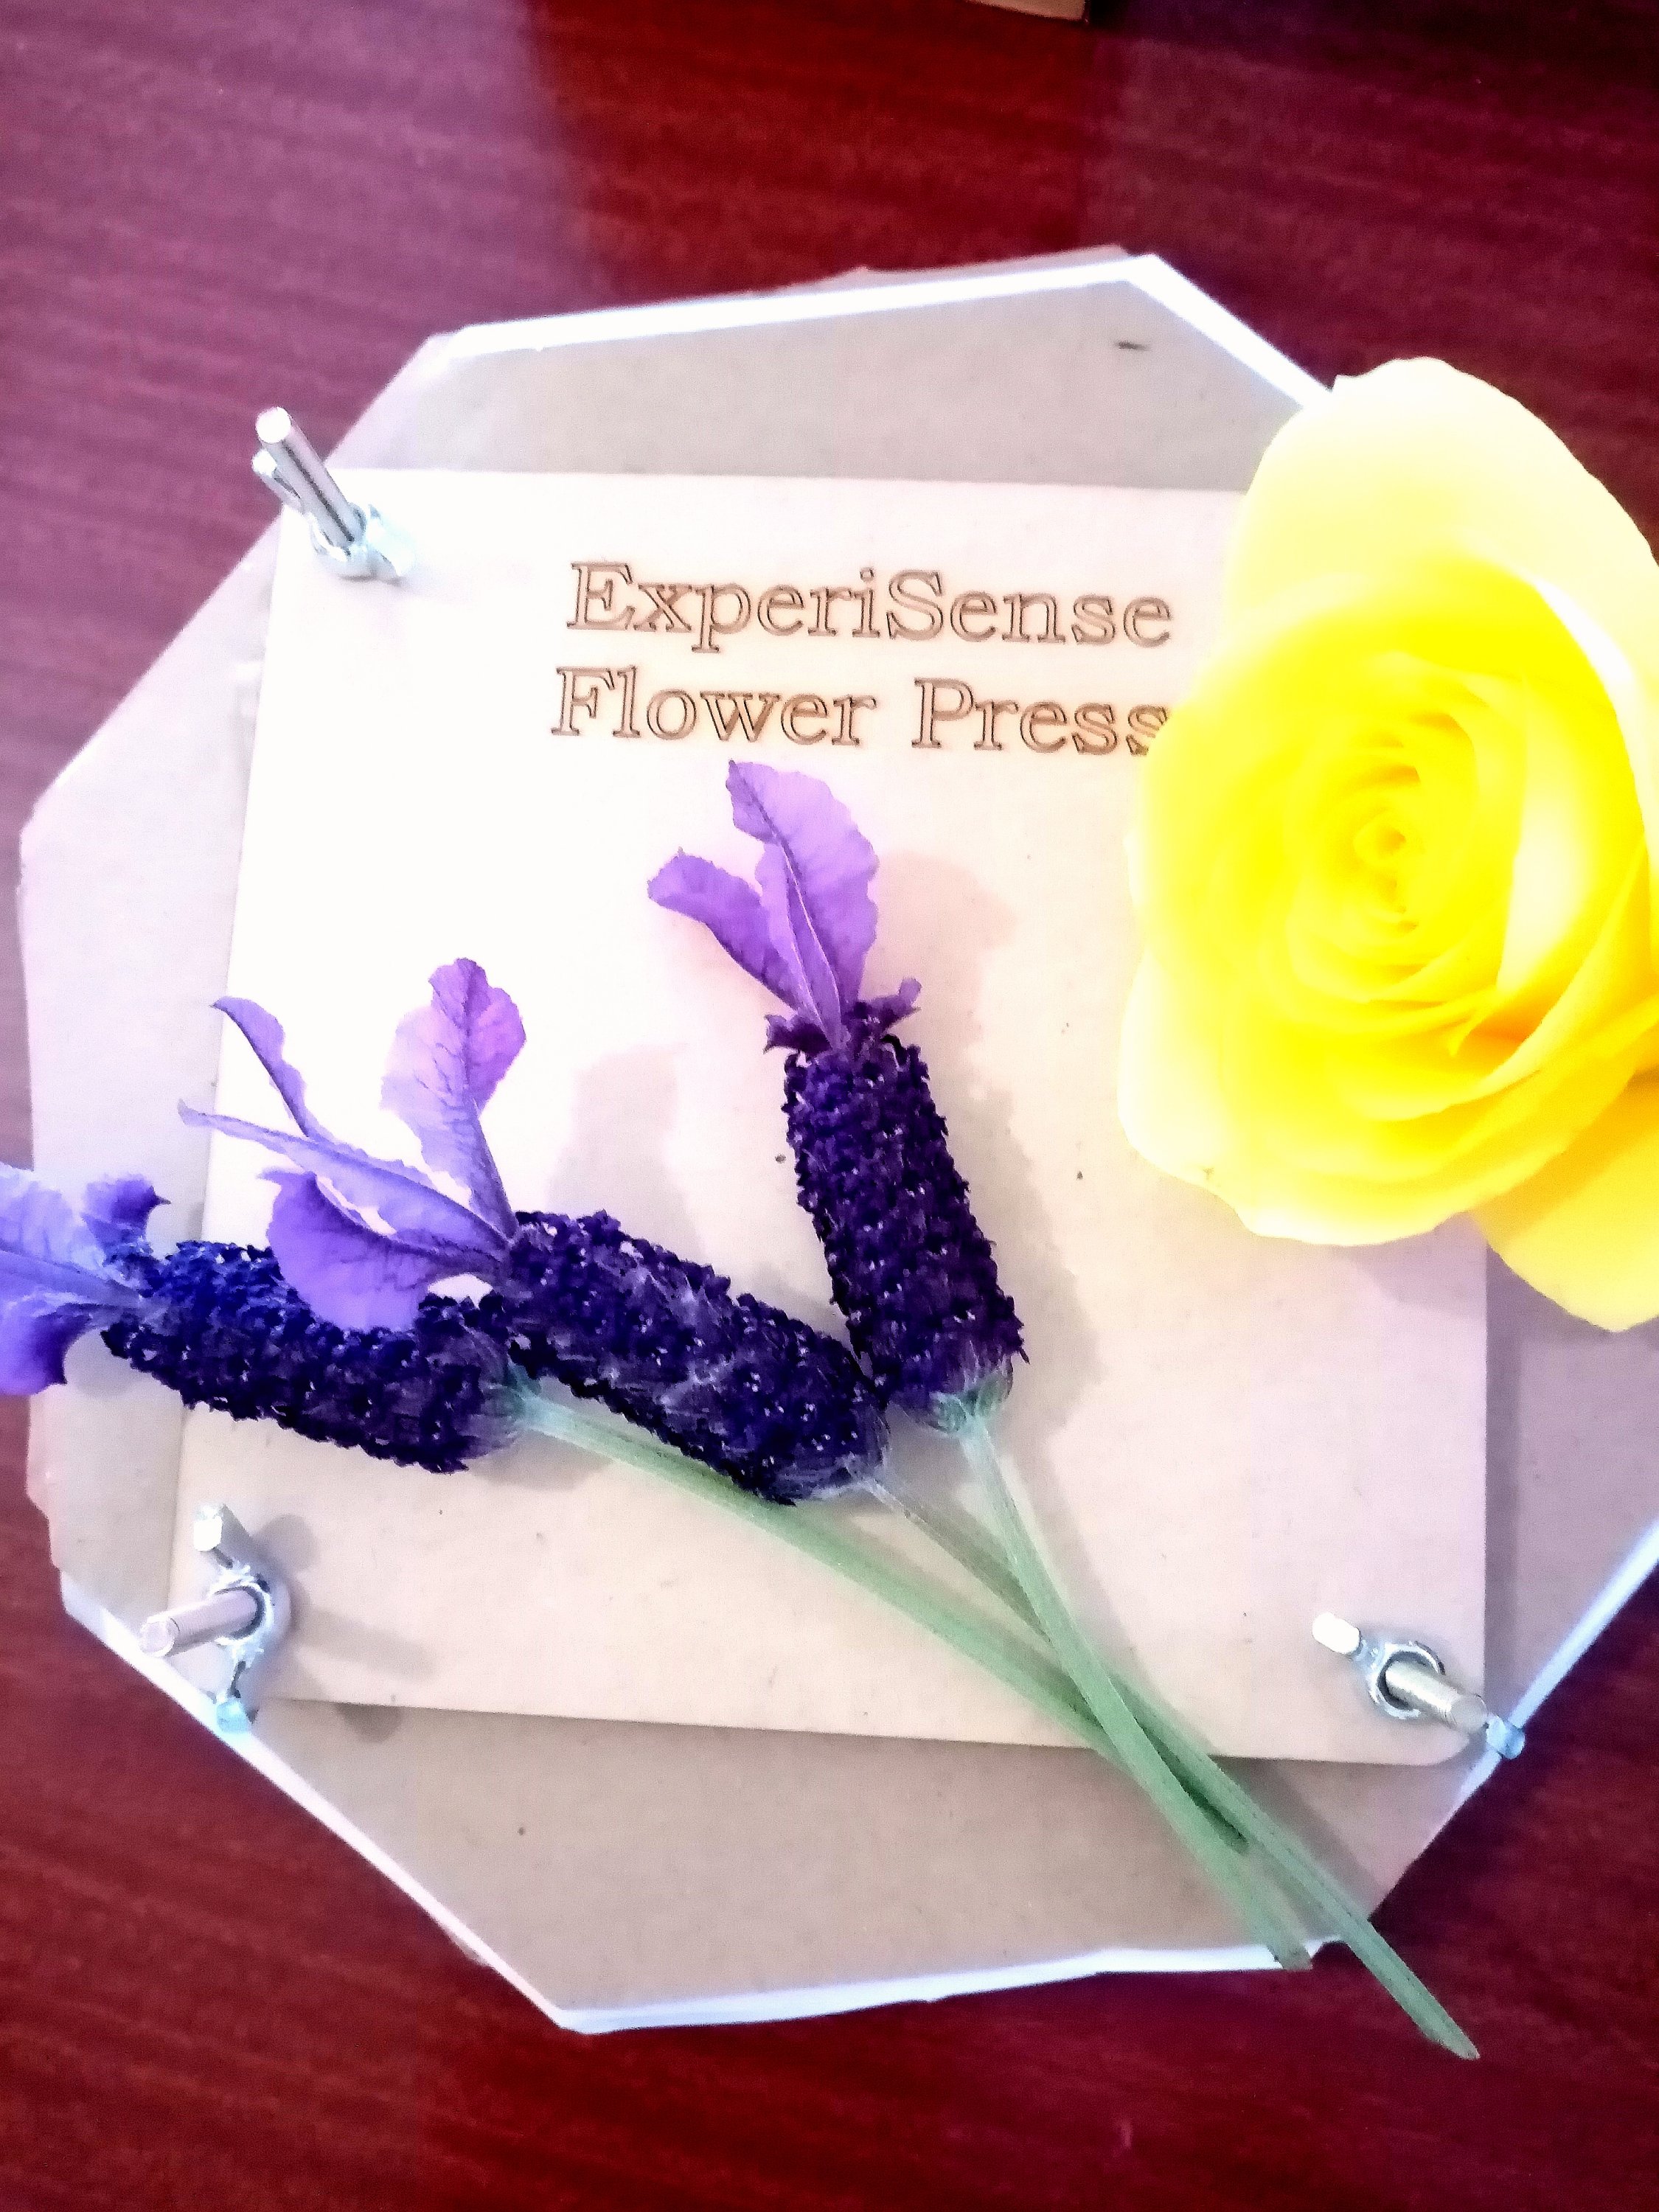
We wanted to preserve some of our flowers and were excited at the idea of buying a flower press to create seasonal art and gifts. A classic press seems to cost around $24 so I was thrilled to get the ExperisenseNZ kit which comes with a flower press and a number of additional activities.

What is the life cycle of a sunflower?
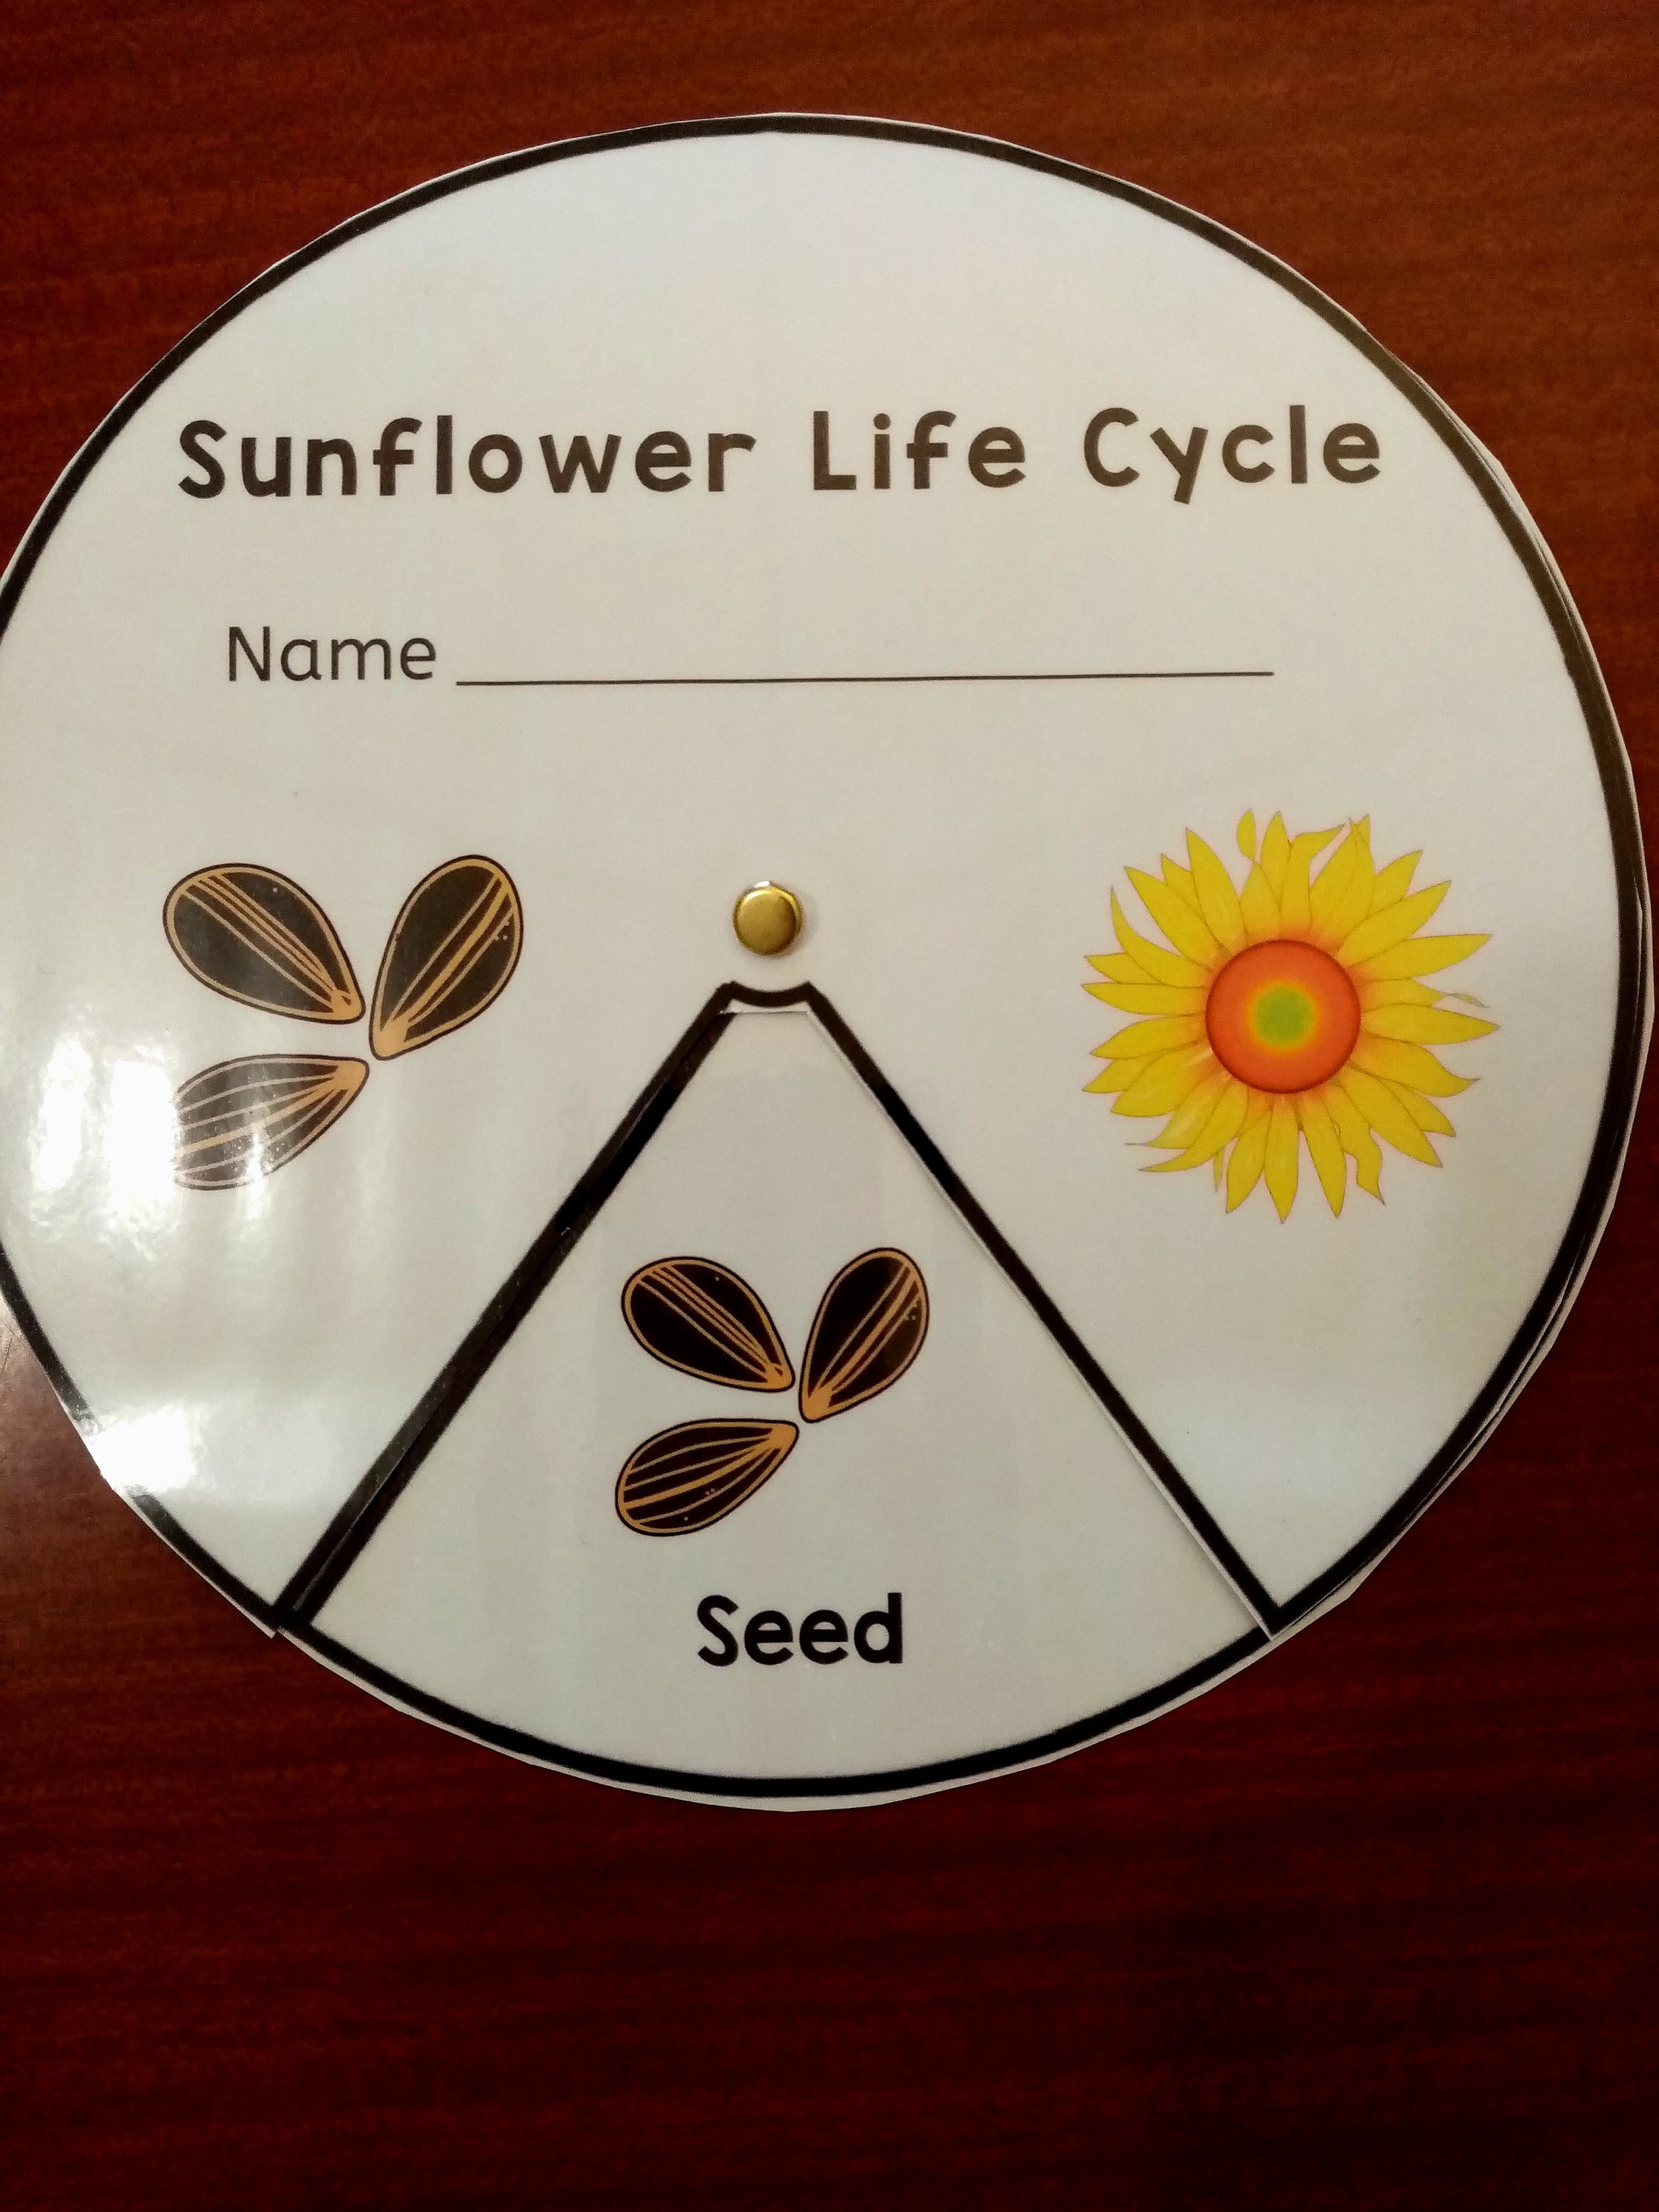
We love sunflowers with their stately and colourful beauty. It’s also fun being able to harvest their seeds; either to dry and sow again, or, to feed to the birds in Autumn.

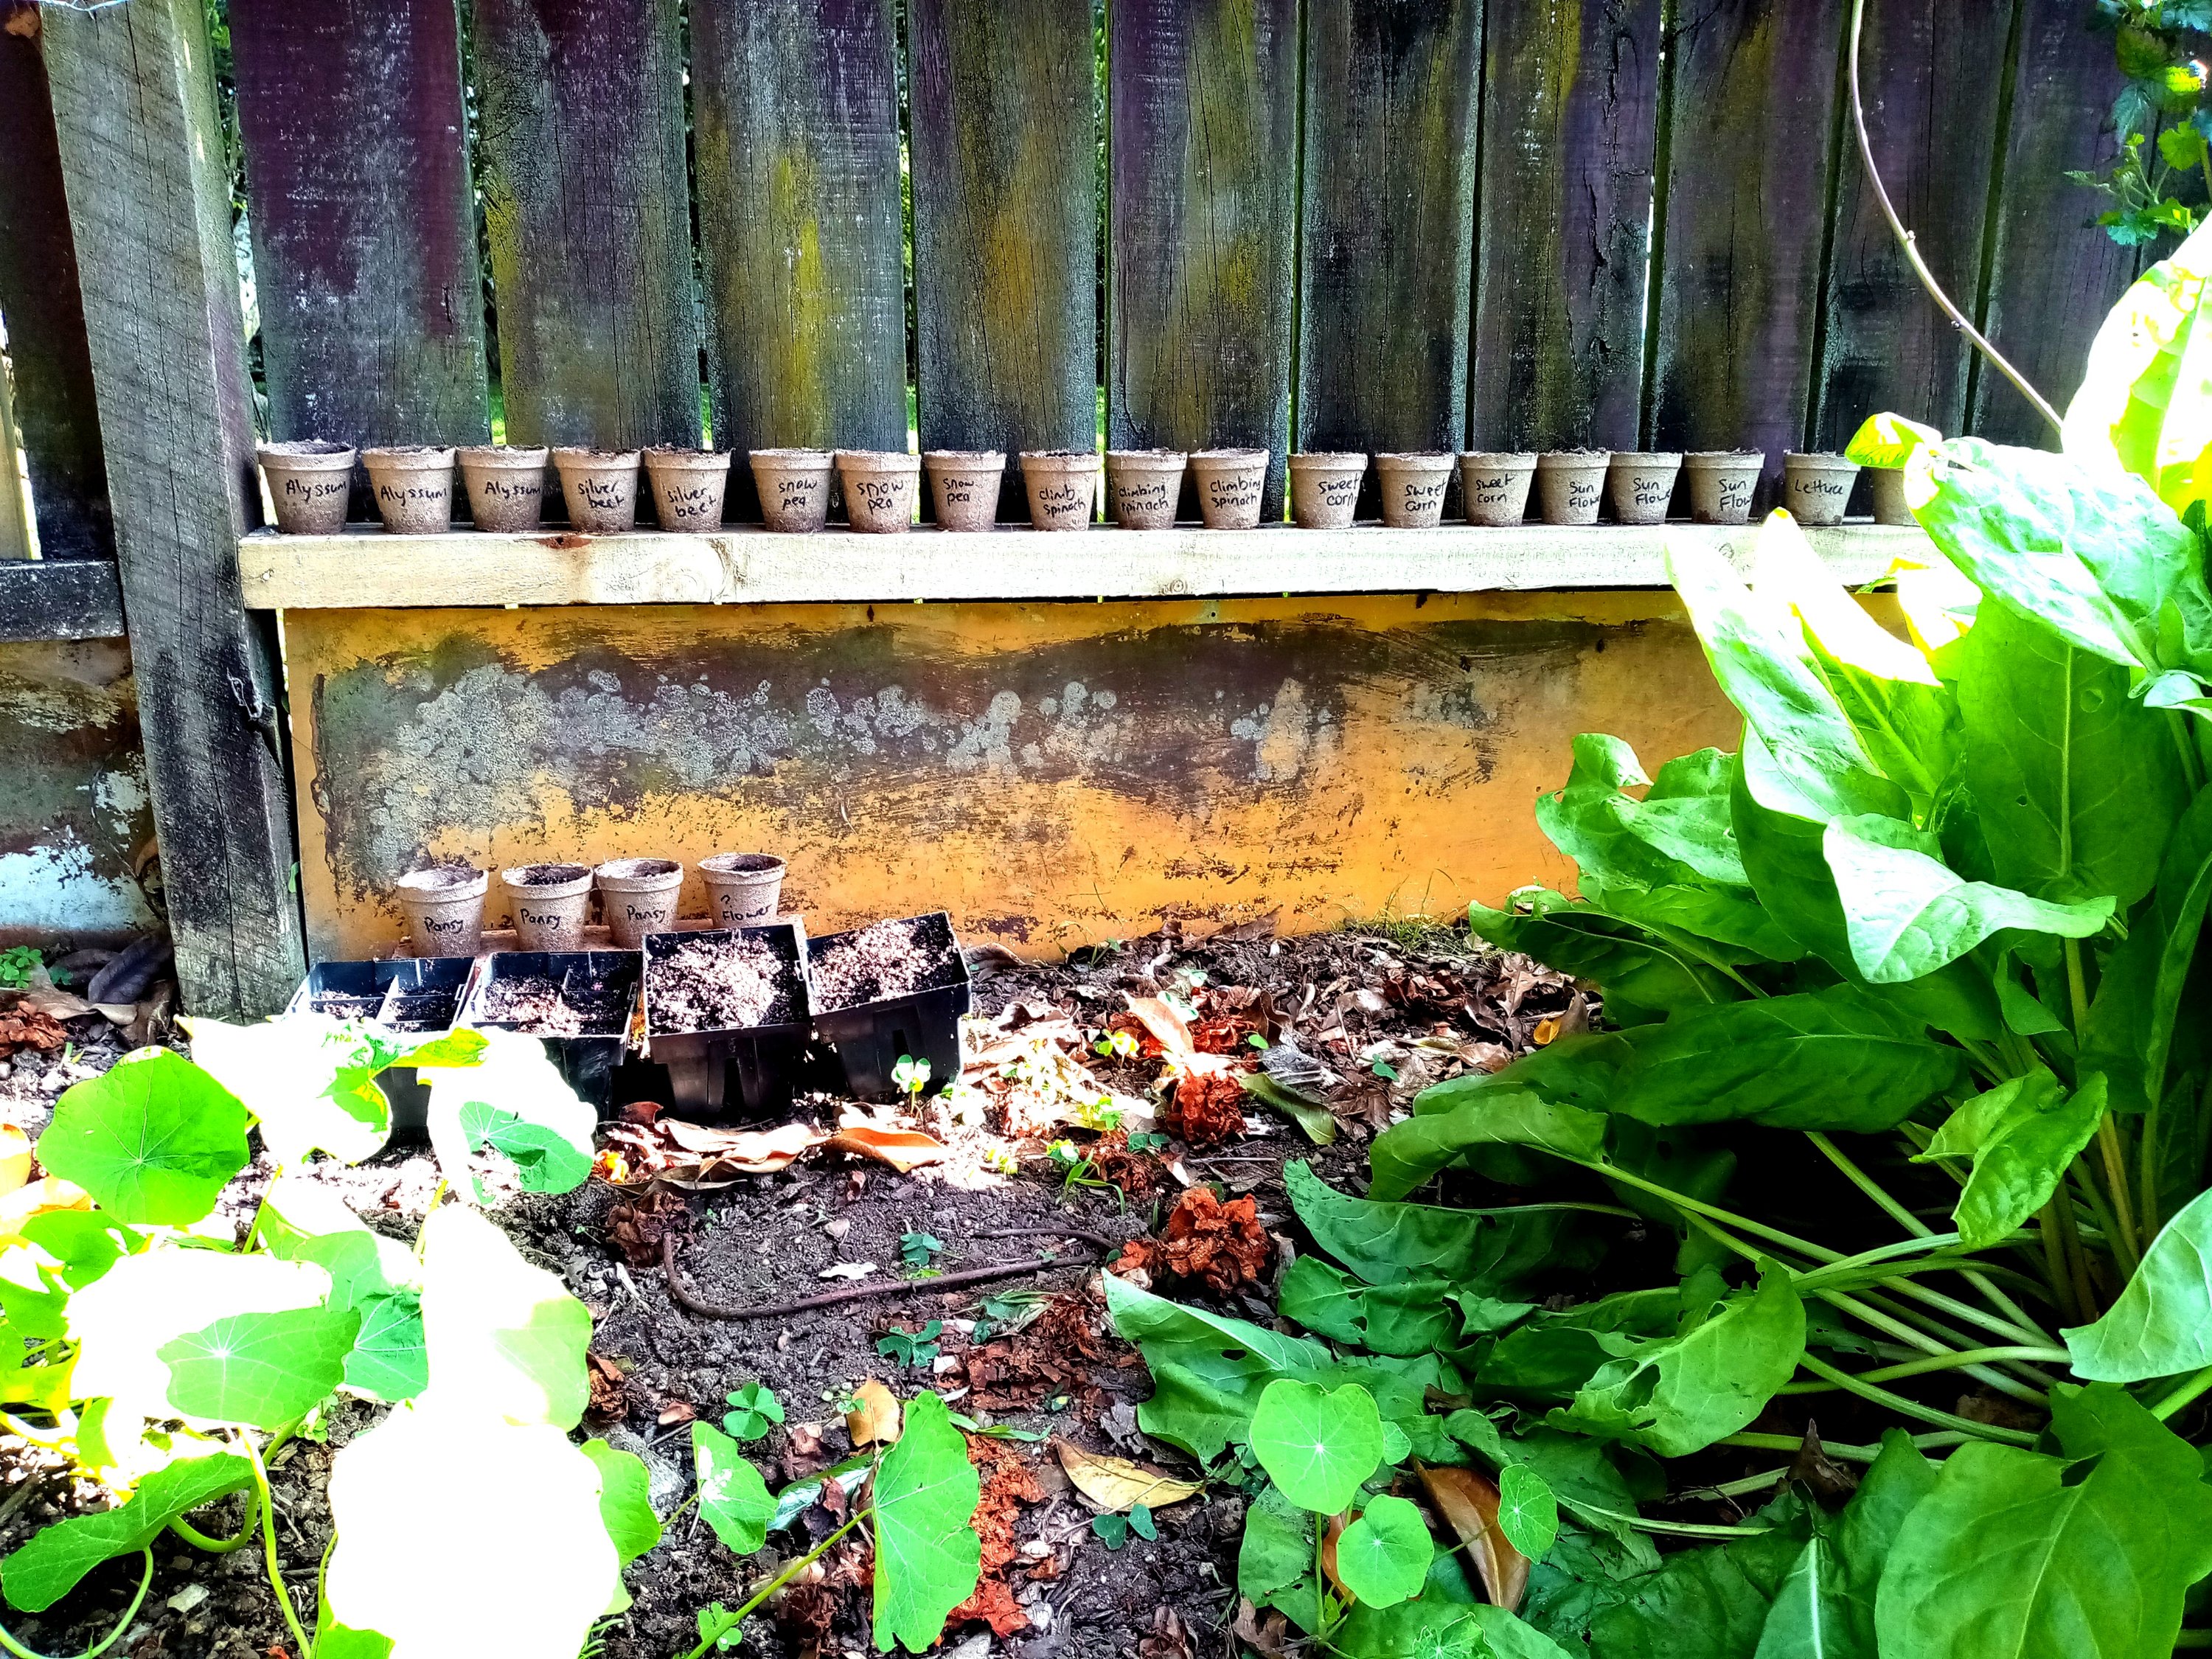
The kit comes with a laminated life cycle wheel for discussing the sunflower’s life cycle stages. It also comes with a generous amount of sunflower seeds and some compostable pots to get you started.

Tip: Seedlings make great Christmas gifts!

What is a butterfly life cycle?

We made marbled paper and then followed the instructions in the kit to make a beautiful butterfly life cycle. Our wall poster shows the stages from egg, to caterpillar, to cocoon (or pupae), to butterfly.

Tip: Spring is a great time of year to consider growing Swan Plants to watch the Monarch Butterfly life cycle in action!

What is a ladybug life cycle?

What I like about the kit including both Butterfly and Lady Bug life cycles is that the two insects look quite different to each other in their stages. They also differ in what they eat! For instance, a Monarch butterfly caterpillar will eat a huge number of milkweed leaves; whereas, a Ladybug larve will voraciously eat aphids, tiny worms, and insect eggs.

We liked the rainbow foil print on this life cycle so much that we decided to laminate it and add it to our resource collection (rather than use it for a paper plate craft).

How to press flowers
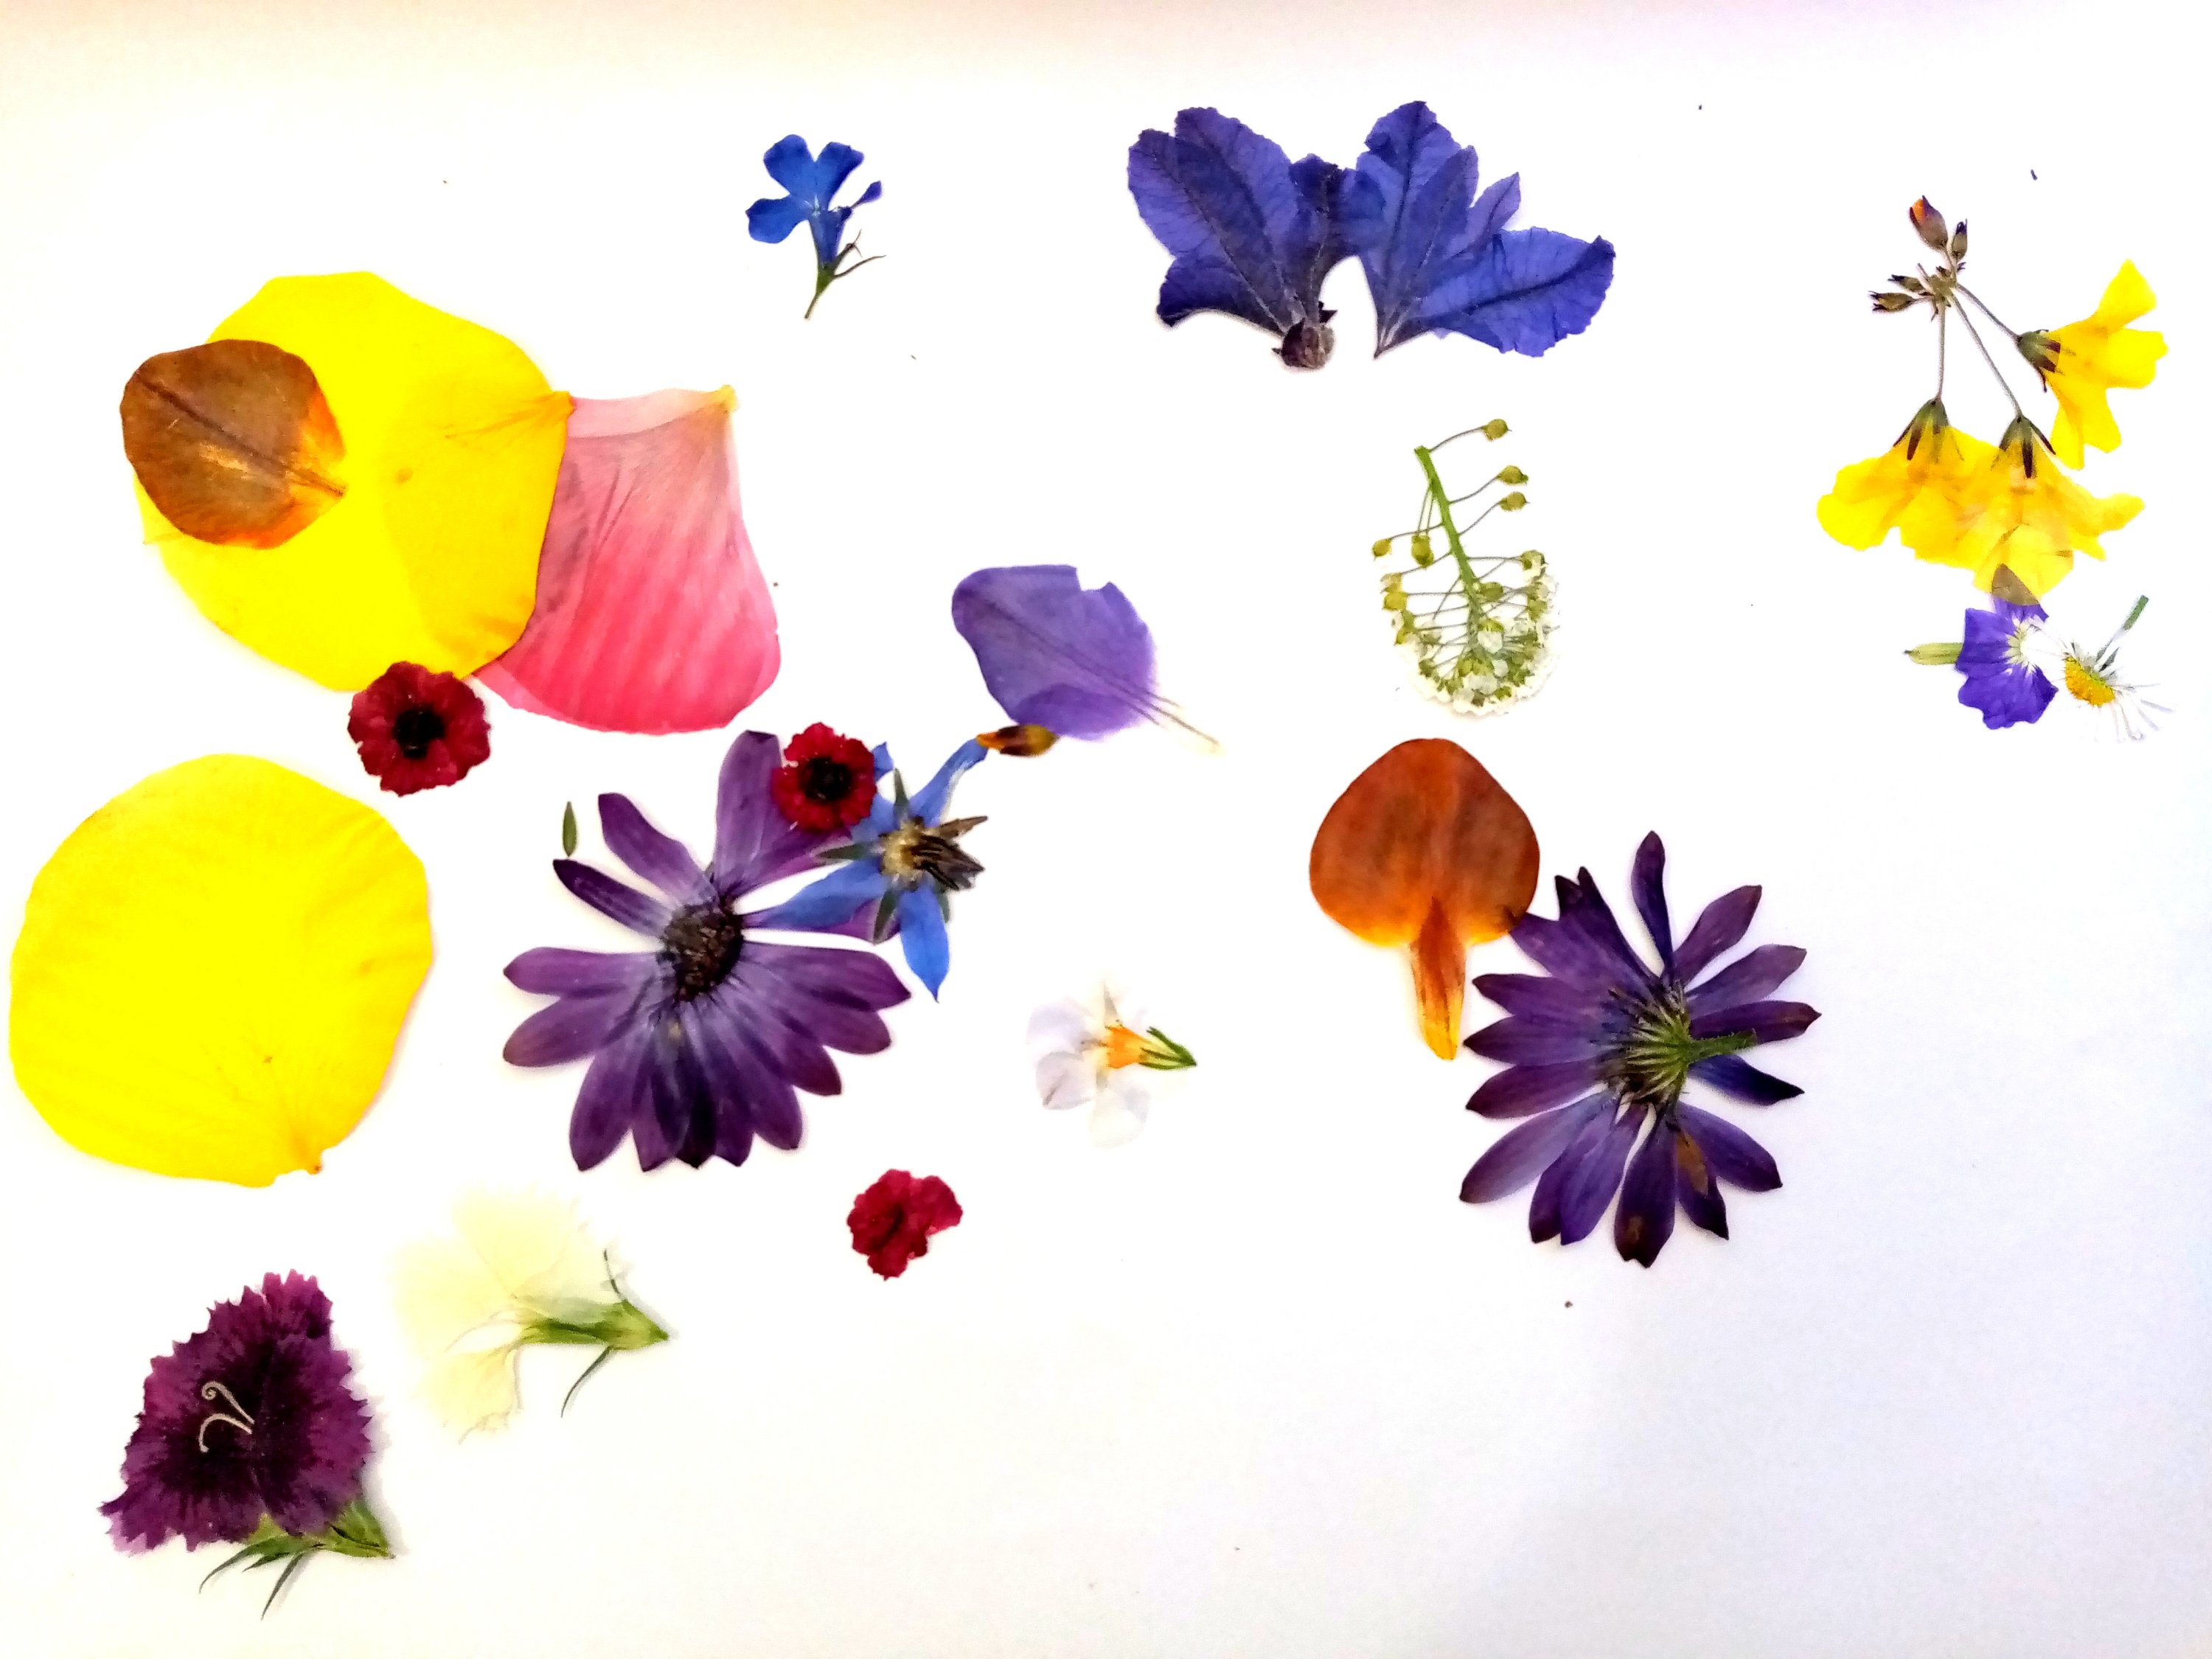
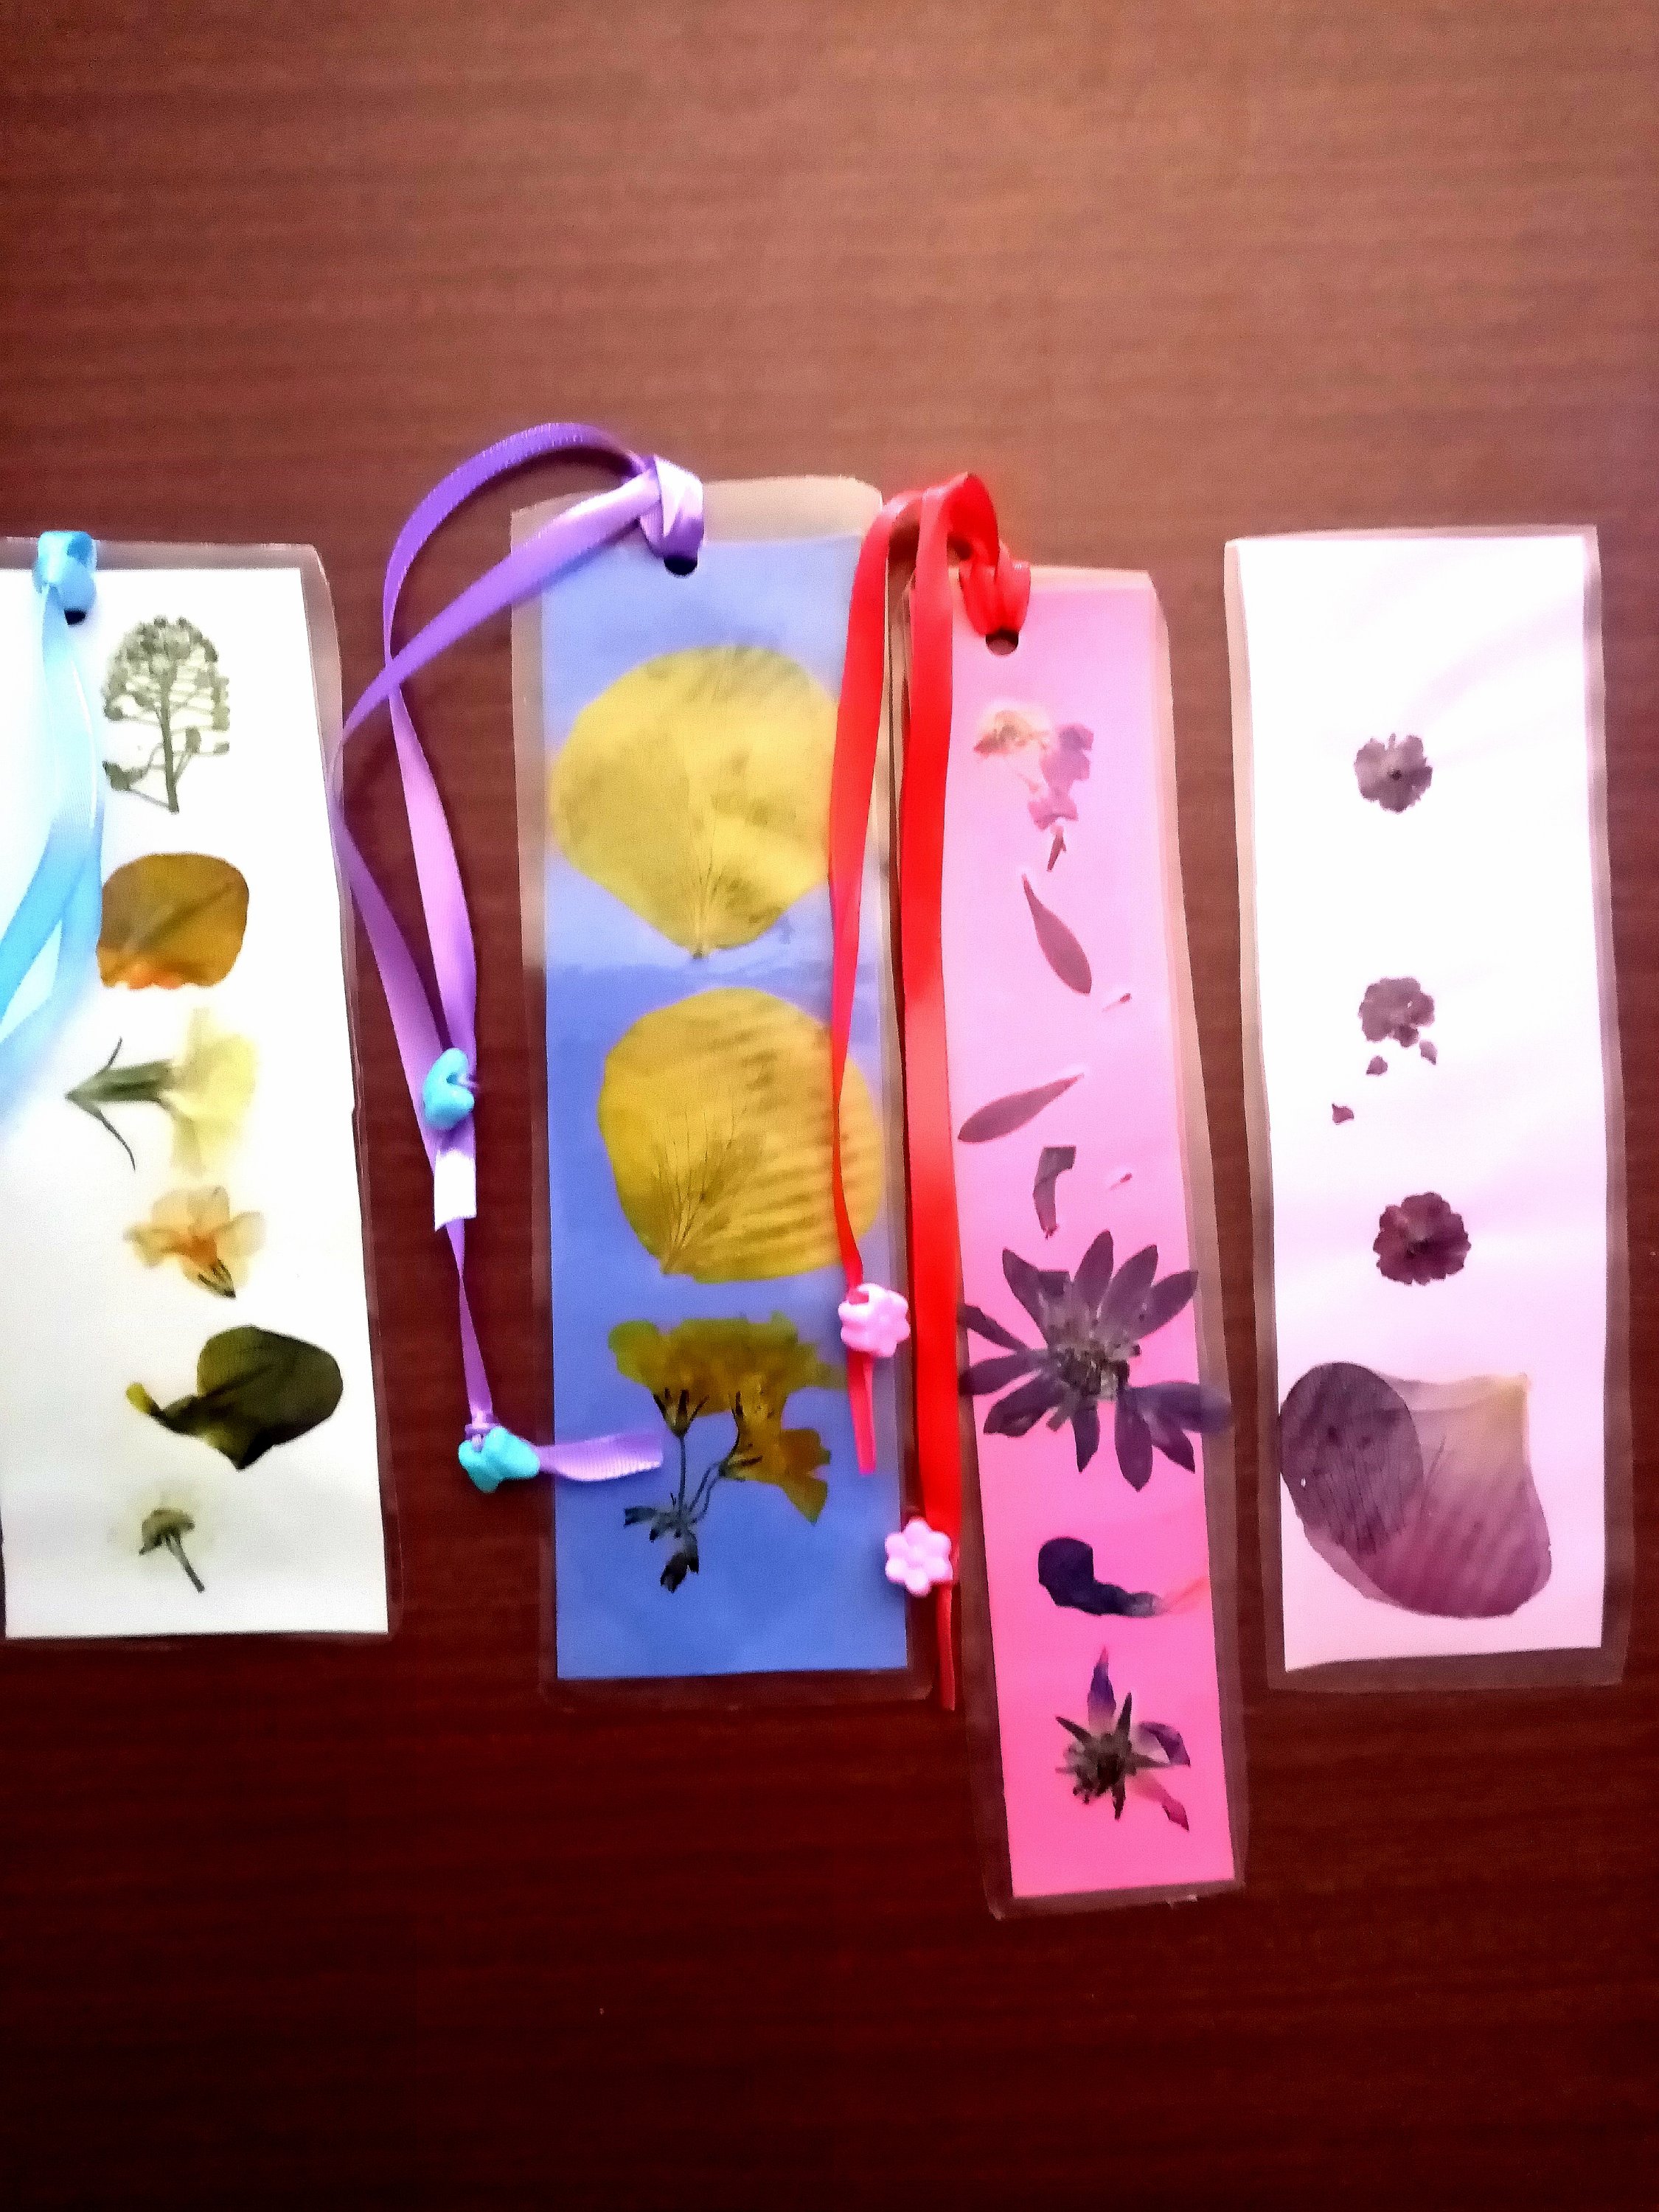
We very much enjoyed using our flower press! We used our pressed flowers to make beautiful bookmarks.

Tip: Gather a variety of flowers on a sunny dry morning. Check flowers for dewdrops (moisture will impact the drying process). Avoid flowers that are very bulky i.e. cut the tips from lavender or choose rose petals rather than a whole rose. Remember that wild flowers, like oxalis, can be as beautiful dried as garden grown.

Interested in more homeschool box reviews?

ExperisenseNZ

#1 Exploring Maths through Art

#2 Exploring Space through Art

#3 Exploring the Human Body through Art

#4 Exploring Science through Experiments

Discover the World with ATLAS Crate

#1 Introducing the World

#2 Discover Japan

#3 Discover France

Explore STEM with Kiwi Crate

#1 Arcade Box (and the Claw!)

#2 The Amazing Animation Box (make your own 19th century movie with a Zoetrope!)

#3 The Mechanical Sweeper Box (make your own baleen whale!)

#4 The Disc Launchers Box (play games with physics!)

#5 Kaleidoscope Puzzles (explore symmetry and mirrors!)

Christmas gifts: How to make pressed flower bookmarks

Pressed flowers are a wonderful way of making gifts from the heart. They are also a wonderfully creative way for children to make personalised Christmas, birthday, or thank you gifts for friends, families, and teachers.

Materials

  • Flower Press
  • Fresh flowers to press
  • Coloured card
  • Glue stick
  • Laminator and laminating pouch
  • Hole punch, ribbons, beads

Tip: For extra fun, think about making your own beautiful marbled paper for the bookmarks!

Directions

  1. Gather a variety of flowers on a sunny dry morning. Check flowers for dewdrops (moisture will impact the drying process). Avoid flowers that are very bulky i.e. cut the tips from lavender or choose rose petals rather than a whole rose. Remember that wild flowers, like oxalis, can be as beautiful dried as garden grown.
  2. Follow the instructions with your flower press to layer flowers between the drying sheets and screw the press tightly shut. I like to store mine in the hot water cupboard to help the drying process (which can up to two weeks).
  3. Gently take the layers of the flower press apart and carefully remove the dried flowers. I like to lay them on a flat wooden tray. We use gentle hands but you may want to use tweezers.
  4. Cut coloured carboard or cardstock to your desired size; we like to have a variety of colours to choose from.
  5. Enjoy the creative process of arranging the flowers!
  6. Once you have decided on your arrangement, you will need to fix the flowers in place. If you are going to use a laminator (as we did) then all you need is a glue stick – a gentle glue is all that’s needed as it’s simply to keep the flowers in place while the laminator pouch feeds through the laminator. Alternatively, use a strong fast-drying craft glue that will dry clear.
  7. We arranged several bookmarks in each laminating pouch and then fed each A4 pouch through the laminator. This helps to protect the delicate dried flowers (and preserve them from future moisture).
  8. We then cut the completed laminated sheets to size. We liked some of the bookmarks plain; with others, we cut holes with the holepunch, threaded through ribbons, and tied beads to the end.

Christmas Gifts: Growing Seedlings

‘Tis the season for thinking about Christmas gifts and parents often ask about personalised gifts for teachers and family. Why not tie in the ‘season for giving’ with talking about the seasons of nature! Different plants grow at different times of the year so there are fun options for kids to grow anywhere in the world.

Seeds are easy and cheap to grow; we’ve done everything from windowsill growing, to pots, to scatter sowing wildflowers in a specially prepared patch of ground. They’re a wonderful way to teach children about plant life cycles and the rhythms of nature. Kids love to watch seeds slowly germinate and sprout into seedlings; it’s also a very apt way to teach children about the value of patience and that some things simply cannot be rushed! If you’re growing a vegetable, it also provides them an opportunity to harvest, prepare, and eat something that they’ve grown themselves.

When choosing plants to grow with children, you may want to select those with larger seeds for easier handling. These include vegetables like pumpkin, sugar snap peas, watermelon, sweetcorn; and flowers like sunflowers, sweet pea flowers, and nasturtiums. There are also many wonderful plants with smaller seeds. You may want to include vegetables like lettuce, spinach, silverbeet, and tomatoes; flowers like alyssum, pansies, poppies, and borage.

If you’re growing as a gift, why not plant the seedling in a terracotta pot decorated with paint or permanent marker. If you’re growing in the garden, remember that you will need to attract pollinators to help plants like tomatoes bear fruit. How bees see colour differs to human so yellow, blue, and purple flowers will work best for helping bring bees to your garden. Many garden stores will also sell wildflower mixes that will bring both bees and butterflies to your garden – as well as creating a gorgeous array of colour!

Featuring a great Autumn vegetable: What’s a choko (chayote)?

I grew up thinking chokos were some kind of wild New Zealand native – simply because I have fond memories of going for long winter walks with my Mum in the local park. We’d gather chokos from wild vines, pick up pine cones to paint, and kick oak leaves. In retrospect, that park didn’t have much in the way of NZ natives!

Note: In the wild, make sure that you don’t confuse chokos with Moth Plant – a noxious weed that grows in New Zealand and definitely should not be eaten. Check out this online information pamphlet from Auckland Council.

What is a choko?

The choko (or cheyote) actually originates from Mesomerica (i.e. Mexico, Costa Rica, Honduras) but has been established in Australia and New Zealand for decades. It’s a member of the gourd family, Cucurbitaceae, which means it’s related to foods like cucumber, squash, and melon. Personally, I think it tastes a bit like a cross between a zucchini and cucumber but it’s commonly referred to as a pear squash. It’s a useful vegetable to try as it has loads of Vitamin C, amino acids, and fibre. It’s also low in natural food chemicals (amines, salicylates, and glutamates) which makes it suitable for sensitive guts, and those following a RPAH Failsafe diet (often useful for allergy sufferers).

Tip: This is a great food if you’re pregnant! It naturally contains folate, as well as many other vitamins; is easy to mix into meals, and the fibre can help with pesky constipation!

Note: Other names for choko include – chayote, sayote, labu siam, seemai kathrikai, Buddha’s Hand Melon, lóng xü.cài, ishkus, इस्कुस, স্কোয়াশ, Bangalore brinjal, chou chou, pipinola.

How do I cook choko?

It’s a really versatile vegetable! Miss 2 loves it in apple pie style Choko Pikelets.

  • It makes a great (neutral) filler in jams and chutneys.
  • It can be stewed and made into fruit crumble.
  • Boil or steam then serve with butter and salt.
  • Slice thinly into noodles, cook, and serve with ragu for a paleo meal.
  • Bake with roast vegetables.
  • Add to curries, stews, and soups.
  • Bread it and fry.
  • Bake it with a cheese sauce.
  • Thinly grate it and mix with pork to make Chinese dumplings, sausage rolls, or meatballs.
  • Young leaves can be used in salads and stir fries.
  • The root or tubers can be used just like a potato!

Tip: Peel the chokos under a stream of running water or wear gloves as the older chokos tend to have a sticky sap just under the skin which can irritate some hands. The smaller ones don’t seem to have this problem and you can cook them and eat them with the skin on.

Tip: Remove and discard the pithy core.

Note: Although I call this a winter vegetable, in New Zealand it tends to be available April-June. If your local supermarket doesn’t stock it, try Fruit & Vegetable stores or the local Chinese supermarket. It actually prefers warm climates but hot nights slow it flowering; in parts of Australia it’s available year round.

How can I grow choko?

I asked around a few garden stores and none of them carry it. Never fear, the easiest way to grow your own choko is to simply buy a healthy, fresh, firm and green choko while they’re in season. Leave it in a dark, well ventilated, space until it sprouts. Once the sprouts are about 7cm long, take it outside and plant it in a sunny spot. They are a climbing vine so against a fence or netting is ideal. You will need to wait until frosts have finished (so in some climates, plant in Spring).

They grow prolifically once they’re established so you’ll probably only need one vine per household.  Apparently they make great chicken feed so you may want a spare vine for the chooks!

In New Zealand, where they can often only be purchased until June, you will need to nurse these inside until late Spring. They will take a while to sprout anyway and then you can keep them in a pot on the windowsill until they’re a bit bigger and hardier. They will start to flower in the summer and can be harvested in Autumn.

For more information on growing them, check out this great post from Lady Rain.

Companion planting in the garden

companion-planting

Growing vegetables can not only be cost effective but it’s also a great way to involve kids in garden-to-table cooking. They can feel a real sense of accomplishment in growing and cooking something. My toddler (like so many others) goes through odd phases with vegetables. Sometimes the only vegetable she’ll reliably eat is dried seaweed, or peas and corn, or one month it was cucumber and another it was broccoli.

She does, however, have a distinct interest in eating anything she can pick from the garden herself – strawberries, sun-warmed tomatoes, sorrel, peas-in-a-pod, harvesting baby potatoes. We only a small raised square bed but I try to always have something in there (with some plants being more successful than others).

Companion planting is a great way of making the best use of your space and working out what plants are happiest co-habitating. I can only assume that tomatoes and potatoes are not happy flatting together – not only because of this eye-catching infographic but because my potatoes flourished below-ground while the tomato plants dies above-ground.

How to have fresh basil cheaply in the kitchen

I’ve tried multiple times to grow basil in the garden with visions of making my own pesto. My problem every time is that the snails think it is delicious and voraciously eat them before my culinary visions can come to pass.
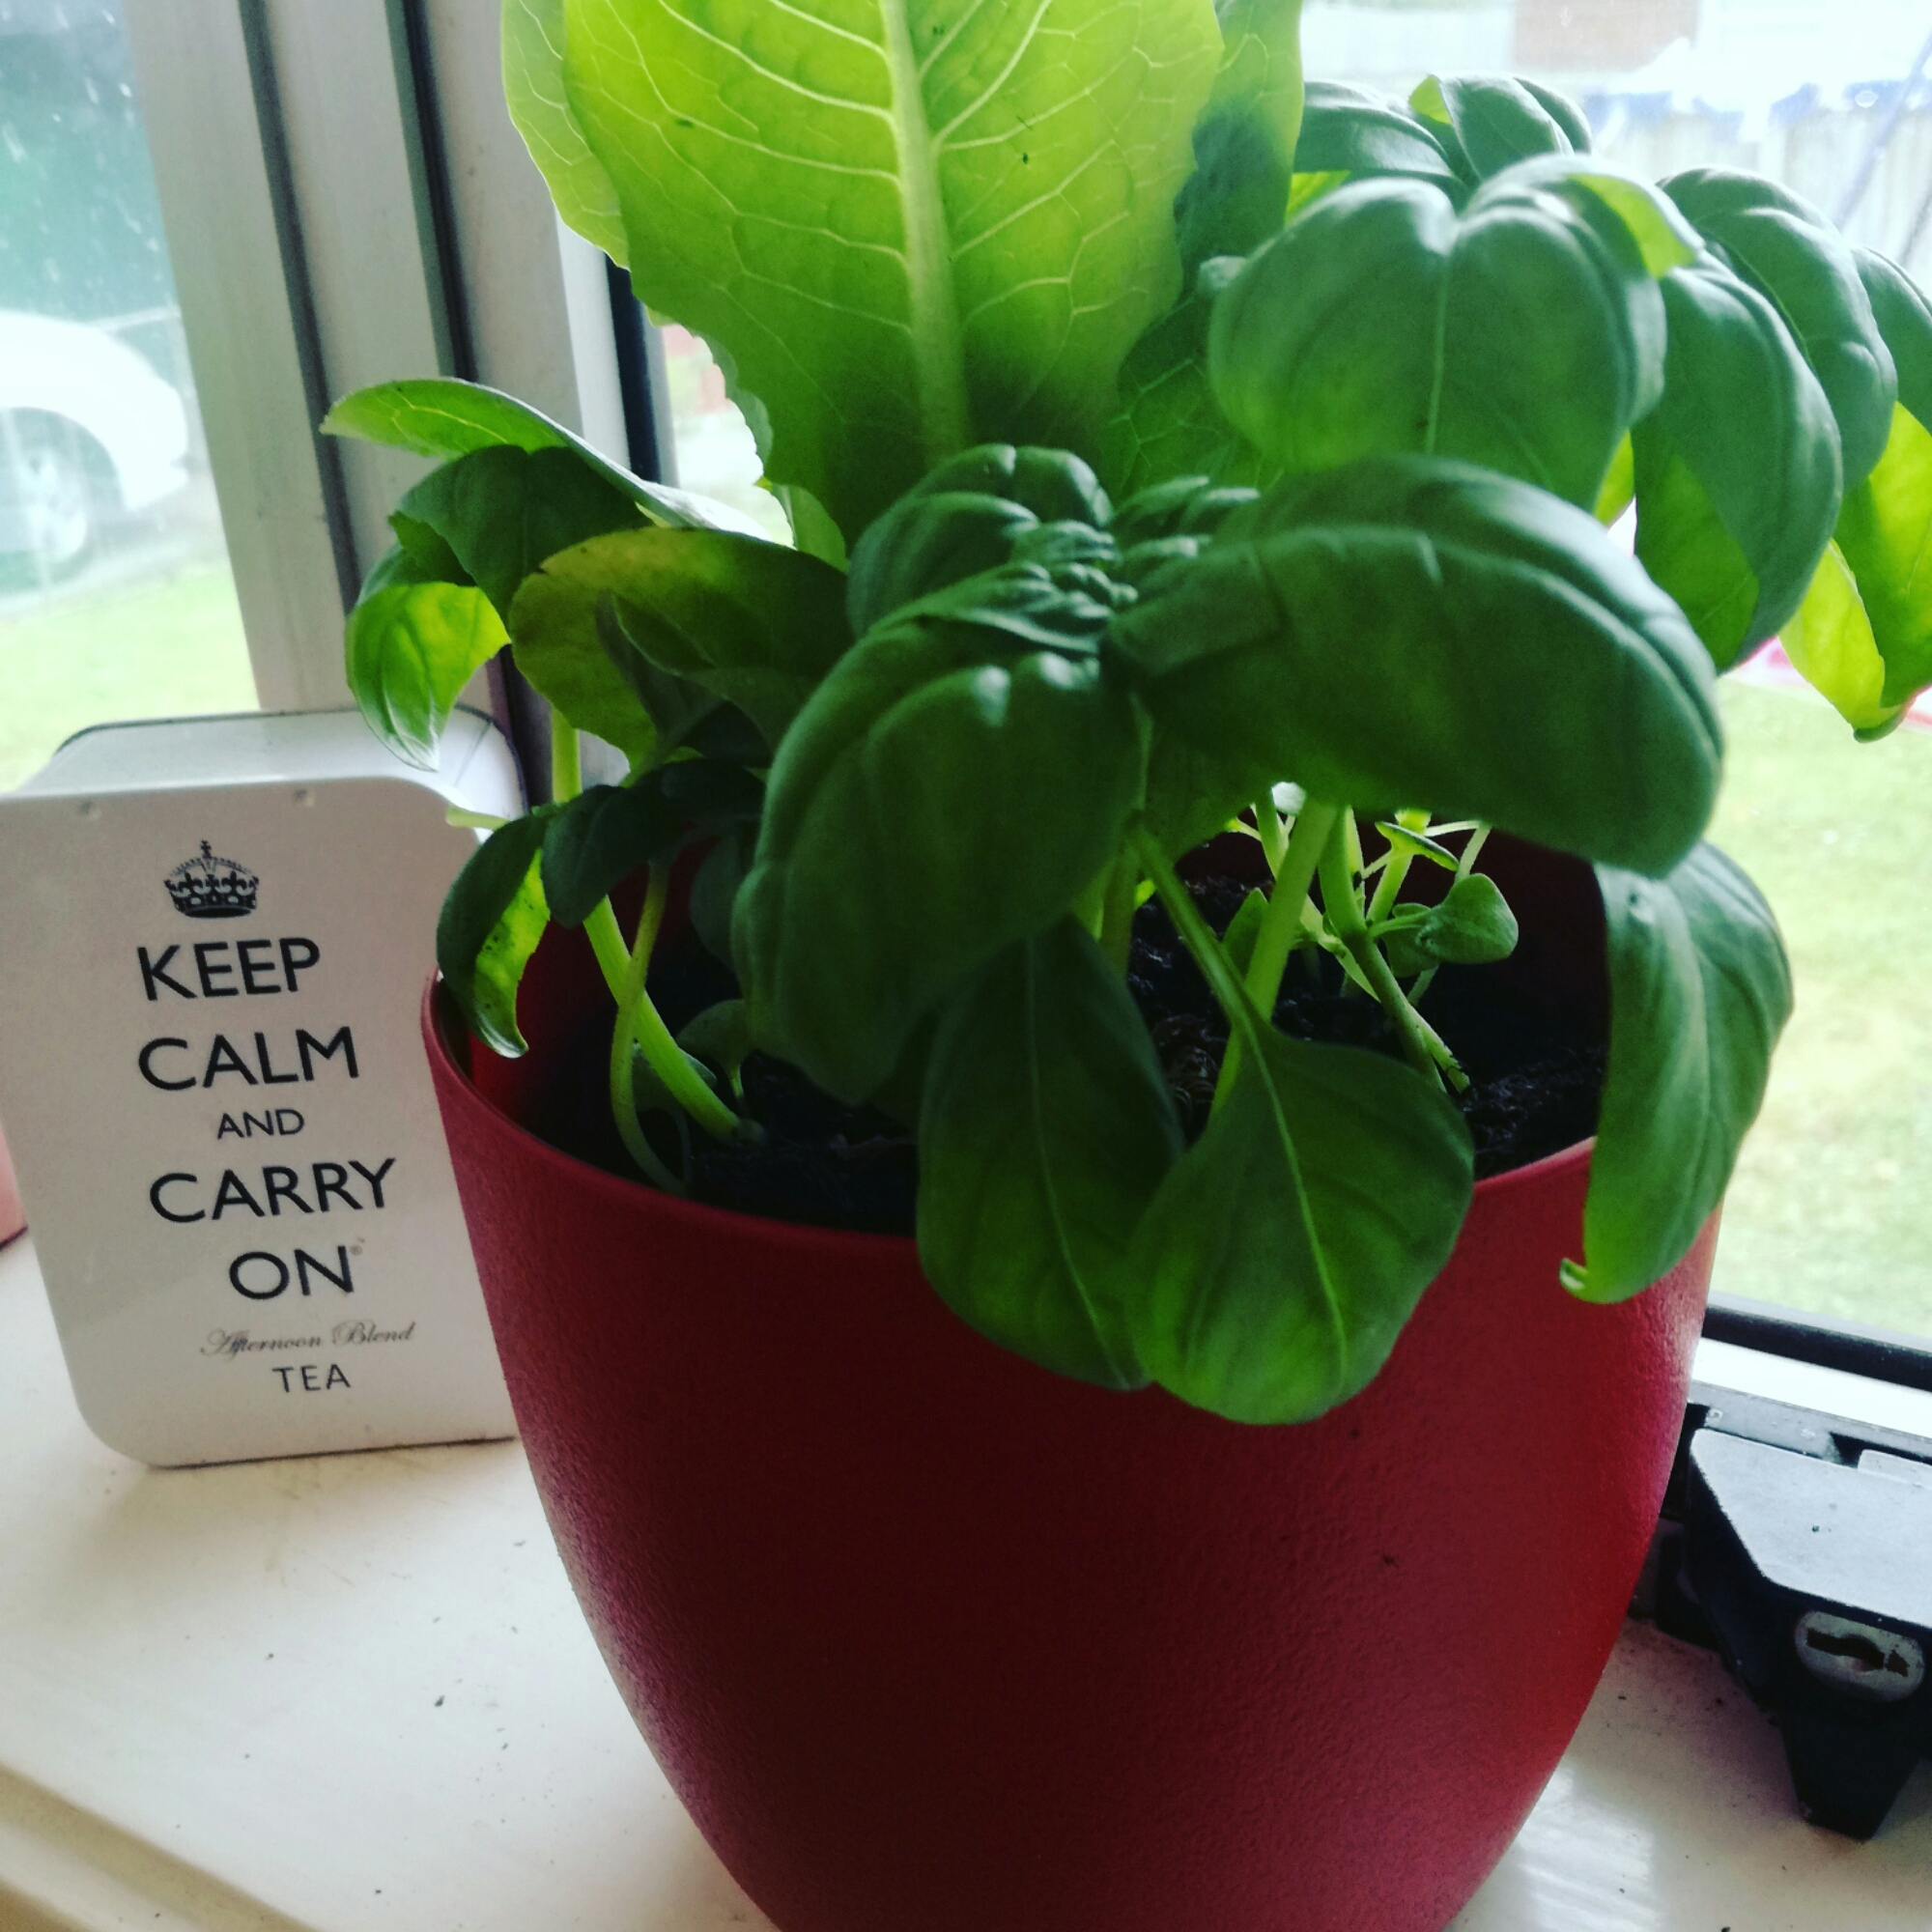
I’ve discovered that it’s far more realistic to simply grow a pot of basil (or in my case basil & one emergency lettuce) on the kitchen window sill. That way you’ll at least have enough basil for topping pizza or spaghetti bolognese (and it smells good too!).