What is in the Sweden crate?
You begin by opening your travel mail from Milo and Anya to find out about their latest travel adventures! Miss 6 enjoys seeing all the photos in Sweden.
There is a passport sticker to add to our Adventure Passport and various cards about Sweden to add to it as well. These range from a country map and cultural information, to activity cards with things to do. Learn: a few words in Swedish, about Thor and Norse mythology, about the Vasa, and about some Swedish foods and customs. There are craft activity ideas for making your own ice hotel or Viking longship.
Want some additional learning ideas?
Some of the books we enjoyed included:
- Reindeer on the Move!
- The Wonderful Adventures of Nils
- The Sinking of the Vasa
- Pippi Longstocking
- The Tomten
- The Tomten and the Fox
- Per and the Dala Horse
We also enjoyed watching videos to learn more about:
Make your own Tomte
For our craft, we got to make two tomte. These Scandanavian gnomes (also known as nisse in Norway) are protectors of farms and homes. They respect hard work, politeness, and treating animals well; in families where they see these behaviours, they may reward them by helping around the homestead at night while the family are asleep. For those offended by lazy farmers, they may play pranks or make mischief to remind them to take better care of their livestock and belongings. At Christmas, it is traditional to put out risgrynsgröt for the tomte – a special rice porridge generally topped with a knob of luxurious butter.
Learn to play Kubb
Kubb is traditionally played outside on level grass (though it can be played on sand, snow, or dirt). We set up and played a miniature version inside. We marked out boundaries with painter’s tape (easily removed from carpet) and after an initial learning curve as we adjusted to the game, we have had many enjoyable matches!
HOW DO I ORDER ATLAS CRATE?
This is not a paid review. I spent a lot of time searching the internet to find out more information about the Kiwi Crate and Atlas Crate boxes before deciding to try them and found the blog posts / photos that people shared were really useful!
If you would like to try Atlas Crate (or one of their other lines), you can receive 50% off your first box by clicking here.
What I like about the Atlas Crate kits is that they provide a colourful and imaginative way of exploring the world through hands-on activities. I like that they use a mix of STEM and art to explore different concepts and ideas. Their products are also very well made, with clear instructions, and kids feel a real sense of pride in what they accomplish with each box.
There’s no obligation to sign-up in an on-going capacity so it’s easy to tie them in with birthdays / Christmas; the boxes are quite compact so they also store easily in a cupboard for bringing them out on a rainy day. Other families will choose to sign up for a longer period (like a 3, 6, or 12 month cycle).
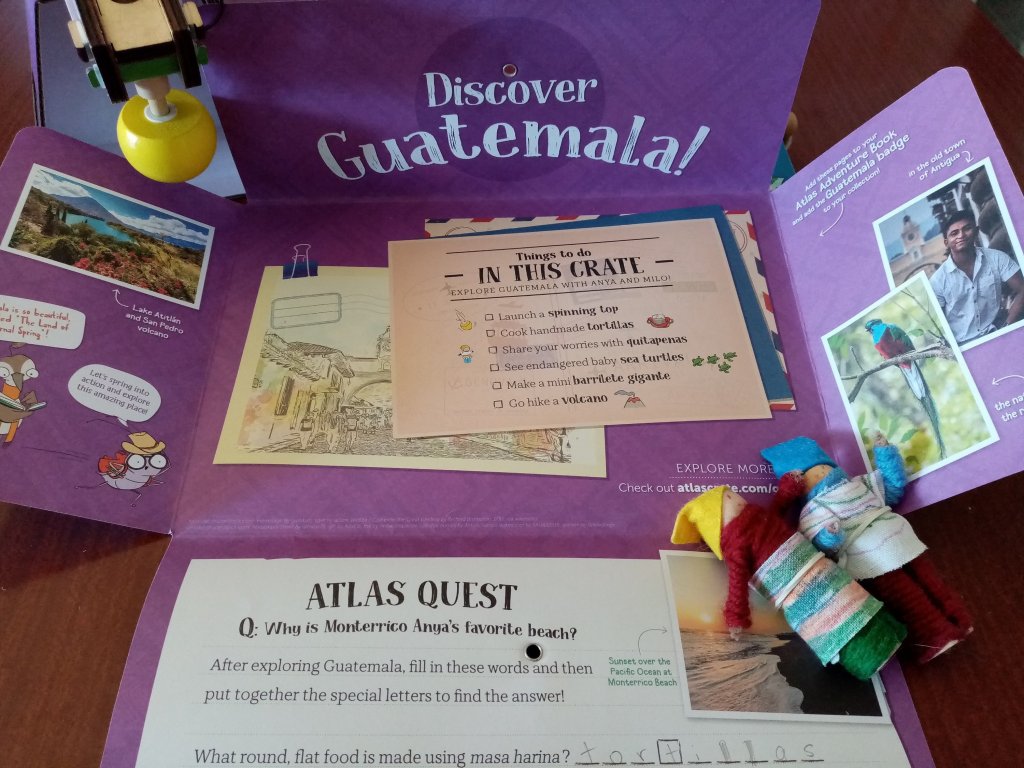
WHAT IS IN AN ATLAS CRATE?
Each Atlas Crate comes with a special airmail envelope from Anya the Cricket and Milo the Sandpiper revealing where they’ve been on their latest adventure. There is a special passport sticker for your child’s Atlas Adventure Book plus seven new pages to add about a new country (highlighting geography, customs, landmarks, history, and foods).
There are supplies for two activities (which might be a mix of art, STEM, and games) as well as suggestions for more DIY activities to try at home – from things to make, to things to bake!
If you choose the Deluxe option, then you will also receive a book that helps you explore that month’s destination. This upgrade is an additional USD$9.95 (approx. $15 NZD) and can impact shipping costs as well. Since we’re homeschooling, I decided that we’d try the Deluxe option for 6 months to see how useful we find it.
Interested in more homeschool box reviews?
Discover the World with ATLAS Crate
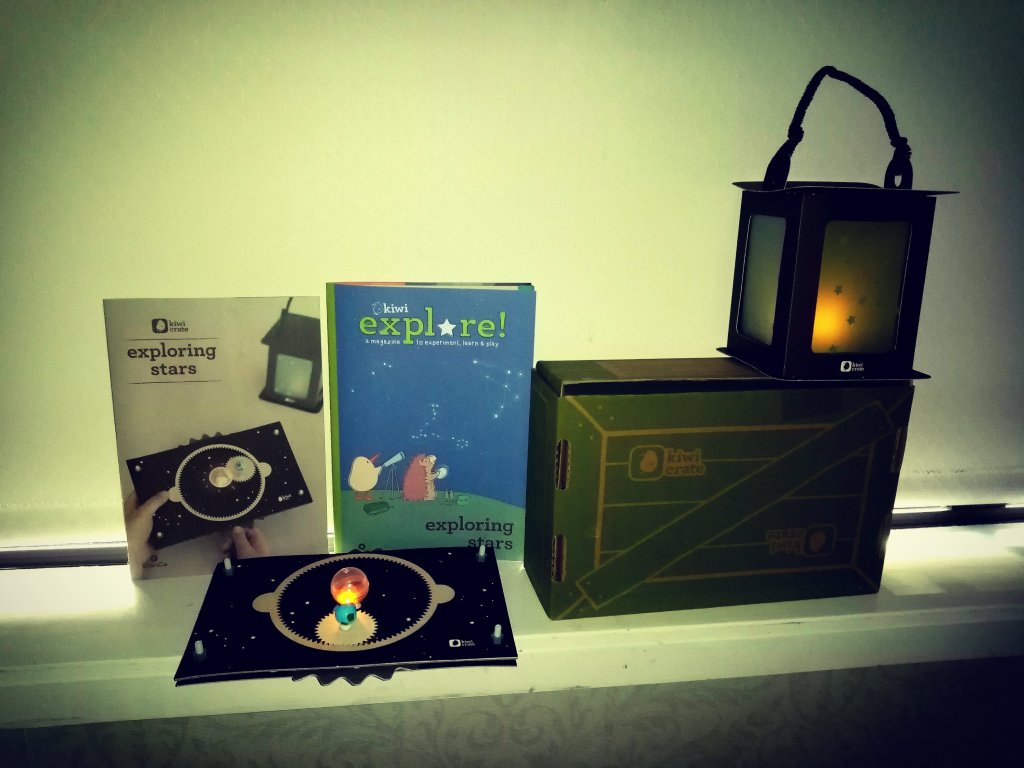
Explore STEM with Kiwi Crate
#2 The Amazing Animation Box (make your own 19th century movie with a Zoetrope!)
#3 The Mechanical Sweeper Box (make your own baleen whale!)
#4 The Disc Launchers Box (play games with physics!)