Flavours of the World: How to make Japanese onigiri

Onigiri is delicious and easy to make!

One of the wonderful things about homeschooling is that being in the kitchen can definitely be part of the curriculum! We’re studying Japan at the moment and one of the suggestions in our Kiwico Atlas Discover Japan box was to try our hand at onigiri.

At it’s simplest, onigiri is a fun gluten free snack that uses a sticky rice to create a treasure box sandwich around a delicious filling of your choice. They are wonderfully easy to make and can be as creative (or quick) as you like.

The key ingredient that you will need is Japanese Short Grain Rice. This is sometimes marketed as ‘sushi rice’ in Western supermarkets although this is actually a misnomer, the same rice can be used to make sushi but while sushi uses vinegar, salt, and sugar to provide seasoning, onigiri uses plain steamed rice and relies on the nori (dried seaweed) and filling for flavour.

Ingredients

Your choice of fillings; for instance:

  • Smoked salmon and cream cheese
  • Tinned tuna chunks + mayonnaise + cooked corn
  • Bonito flakes and soy sauce
  • Cooked chicken and avocado
All kinds of onigiri designs are possible

Think about what design you would like to use for your onigiri. If you want to keep it simple, use scissors to cut the nori sheets into smaller and shorter strips that you wrap around the base of the onigiri as a handhold. You can also get creative and decorate them into whatever you can imagine! There are fascinating videos on YouTube with plenty of ideas – be aware that fancier designs may utilize special tools to cut the seaweed and moulds to press the rice into. These can often be picked up cheaply online or from stores specializing in Japanese homewares.

Directions

  1. Cook your rice fresh and allow to cool slightly (it should be warm while making the onigiri). I like to use a rice cooker and make just enough rice for the meal.
  2. Prepare your filling while the rice is cooking.
  3. Have a bowl of water available to wet and wash your hands (the rice is sticky!).
  4. Traditionally, salt is rubbed onto both hands and helps to flavour the rice while you shape it. You then scoop some warm rice onto one hand, make it into a flattish nest shape, place 1-2 tsp of filling in the middle, then gently squeeze into a ball or triangular shape. Tip: If this feels a bit tricky, try lining a small bowl with gladwrap and laying the rice on top. Apply filling to centre, pop a little more rice on top, and then pull the gladwrap up at the corners (into a raindrop shape) and mould the rice (keeping the filling in the centre).
  5. You can then decorate the onigiri as you like.

Tip: You don’t need to use any nori but it does provide a pleasant umami flavour. You may prefer to simply dip your onigiri in soy sauce or coconut amino acids (an allergy friendly substitute). You may also like to sprinkle a furikake seasoning onto your onigiri; there are a range of flavours.

Flavours of the world: How to make Hojarascas Mexican Cookies

How to make delicious Mexican Hojarascas cookies!

One of the wonderful things about homeschooling is that making cookies can definitely be part of the curriculum! We’re studying Mexico at the moment and were sitting in the garden working with clay after watching videos about pottery. Miss decided to make and paint cookies – which then started us researching different types of Mexican cookies.

We settled on hojarascas (oh-ha-rascas) a kind of cinnamon sugar shortbread cookie. The name comes from a Spanish word referring to Autumnal leaves falling from the trees (and the crackling, crunching sound as they crumble beneath feet).

We started with a traditional recipe, and then adapted it to a Kiwi kitchen and making a small batch of about 18 cookies.

Ingredients

  • 100g butter
  • 1/4 cup sugar
  • 1 egg
  • 1/2 Tablespoon baking powder
  • 1 tsp ground cinnamon
  • 1.5 cups high grade flour
  • Topping: 1/2 cup sugar + 2tsp ground cinammon

Directions

  1. Preheat the oven to 180’C / 350’F and line a cookie tray with baking paper.
  2. In a large Pyrex bowl, soften or melt the butter.
  3. Add the sugar and mix well.
  4. Add the egg, cinnamon, and baking powder. Stir to combine.
  5. Slowly mix in the flour until you have a soft dough.
  6. You can can roll it out and use cookie cutters if you want to, but I like to just roll small balls with my fingers and softly flatten them.
  7. Mix the sugar and cinnamon topping on a plate and gently press the cookies into the mix on both sides.
  8. Place the cookies on the tray and bake for 10-15 mins (my oven took exactly 13 minutes!).
  9. Place on a cooling rack and sprinkle with leftover cinnamon-sugar mix. (You could also wait until they are cooled, place the cinnamon-sugar in a ziploc bag, and shake the cookies gently.)

Notes

There are many versions of hojarascas cookies online and although some use butter, traditionally they use lard or shortening. Most recipes have the sugar and cinnamon mix added after baking, whereas I added mine beforehand to help it adhere more firmly. Some recipes add vanilla, or star anise, orange zest, or nuts (like pecans) but the cinnamon and sugar are consistent throughout – it does mean that you can experiment with many variations if these become a firm favourite in your household.

You can also experiment with the ratios of cinnamon:sugar and whether you’d like the cinnamon weighted more to the cookie or topping. I made the cinnamon flavour in the cookie quite mild but others may like it stronger.

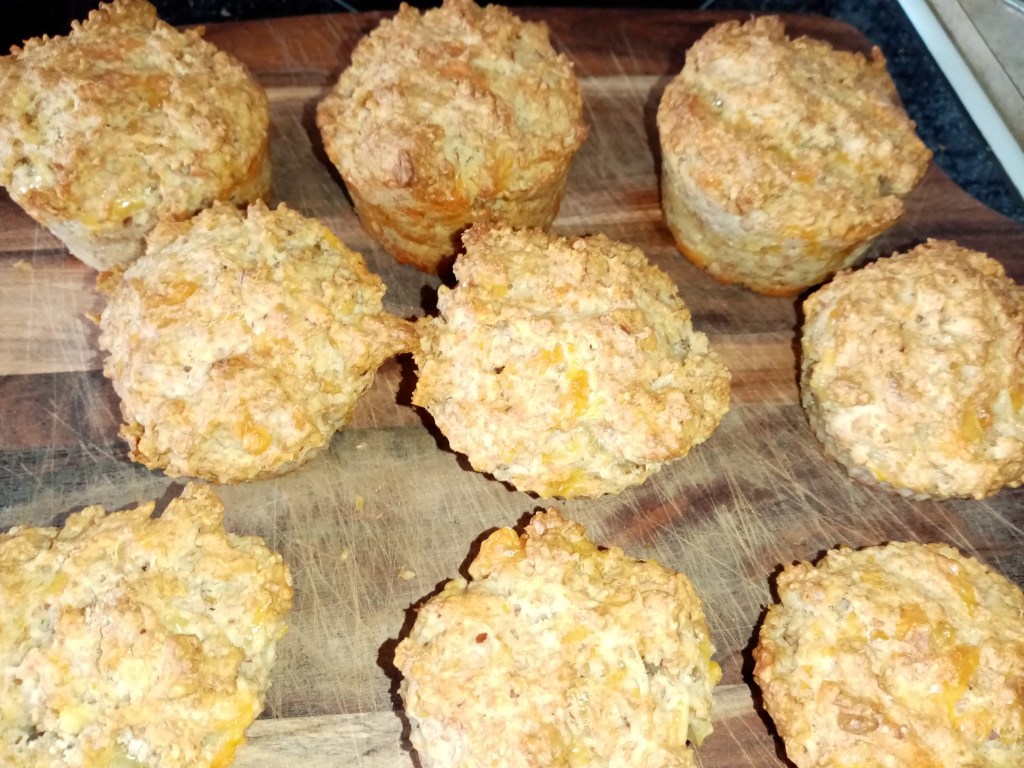
Cheesy Oat Muffins

Cheesy Oat Muffins

These delicious muffins have protein, calcium, fibre and are delicious served warm with butter or dipped into winter soup.

Ingredients

Allergies: soy free, egg free*, nut free.

Directions

  1. Start the oven pre-heating to 180’C / 350’F and grease the muffin pans.
  2. Whisk the eggs, milk, and oil.
  3. Add the salt, sugar, and oats.
    • Tip: If you prefer a fine texture to your baking, use an electric hand beater to combine. This will help to break the oats into a finer texture (without demolishing them into oat flour).
  4. Add the wheat bran, wheat germ and cheese. Sift in the flour and baking powder. Mix well to combine.
  5. Spoon the muffin mix into the greased muffin trays and pop into the pre-heated oven.
  6. Bake for 25-35 mins until the muffins are cooked through (test with a knife or skewer to see that it comes out clean).
  7. Allow muffins to cool on a wire rack.

These are brilliant served warm with butter and are still lovely for breakfast in the morning. Consider freezing leftovers to heat up as needed.

Caramel Crunch Cookies

Caramel Crunch Cookies

These delicious crunchy cookies are also a great opportunity to discuss science in the kitchen! STEM discussion points follow after the recipe 🙂

Ingredients

  • 125 butter
  • 1/2 brown sugar
  • 1 Tbsp maple syrup or golden syrup
  • 1 Tbsp milk
  • 1 1/2 cups plain flour
  • 1 tsp baking soda

Allergies: soy free, egg free, nut free.

Directions

  1. Start the oven preheating to 180’C / 350’F.
  2. Have a grown up mix the butter, sugar, maple syrup, and milk in a pot. Heat until the butter is melted and the mixture is almost boiling – you’ll be able to see the surface tension change as it begins to think about bubbling. Make sure that you stir constantly so that it doesn’t stick or burn.
  3. Remove from heat and allow the caramel to cool to lukewarm.
  4. Sift the flour and baking soda into the pot and mix into the caramel.
  5. Stir well and it will turn into a caramel coloured cookie dough.
  6. Roll the cookie dough into balls and flatten on a baking tray (either greased or lined with baking paper).
  7. Bake for 10-15 mins or until golden brown.

Science in the Kitchen (STEM)

  1. Gravity & Weight: When you’re using kitchen scales to measure out the butter, take a few moments to talk about why things have weight and why we weigh them. That butter would weigh about 20g on the Moon and about 315g on Jupiter.
  2. Solids, Liquids, Gas: It’s a good idea to have a grown up do the stirring with the caramel mixture as it gets very hot; keep young helpers interested by helping them to safely view the way the ingredients change. Ask them if the butter and sugar going into the pot are liquids or solids (the latter); then show them what happens when heat is applied (becomes liquid); as the mixture cools and is combined with the flour it’s state changes again (solid).
  3. Gassy Bubbles: Ask young helpers what’s different about the ingredients in this recipe. The answer is that it uses baking soda rather than baking soda. The baking soda causes small carbon dioxide gas bubbles in the cookie mix causing it to rise when it goes into the hot oven. Tip: Get the cookies in the oven quickly as the longer the mix is left at room temperature, the less the cookies will rise.
  4. Sweet Surprise: A great way to see baking soda in action is to make a candy version of these cookies. Have a go at making Hokey Pokey!

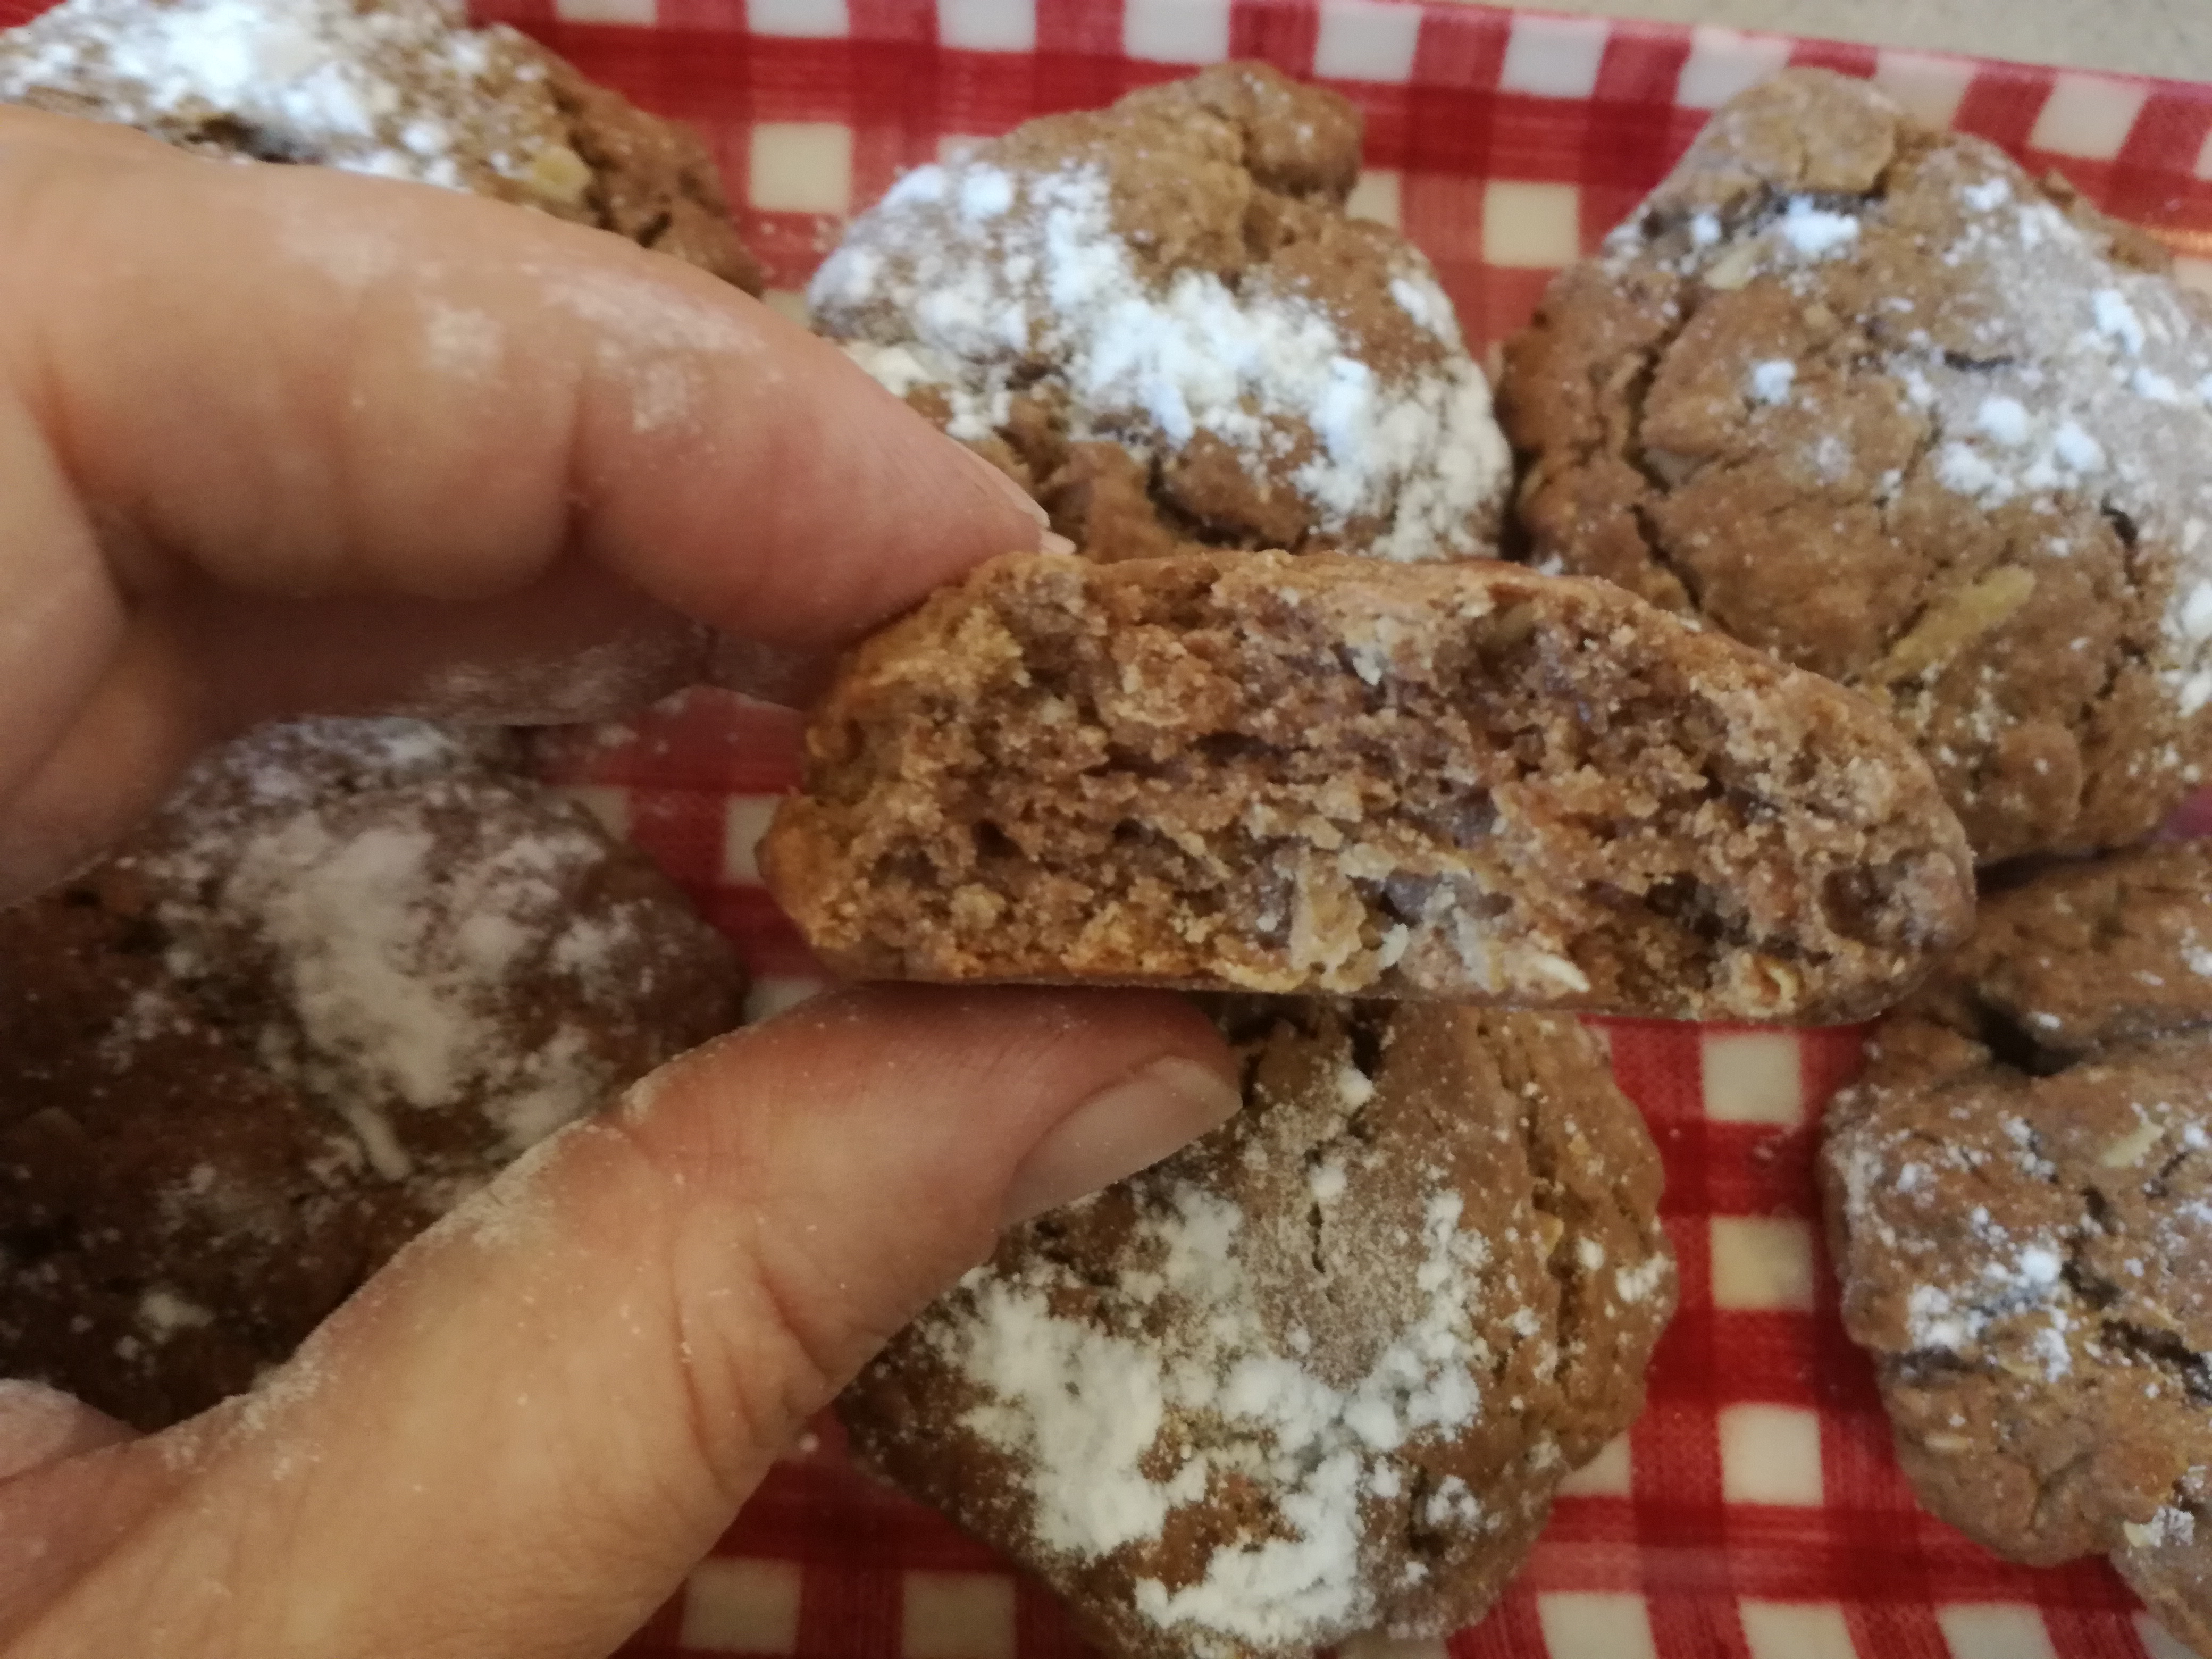
Chocolate Peanut Butter Cookies

Chocolate Peanut Butter breakfast cookies


These are more of a crisp or crunchy cookie that can be eaten on the run or dipped in yoghurt as a breakfast cookie; or topped with a thin layer of Nutella for the lunchbox. They are comparatively low in sugar with good amounts of fat, fibre, and protein. For a soft and chewy version, try these vegan Peanut Butter Cookies.


I note that the peanut butter used contains only two ingredients: peanuts + salt. It’s also easy to make peanut butter at home as an alternative to commercial brands containing sugar, molasses, and hydrogenated oils.

Ingredients

  • 2c flour
  • 1/4 cup almond meal
  • 1/4 cup fine oats (i.e. Milk Oaties or Instant Porridge)
  • 1/2 cup crumbled Weetbix
  • 3 Tbsp Dutch Cocoa
  • 1/2 tsp salt
  • 1 tsp Baking Powder
  • 1 tsp Baking Soda
  • 1 Tbsp apple cider vinegar
  • 2 eggs
  • 1 tsp vanilla essence
  • 1/2 cup coconut oil
  • 3/4 cup brown sugar
  • 3/4 cup smooth peanut butter
  • 1/4 cup milk (or rice milk)

Allergies: soy free, dairy free*.

Directions

  1. Preheat oven to 180’C / 360’F.
  2. In a large mixing bowl, combine all ingredients. I prefer to add all the dry ingredients, and then in mix in the wet ingredients.
  3. Knead everything together. It will gradually turn to a soft cookie dough. 
  4. Roll the dough into small balls and lightly flatten (with a fork or fingers).
  5. Place cookies on a baking sheet / lightly oiled baking tray.
  6. Bake for 15-18 minutes or until cookies begin to brown.

Peanut Butter Cookies (Vegan)

Peanut Butter Cookies (Vegan)

Peanut Butter Cookies (Vegan). Free from dairy, egg, and soy.

These are a soft chewy peanut butter cookie with a hint of chocolate that went down very well with an audience of young taste testers. They are comparatively low in sugar with good amounts of fat, fibre, and protein. For a crunchier cookie try these Chocolate Peanut Butter breakfast cookies.

I note that the peanut butter used contains only two ingredients: peanuts + salt. It’s also easy to make peanut butter at home as an alternative to commercial brands containing sugar, molasses, and hydrogenated oils.

Ingredients

  • 2c flour
  • 1/4 cup almond meal
  • 1/4 cup fine oats (i.e. Milk Oaties or Instant Porridge)
  • 2 Tbsp Dutch Cocoa
  • 1/2 tsp salt
  • 1 tsp Baking Powder
  • 1 tsp Baking Soda
  • 1 Tbsp apple cider vinegar
  • 2 Tbsp Orgran egg replacer + 4 Tbsp water
    • OR: 2 flax eggs
    • OR: 2 eggs
  • 1 tsp vanilla essence
  • 1/2 cup coconut oil
  • 3/4 cup brown sugar
  • 3/4 cup smooth peanut butter
  • approx. 100g apple puree
    • TIP: baby food pouches or tins are an easy way of adding fruit puree to baking recipes.

Allergies: soy free, dairy free, egg free.

Directions

  1. Preheat oven to 180’C / 360’F.
  2. In a large mixing bowl, combine all ingredients. I prefer to add all the dry ingredients, and then in mix in the wet ingredients.
  3. Knead everything together. It will gradually turn to a soft cookie dough. 
  4. Roll the dough into small balls and lightly flatten (with a fork or fingers).
  5. Place cookies on a baking sheet / lightly oiled baking tray.
  6. Bake for 12-15 minutes or until cookies begin to brown.

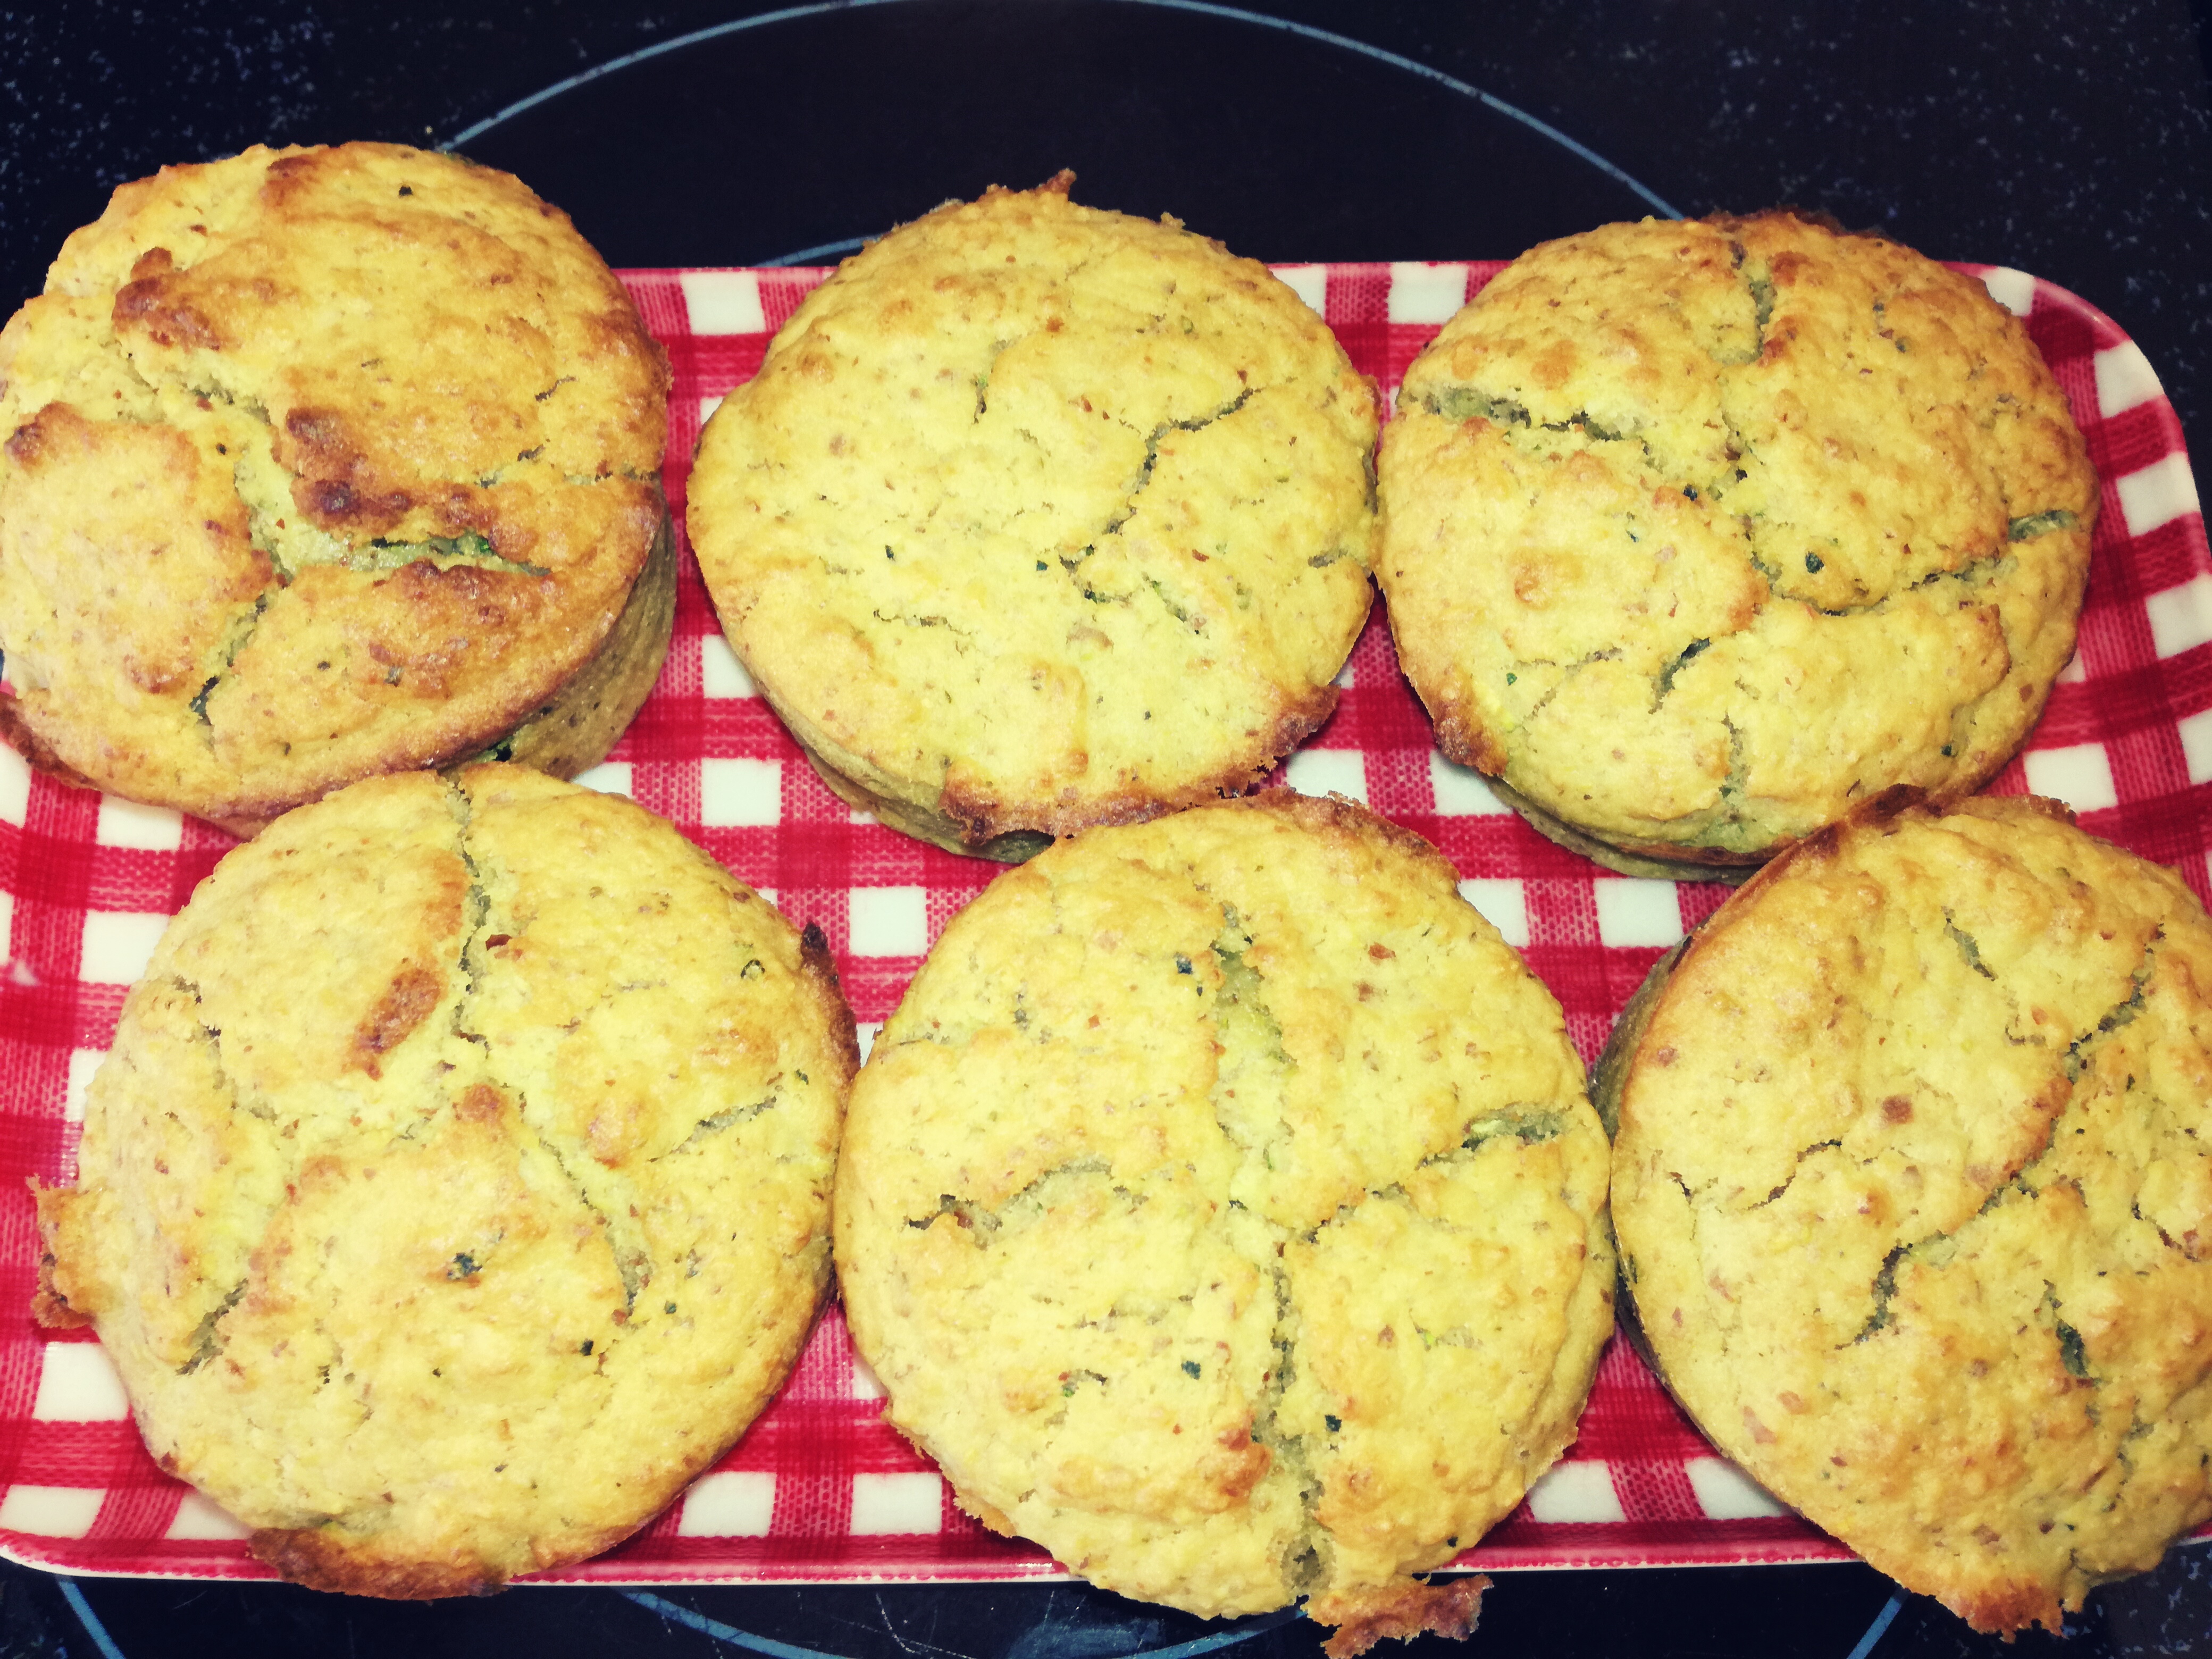
Summer Baking: Apple & Zucchini Muffins

Summer baking: Apple & Zucchini Muffins

Apple & Zucchini Muffins

Ingredients

  • 1 cup apple (peeled, grated)
  • 1 cup zucchini / courgette  (peeled, grated)
  • 1 tsp vanilla essence
  • 2 eggs
  • 1/2 cup coconut oil (soft) or 1/2 cup Nutellex
  • 1 Tbsp maple syrup.
  • 2 cups flour
  • 2 tsp baking powder
  • 1/2 cup brown sugar
  • 1/4 cup almond meal
  • 1/4 cup wheat germ

Allergies: soy free, dairy free, egg free*.

Note: Consider mixing this up by doing a 1/2 cup apple and 1/2 cup diced peaches.

Tip: Leaving the skin on the zucchini is fine but feel free to peel it if you don’t want any green specks in the muffins.

Directions

  1. Preheat oven to 180’C / 360’F.
  2. In a food processor, blend the apple, zucchini, vanilla, eggs, maple syrup and coconut oil until smooth. (If you prefer a rougher texture then mixing in a bowl is fine).
  3. Mix in the flour, baking powder, brown sugar, almond meal, and wheat germ.
  4. Spoon mixture into muffin tins.
  5. Bake for 25-30 mins (or until a toothpick comes out cleanly).

Black Forest Slice (GF, DF, SF, EF)

Black Forest Slice (GF, DF, SF, EF)

Black Forest Slice (GF, DF, SF, EF)

This delicious slice is full of goodness from almonds, brazil nuts, and cashew nuts. It can be served as a dessert or be frozen and added to school lunches. I wish I’d found such an easy way to make allergy free chocolate earlier!

NOTE: This is a small batch perfect for an 18x15cm pyrex dish; feel free to double the recipe for a larger quantity.

Ingredients

BASE

MIDDLE

TOP

  • 4 Tbsp dutch cocoa
  • 2 Tbsp coconut oil
  • 1 1/2 Tbsp maple syrup

Allergies: gluten free, soy free, dairy free, egg free, peanut free. Contains tree nuts.

Directions

  1. Line a pyrex dish with baking paper with overhanging sides so that you can lift it out easily. (This works better than greasing for slicing and freezing).
  2. Place the base ingredients into a food processor. Blend until well combined and sticking together. Press into the prepared dish and place in the fridge.
  3. Wash the food processor and then use it to blend the middle ingredients until smooth.
  4. Pour the fruit mix over the base and then place in the freezer for 30 minutes to set.
  5. Place the ingredients for the top into a bowl and blend until smooth.
  6. Spread the chocolate mix over the frozen middle layer and return to the freezer for another 20 minutes to set.
  7. Remove the slice from the freezer. Lift out the baking paper and slice into small serves. Enjoy delicious goodness!

Tip: The chocolate will soften easily in summer temperatures so this is best stored in the fridge or freezer. For school lunch boxes, place it in frozen.

Apple Nut Muffins

Apple Nut Muffins

Apple Nut Muffins

These sweet treats are high in natural goodness and fruit fibres, do not contain refined sugar, and contain valuable trace minerals from the almond, brazil, and cashew nut butter.

There are a few different ways that you can make this recipe and I have endeavoured to include options without over-cluttering. Keep in mind when subbing ingredients whether it will impact the recipe overall; i.e. coconut oil or butter will solidify in cold temperatures and hold a gluten free version together better than rice bran oil; using almond meal rather than flour will give a substantially different texture.

Ingredients

  • 1 cup flour + 30g fine instant oats
  • 1 tsp baking powder
  • 1 tsp baking soda
  • 1/4 tsp salt
  • 1 1/2 ripe bananas (= 150g frozen sliced banana)
  • 2 apples peeled and quartered (= 350g intact apples)
  • 1/4 cup Almond Brazil Cashew nut butter (or almond butter).
  • 2 tsp Orgran egg replacer + 4 Tbsp water
    • OR: 2 flax eggs
    • OR: 2 eggs
  • 2 Tbsp coconut oil (melted)
    • OR: 2 Tbsp rice bran oil
    • OR: 2 Tbsp butter (soft)
  • 1/4 cup maple syrup
  • 1 Tbsp apple cider vinegar
  • Optional: 1 tsp cinnamon

Allergies: This recipe can be made gluten free, soy free, dairy free, egg free, peanut free. Contains tree nuts.

Directions

  1. Preheat the oven to 180’C / 350’F. Grease a muffin tray or cupcake liners.
  2. In a food processor, blend the banana and apple until smooth. (If you prefer a rougher texture, grate the apple instead and mix in at the end).
  3. Add the egg replacer (or eggs), coconut oil, ABC nut butter, and maple syrup. Pulse to combine.
  4. Add the flour, oats, baking powder, baking soda, salt, cinnamon (if using), and apple cider vinegar. Gently pulse to combine.
  5. Spoon your batter into the muffin trays and place in preheated oven.
  6. Cook for about 35 minutes. Check after 25 minutes (you may want to add tinfoil as a cover for the remainder).
  7. Take out of the oven and allow to cool for 10 minutes.

Easy Breakfast Muffins

Breakfast Brunch Muffin

Breakfast Brunch Muffin

I made mine in the Kmart Pie Maker but you could also make these in greased metal muffin tins and bake in the oven. Also, although these ones are ham and cheese based you can easily adapt them to use up last night’s leftovers – chicken & roast pumpkin, lamb & feta, etc.

Breakfast Brunch Muffin

Ingredients

  • BASE RECIPE:
  • 2 cups flour
  • 3 tsp baking powder
  • 1 Tbsp sugar
  • pinch salt
  • 1 Tbsp chia seeds (or ground linseed, or LSA)
  • 1/4c wheat germ (for protein and fibre)
  • 3 eggs (whisked)
  • 1 Tbsp apple cider vinegar or a squeeze of lemon (the acid helps activate the baking powder for the fast cook in the pie maker),
  • YUMMY EXTRAS:
  • 1 Tbsp chopped parsley from the garden
  • 1 finely chopped ripe tomato
  • 50g finely chopped ham
  • Large handful of grated cheese (about 1/2 cup)
  • Last of the frozen corn (about 1/4 cup)
  • 1/4 to 1/2 cup milk

Allergies: soy free, nut free.

TIP: Since cooked tomato is rather moist, I would use garden tomatoes for immediate eating and finely diced sundried tomatoes for school lunches.

Directions

  • In a mixing bowl: combine flour, baking powder, sugar, salt, chia seeds, wheat germ.
  • Make a well in the dry ingredients and add: eggs, parsley, tomato, ham, cheese, corn. Mix.
  • Slowly add a small amount of milk to make a smooth, thick batter. Add the apple cider vinegar or lemon juice last and give a final mix.
  • Bake in Kmart Pie Maker for 8 minutes. Makes 3 batches (12 muffins). Alternatively, bake in oven at 375’F / 180’C for about 20-25 mins (or until skewer comes out clean).