I love the ExperisenseNZ Life Cycles box which I purchased for $27. I was inspired by our annual Spring unit on seasonal cycles, growing food and flowers in the garden, and observing garden mini-beasts. We were thrilled to watch the hard work we had done earlier in the year, creating new wildflower beds to support our favourite pollinators, burst into colourful bloom.
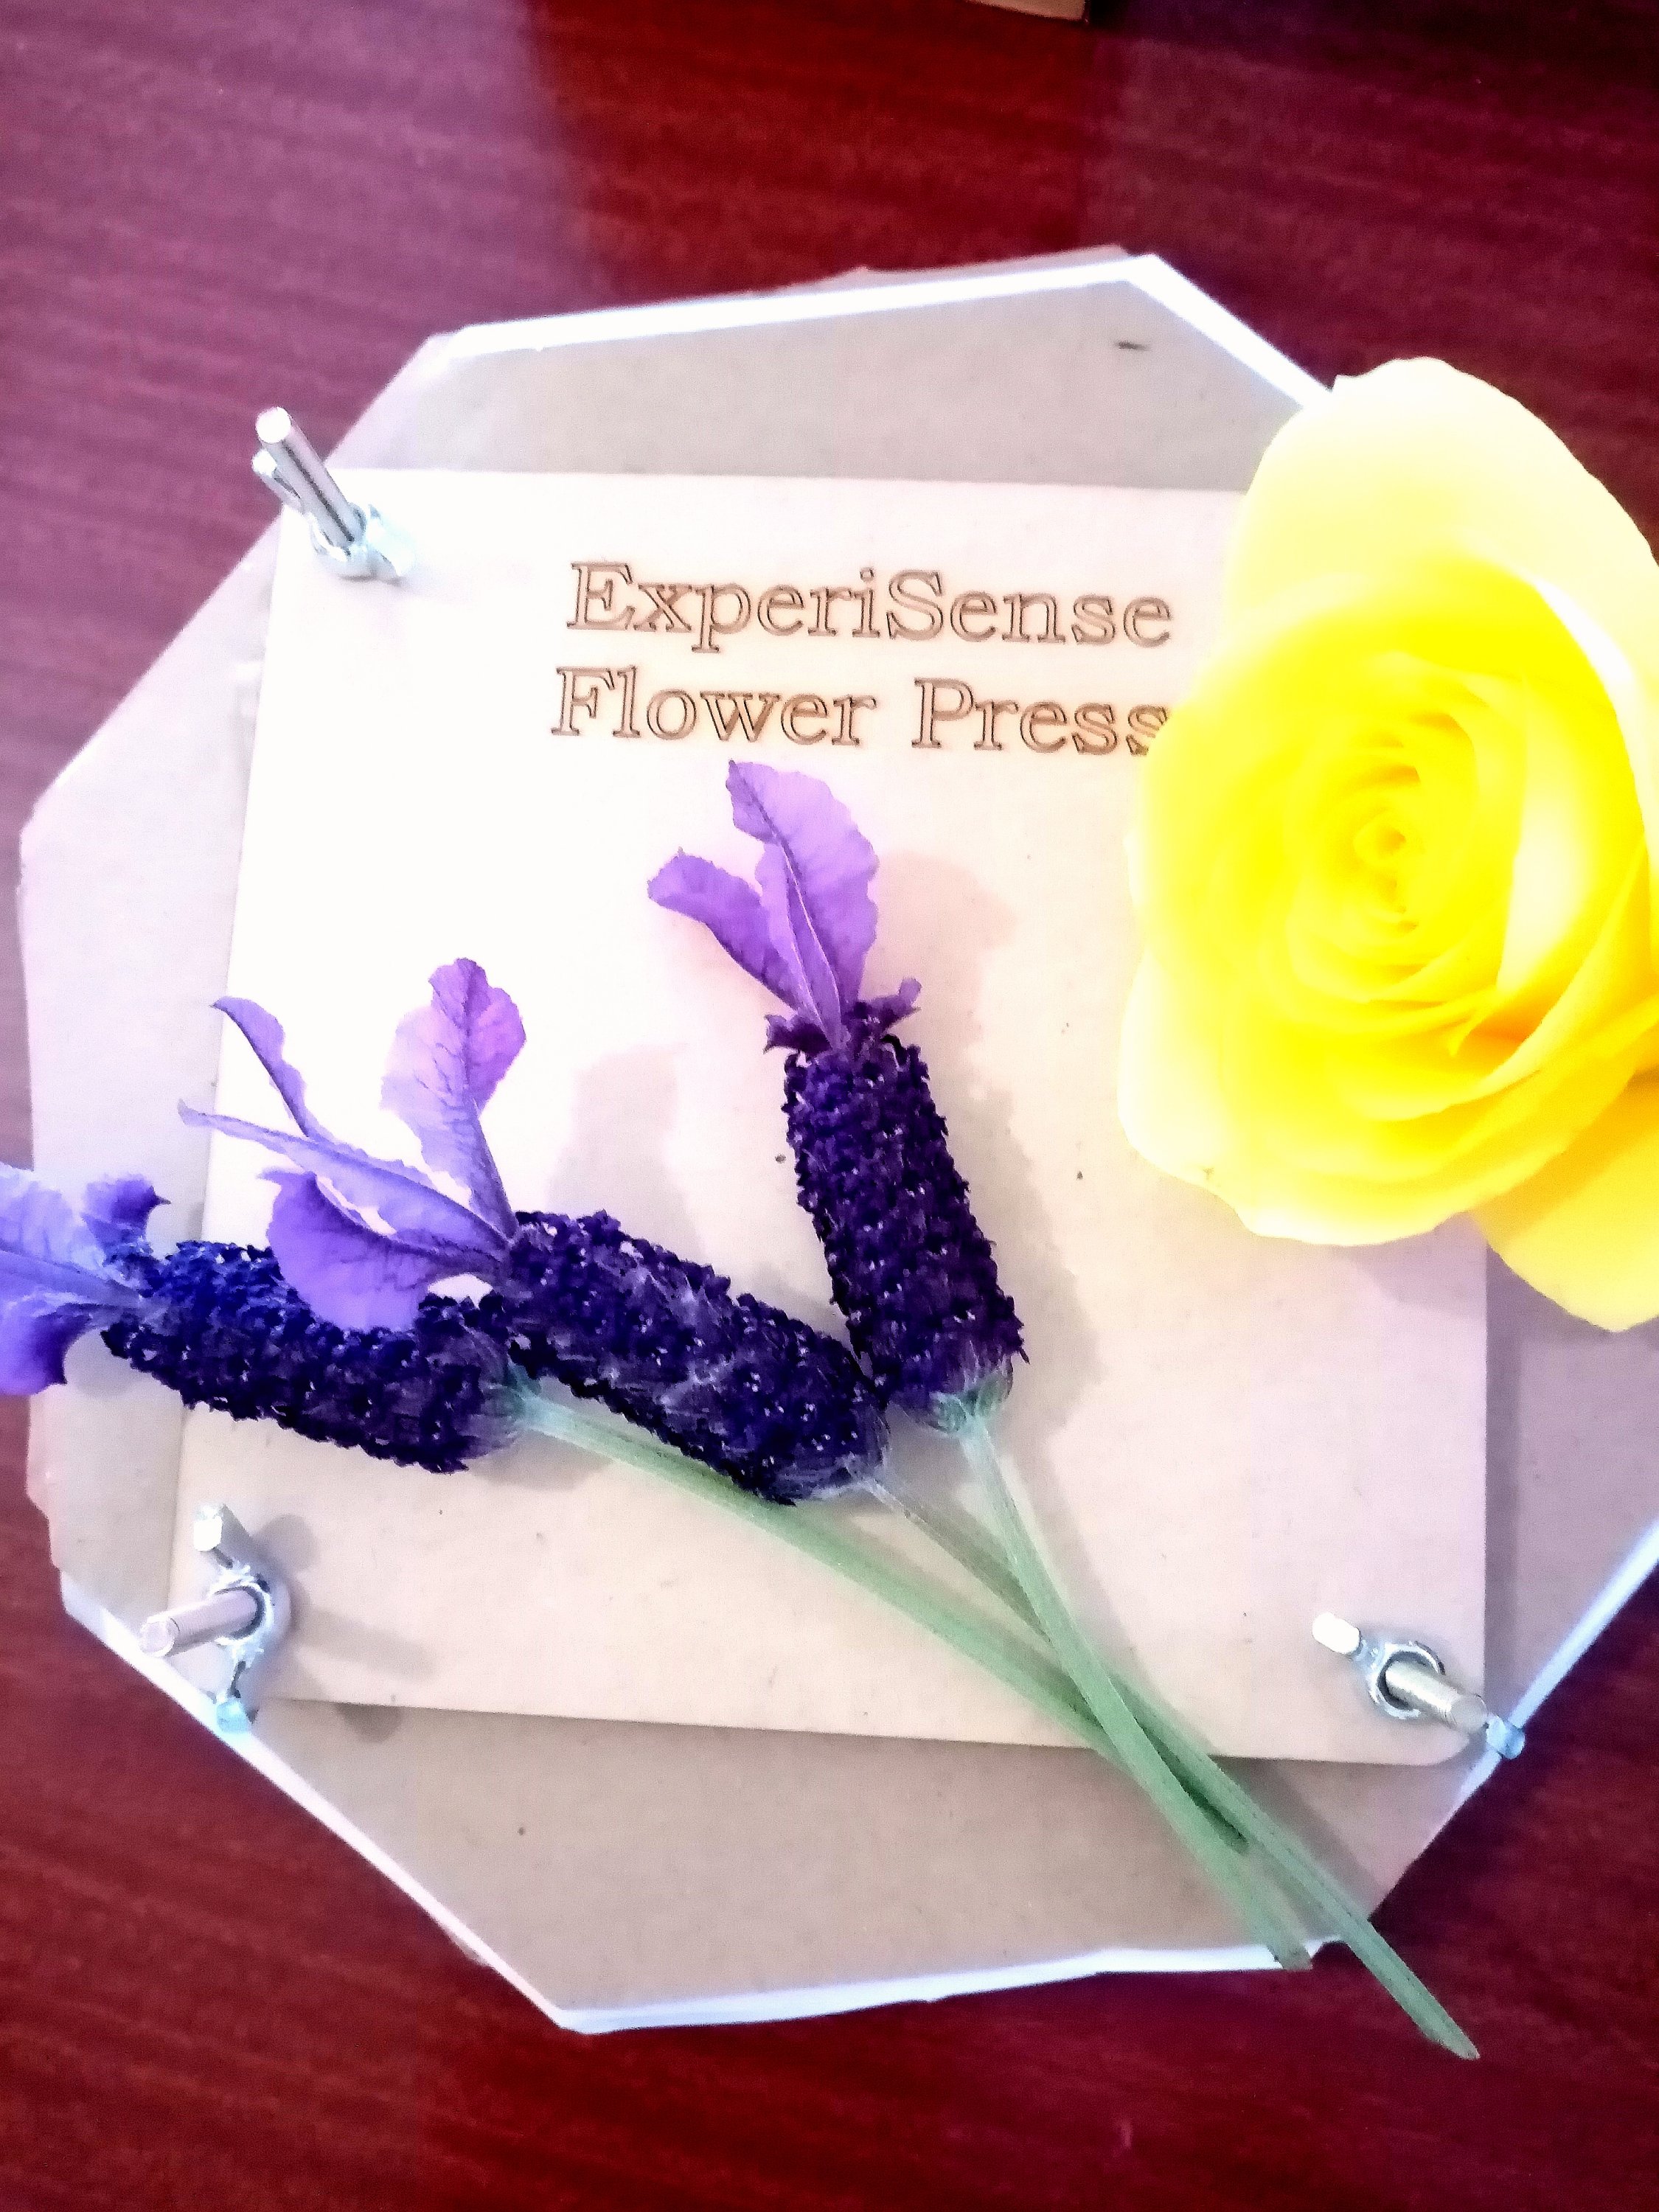
We wanted to preserve some of our flowers and were excited at the idea of buying a flower press to create seasonal art and gifts. A classic press seems to cost around $24 so I was thrilled to get the ExperisenseNZ kit which comes with a flower press and a number of additional activities.
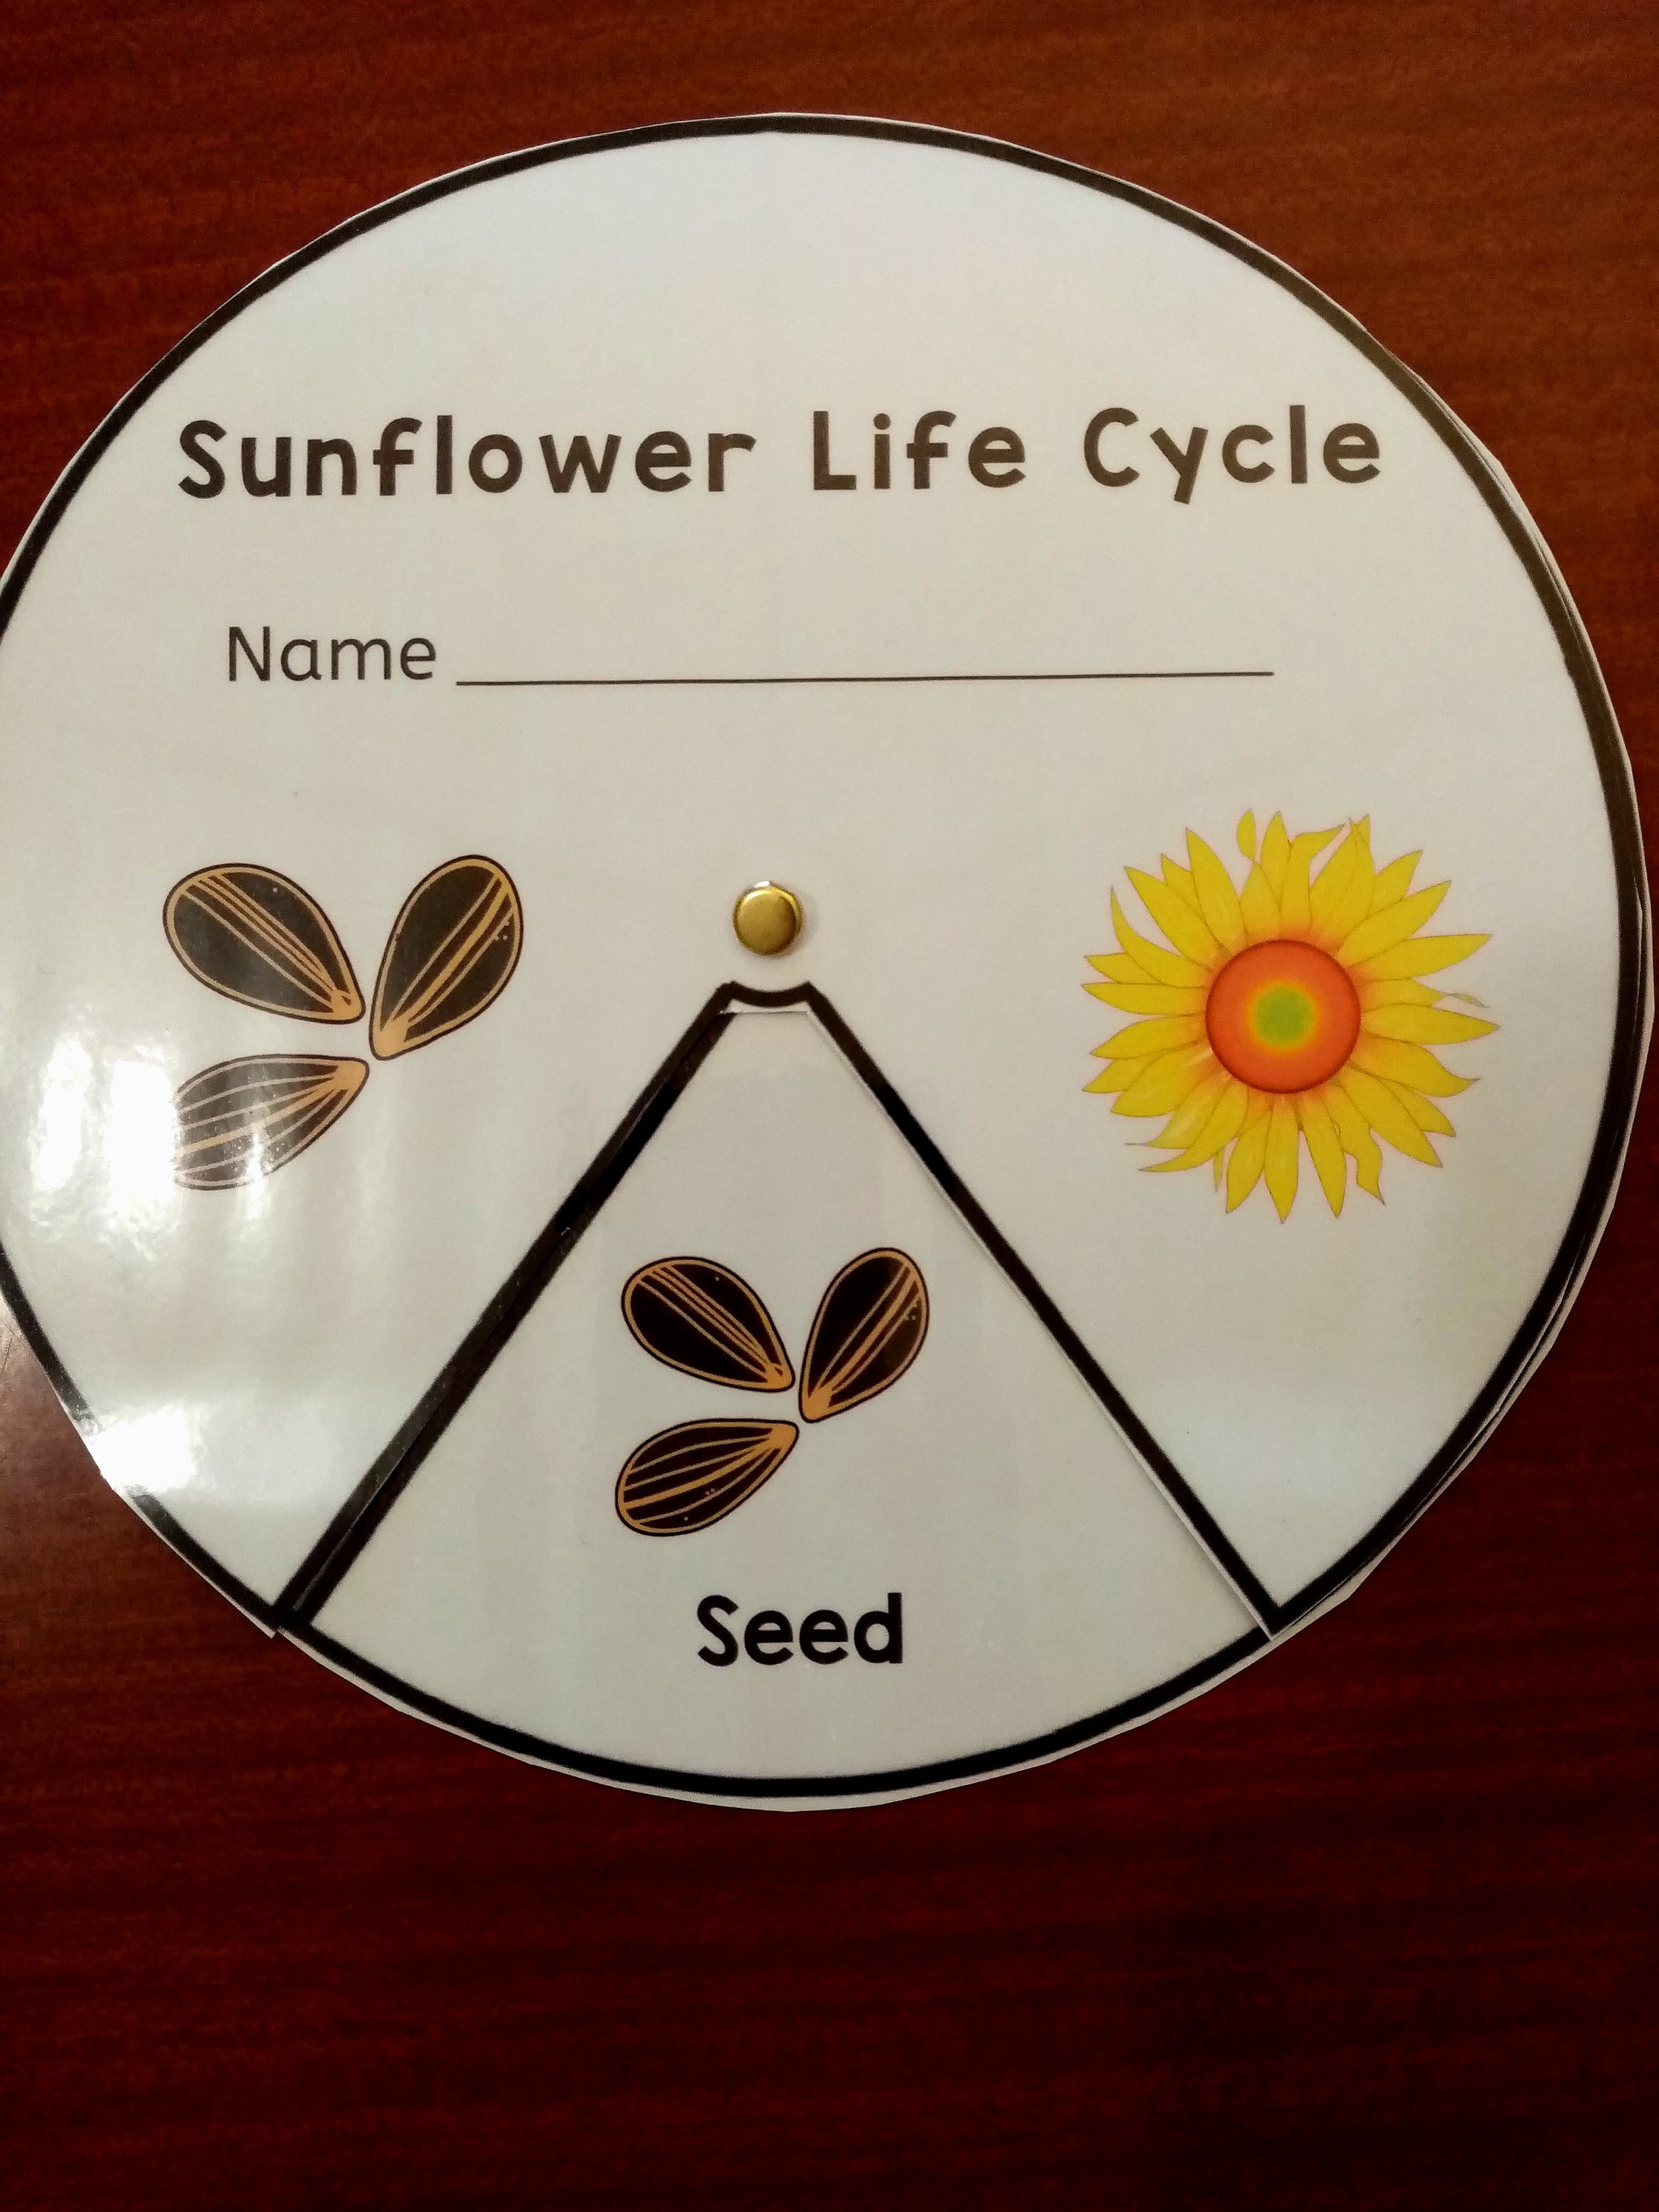
What is the life cycle of a sunflower?
We love sunflowers with their stately and colourful beauty. It’s also fun being able to harvest their seeds; either to dry and sow again, or, to feed to the birds in Autumn.
The kit comes with a laminated life cycle wheel for discussing the sunflower’s life cycle stages. It also comes with a generous amount of sunflower seeds and some compostable pots to get you started.
We made marbled paper and then followed the instructions in the kit to make a beautiful butterfly life cycle. Our wall poster shows the stages from egg, to caterpillar, to cocoon (or pupae), to butterfly.
Tip: Spring is a great time of year to consider growing Swan Plants to watch the Monarch Butterfly life cycle in action!
What is a ladybug life cycle?
What I like about the kit including both Butterfly and Lady Bug life cycles is that the two insects look quite different to each other in their stages. They also differ in what they eat! For instance, a Monarch butterfly caterpillar will eat a huge number of milkweed leaves; whereas, a Ladybug larve will voraciously eat aphids, tiny worms, and insect eggs.
We liked the rainbow foil print on this life cycle so much that we decided to laminate it and add it to our resource collection (rather than use it for a paper plate craft).
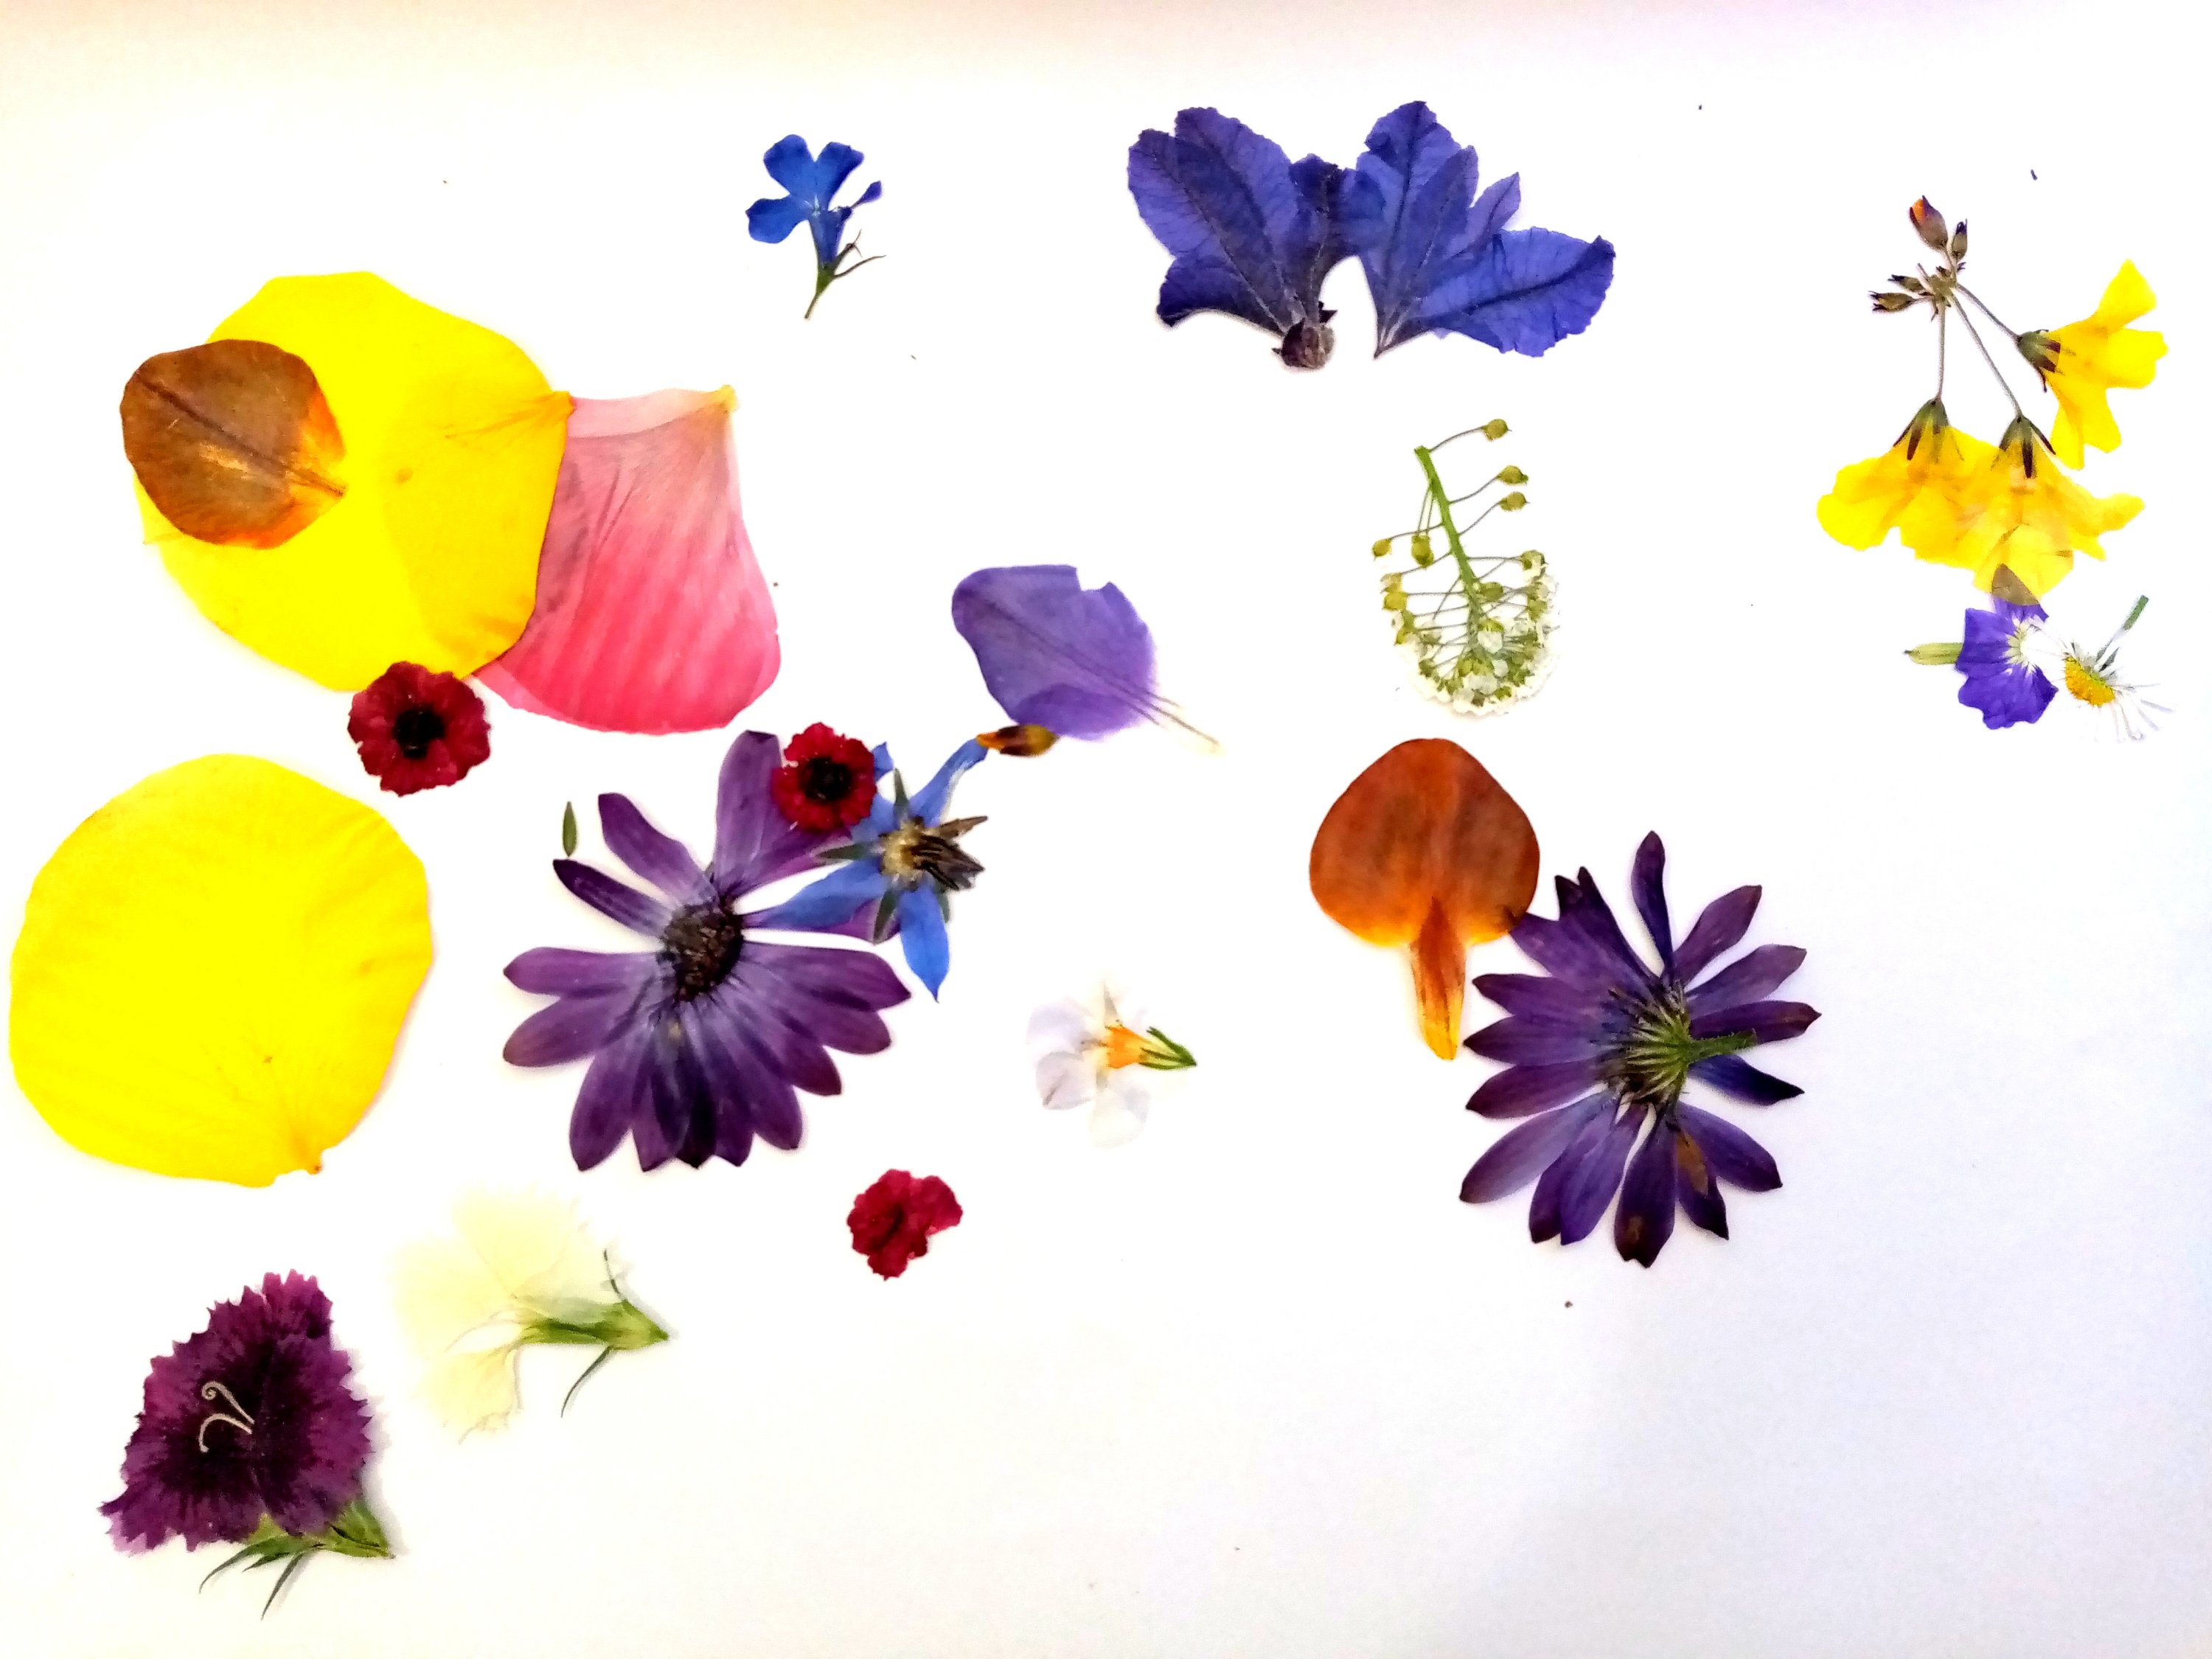
How to press flowers
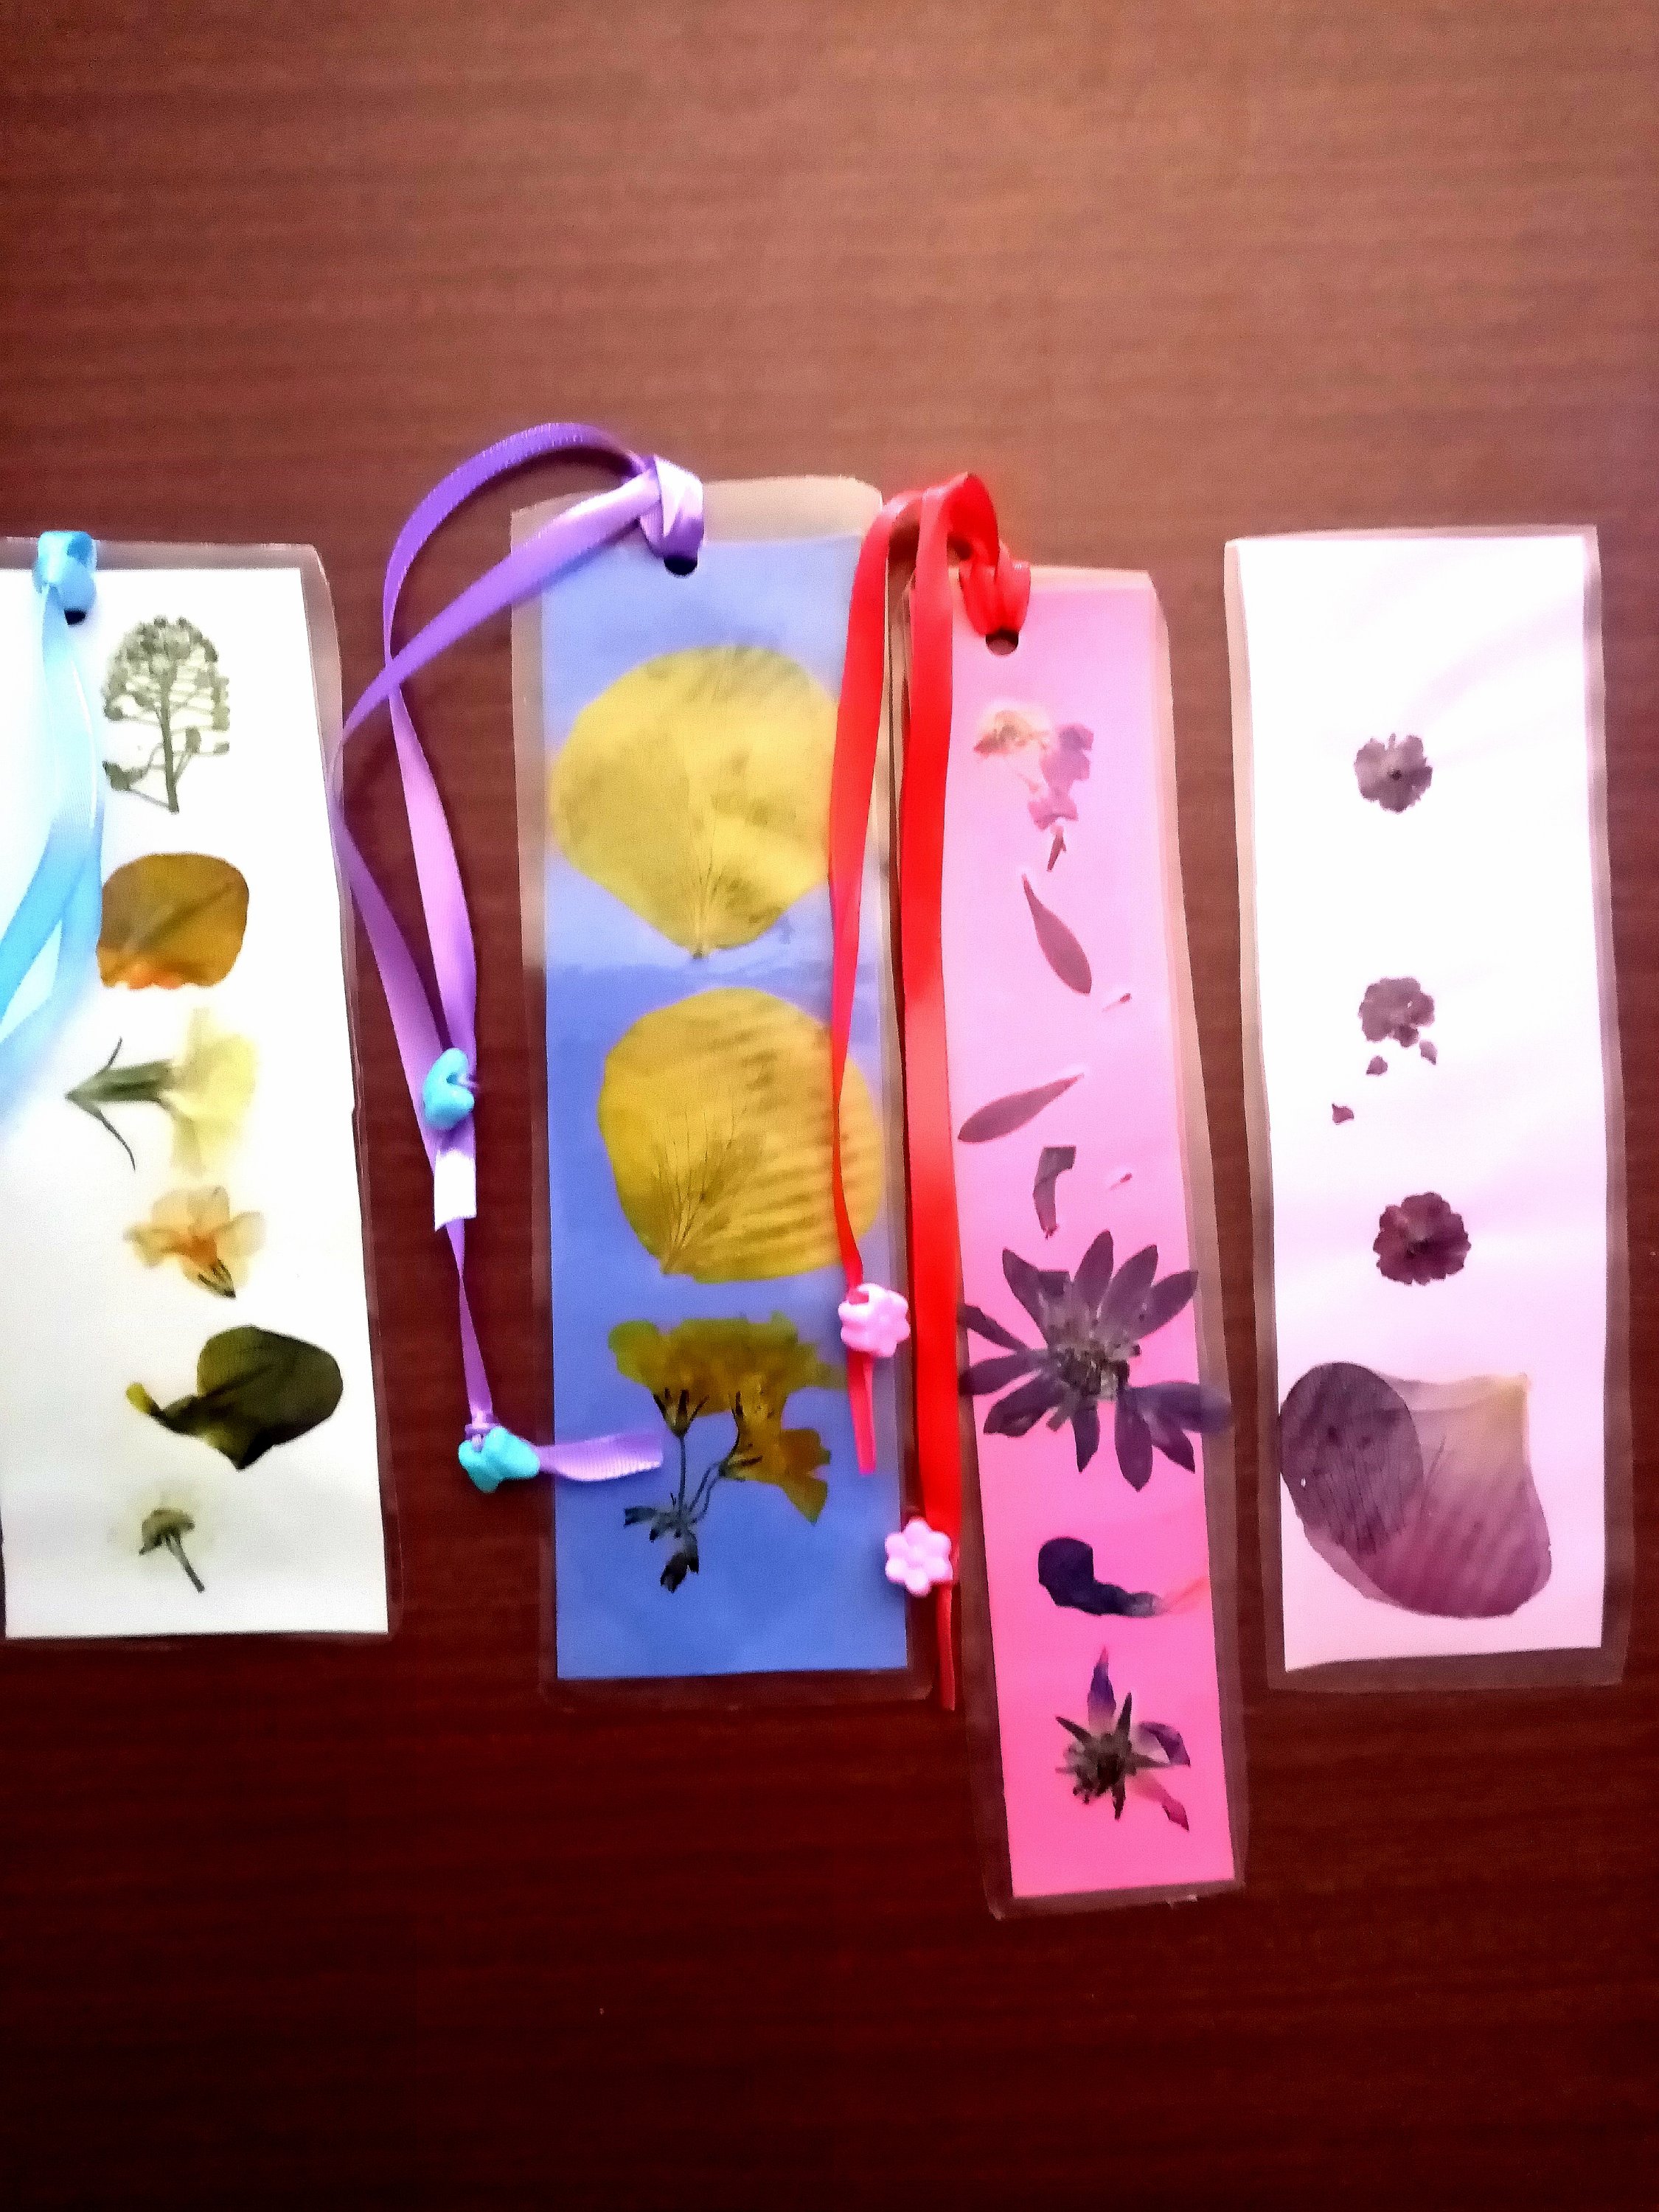
We very much enjoyed using our flower press! We used our pressed flowers to make beautiful bookmarks.
Tip: Gather a variety of flowers on a sunny dry morning. Check flowers for dewdrops (moisture will impact the drying process). Avoid flowers that are very bulky i.e. cut the tips from lavender or choose rose petals rather than a whole rose. Remember that wild flowers, like oxalis, can be as beautiful dried as garden grown.
WHAT IS IN THE EXPERISENSE NZ SCIENCE EXPERIMENT HOMESCHOOL BOX?
This kit is all about having some scientific fun with experiments and adding in artistic flair. I love adding a kinaesthetic dimension to our learning! The box provides seven learning activities to do that are fully aligned with the NZ Curriculum and are highly adaptable to age, interest, and special needs.
The kit comes with a guide that outlines how to conduct each experiment and also provides information on the scientific principles being demonstrated. It’s a great way for kids to build on prior knowledge, as well as asking new questions!
The ExperiSense NZ Science Box sells for NZD$27 online; I’ve bought and reviewed a number of their boxes with this one being received free in exchange for an honest review.
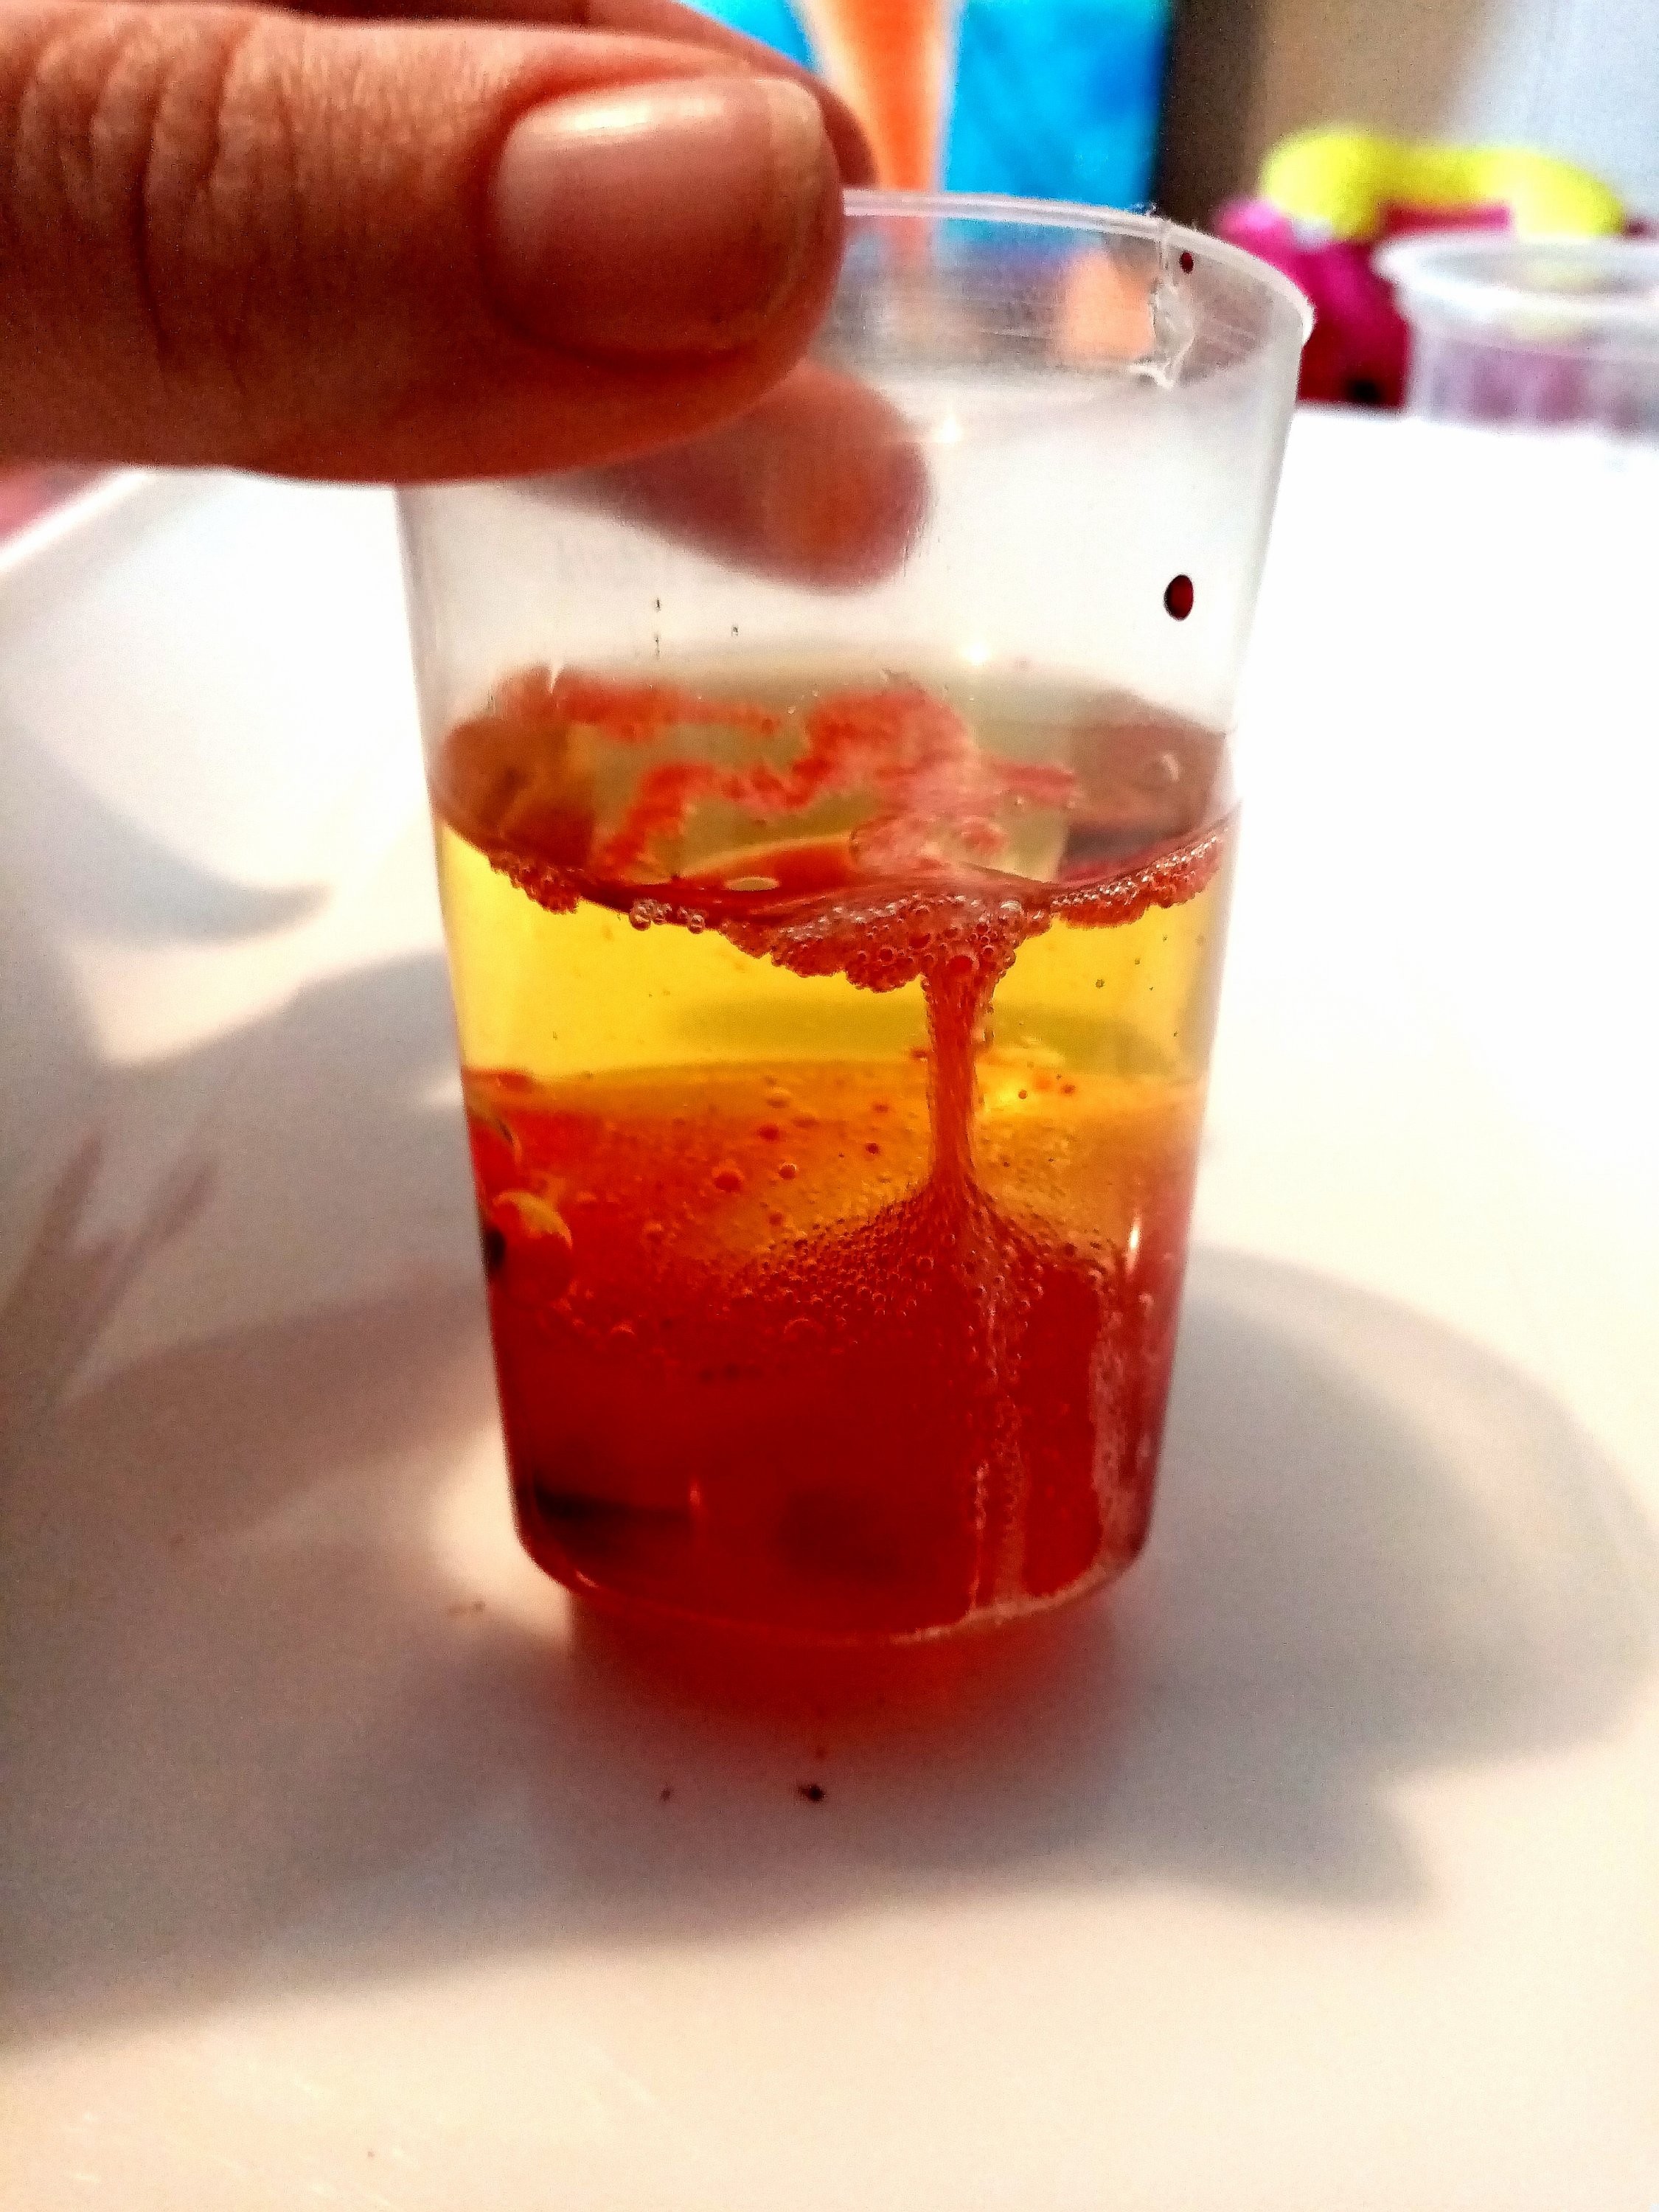
How to make your own lava lamp
Have you ever looked at a lava lamp and wondered how they work? Well, this experiment will let you make your own temporary lava lamp! We loved it to so much that we did it twice.
Fundamentally, it comes down to the fact that oil and water do not mix. This is because they are different densities (and oil will actually rise up to float on top of water – which you can see happen in the experiment). As you slowly drop food dye into the oil, watch how the droplets retain their own separate form (“immiscible” was our cool new word of the day). Once water is added, the food dye will slowly dissolve into the water but differences in density mean the oil will rise to the surface.
The magic happens when carbon dioxide gas is created by introducing a fizzing tablet! The chemistry being demonstrated means that as the solid tablet dissolves, bubbles of water-and-gas raise to the surface. As the carbon dioxide gas dissipates, density changes causing the bubbles to sink. FYI – in a real lava lamp what you are watching is caused by thermodynamic changes (i.e. the application of heat).
In our first experiment, we used 1/4 tablet, red + yellow food dye, the oil provided, and the cup provided. In our second experiment, we used 3/4 tablet, a recycled glass jar, our own kitchen oil, the blue dye provided + some red dye.
Extra Activities
The lava lamp experiment looks at both density and states of matter. You may want to explore these further with simple experiments such as:
Why do things float or sink? A great way to start is in natural environments, such as a river or beach, by gathering up materials such as driftwood, shells, rocks, and mangrove pods to experiment with. At home, consider experiments with buoyancy such as why an orange will float (unless you peel it!).
How does water demonstrate states of matter? I love using water to demonstrate how something can so easily change forms between solid > liquid > gas. A fun experiment relating to buoyancy is to freeze water in a bag (food delivery boxes can be great sources of pre-formed ice) and create an iceberg diorama in a sink or bucket; have fun seeing what toys can balance on the iceberg before it melts!
Oil and Water Painting
We really enjoy making marbled paper using shaving foam; this was our first time using oil. We used a large plastic tray and simply recycled our lava lamps (with some extra colours dropped onto the surface of the oil). We chose to use our own paper and dye, in addition to the card stock provided, and made lots of beautiful art work.
Tip: Have layers of cardboard and paper towels beneath your art so that it can absorb the excess oil. We waited until the next day (once the dye was dry) before layering the artwork between layers of paper towels and popping in hot water cupboard to finish drying.
Magic Trick: Once the paintings are completely dry, the oil will have changed the appearance of the paper but any ‘virgin’ paper will still appear white. If you hold the art up to a bright light then not only can you see your beautiful colours clearly but any ‘white’ corners will disappear and smokey ‘shadows’ will appear in their place instead!
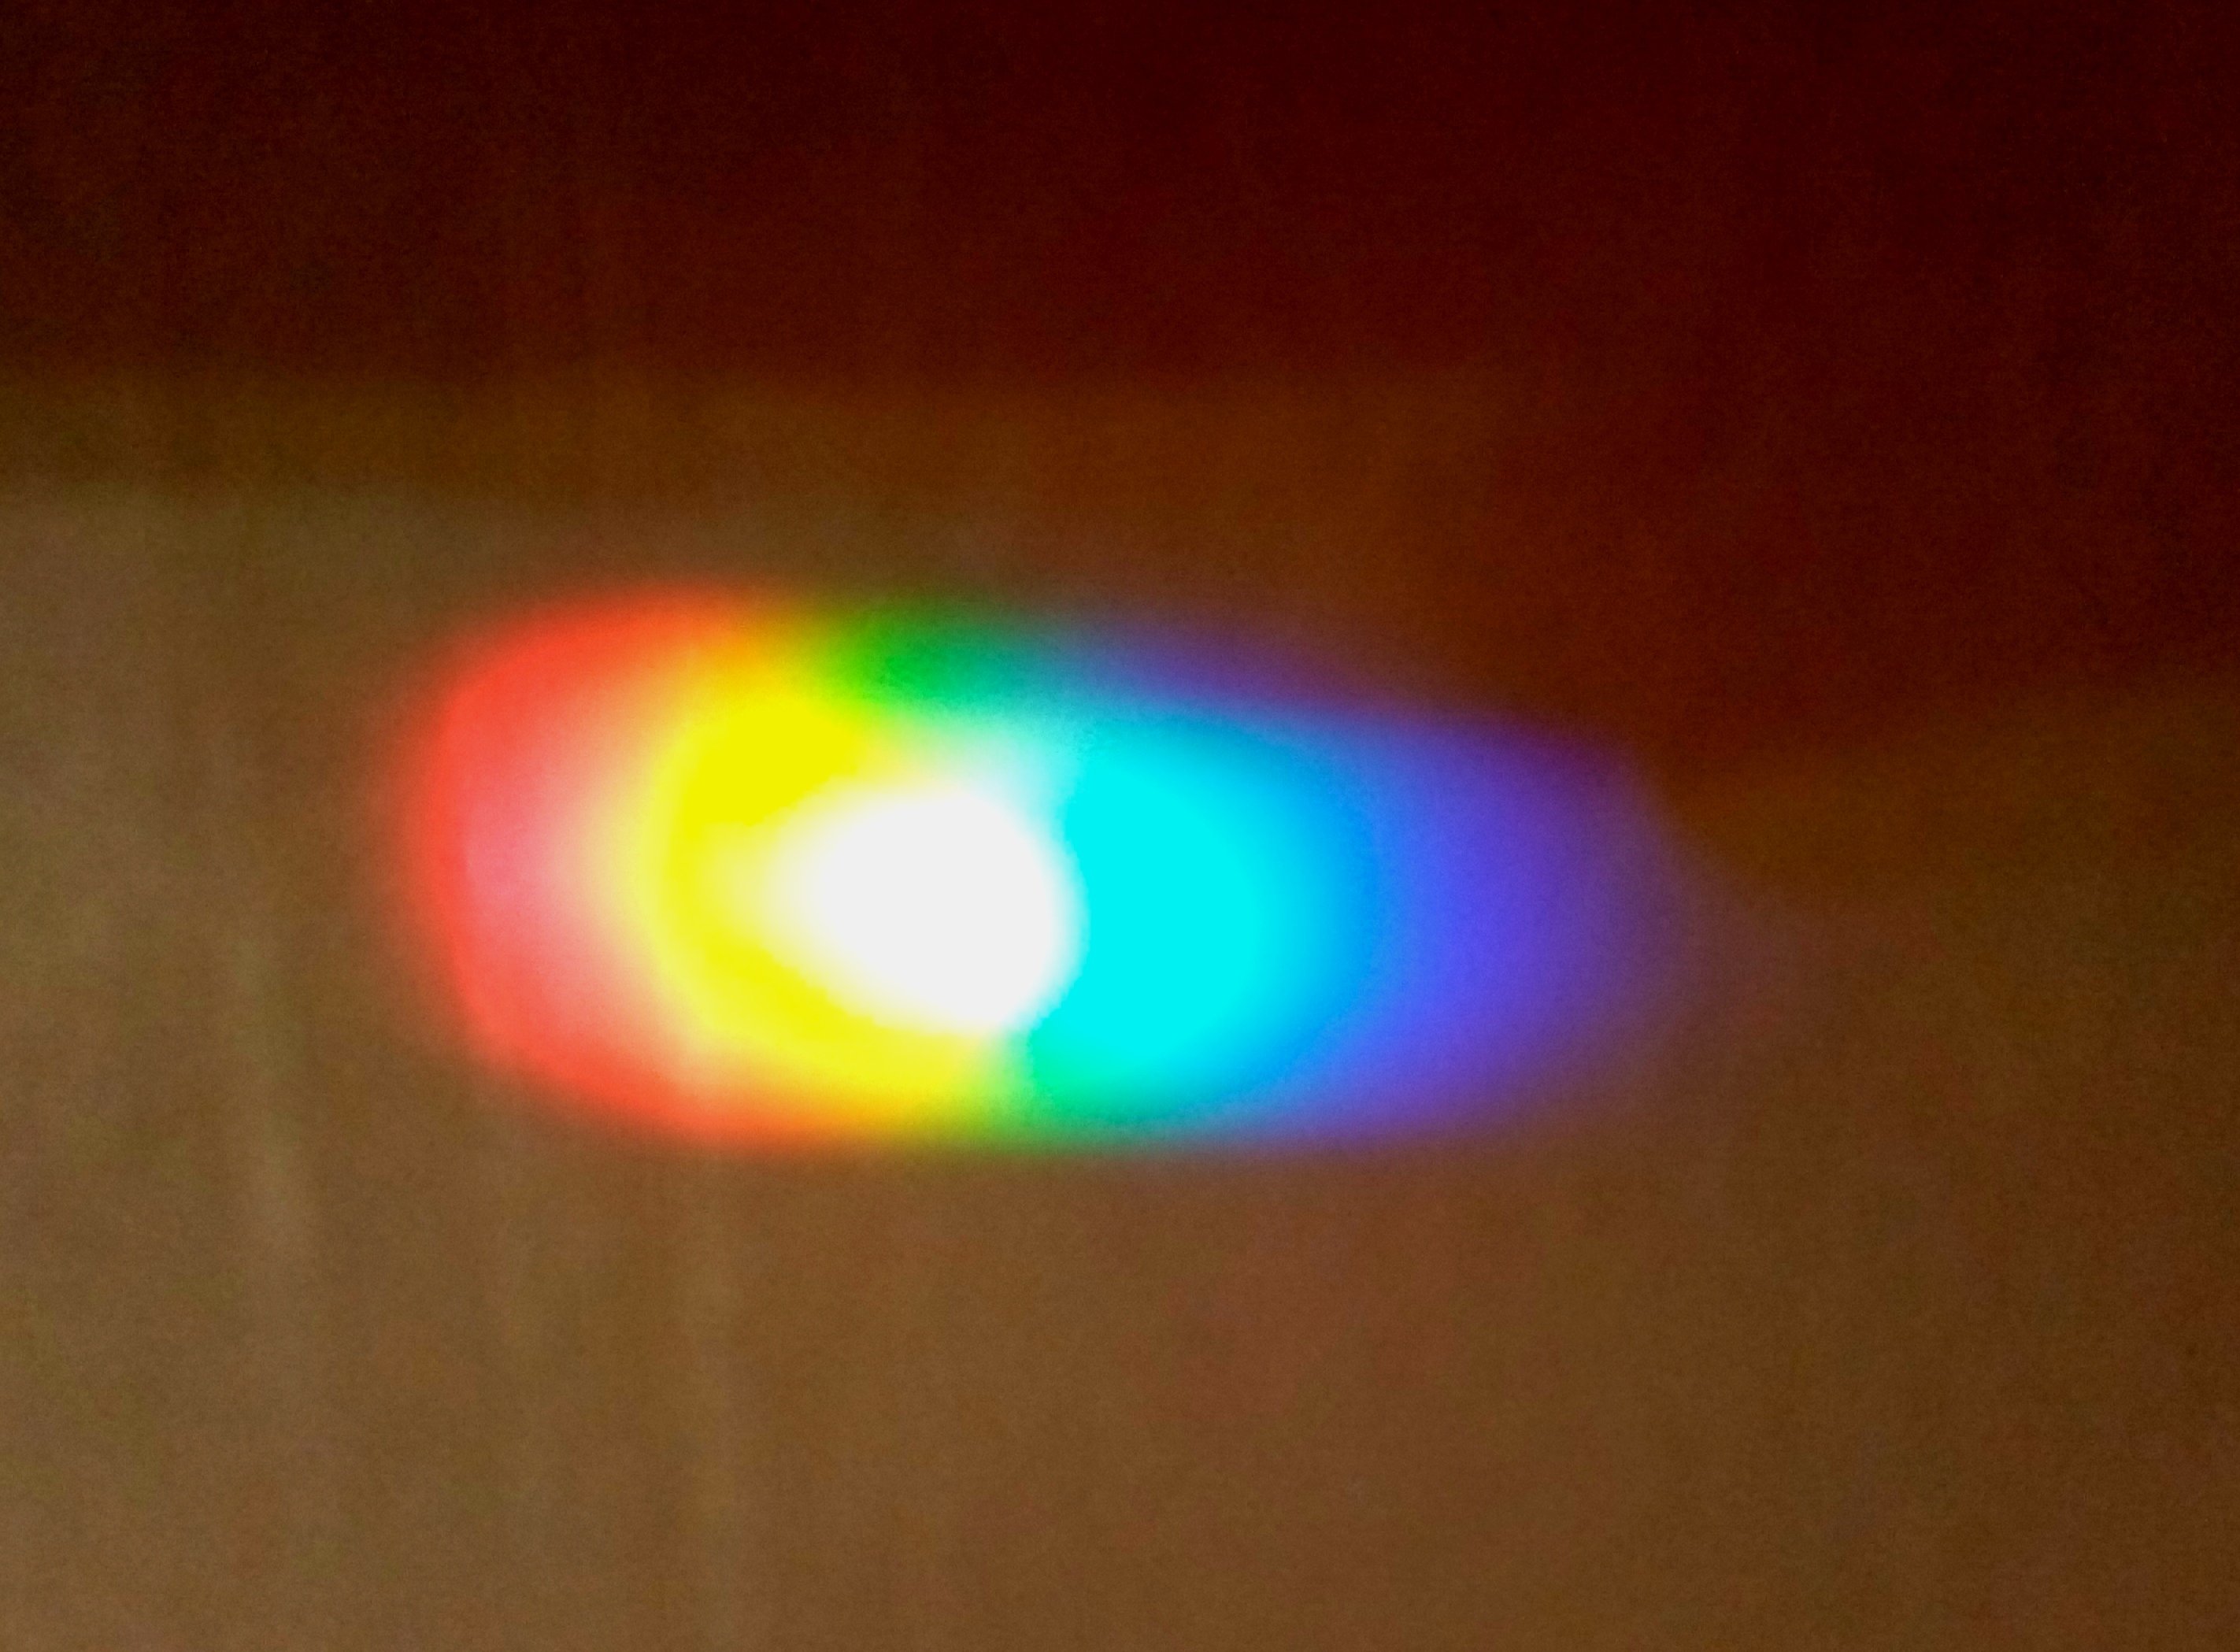
How to make a rainbow
The kit comes with a very small prism that you can use to split light. As light enters the prism, it bends, and the different wavelengths will create a spectrum of colours as they exit. For us, the light exited onto the opposite wall and we found creating some shadow helped us see it more clearly. We lined up the prism with the sun after catching a wonderful rainbow that was refracting through our fish tank!
The kit also comes with a second rainbow experiment where a bendable ‘mirror’ is placed in a glass of water to reflect and refract light. We found this one a bit tricky but we did achieve a little colour splitting. Miss 6 actually most enjoyed casting shapes of reflected light onto the shadowed ceiling!
Extra Activity
Want to combine rainbows AND learning about the density of different liquids? Check out this fun experiment to make a sugar rainbow!
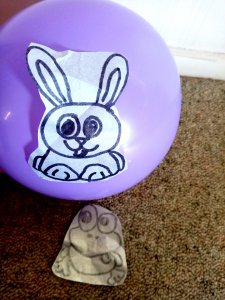
How to experiment with static electricity
The kit comes with a balloon, templates, and craft paper to make your own ‘jumping bunnies’ or frogs; we also had fun designing our own creatures in a variety of sizes. Rubbing the balloon energetically on clothes creates a temporary static charge which allows your creations to ‘jump’ or ‘dance’.
Extra Activity
Want to see and feel another invisible force? Pop one end of a straw partially into a balloon and secure the neck with a tight rubber band. Blow down the straw and watch the balloon inflate (just like a lung!) and then feel the air exit again out the straw! Talk about how some natural forces we can’t see (like gravity, or air in motion) but we can observe their effects on the world around us.
How to make magic tea
Beautiful colour changing butterfly tea!
The kit comes with two experiments for exploring acids and bases. One is experimenting with litmus paper and the other is making butterfly pea flower tea. I find the tea has a light floral flavour and like to drink it with a little liquid honey. When you brew it, the tea comes out a stunning vibrant blue; the addition of a little freshly squeezed lemon juice (changing the pH level) magically makes it a purple-pink colour!
Tip: Wet litmus paper can leave a yellow mark on benchtops (easily removed with Chemco) so it’s a good idea to place the strips on a piece of white card.
Tip: Hot water will have a more dramatic effect (than cold) when added to a teaspoon of baking soda (alkaline) or a teaspoon of baking powder (acidic).
After watching how baking powder dramatically foams up when a little hot water is added, try making these light and fluffy scones and imagine how the baking powder helps the dough to rise when combined with the heat of the oven.
WHAT IS IN THE EXPERISENSE NZ BIOLOGY HOMESCHOOL BOX?
I purchased the ExperiSense NZ Biology Box for NZD$25 to add a kinaesthetic dimension to our learning about the human body. The box provides fun learning crafts to do that are fully aligned with the NZ Curriculum and are highly adaptable to age, interest, and special needs.
This is a great way for kids to ask questions like ‘What is in the human body?’ and ‘How does my body work?’. The kit proved to be fantastic value as the book alone retails for around NZD$20. It’s a well laid out hardback book, aimed at primary school aged children (KS1/KS2), with heaps of colour photos (as well as cool radiology and specialist pictures from hospital imaging).
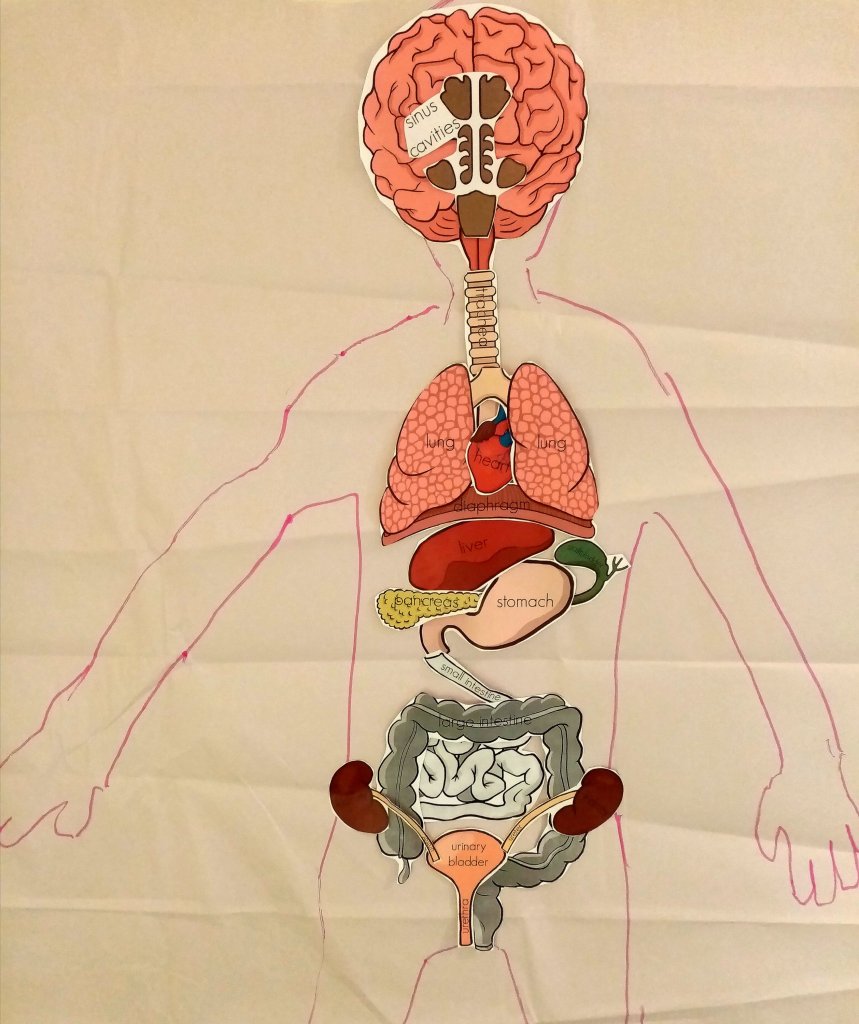
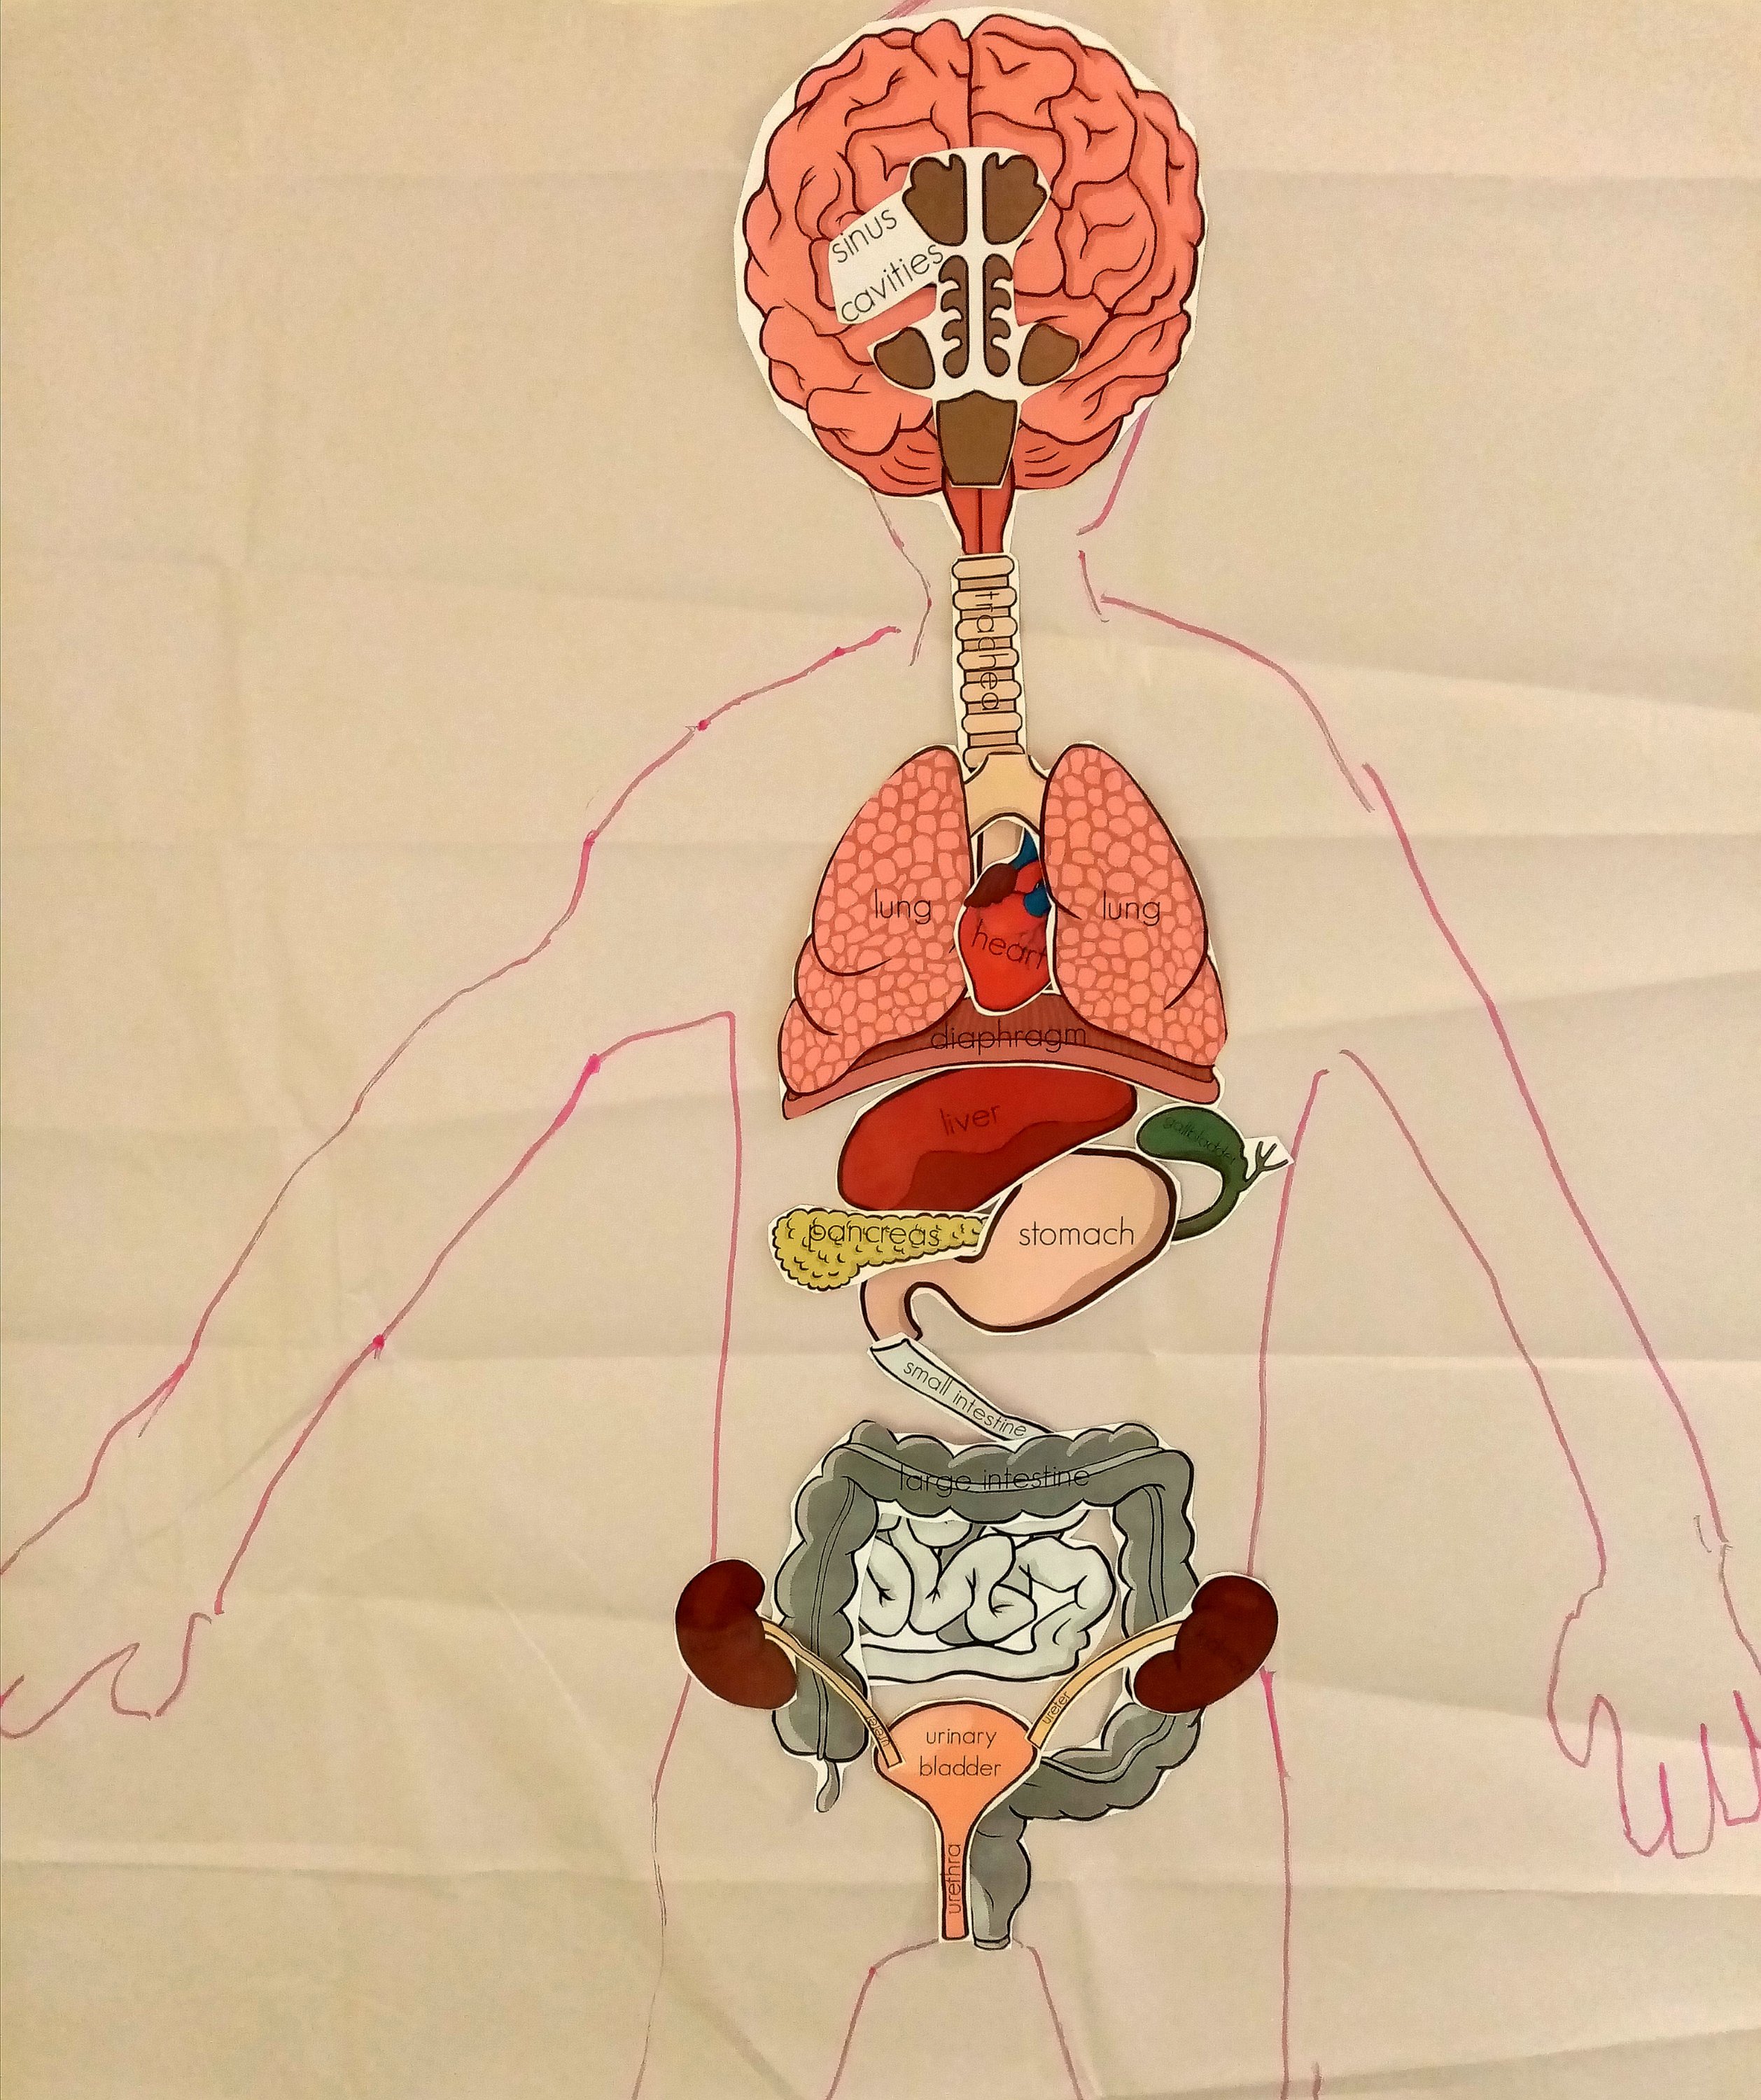
What are the organs of the human body?
Miss 6 loves the Tinybop Human Body app so was keen to jump straight into having a life-size drawing of herself made on the paper provided. She then did a pretty good job of guessing where the internal organs (supplied) should get blu-tacked on and discussing what human organs do. Honestly, the two she wasn’t sure of (pancreas and gallbladder) I had to google myself to check where to place them. She’s pretty stoked that it’s hanging in the hallway along with other artwork from this box.
We also did reading about human organs in the book provided and did activities about them in our Factivity book. She also made up some pretty cool song and dance routines to demonstrate how organs like the human heart work.
The optional extension activity is to draw an additional system (such as the circulatory system or the nervous system) on the human body and talk about what organ systems these link to and how they support their function.
What does my skeleton look like?
We read about bones in the Human Body book and then did an x-ray activity in our Factivity book. One of the x-ray stickers was of a human hand – which perfectly tied in with our next craft.
The kit provides black paper, white paint, and instructions on creating your own radiology x-ray of a human hand; you will need to supply cotton bud sticks and strong craft glue. Tip: if you add water to the paint you will only need a little amount! Our first learning-by-doing part of the morning was realizing that thinning the paint too much simply has it oozing beneath the placed hand! Our second attempt went much better and we decided that using a smaller brush for flicking the paint also works better than a large brush.
There are lots of ways that kids can approach this activity. Miss 6 decided to have our ‘hand x-ray’ sticker in front of us and count how many bones should get placed for each finger. She was also fascinated by the negative space that our art created and we went on to create more body themed art along this theme.
We also used our poseable mannequin to explore the interplay between bones, joints, muscles, tendons, and ligaments. We had fun taking turns posing the figure while the other person tried to replicate it in real life. We also used it when looking at how to draw a person.
What is in human blood?
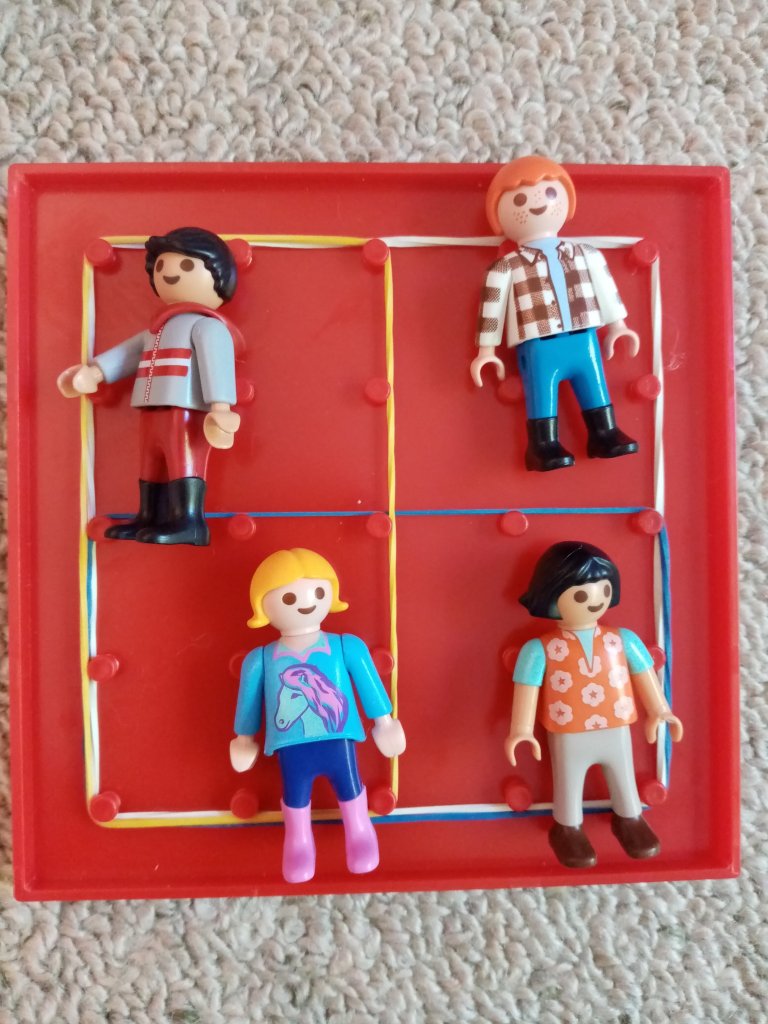
Human blood is made up of several components: red blood cells, white blood cells, platelets, and plasma. We’d already had fun learning about blood in our Factivity book – including exciting face-offs between red and white blood cells in a Tic Tac Toe championship.
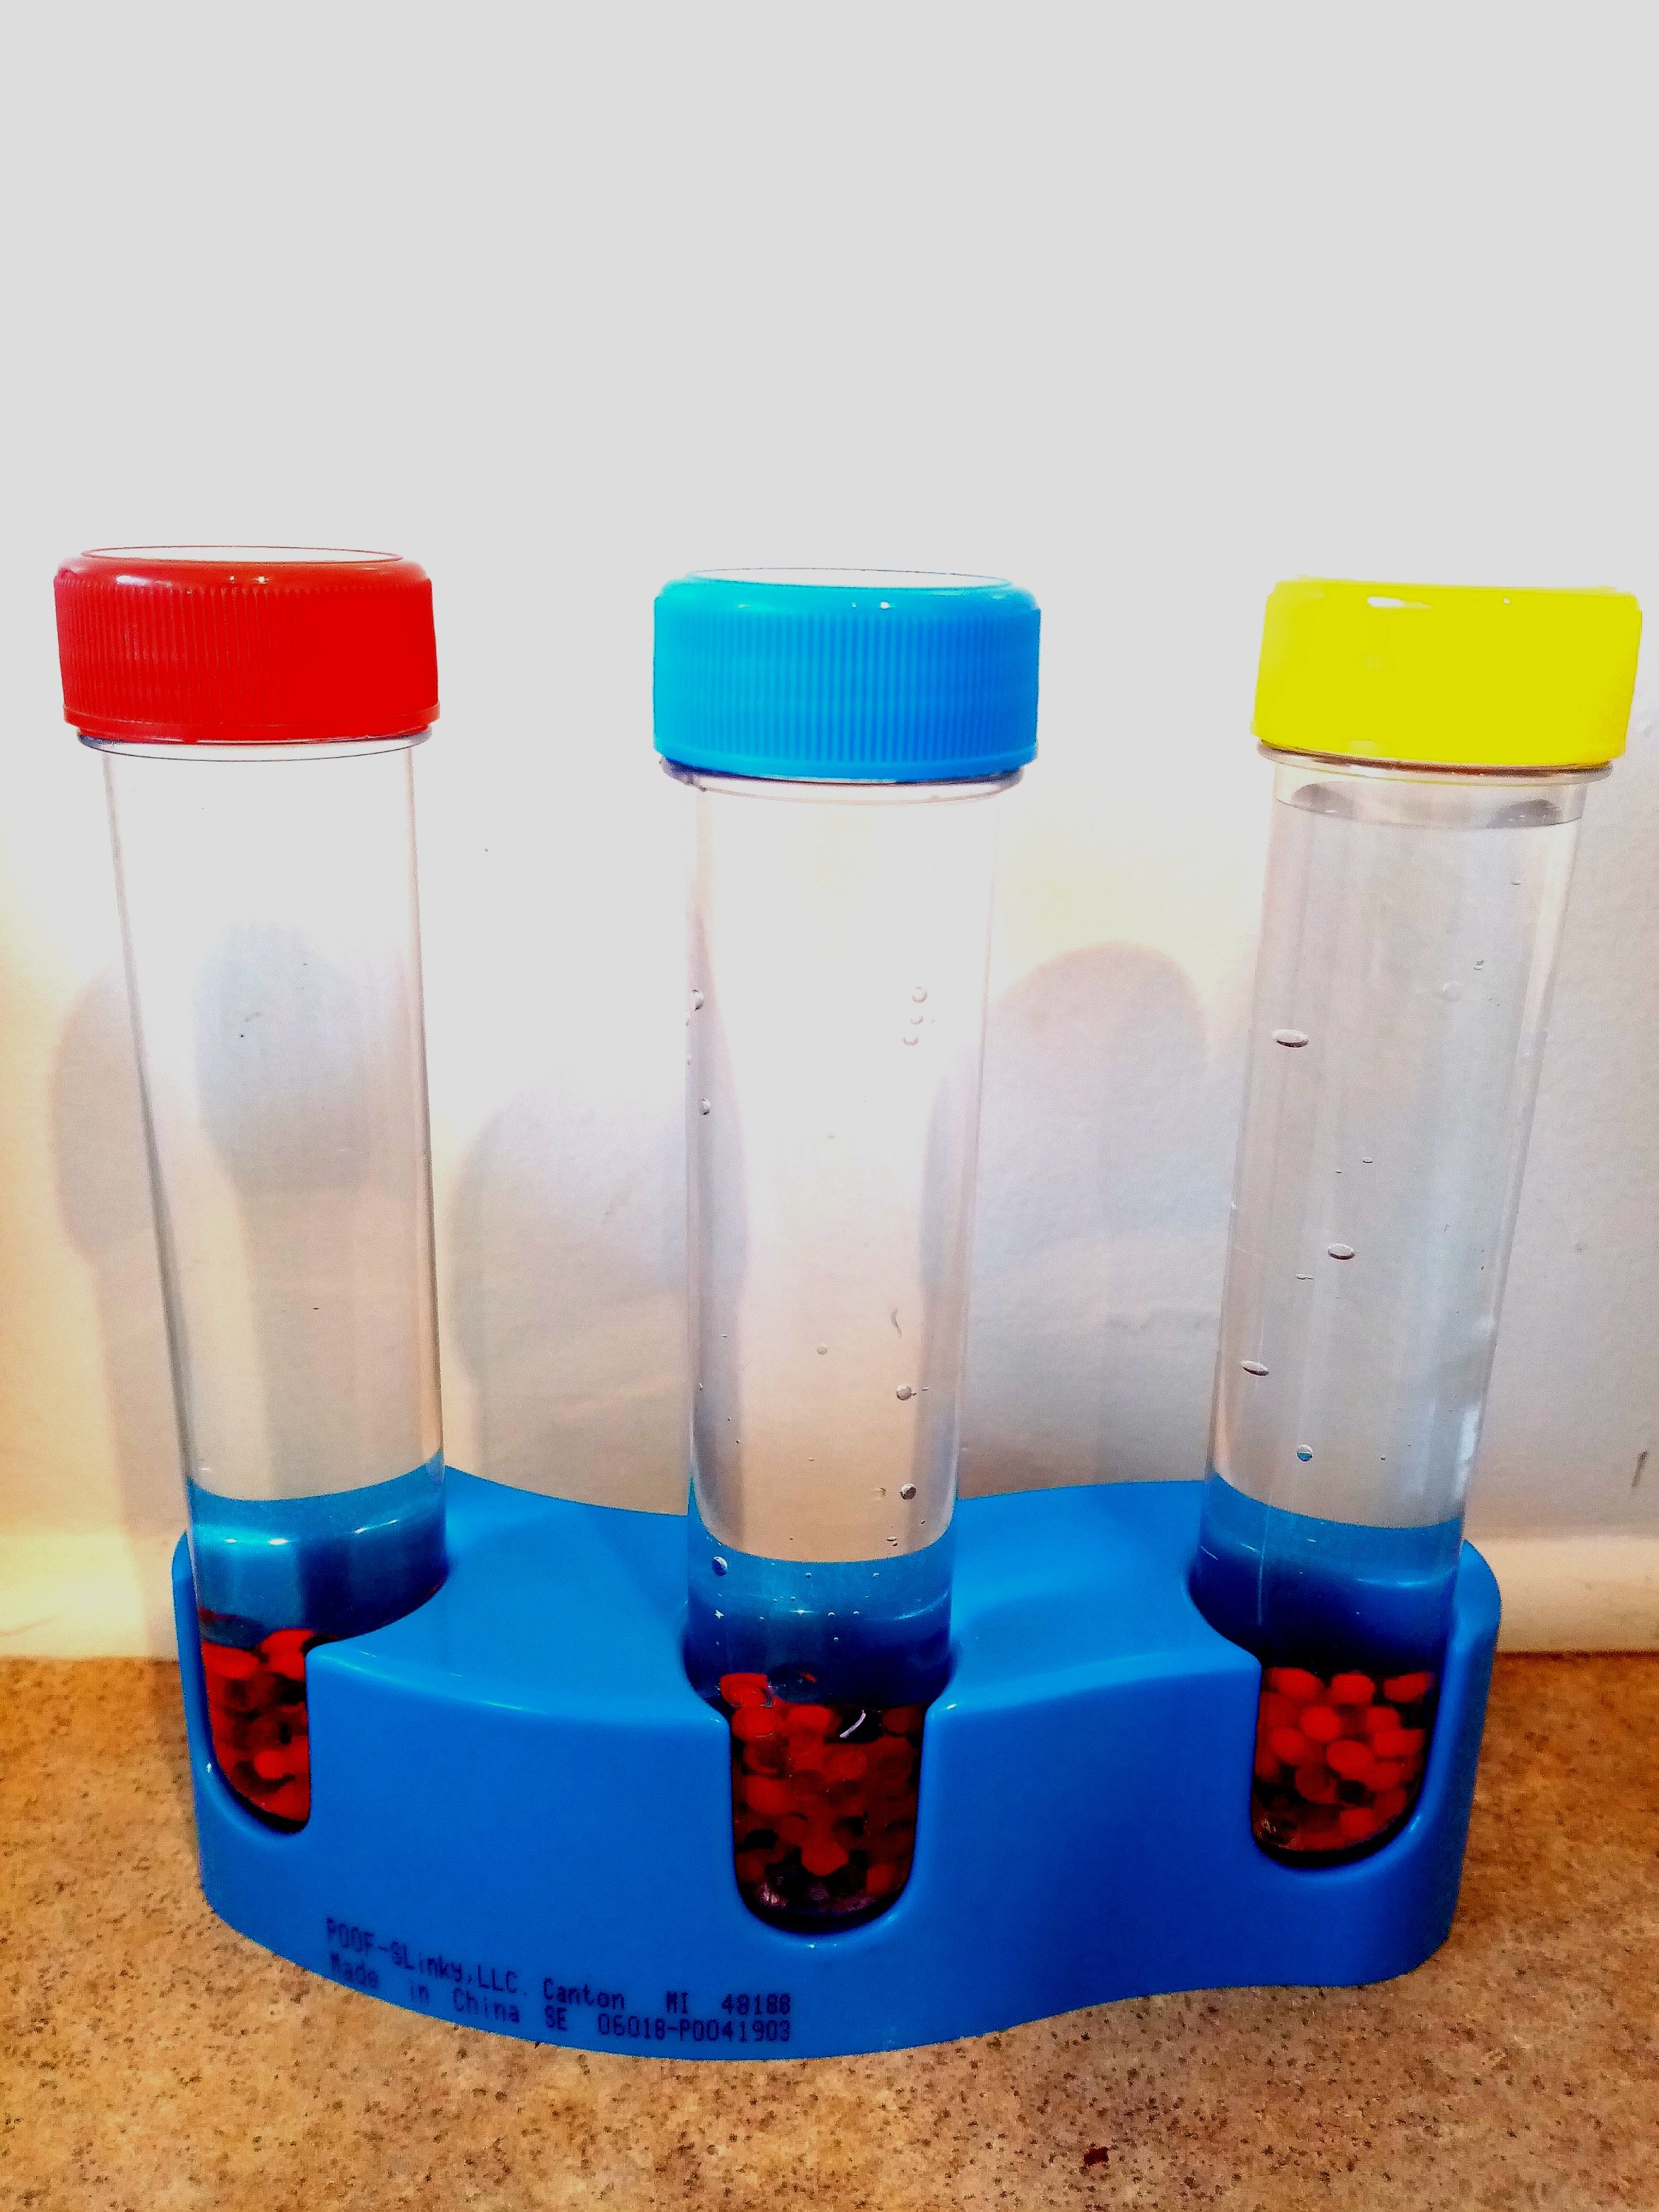
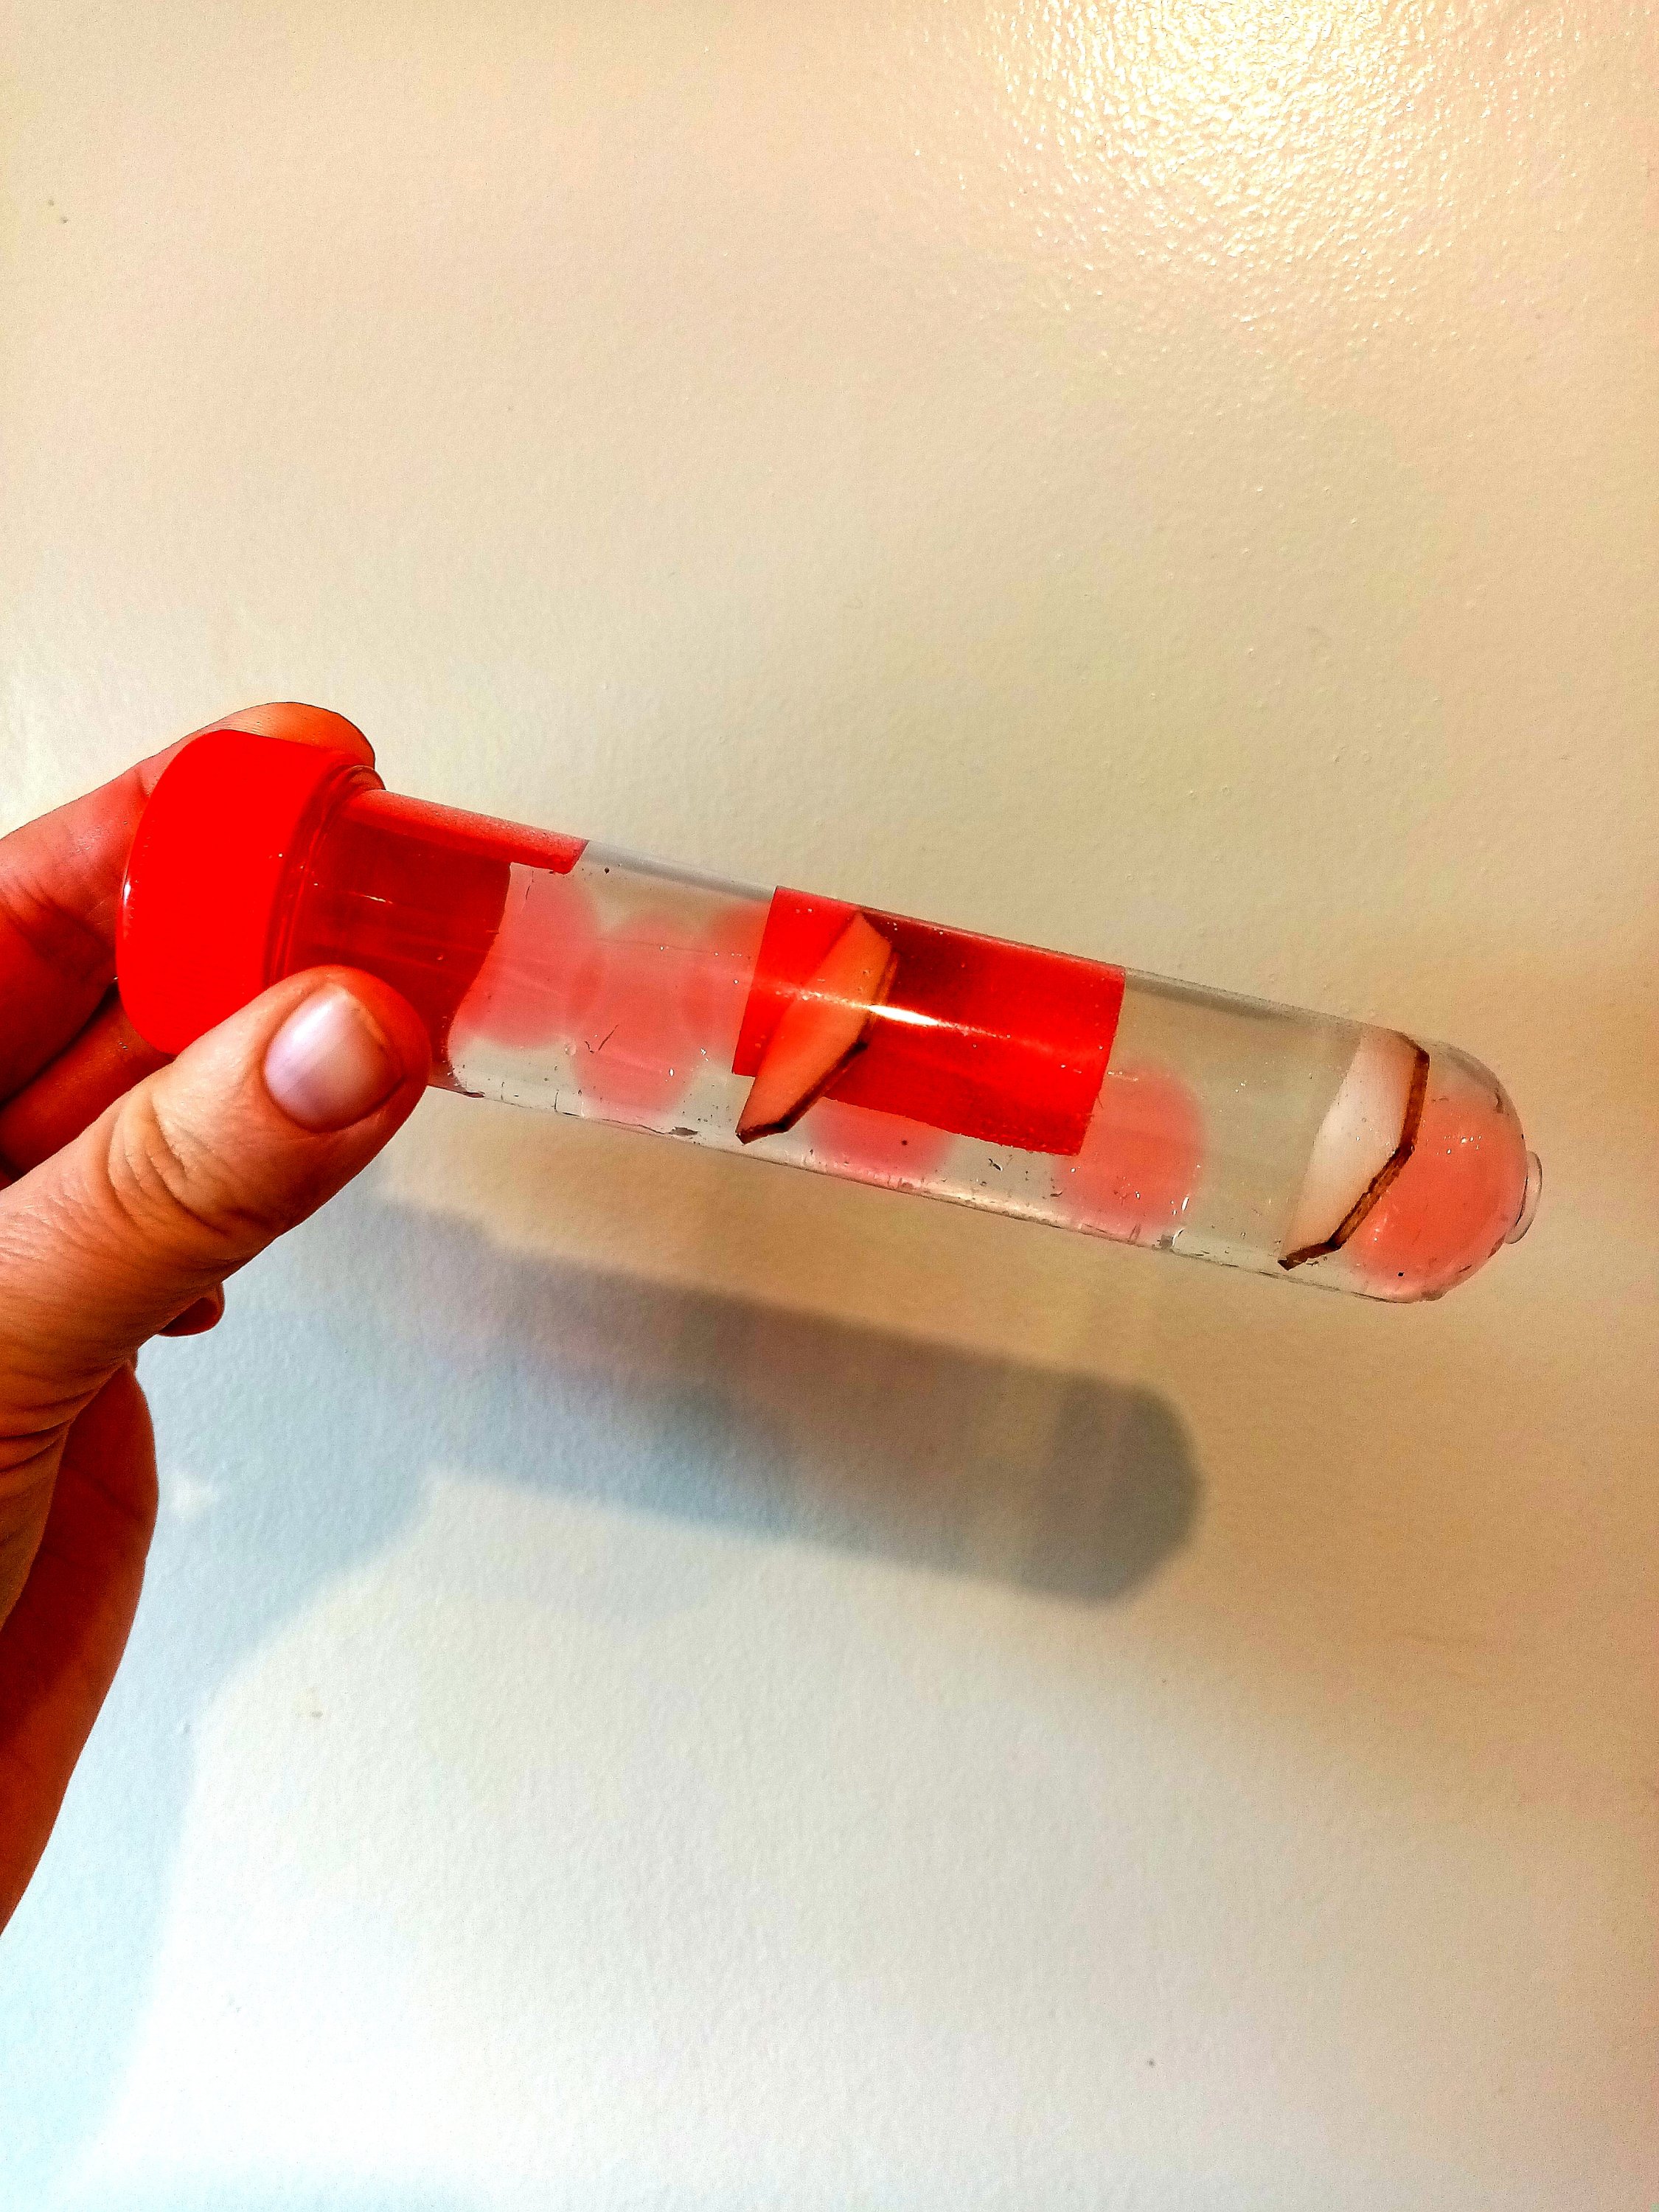
The kit provided us with the materials needed to make our own sensory exploration of the human blood stream. We were supplied with both red and white water beads (Orbeez) which we used as red blood cells (pretending these were a mix of ones carrying oygen outward to the body, and depleted ones returning to get pumped to the lungs); red foam platelets for clotting, and wooden white cells for fighting infection. You’ll also need a container for soaking them in water; we had fun using our test tubes but as they grow dramatically we had most of them in a plastic tub.
We had lots of fun making this up and playing with it in the garden. We found the water beads were also useful for exploring other scientific principles such as: refraction of light; gravity, momentum, and incline surfaces; and applications of force. The last one included everything from experimenting with how much weight the water beads could support (i.e. like lily pads), the best way to crush them, how many could fit into various containers, and what size funnel they would fit through!
How to perform a simple magic trick
Squawking chicken magic trick!
Miss 6 enjoyed watching Disney’s Magic Camp so she was excited that the final activity in the box was a simple magic trick to help us explore amplification and hearing. We did a series of experiments to explore how the cup helped to amplify sound and really did get a chicken like sound (the secret being to have a highly waxed flattened strip at the end of the string and using a damp bamboo cloth). We also talked about natural environments we have visited the shape of the land has created a natural amphitheatre that amplifies sound.
Wondering what to do with those candles afterwards? We lit ours (parental supervision required) and discussed how the candle demonstrated changes to states of matter and what the causal factor was (heat). We also toasted marshmellows and created another magic trick – using paper, the melting candle wax, and dye to create simple batik art on paper!
WHAT IS IN THE EXPERISENSE NZ SPACE HOMESCHOOL BOX?
The wonderful thing about homeschooling is the flexibility that it provides for exploring learning through fun, hands-on projects that let you cater for your child’s individual learning needs. There are many different learning styles and not all are catered for by task-orientated repetitive worksheets. For those that are highly visual and hands-on, finding alternative ways to engage in learning concepts is very important.
I purchased the ExperiSenseNZ Space Box for NZD$28 to add a kinaesthetic dimension to our learning about space. The box provides fun learning crafts to do that are fully aligned with the NZ Curriculum and are highly adaptable to age, interest, and special needs.
The kit comes with craft materials to explore our solar system through five activities. It anticipates that you will also have access to books / resources that provide additional learning information and you may want to supplement with your own craft materials also (we did).
Exploring the Solar System
We spent a few days creating and painting our own solar system (comprised of: Sun, Mercury, Venus, Earth, Mars, Jupiter, Saturn, Uranus, Neptune). The kit comes with paint (red, UV yellow, blue, green, black, white) but we also supplemented with our own paint, glitter, and tinsel. We loved experimenting with the UV flashlight that is included!
We then took one of our Kiwi Crate boxes; painted it black, added silver and iridescent glitter over white glue; and created a solar system background that was a perfect fit for helping our solar system to stand safely while being interacted with.
Exploring the Sun and Moon
Creating the sun
I’ll confess that we jazzed this activity up a bit with materials of our own! Miss 6 wasn’t keen on painting the iceblock sticks with the UV yellow paint so instead we used the yellow yarn and big wooden beads that were provided and then bulked it out with our own multi-coloured yarn and created a Pippins-style sash of additional beads 😀
What I liked about the big wooden beads that are provided is that they can be used to create a wonderful ring for then hanging your finished display in the window. Draw the curtains in the evening and – Voila! – you put the sun to bed.
We also used the globe we’d created with our KiwiCo ATLAS crate and a lamp (as the sun) to explore the Earth’s relationship with the sun and how this creates both night/day and seasons.
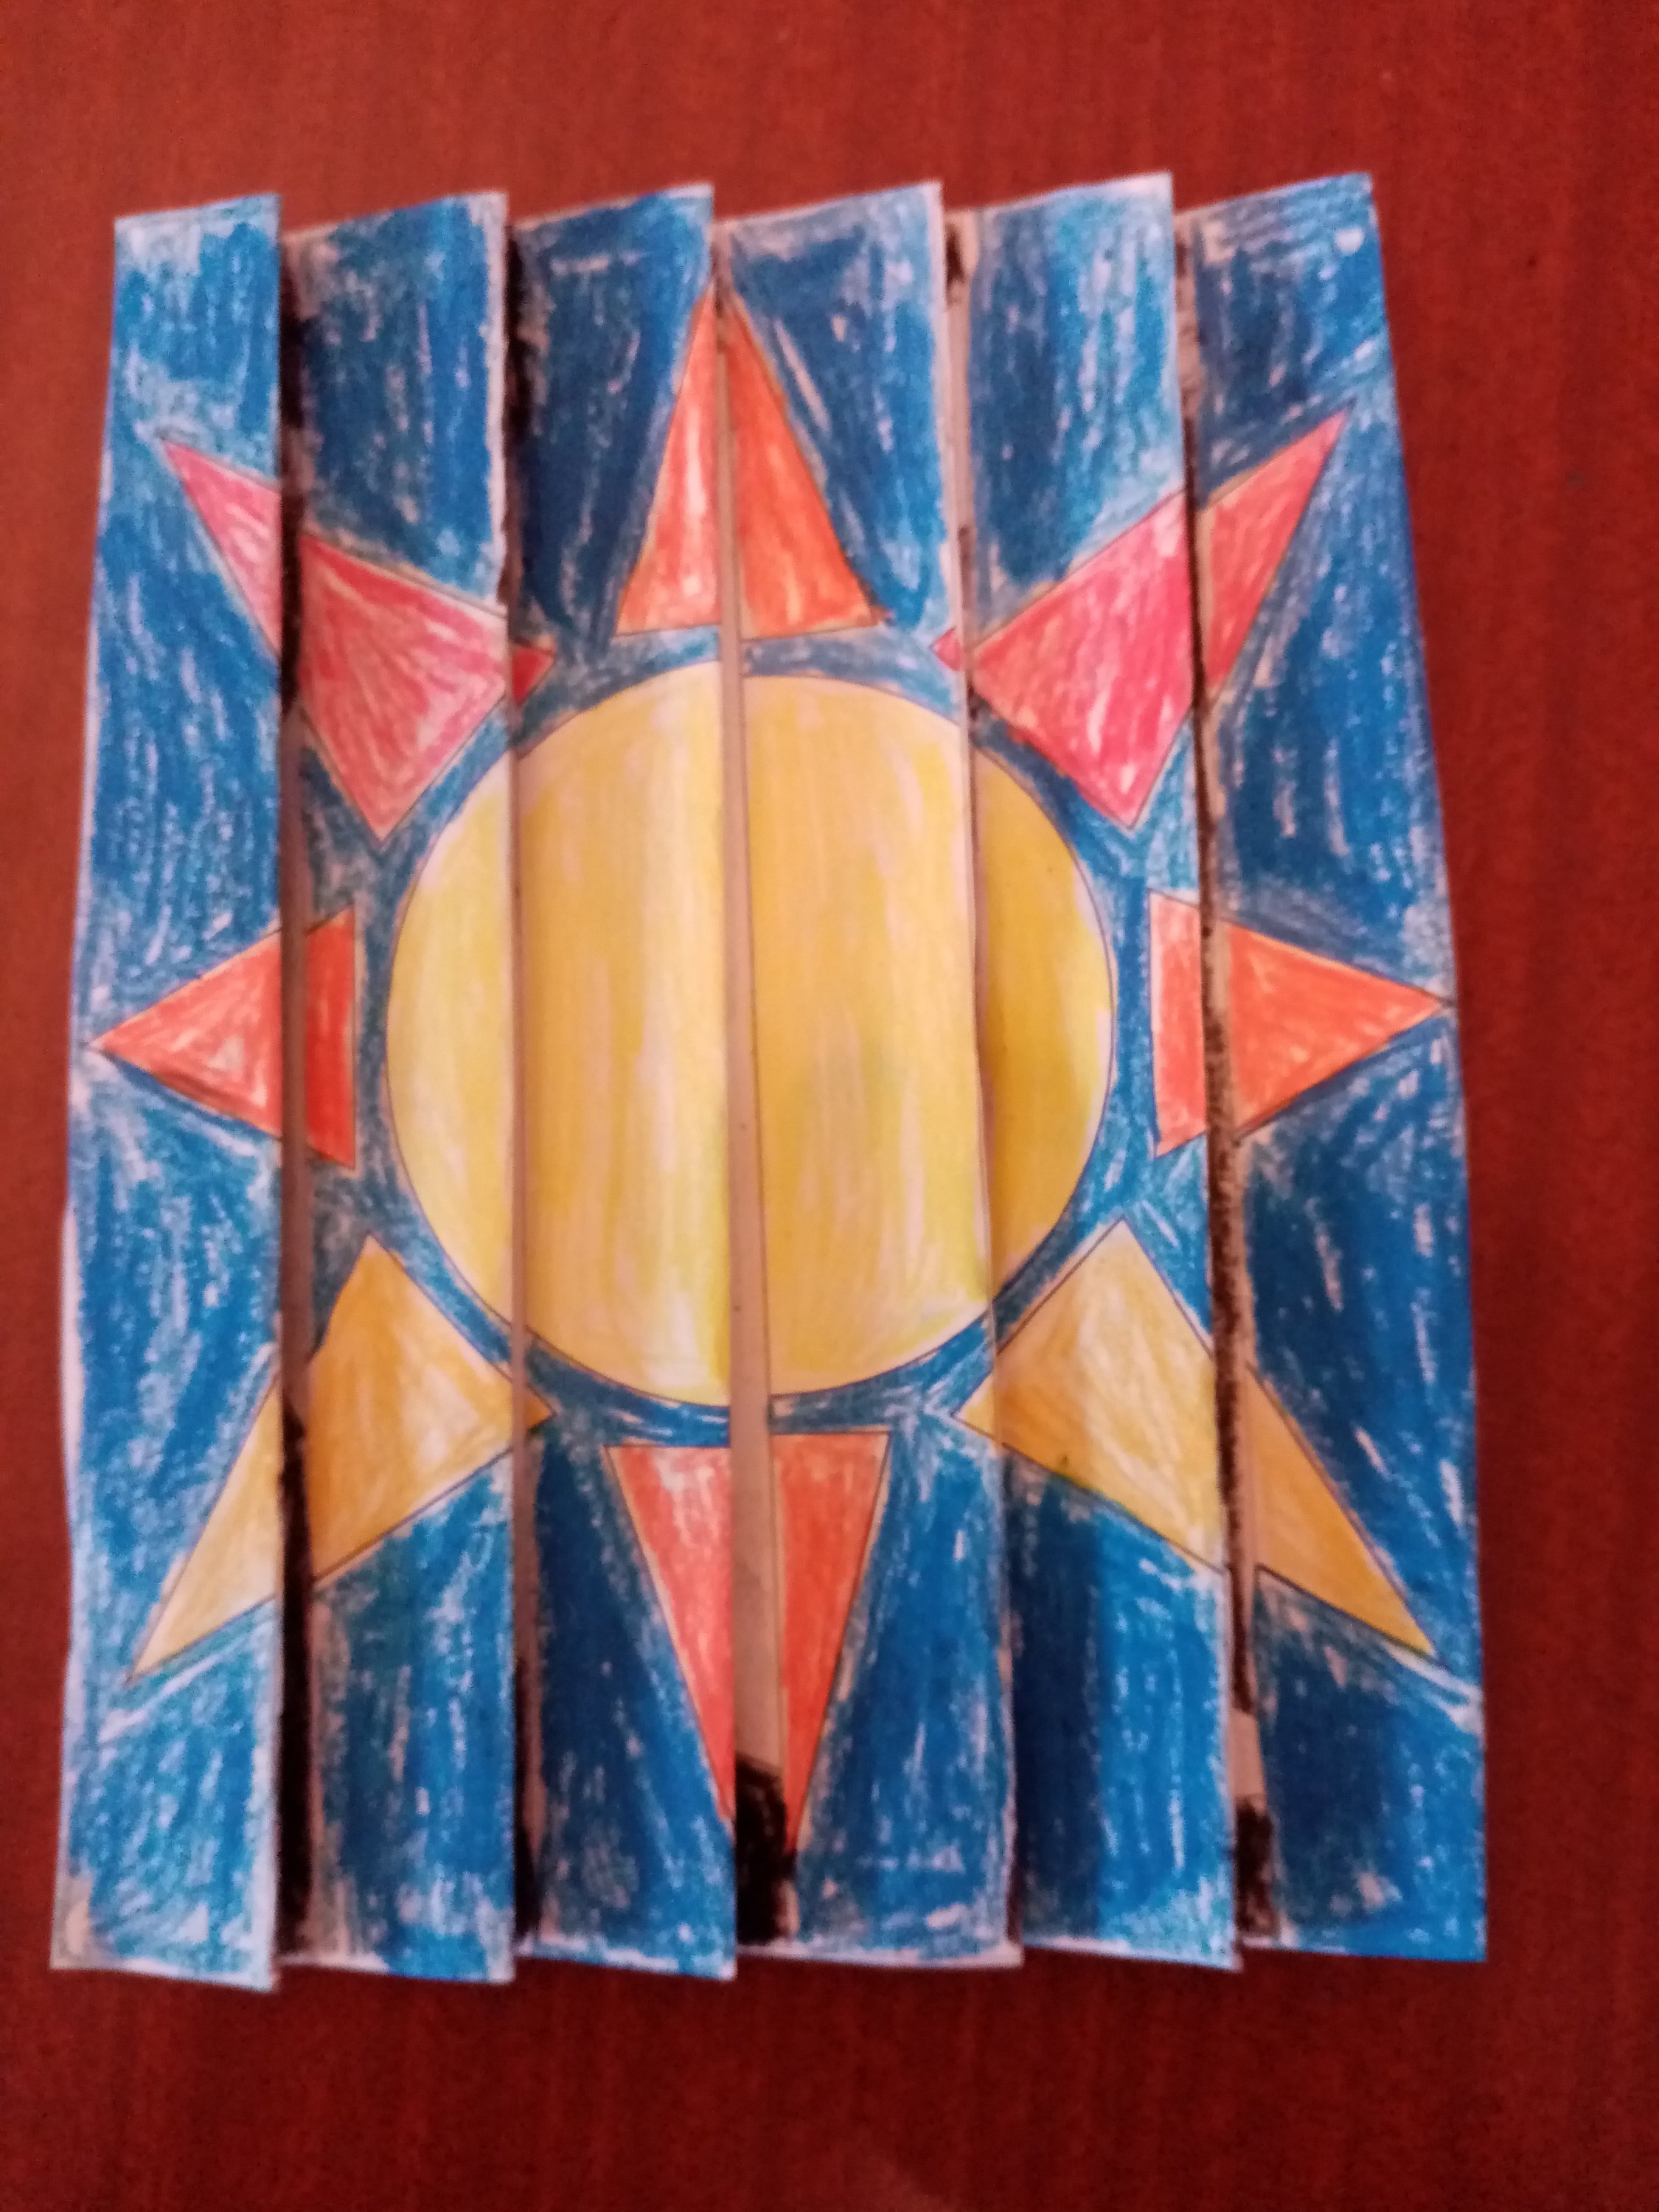
Agamographs are fun to do! Colouring in the alternating strips is a visual processing exercise and then there’s the fun of folding them to reveal the illusion. These kids crafts are inspired by the works of artist Yaacov Agam.
Craters of the Moon
Our own moon art under UV light!
There is a visual provided showing the phases of the moon as well as an artistic rendering of the moon’s face. Kids can then keep their own moon journal for a month to watch how the moon’s appearance changes in the night sky (note: this is a great winter activity when it’s dark earlier!).
They can also mix up their own gray paint and using the tinfoil provided stamp out craters on their own moon.
Tip: This moon craft looks awesome under UV light and the leftover dark grey paint (applied very lightly) makes wonderful hand prints – we picked up great ridge-line details forensics style!
I found it to be a really good kit for Year 1 and Year 2 (KS1) with minimal parental help required. Slightly older primary school kids (KS2) may still enjoy the kit and could always use the materials as a springboard for slightly more complex presentations, such as adding a foam base and some mathematical calculations for their solar system creation: like this.
Tip: Consider setting aside a set of messy play clothes for this space project. We used a lot of acrylic paints for ours and the paint clothes were beautifully coloured with hard work by the end of the week!
What is in the ExperiSense NZ Numeracy Art Homeschool Box?
The wonderful thing about homeschooling is the flexibility that it provides for exploring learning through fun, hands-on projects that let you cater for child’s individual learning needs. There are many different learning styles and not all are catered for by task-orientated repetitive worksheets. For those that are highly visual and hands-on, finding alternative ways to engage in learning concepts is very important.
I purchased the ExperiSenseNZ Numeracy Art box for NZD$25 because it allows key numeracy and mathematics learning concepts to be explored in a fun way by using art. It’s fully aligned with the NZ Curriculum and highly adaptable to age, interest, and special needs. I also purchased a geoboard for added fun!
The kit comes with a teaching guide for 12 different activities, most of the materials you’ll need for the activities (assuming you’ll have basics like scissors, glue, and felts at home), and a highly convenient plastic storage case!
Let’s Count!
Division and sharing
Fractions (parts of a group)
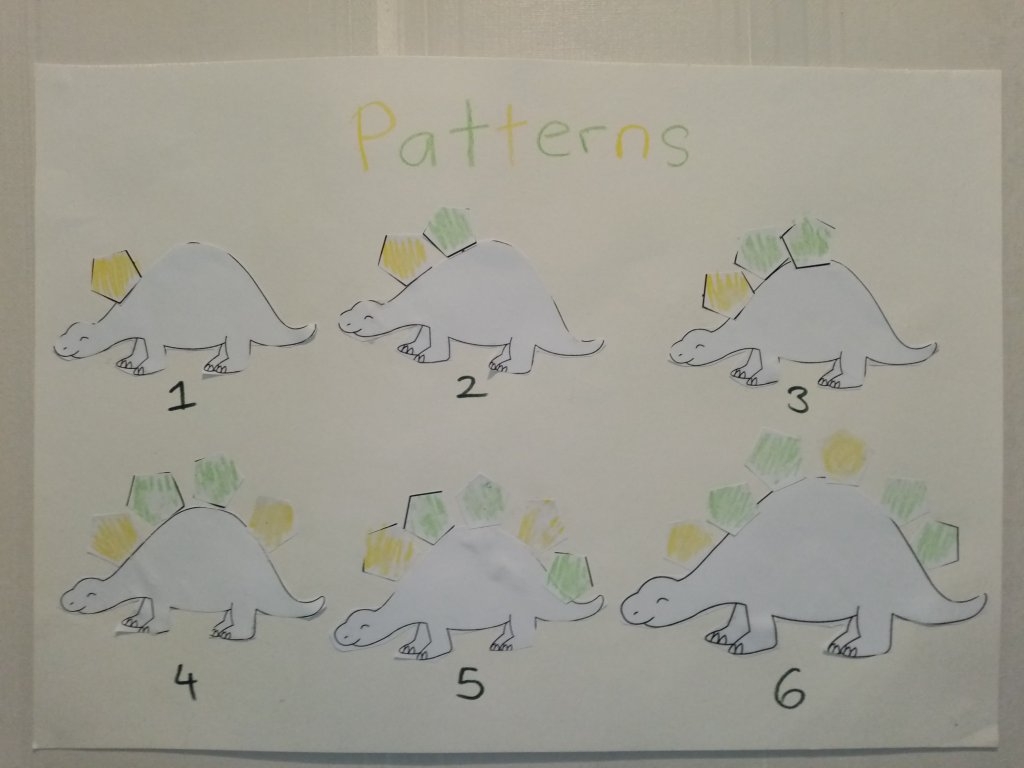
Growing Patterns
Terms and Rules
Decision Trees
Exploring light and colour
Forms of measurement
Shapes and fractions
Shapes and sharing
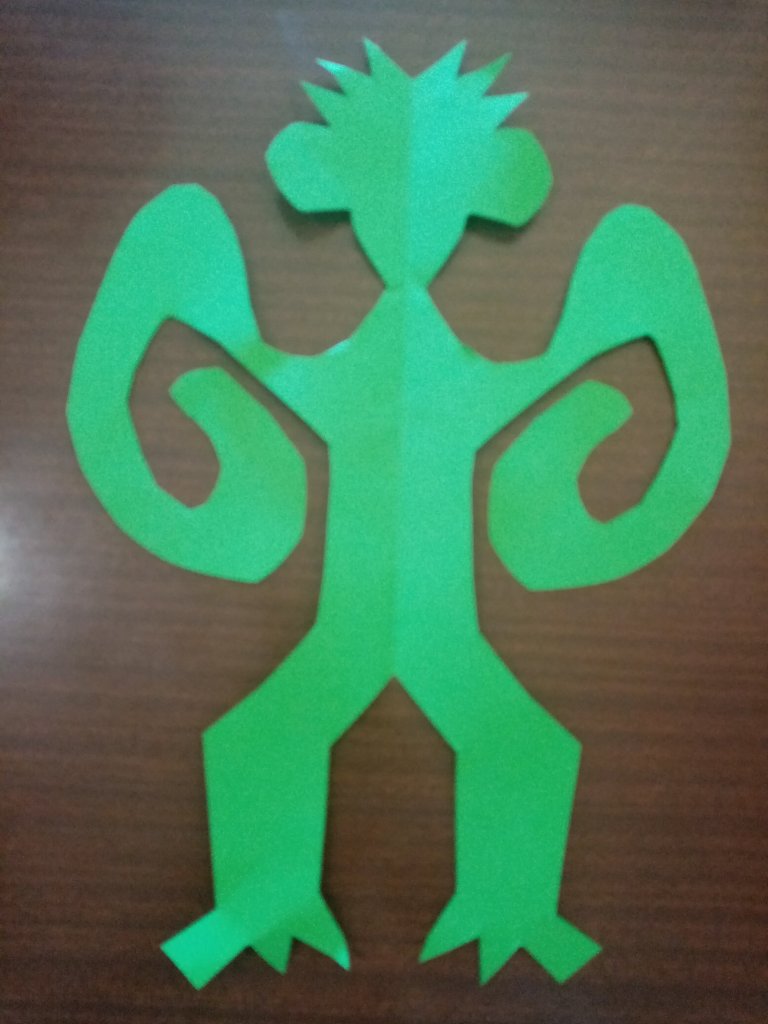
Exploring symmetry
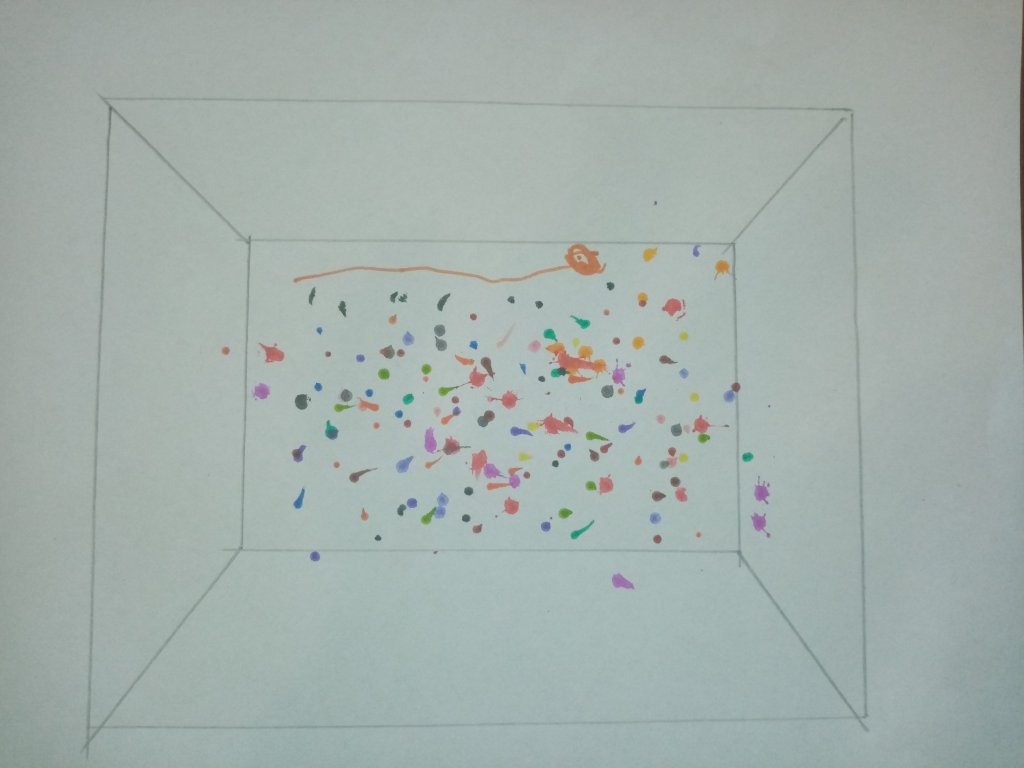
Spatial relationships
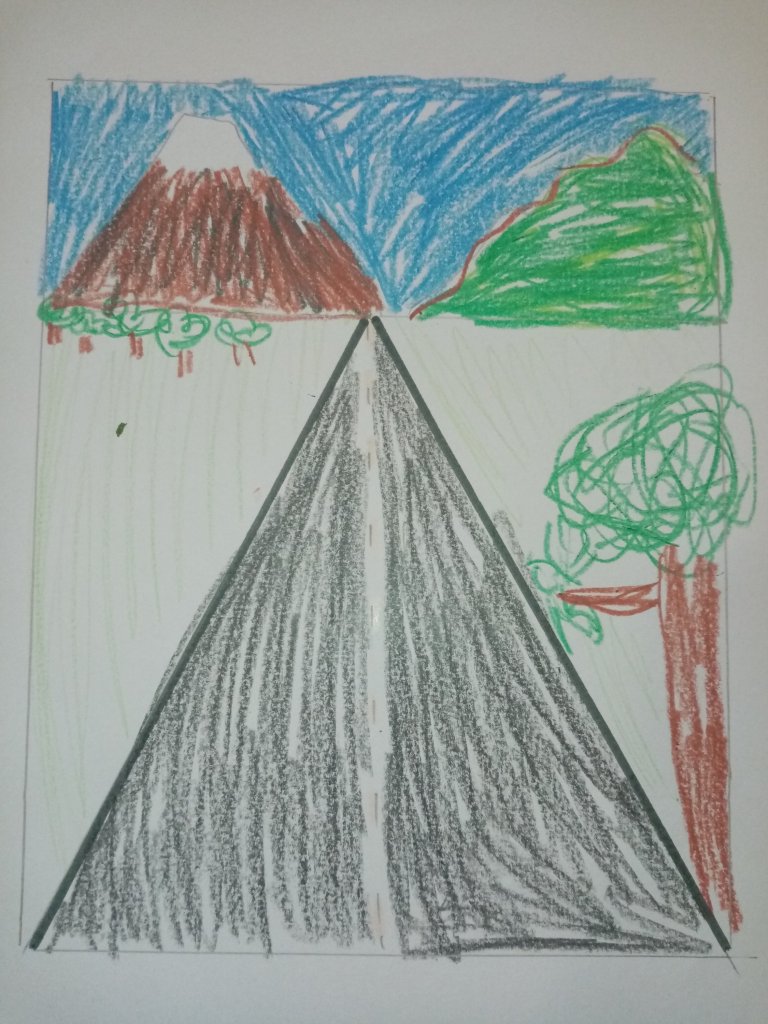
Illusions and perspective
Venn Diagrams: Intersections of Colours in Space
Multiplication gardens
What age is it suitable for?
I adapted the activities to suit around age 5 years (so Year 1 / KS1). The flexibility of the kit means it’s probably suitable for general primary school (KS1 / KS2) as you can adapt the activities to suit your needs. We did a little on ‘skip counting’ by 2’s but you could just as easily practice higher multiplication tables. There are worksheets for calculating area that we skipped at this stage in our learning. We completely changed the algebra and problem solving activity to tie in with our Amazon Rainforest unit and simply explored colour.
Tip: I loved some of the templates in the kit and simply photocopied them for current use and hope to revisit them in the future. Kits like these are useful because you can revisit them the following year and simply build-on with what you’ve explored in the time since.