

WHAT IS IN THE EXPERISENSE NZ SCIENCE EXPERIMENT HOMESCHOOL BOX?
This kit is all about having some scientific fun with experiments and adding in artistic flair. I love adding a kinaesthetic dimension to our learning! The box provides seven learning activities to do that are fully aligned with the NZ Curriculum and are highly adaptable to age, interest, and special needs.
The kit comes with a guide that outlines how to conduct each experiment and also provides information on the scientific principles being demonstrated. It’s a great way for kids to build on prior knowledge, as well as asking new questions!
The ExperiSense NZ Science Box sells for NZD$27 online; I’ve bought and reviewed a number of their boxes with this one being received free in exchange for an honest review.
How to make your own lava lamp
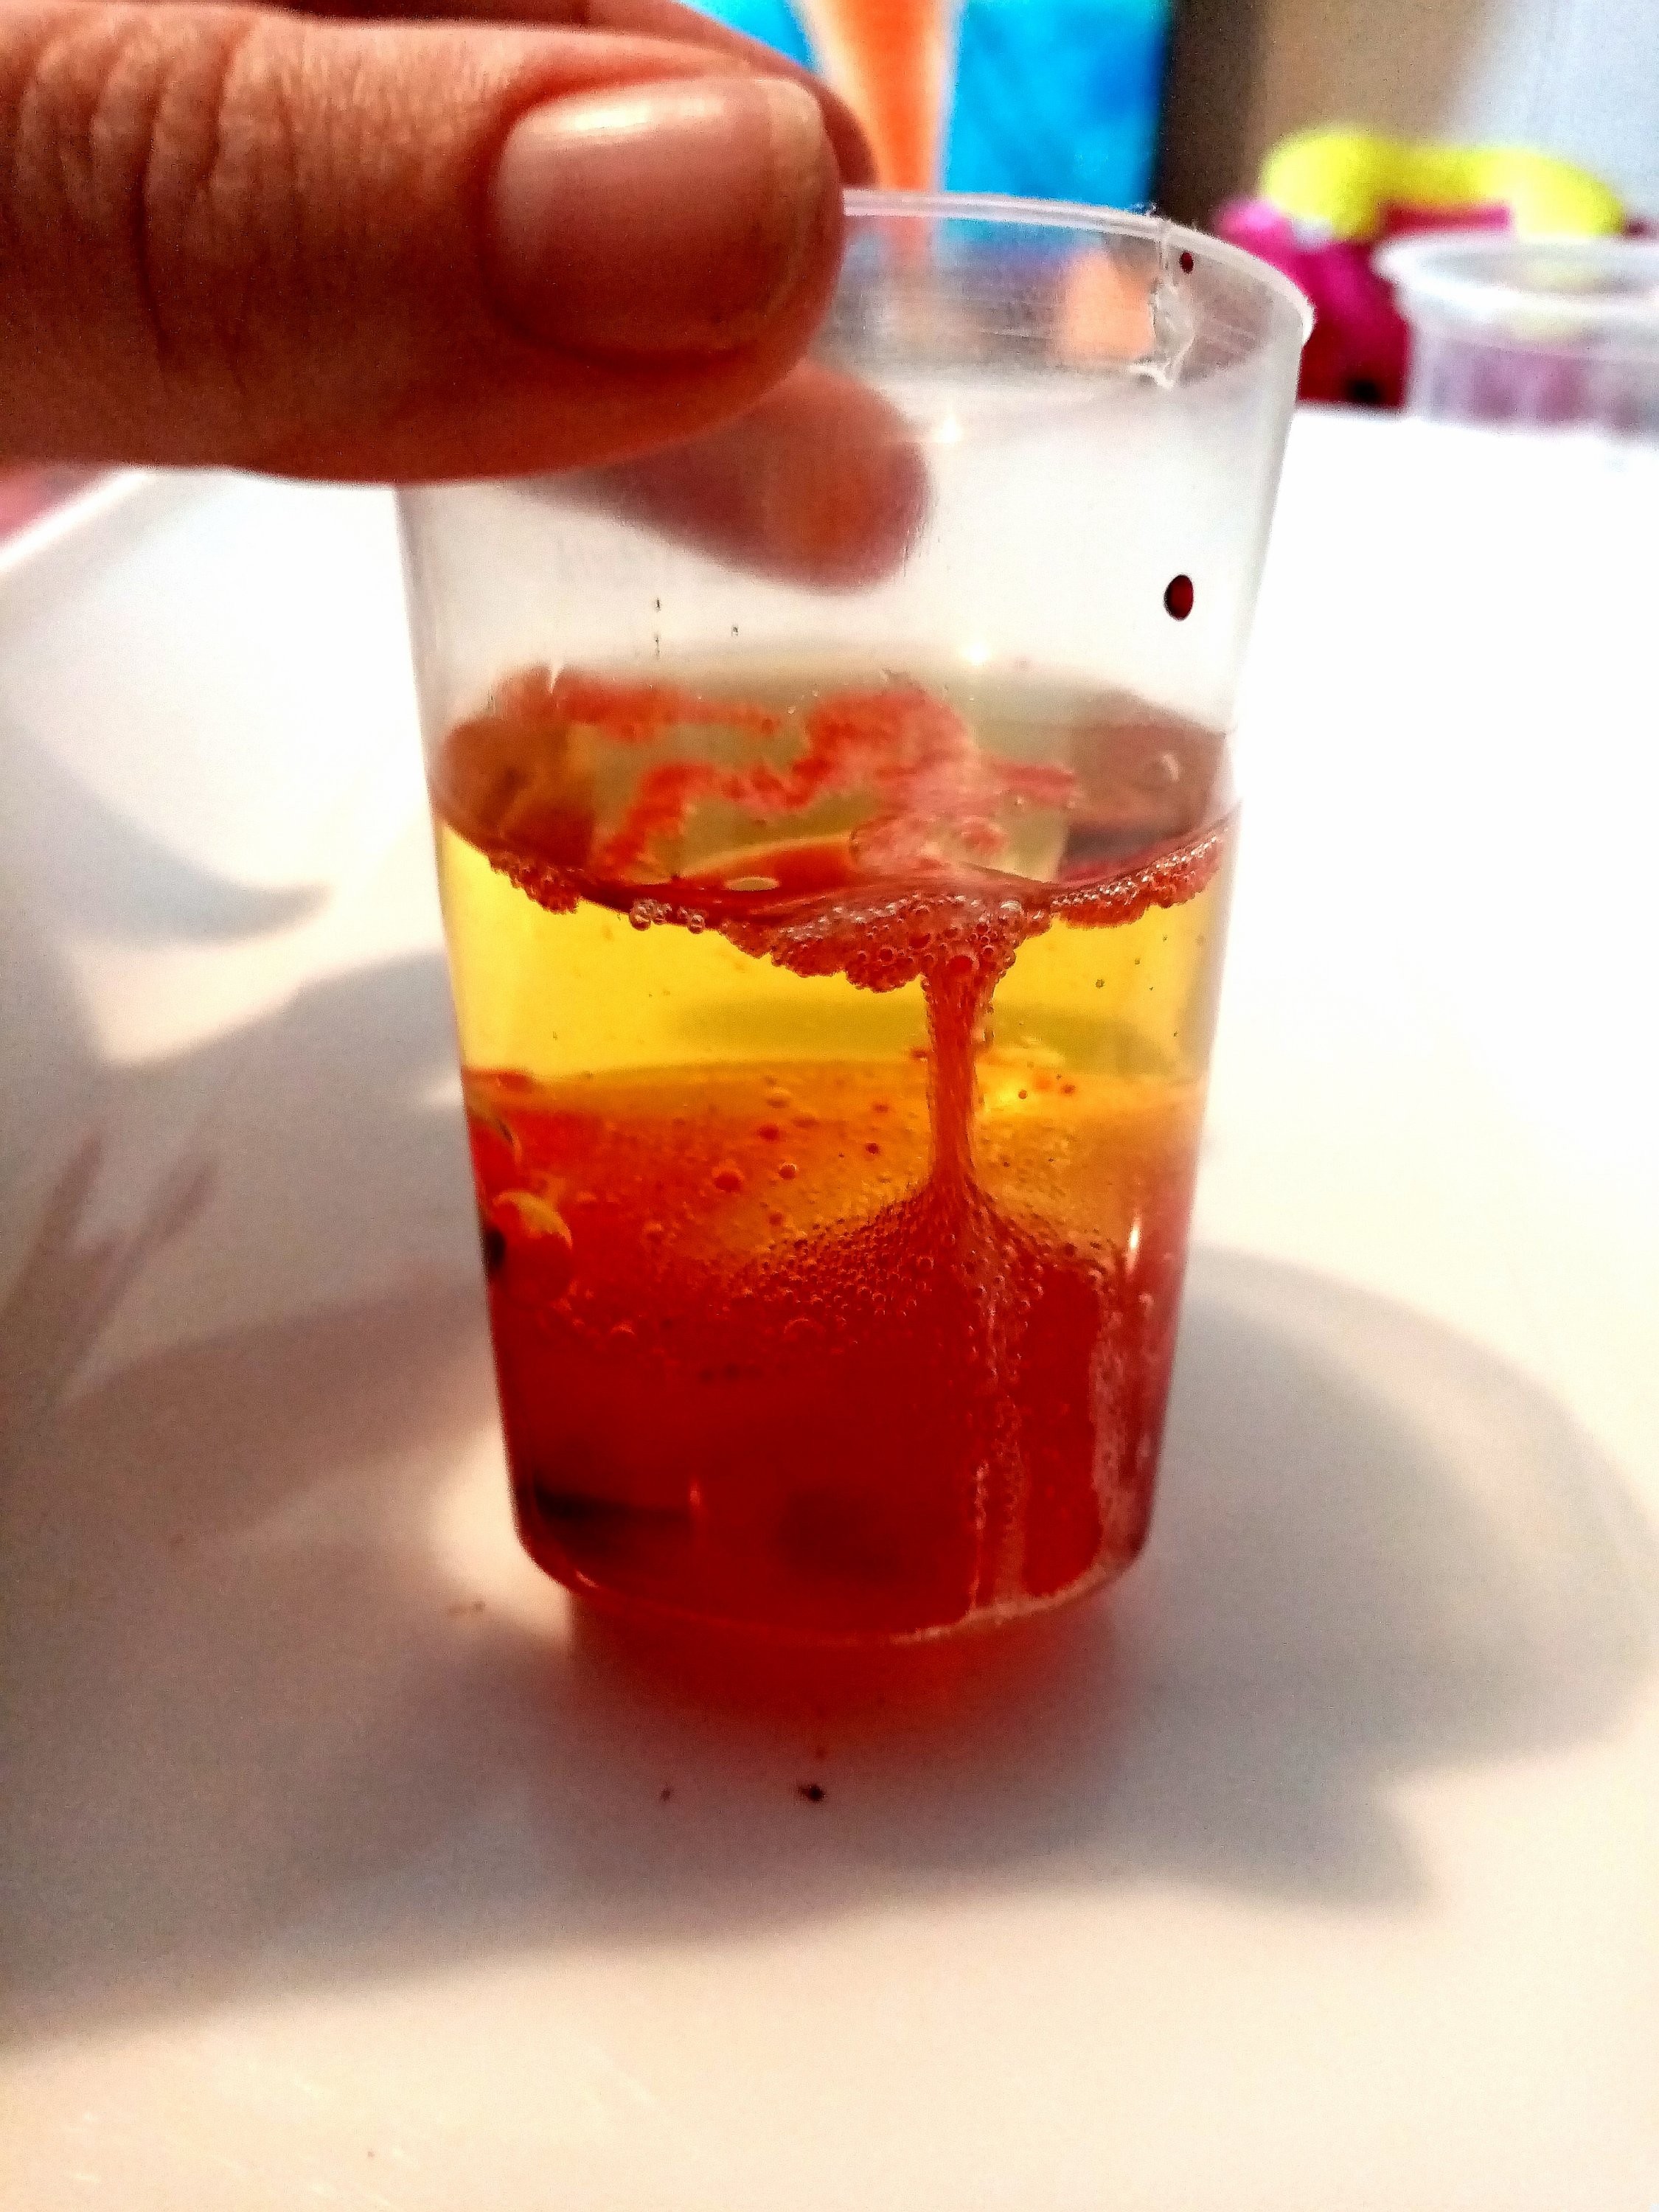


Have you ever looked at a lava lamp and wondered how they work? Well, this experiment will let you make your own temporary lava lamp! We loved it to so much that we did it twice.
Fundamentally, it comes down to the fact that oil and water do not mix. This is because they are different densities (and oil will actually rise up to float on top of water – which you can see happen in the experiment). As you slowly drop food dye into the oil, watch how the droplets retain their own separate form (“immiscible” was our cool new word of the day). Once water is added, the food dye will slowly dissolve into the water but differences in density mean the oil will rise to the surface.
The magic happens when carbon dioxide gas is created by introducing a fizzing tablet! The chemistry being demonstrated means that as the solid tablet dissolves, bubbles of water-and-gas raise to the surface. As the carbon dioxide gas dissipates, density changes causing the bubbles to sink. FYI – in a real lava lamp what you are watching is caused by thermodynamic changes (i.e. the application of heat).
In our first experiment, we used 1/4 tablet, red + yellow food dye, the oil provided, and the cup provided. In our second experiment, we used 3/4 tablet, a recycled glass jar, our own kitchen oil, the blue dye provided + some red dye.
Extra Activities
The lava lamp experiment looks at both density and states of matter. You may want to explore these further with simple experiments such as:
Why do things float or sink? A great way to start is in natural environments, such as a river or beach, by gathering up materials such as driftwood, shells, rocks, and mangrove pods to experiment with. At home, consider experiments with buoyancy such as why an orange will float (unless you peel it!).
How does water demonstrate states of matter? I love using water to demonstrate how something can so easily change forms between solid > liquid > gas. A fun experiment relating to buoyancy is to freeze water in a bag (food delivery boxes can be great sources of pre-formed ice) and create an iceberg diorama in a sink or bucket; have fun seeing what toys can balance on the iceberg before it melts!
Oil and Water Painting


We really enjoy making marbled paper using shaving foam; this was our first time using oil. We used a large plastic tray and simply recycled our lava lamps (with some extra colours dropped onto the surface of the oil). We chose to use our own paper and dye, in addition to the card stock provided, and made lots of beautiful art work.
Tip: Have layers of cardboard and paper towels beneath your art so that it can absorb the excess oil. We waited until the next day (once the dye was dry) before layering the artwork between layers of paper towels and popping in hot water cupboard to finish drying.
Magic Trick: Once the paintings are completely dry, the oil will have changed the appearance of the paper but any ‘virgin’ paper will still appear white. If you hold the art up to a bright light then not only can you see your beautiful colours clearly but any ‘white’ corners will disappear and smokey ‘shadows’ will appear in their place instead!
How to make a rainbow

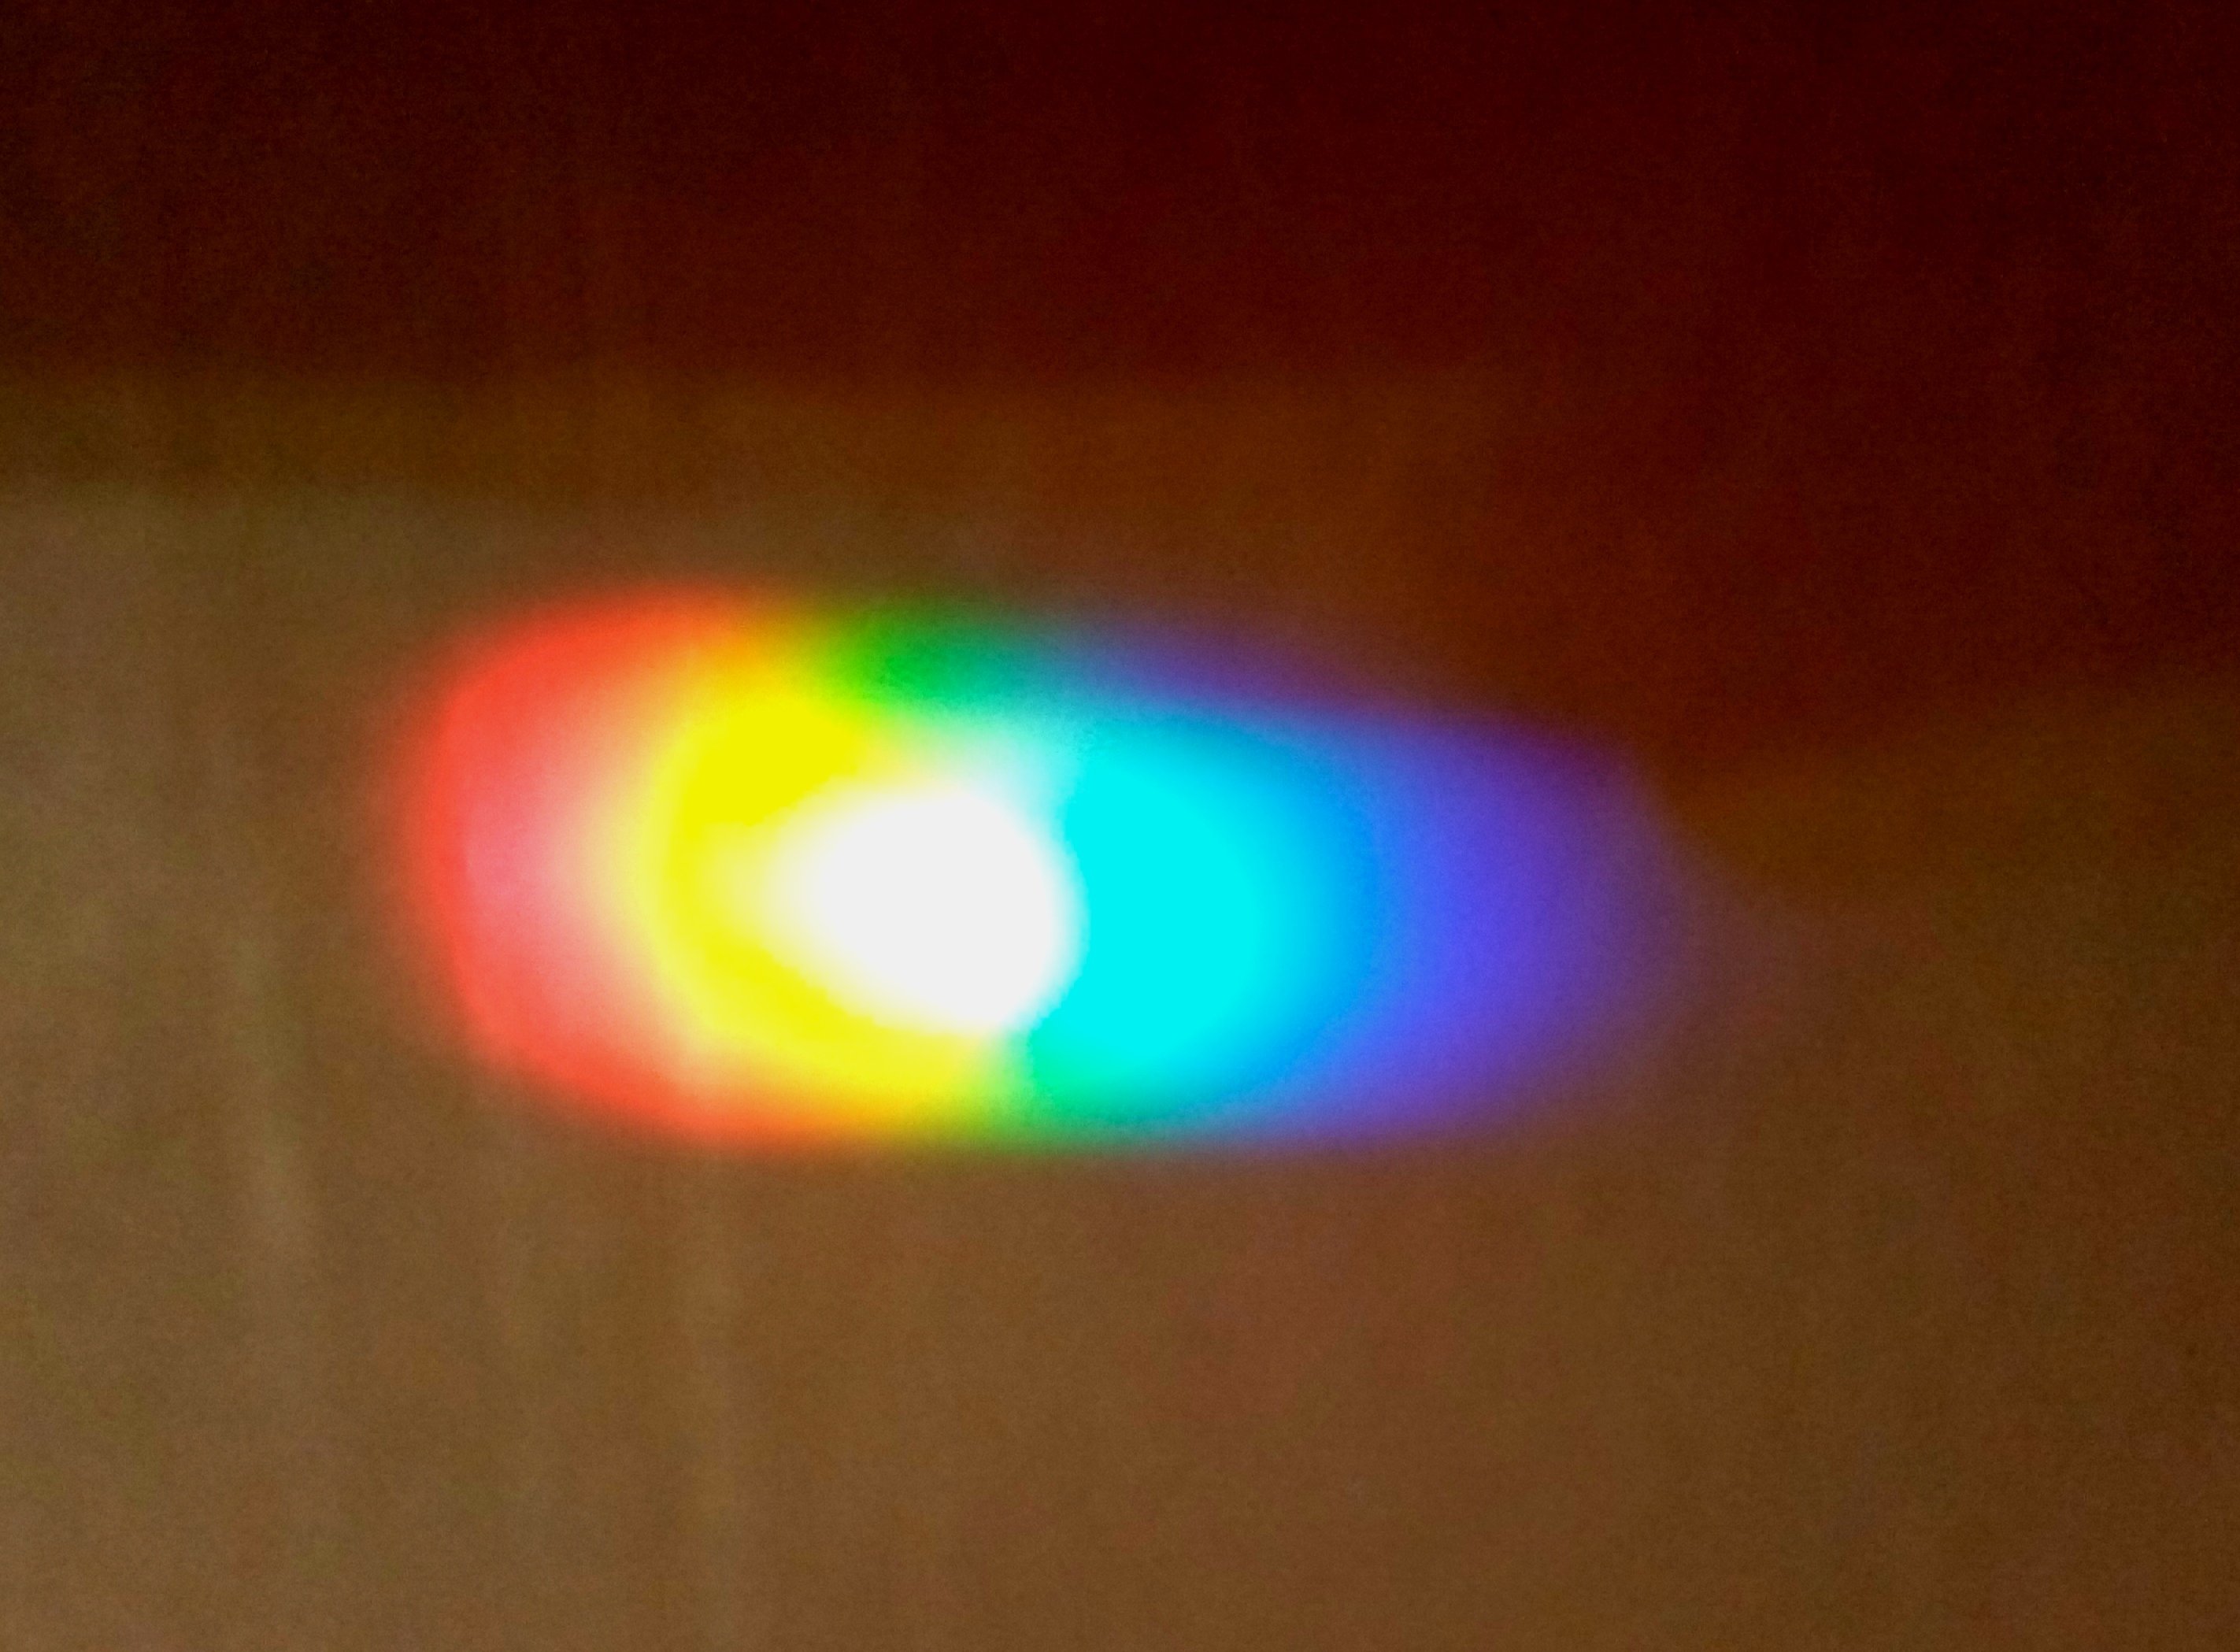

The kit comes with a very small prism that you can use to split light. As light enters the prism, it bends, and the different wavelengths will create a spectrum of colours as they exit. For us, the light exited onto the opposite wall and we found creating some shadow helped us see it more clearly. We lined up the prism with the sun after catching a wonderful rainbow that was refracting through our fish tank!
The kit also comes with a second rainbow experiment where a bendable ‘mirror’ is placed in a glass of water to reflect and refract light. We found this one a bit tricky but we did achieve a little colour splitting. Miss 6 actually most enjoyed casting shapes of reflected light onto the shadowed ceiling!
Extra Activity
Want to combine rainbows AND learning about the density of different liquids? Check out this fun experiment to make a sugar rainbow!
How to experiment with static electricity
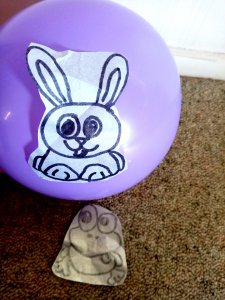
The kit comes with a balloon, templates, and craft paper to make your own ‘jumping bunnies’ or frogs; we also had fun designing our own creatures in a variety of sizes. Rubbing the balloon energetically on clothes creates a temporary static charge which allows your creations to ‘jump’ or ‘dance’.
Extra Activity
Want to see and feel another invisible force? Pop one end of a straw partially into a balloon and secure the neck with a tight rubber band. Blow down the straw and watch the balloon inflate (just like a lung!) and then feel the air exit again out the straw! Talk about how some natural forces we can’t see (like gravity, or air in motion) but we can observe their effects on the world around us.
How to make magic tea

The kit comes with two experiments for exploring acids and bases. One is experimenting with litmus paper and the other is making butterfly pea flower tea. I find the tea has a light floral flavour and like to drink it with a little liquid honey. When you brew it, the tea comes out a stunning vibrant blue; the addition of a little freshly squeezed lemon juice (changing the pH level) magically makes it a purple-pink colour!
Tip: Wet litmus paper can leave a yellow mark on benchtops (easily removed with Chemco) so it’s a good idea to place the strips on a piece of white card.
Tip: Hot water will have a more dramatic effect (than cold) when added to a teaspoon of baking soda (alkaline) or a teaspoon of baking powder (acidic).
Extra activities
Explore natural colour changing properties further by using a red cabbage to make a magic colour changing potion! Collect your magic molecules, make a potion, and use the rest to make your own litmus paper!
After watching how baking powder dramatically foams up when a little hot water is added, try making these light and fluffy scones and imagine how the baking powder helps the dough to rise when combined with the heat of the oven.
Interested in more homeschool box reviews?
Discover the World with ATLAS Crate
Explore STEM with Kiwi Crate
#2 The Amazing Animation Box (make your own 19th century movie with a Zoetrope!)
#3 The Mechanical Sweeper Box (make your own baleen whale!)
#4 The Disc Launchers Box (play games with physics!)
#5 Kaleidoscope Puzzles (explore symmetry and mirrors!)
ExperisenseNZ

3 thoughts on “EXPERISENSE NZ REVIEW: Exploring Science Homeschool Box”