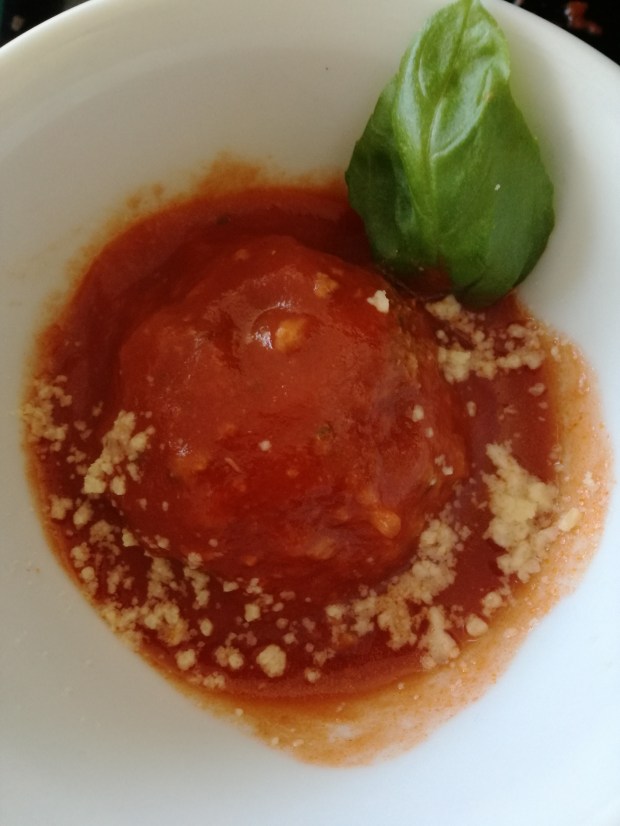
Gluten Free Italian American Meatballs in Pasta Sauce
I haven’t made meatballs in the past; for some reason I thought they would be really tricky to make. I found these to be super easy and have now made them both in passata and oven baked. The two cooking styles create different textures – if you cook in passata they will have a softer, moister mouthfeel whereas oven baked meatballs will be drier and denser (good to dip in an accompanying sauce). Both ways are great!
This recipe will make a big batch of meatballs so feel free to halve it if desired (or to cook half in passata and half in the oven to enjoy both styles!)
Ingredients
Meatballs
- 150g breadcrumbs / gluten-free breadcrumbs / cooked quinoa
- 3/4c milk / almond or rice milk
- 600g beef mince (ground beef)
- 1 small finely chopped onion
- Optional: 1/2c parmesan cheese (powder or finely grated)
- 1T ground chia seeds
- Salt & pepper
- Parsley (dried or finely chopped fresh)
- Chives (dried or finely chopped fresh)
- Garlic (dried granules or crushed fresh garlic)
Tomato Passata
- 2x 700g jar tomato passata
- Fresh basil (finely chopped)
- Sugar
- Salt & Pepper
Allergies: gluten free*, dairy free*, egg free, soy free, nut free.
Directions
- Soak the breadcrumbs in the milk until the liquid has been absorbed.
- If you’re using cooked quinoa instead: put the quinoa in the mixing bowl for the next step and add the milk after the other ingredients are roughly combined (you may not need to add all the milk).
- You can do Steps 2 & 3 while the breadcrumbs are soaking. The pasta sauce will then simmer while you carry on making the meatballs.
- In a large pot (or electric wok), mix the tomato passata, basil, sugar, salt, pepper to your taste.
- Bring the sauce to a boil over a medium heat and then reduce to simmer.
- In a large mixing bowl, add all of the meatball ingredients (including the soaked breadcrumbs). Mix until combined. The mixture will be a little sticky but should be thick and not overly wet.
- Lightly oil your hands and roll meatballs; I like to do lots of small ones (approx. 2T of meat mix). You can sit the rolled meatballs on a sheet of baking paper or a lightly oiled plate until you’re ready to cook them.
- Add the meatballs to the simmering sauce.
- Give a gentle stir after 5 minutes. Cover and simmer for another 35 minutes.
- Remove the lid and simmer for another 5 minutes.
- Serve with spaghetti, gluten-free pasta, or rice noodles.


")