Blueberry and Lemon muffins (Keto + Gluten Free!)

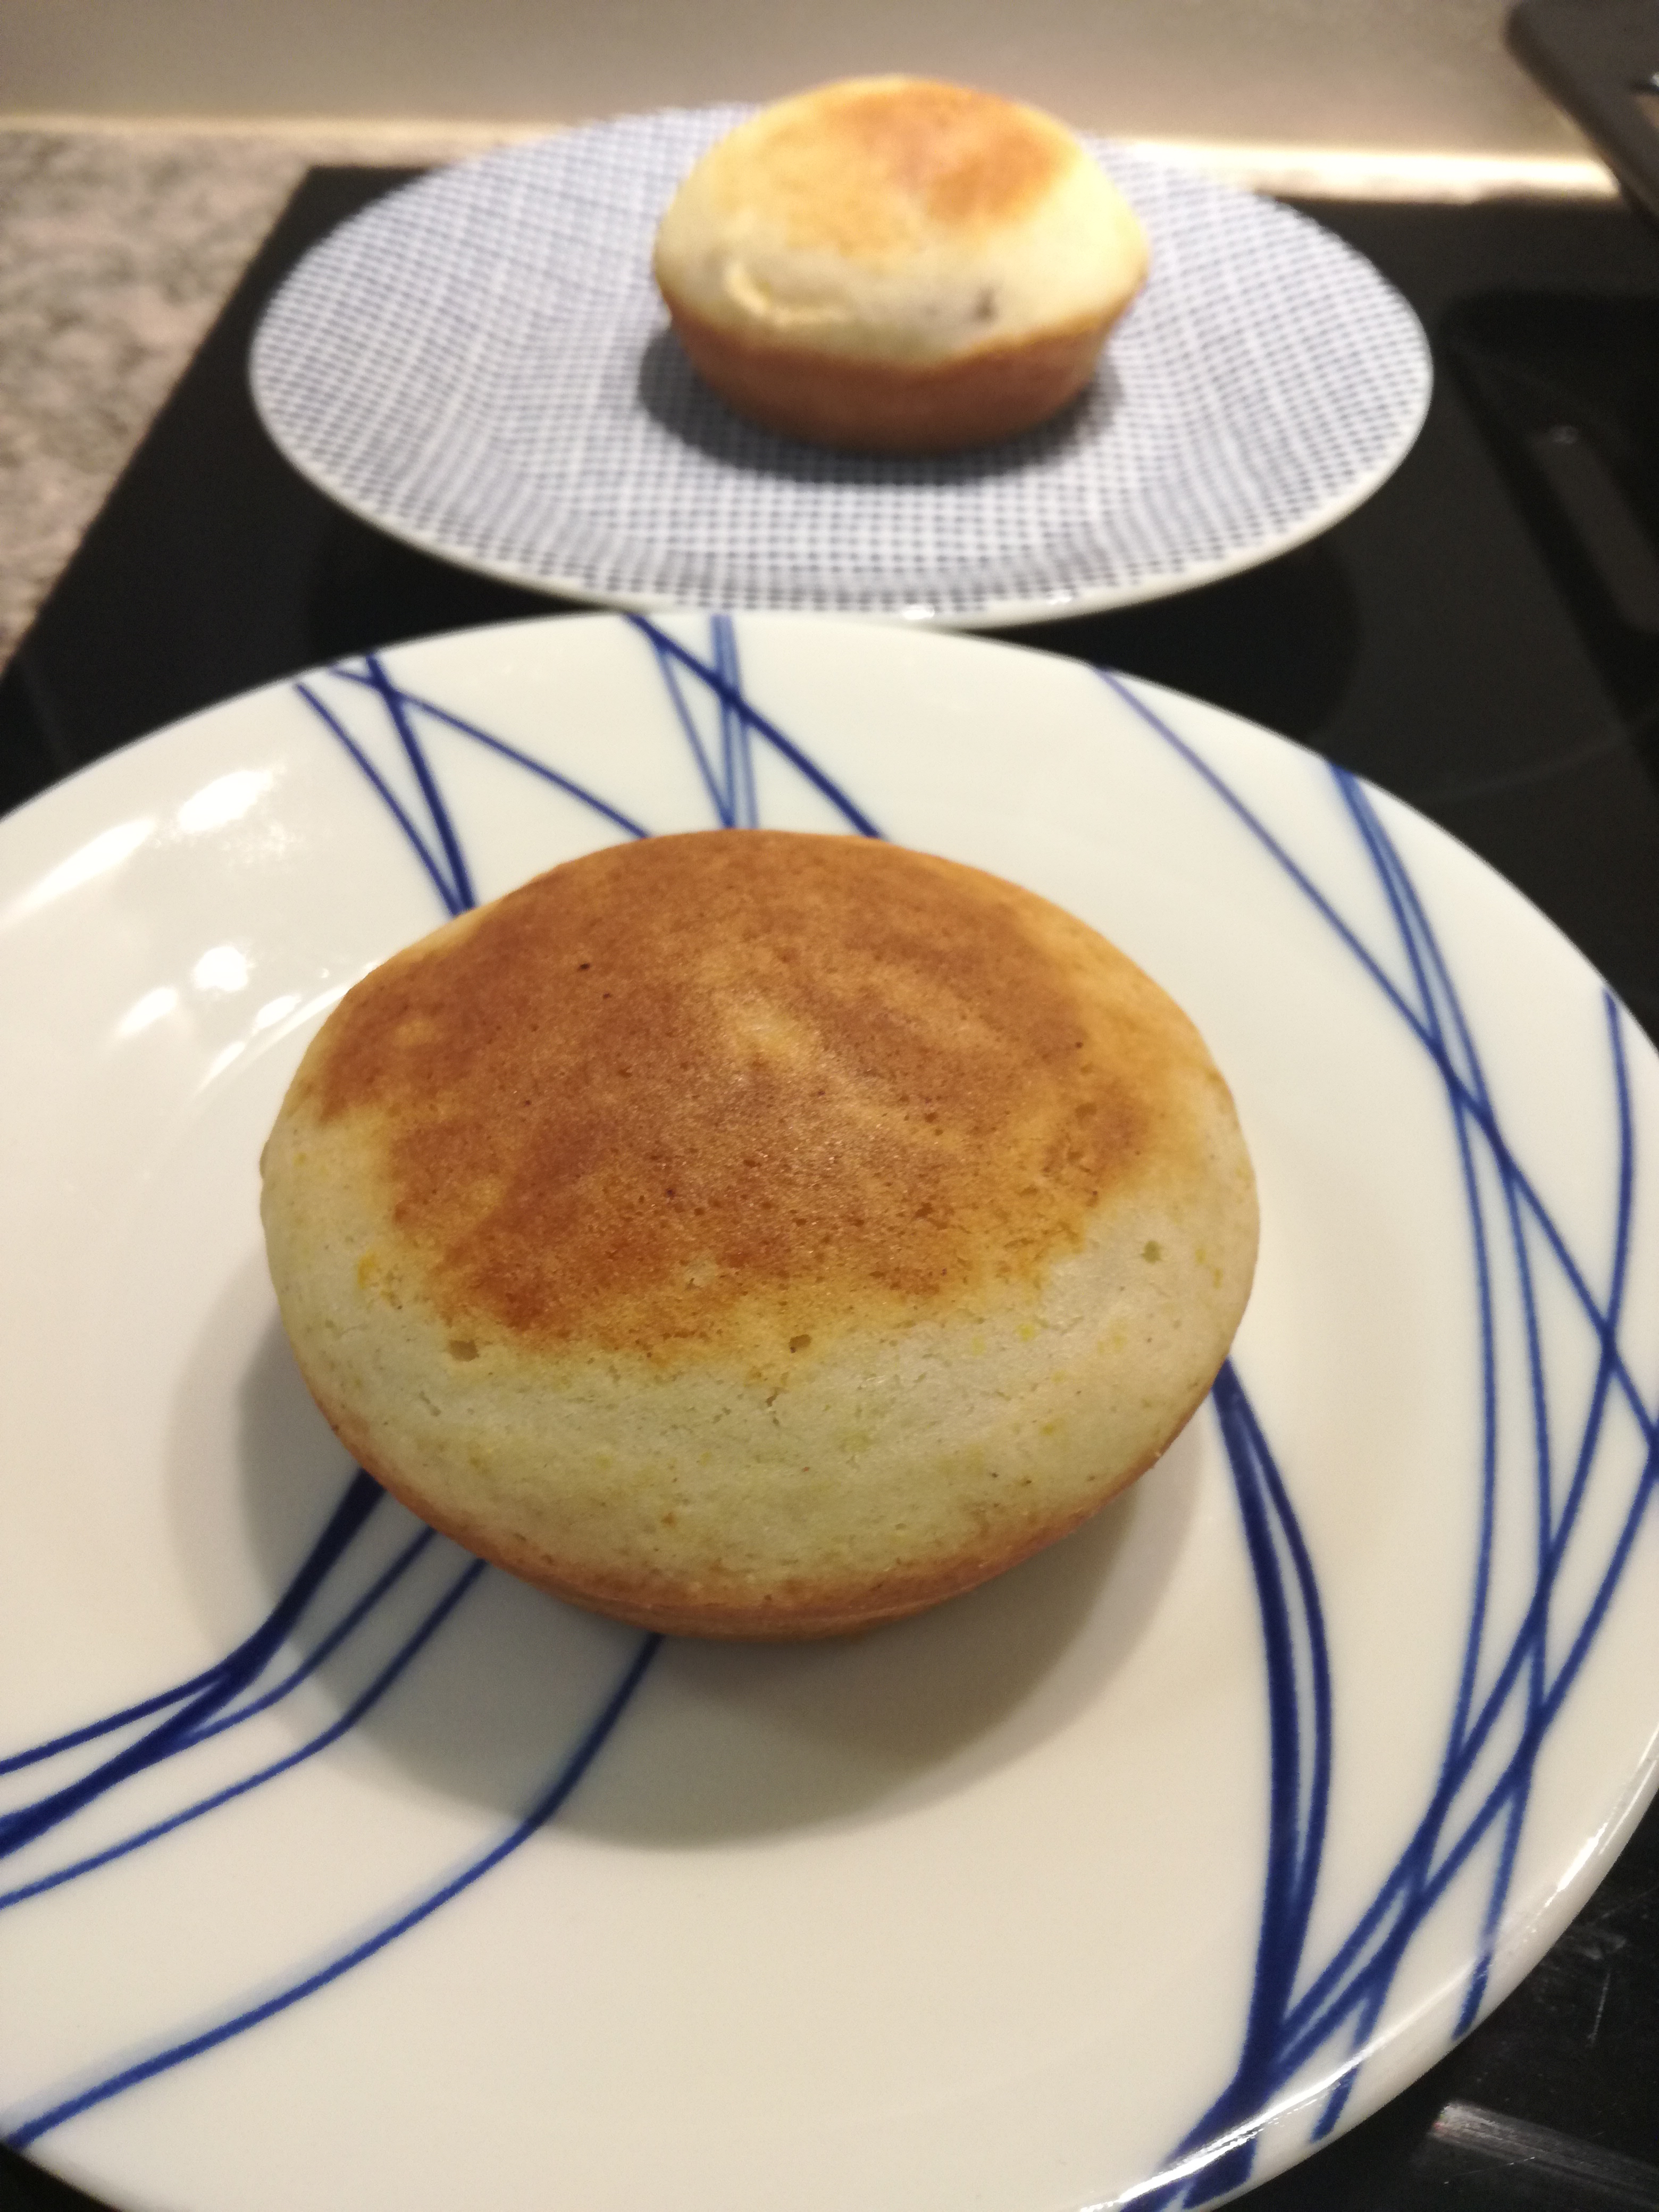
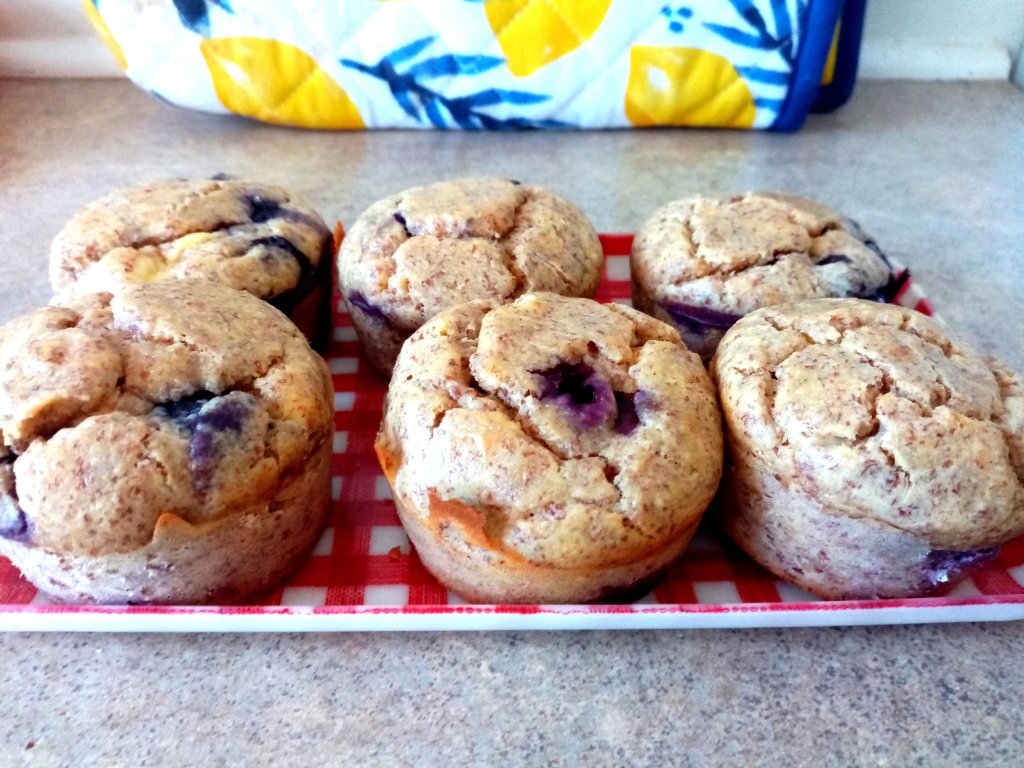
These Keto friendly muffins are gluten free, soft, naturally sweet, and contain only 3.3g net carbs per serving! They are lovely served warm from the oven (and can be frozen to use as needed).

Ingredients

Allergies: free from gluten and soy.

Note: These muffins are sugar free and naturally sweetened by the cream cheese and blueberries. If you prefer them sweeter you could add a little Maple Syrup (either natural, or an alternative like ‘Queen Maple Syrup Flavoured Sugar Free’ to maintain the low carbs).

Tip: For a finer consistency, consider ordering finely milled almond flour online.

Directions

  1. Line or grease a 6-serving muffin tin. Preheat the oven to 180’C / 350’F.
  2. Melt the butter (I use a large pyrex jug in microwave).
  3. Stir in the almond meal. Let it stand for 5-10 mins so that it thickens a little.
  4. Stir in the baking powder, eggs, and cream cheese.
  5. Gently fold in the fresh blueberries and lemon peel.
  6. Spoon into the muffin tin. Bake for 18-22 mins (or until a toothpick comes out clean).

Nutritional Information

Based on 6 servings per recipe; nutritional breakdown is approx:

Average Quantity
per Serving
Energy874.1 kJ / 209.9 kcal
Protein6.1 g
Fat, total18.8 g
– saturated6.5 g
Carbohydrate3.3 g
– sugars2.6 g
Dietary Fibre2.1 g
Sodium219.5 mg
Calcium54.9 mg

Gluten Free Lemon Cake

This delicious gluten free lemon cake was inspired by both our study of Colombia, where corn flour is a key ingredient in many traditional foods, and our sun drenched lemon tree.

Ingredients

  • 1 cup GF cornmeal flour
  • 1 cup sugar
  • 2 cups gluten free plain flour
  • 1 1/2 tsp Baking Powder
  • pinch salt
  • 2 eggs
  • 120g Nuttelex (or margarine, or butter)
  • Zest of 1 lemon
  • Juice of 2 lemons
  • approx. 3/4 cup water (or rice milk, or milk, or greek yoghurt).

Allergies: gluten free, dairy free*, soy free, nut free.

Directions

  1. Line or grease a large spring-form cake tin. Preheat the oven to 180’C / 350’F.
  2. I like to keep things simple. Put everything in a big bowl in the order listed EXCEPT the water. Tip: a flour sieve is great for keeping out the lemon pips!
  3. Add 1/4 cup liquid and mix with an electric beater. Slowly keep adding water and mixing until you have a good cake batter consistency.
  4. Pour the cake batter into the cake tin, smooth, and bake for 30-35 mins (or until a toothpick / sharp knife comes out clean).
  5. Sprinkle with a little icing sugar, or whip up a lemon icing for a more lemony flavour.

Tip: I like to eat it warm from the oven and then freeze the rest to pull out as needed.

Tip: For a more lemony flavour, pierce many times with a toothpick when the cake is half cooked. Cover the top of the cake in a thin layer of sugar and squeeze a fresh lemon over the top; then place back in the oven. The lemon syrup will soak into the cake while it continues baking.

Yummy Chocolate beetroot muffins!

This is a versatile recipe that can be used to make moist scrumptious cupcakes, muffins, or mini-cakes.

Ingredients

  • 150g grated fresh beetroot
  • 2 eggs (whisked)
  • 1/2 cup rice bran oil
  • 1/4 cup water, rice milk, or cow milk.
  • 1 1/2 cup high grade flour
  • 3/4c sugar
  • 1/3 cup Dutch cocoa powder
  • 2 tsp baking powder
  • Optional: 2 tsp hemp seed protein powder

Allergies: dairy free*, soy free, nut free.

Directions

  1. Put oven on to pre-heat to 180’C / 375’F. Grease your muffin tray or springform mini-tins.
  2. Sift the flour, baking powder, cocoa powder, and sugar into a bowl. Add hemp seed protein powder (if using). Whisk.
  3. Add the grated beetroot, eggs, and rice bran oil. Mix to combine. It will still look a little dry. Add the water / milk and it should look just right once mixed in.
  4. Divide the mix amongst your muffin cases etc.
  5. Bake for 20-25 minutes (or until a toothpick / sharp knife comes out cleanly from the centre).

Allow to cool and then consider icing CHOCOLATE BUTTERCREAM ICING (ALLERGY FRIENDLY).

How to make kefir ice cream

Probiotic + prebiotic kefir ice-cream. Tasty, low in lactose, high in calcium.

Ingredients

  • 1 large frozen banana
  • 150g kefir
    • I used The Collective Blueberry Hemp Kefir. The hulled hemp seeds + chicory root help to add some prebiotic fibre to go with the probiotic kefir. Tip: Another option is to mix in 1Tbsp of ground linseed.

Allergies: soy free, gluten free, egg free, nut free.

Directions

  1. Slice up the banana and freeze the slices.
  2. Blend the frozen banana and kefir until smooth.
  3. Serve and eat immediately. The consistency is like soft-serve ice-cream.

Black Forest Slice (GF, DF, SF, EF)

Black Forest Slice (GF, DF, SF, EF)

Black Forest Slice (GF, DF, SF, EF)

This delicious slice is full of goodness from almonds, brazil nuts, and cashew nuts. It can be served as a dessert or be frozen and added to school lunches. I wish I’d found such an easy way to make allergy free chocolate earlier!

NOTE: This is a small batch perfect for an 18x15cm pyrex dish; feel free to double the recipe for a larger quantity.

Ingredients

BASE

MIDDLE

TOP

  • 4 Tbsp dutch cocoa
  • 2 Tbsp coconut oil
  • 1 1/2 Tbsp maple syrup

Allergies: gluten free, soy free, dairy free, egg free, peanut free. Contains tree nuts.

Directions

  1. Line a pyrex dish with baking paper with overhanging sides so that you can lift it out easily. (This works better than greasing for slicing and freezing).
  2. Place the base ingredients into a food processor. Blend until well combined and sticking together. Press into the prepared dish and place in the fridge.
  3. Wash the food processor and then use it to blend the middle ingredients until smooth.
  4. Pour the fruit mix over the base and then place in the freezer for 30 minutes to set.
  5. Place the ingredients for the top into a bowl and blend until smooth.
  6. Spread the chocolate mix over the frozen middle layer and return to the freezer for another 20 minutes to set.
  7. Remove the slice from the freezer. Lift out the baking paper and slice into small serves. Enjoy delicious goodness!

Tip: The chocolate will soften easily in summer temperatures so this is best stored in the fridge or freezer. For school lunch boxes, place it in frozen.

Apple Nut Muffins

Apple Nut Muffins

Apple Nut Muffins

These sweet treats are high in natural goodness and fruit fibres, do not contain refined sugar, and contain valuable trace minerals from the almond, brazil, and cashew nut butter.

There are a few different ways that you can make this recipe and I have endeavoured to include options without over-cluttering. Keep in mind when subbing ingredients whether it will impact the recipe overall; i.e. coconut oil or butter will solidify in cold temperatures and hold a gluten free version together better than rice bran oil; using almond meal rather than flour will give a substantially different texture.

Ingredients

  • 1 cup flour + 30g fine instant oats
  • 1 tsp baking powder
  • 1 tsp baking soda
  • 1/4 tsp salt
  • 1 1/2 ripe bananas (= 150g frozen sliced banana)
  • 2 apples peeled and quartered (= 350g intact apples)
  • 1/4 cup Almond Brazil Cashew nut butter (or almond butter).
  • 2 tsp Orgran egg replacer + 4 Tbsp water
    • OR: 2 flax eggs
    • OR: 2 eggs
  • 2 Tbsp coconut oil (melted)
    • OR: 2 Tbsp rice bran oil
    • OR: 2 Tbsp butter (soft)
  • 1/4 cup maple syrup
  • 1 Tbsp apple cider vinegar
  • Optional: 1 tsp cinnamon

Allergies: This recipe can be made gluten free, soy free, dairy free, egg free, peanut free. Contains tree nuts.

Directions

  1. Preheat the oven to 180’C / 350’F. Grease a muffin tray or cupcake liners.
  2. In a food processor, blend the banana and apple until smooth. (If you prefer a rougher texture, grate the apple instead and mix in at the end).
  3. Add the egg replacer (or eggs), coconut oil, ABC nut butter, and maple syrup. Pulse to combine.
  4. Add the flour, oats, baking powder, baking soda, salt, cinnamon (if using), and apple cider vinegar. Gently pulse to combine.
  5. Spoon your batter into the muffin trays and place in preheated oven.
  6. Cook for about 35 minutes. Check after 25 minutes (you may want to add tinfoil as a cover for the remainder).
  7. Take out of the oven and allow to cool for 10 minutes.

Gluten Free American-style jam donuts

I finally made the leap and purchased an NZD$29 Kmart Pie Maker. They are quite the internet phenomenon in part because they can be used for so many things other than pies. We decided to celebrate the purchase with family by making coealiac friendly american style donuts! They are delicious!

Allergy friendly jam donuts

Ingredients

  • 1 1/2 cup Healtheries Gluten Free Bread Mix
  • 1/2 cup rice flour
  • 3 tsp Baking Powder
  • 3/4 cup sugar
  • (Pinch salt)
  • 1 tsp ground cinnamon
  • 1 cup rice milk
  • 1 tsp vanilla essence
  • 2 eggs (beaten)
  • 30g Nuttelex or 1/4 to 1/2 cup rice bran oil
  • Squeeze of lemon (or 1 Tbsp apple cider vinegar).
  • Filling: jam, or maple syrup, or honey.

Allergies: gluten free, dairy free, soy free, nut free

Note: Although I made 12 in the pie maker (3 rounds) you could bake them in the oven in muffin trays instead. You’d probably want 375’F / 180’C for 20-25 mins.

Directions

  1. Mix the dry ingredients.
  2. Make a well in the middle. Add milk, vanilla, eggs, rice bran oil, lemon juice. Mix well.
  3. Allow mix to stand for a few minutes (the gluten free flours will thicken)
  4. 3/4 fill each space in the pie maker. Put a teaspoon of jam in the middle. Put a little more mix over the top.
  5. Cook for 8 minutes. Remove and place on cooling rack. Put the next batch on to cook. (Makes 12 donuts) .

Flourless Banana Pancakes

Gluten Free Banana Pancakes & Raspberry Compote

Gluten Free Banana Pancakes & Raspberry Compote

Miss 2 has gone off porridge recently, which is a shame as it’s a cheap, healthy, and filling gluten free breakfast. I wondered how else I might coax her into eating oats and made up these beautiful banana pancakes – she loved them! The idea of including variations was actually inspired by her as she asked for them again and wanted to know if we could make Peanut Butter banana pancakes.

This an easy recipe to make up (for breakfast, snack, or dinner) if you have food allergies in your family. I’ve made it sometimes as Miss 2’s dinner when we’ve had a particularly trying day and we both need some comforting. It’s also a cheap and easy recipe to teach teenage boys to make when they get home from school – more nutritious than filling up on white bread!

Tip: There are two ways that you can make this recipe; you can make it with fork mashed bananas + rolled oats for a more rustic texture or use a food processor to blend the banana smooth + use oat flour. I like to do the latter as I have a little (non-motorised) beater that I use and happen to have oat flour in the cupboard (along with all a multitude of other flours).

Ingredients

  • 1 ripe banana (mashed)
  • 1/2c oats
    • Finely cut ‘quick cook’ porridge oats are best, or, oat flour.
  • 3 1/2T milk / almond or rice milk
  • Pinch salt
  • Pinch cinnamon
  • Optional: 1/4 tsp guar gum + 1/2 tsp Baking Soda
    • If you are using oat flour, this will provide a slightly lighter texture.

Tip: If cooking for celiacs make sure that the oats are certified as gluten free as it is possible for cross-contamination to occur if there are wheat fields nearby.

Allergies: gluten free, dairy free, egg free, soy free, nut free.

Variations

Directions

  1. Mix everything together well in a bowl (or food processor).
  2. Heat frying pan or skillet.
  3. Throw in some butter or neutral oil (like Rice Bran Oil), add a few tablespoons of pancake mix. Cook on both sides until golden brown.

How to make a vegan chocolate spread that is allergy free and tastes amazing!

Chocolate Buttercream Frosting

Chocolate Buttercream Frosting. I use Nuttelex + coconut milk to make a vegan, allergy free frosting that tastes amazing!

If you have a child with food allergies then you may find it difficult to source safe versions of products like Nutella. Alternatively, you may have a child attending a nut free kindergarten or school in which case Nutella isn’t permitted (as it contains hazelnuts). If you want to use a treat spread, for school lunches or parties, then this recipe will help you make your own!

Ingredients

  • 115g allergy friendly spread like Nuttelex (buttery taste)
  • 2 cups icing sugar
  • 1/2 cup Dutch Cocoa Powder
  • 1/2 tsp vanilla essence
  • 1 – 5 Tbsp  coconut milk

Allergies: gluten free, dairy free*, soy free, egg free, nut free. Vegan*.

Directions

  1. Whip the Nuttelex.
    • I like to use the food processsor (with a plastic beating tool rather than the metal cutting one).
  2. Sift in the cup icing sugar, and cocoa powder. Add the vanilla and 2 Tbsp milk.
  3. Beat until smooth.
    • I like to pulse it slowly in the food processor.
  4. Mix in more coconut milk, 1 Tbsp at a time, until you have a good thick smooth consistency.
  5. Store in an airtight container in the fridge.

How to save money and freshen clothes naturally! Pre-soaking laundry using baking soda.

Replace chemical cleaners with a natural and cheap laundry soaking solution!

Replace chemical cleaners with a natural and cheap laundry soaking solution!

Miss 2 has really sensitive skin (and eczema) which means that I’ve needed to look around for non-chemical options for the laundry pre-soak bucket. Funnily enough, sometimes it’s the mid-range brands of ‘Oxygenated Whiteners’ or ‘Nappy Soakers’, which claim to be environmentally friendly and ‘natural’, which cause her to react more. Of course they’re still packed with chemicals and I know it’s just a marketing ploy but it’s easy to want to believe them!

Turns out all I needed was a 1/2 cup baking soda (bicarbonate of soda) dissolved in warm water (a couple of litres half fills my soak bucket). It helps to freshen and soak laundry (and keep it smell free) before it goes in the washing machine.

Tip: Rinse laundry first and handscrub any stubborn stains. Create a paste using four tablespoons of baking soda and ¼ cup of water. After working the paste thoroughly into the stains, apply a little undiluted vinegar.

Tip: Don’t add white vinegar to the soak bucket. Baking soda (base) + white vinegar (acid) will largely cancel each other out and reduce effectiveness. Instead, add white vinegar during the rinse cycle (instead of fabric softener or an anti-bacterial agent) and line dry in the sun if you can.  Vinegar will help to soften hard water, reduce odours, and reduce bugs. Sunlight will also help (especially if you’re washing cloth nappies!)