How to make easy bracelets and crowns for kids

How to make easy bracelets and crowns for kids

How to make easy bracelets and crowns for kids

Kids are so wonderfully creative! There are lots of kit-sets for crafts at toy stores but it’s often much cheaper to visit a craft store or emporium.

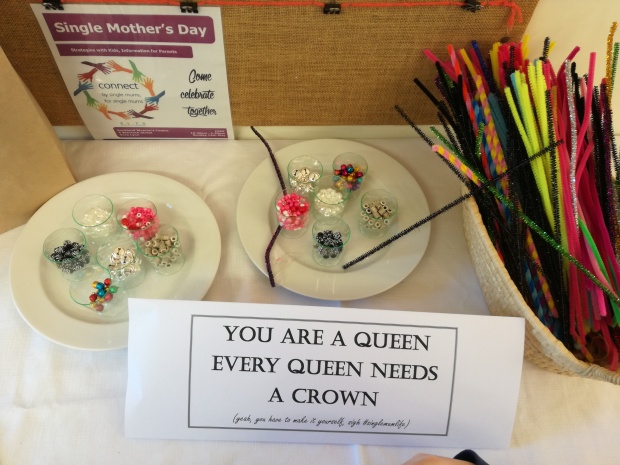
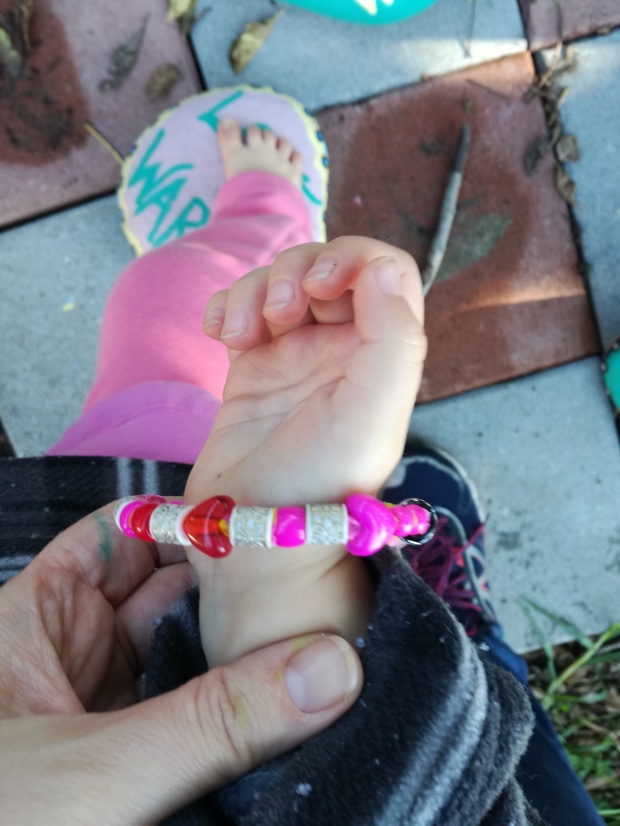
All you need to make a crown, necklace, or bracelet is some pretty pipe cleaners, beads, and imagination! They’re a great activity for birthday parties, playgroups, and rainy days.

Fun things to do with beads!

Fun things to do with beads!

Make sure that you choose beads (or bells) with large enough holes for the pipe cleaners to feed through. Younger kids will need active supervision and assistance but by 4 years they’ll be shaking you off 🙂 You’ll also find they start coming up with their own ideas like making swords or funny glasses or monster crowns!

Warning: This isn’t suitable for babies and young toddlers due to small parts and choking hazards. Make sure young children are old enough to follow instructions and will not put beads in their mouths.

Bedazzling bags (rainy day crafts)

Bedazzling bags (rainy day crafts)

Bedazzling bags (rainy day crafts)

This is a great way to pass a rainy day – especially since a trip to the craft store will take up time as well! It’s also a fun activity for playgroups!

What do I need?

This is really up to your imagination!

  • Coloured paper bags
  • Glue (You may need a mix of paste, PVA, and a glue gun depending on what you’re using)
  • Wooden clips
  • Scissors
  • Buttons, sequins, stickers, fabric, wooden beads etc!

Directions

Play around with your materials to find a look that you like and start gluing!

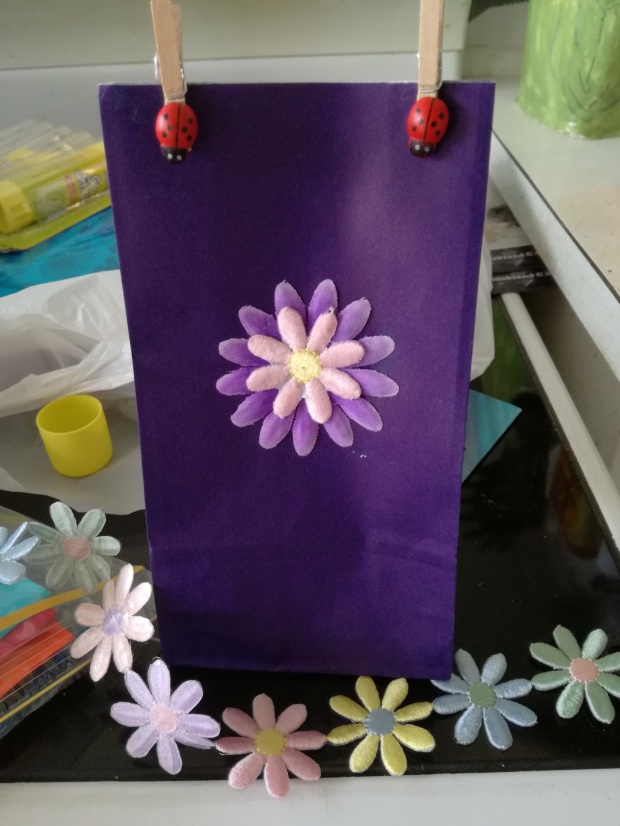
These have wooden ladybugs hot-glued to the wooden clips. The flower is layered; there are plastic petals glued to the bag and then a fabric flower glued on top of that.

Gluten Free Berry Muffins

Gluten Free Berry Muffins

Gluten Free Berry Muffins

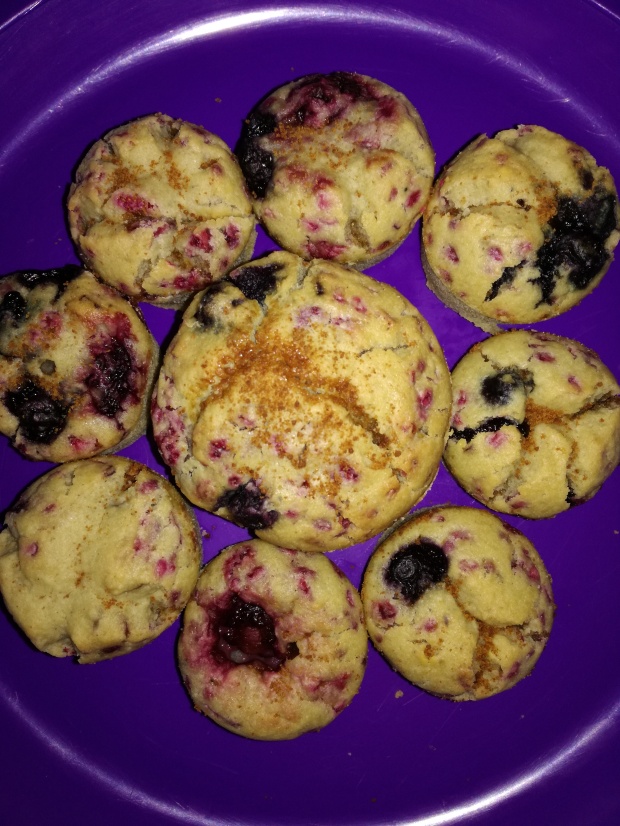
I love experimenting with gluten free flours. This is a different recipe again from the gluten free Vanilla Cupcakes and moist Chocolate Cupcakes. I was really stoked as Miss 2 kept asking for more of the mini ones and her playdate didn’t notice they were gluten free!

Like most gluten free baking, these are best served same (or next day); I free flow the rest in the freezer and pull them out as needed.

Ingredients

Group 1

  • 1 cup hot water
  • 1/2 cup neutral vegetable oil (like Rice Bran oil)
  • 1 egg
  • 1 tsp vanilla
  • Generous pinch ground cinnamon

Group 2

  • 3/4 cup sugar
  • 1 cup superfine white rice flour
  • 1/2 cup garbanzo flour (also called chickpea flour)
  • 1/4 cup oat flour
  • 1T sweet (glutinous) rice flour
  • 1/4 cup cornstarch (cornflour)
  • 1/2 tsp guar gum
  • 1/2 tsp Baking Soda
  • 1/2T Baking Powder
  • 1/2 tsp salt

Other ingredients

  • 1/3 – 1/2 cup frozen berries
    • I recommend raspberries and blueberries.
  • Raw unrefined coconut sugar

Allergies: dairy free, soy free, gluten free, nut free.

Directions

  1. Preheat the oven to 180’C.
  2. Whisk together the ingredients in Group 1. This helps to aerate the mix. You can use a stick blender or I used the food processor (with a plastic mixing attachment, not a metal cutting blade!).
  3. Sift together the ingredients in Group 2.
  4. Mix the combined dry ingredients into the whisked liquid.
  5. Prepare the frozen berries and mix in gently.
    • Raspberries crush really easily into tiny teardrops (which provide a pretty pink speckled effect when baked); blueberries are already a good size; boysenberries are large enough to need cutting in half.
  6. Pour into cupcake / muffin trays.
    • I made 6 large and 12 mini cupcakes.
  7. Preheat the oven to 180’C. The mixture will thicken slightly while the oven heats.
    • The mix will appear very runny compared to a gluten mix – the rice flour and cornstarch will cause it to thicken as it cooks.
  8. Bake at 180’c for approx. 25-35 mins or until cooked.
    • I found the mini muffins took 25 mins and the normal ones took 35 mins.


Icing 

I liked these with dusted with coconut sugar. I pulled them out of the oven after approx. 15 minutes (once they had risen), dusted with coconut sugar, and then placed back in the oven to finish baking.

I also have recipes for other icings that don’t use any artificial colours, glycerin, additives etc.

Moist & delicious Chocolate Cupcakes (gluten free!)

I love chocolate. I’ve posted a few chocolate recipes like the Crazy One Dish Chocolate Cake and the Chocolate Irish Potato Cake, and I’ve posted some make-from-scratch gluten free recipes like the Vanilla Cupcakes and the all natural pink berry flavoured icing. I wanted to play around in the kitchen with some different gluten free ingredients and make a wonderfully chocolatey and moist cupcake that also wouldn’t be packed with sugar – I prefer to balance my cakes so there’s more chocolate flavour in the cake and then extra sweetness in the (optional) icing. Miss 2 loved these with all natural peppermint icing or the Chocolate Buttercream icing (dairy free).

Ingredients

Group 1

  • 1 cup hot water
  • 1 tsp instant coffee powder
  • 1/2 cup neutral vegetable oil (like Rice Bran oil)
  • 1 egg
  • 1 tsp vanilla
  • Generous pinch ground cinnamon

Group 2

Allergies: dairy free, soy free, gluten free, nut free.

Directions

  1. Preheat the oven to 180’C.
  2. Whisk together the ingredients in Group 1. This helps to aerate the mix. You can use a stick blender or I used the food processor (with a plastic mixing attachment, not a metal cutting blade!).
  3. Sift together the ingredients in Group 2.
  4. Mix the combined dry ingredients into the whisked liquid.
  5. Pour into cupcake cases (makes about a dozen). Bake at 180’c for approx. 25-30 mins or until cooked.
  6. Allow to cool before icing. (We liked combining these with an all natural peppermint icing!).


Icing 

The icings that I use don’t have any artificial colours, glycerin, additives etc.

Choko Pikelets (apple pie style!)

Choko pikekets (apple pie style!)

Choko pikekets (apple pie style!)

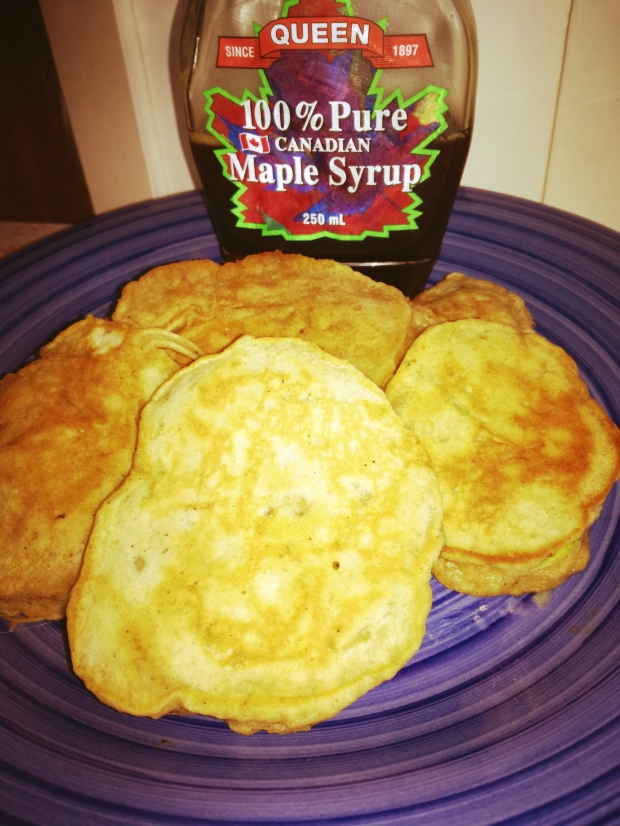
I posted earlier about why choko are awesome and such a versatile vegetable; as well as being nutritious they are also cheap, easy to grow,  and low in natural food chemicals (amines, salicylates, glutamates) which makes it suitable for sensitive guts, and those following a RPAH Failsafe diet (often useful for allergy sufferers).

It easily takes the place of fruits like apple or pear which means it’s a great way of adding a vegetable into your baking! Miss 2 loved these apple pie style Choko Pikelets and kept asking for more!

I’ve kept the spices mild but you can definitely play around with them to suit your palate! Try increasing the cinnamon to 1 tsp, or adding 1/2 tsp ground ginger, a pinch of nutmeg, a pinch of ground cloves, or a combination of these!

Ingredients

  • 1 cup plain flour
  • 1 tsp Baking Powder
  • 1/2 tsp Baking Soda
  • Pinch salt
  • 1/2 tsp ground cinnamon
  • 1/4 tsp allspice
  • 2 Tbsp maple syrup + 1 Tbsp brown sugar, or, 1/4 cup white sugar.
  • 1/2 cup grated fresh choko
    • Just like grating potatoes, a lot of water comes out. Pat the grated choko dry before use.
  • 3/4 cup milk (can use almond or rice milk)

Note: Other names for choko include – chayote, sayote, labu siam, seemai kathrikai, Buddha’s Hand Melon, lóng xü.cài, ishkus, इस्कुस, স্কোয়াশ, Bangalore brinjal, chou chou, pipinola.

Tip: Although the recipe is gluten based, you can easily use Nana’s Yummy Gluten Free Pikelets and just add the choko + spices.

Allergies: gluten free*, dairy free*, soy free, nut free.

Directions

  1. Whisk the egg and 1/2 cup milk until frothy.
  2. Combine the dry ingredients.
  3. Stir in the choko. Then mix in the frothy egg + milk mixture.
  4. Slowly mix in the additional 1/4 cup milk until you have a smooth consistency.
  5. Allow mixture to stand for a few minutes.
  6. Heat a non-stick frying pan over medium heat. Wait until it is hot and then brush with butter or allergy-free spread (like Nuttelex).
  7. Drop level tablespoonfuls of the mixture into the pan and cook for half a minute or until bubbles appear on the surface.
  8. Turn over and cook other side for 1 minute until golden.
  9. Allow to cool and serve with butter / spread and honey or jam.
Superhero Smoothie (allergy free)

Superhero smoothie

Superhero smoothie

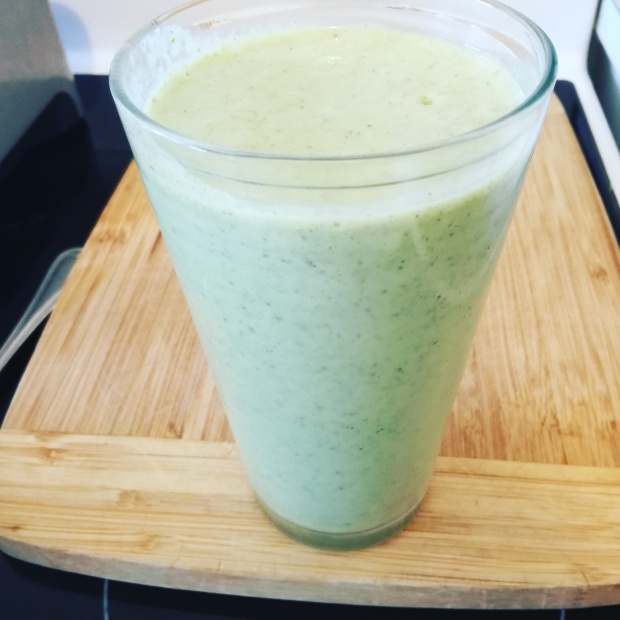
Today’s smoothie recipe is free from the top 8 allergens and Miss 2 asked for more (even though it has vegetables in it – bwahaha!). It’s also a great way to get some healthy fats and foods into your system when you’re recovering from the flu and can’t cope with the idea of making soup from scratch!

Ingredients

  • 200ml coconut milk
  • 200ml water
  • 4-6 ice cubes
  • 1 ripe banana
  • 2 slices mango
  • 1/3 cup baby spinach
  • 1 tsp ground chia seeds
  • 1 tsp ground linseed (flaxseed)
  • Optional: drizzle of maple syrup

Optional: Since your smoothie is going to be green anyway, you may want to add 1 tsp of Healtheries Super Greens Smoothie Booster.

Tip: Have the coconut milk in the fridge (or add less water & more ice) so that this will be chilled once blended,

Allergies: gluten free, dairy free, soy free, egg free, nut free.

Directions

  1. Put everything in a blender and blend till smooth!
    • Tip: Most blenders will work more effectively if you put the liquids in first.
  2. Serve immediately while it’s chilled.


Home Remedy Porridge for sore throats and enflamed guts

Home Remedy Porridge

Home Remedy Porridge with Slippery Elm

This is a great recipe for helping your toddler (or adult) to eat when they’ve been vomiting, had diarrhoea,  have a sore throat, have food allergies, or have reflux. It’s also a useful recipe to try after surgery, i.e. for removing adenoids or tonsils. It also pairs well with the rehydration tonic.

Slippery elm can  help relieve inflammatory bowel conditions so it’s also useful for

  • Crohn’s disease, ulcerative colitis, and irritable bowel syndrome (IBS).

You may also want to try this as a baby food if your baby or toddler needs to be gluten free.

Ingredients

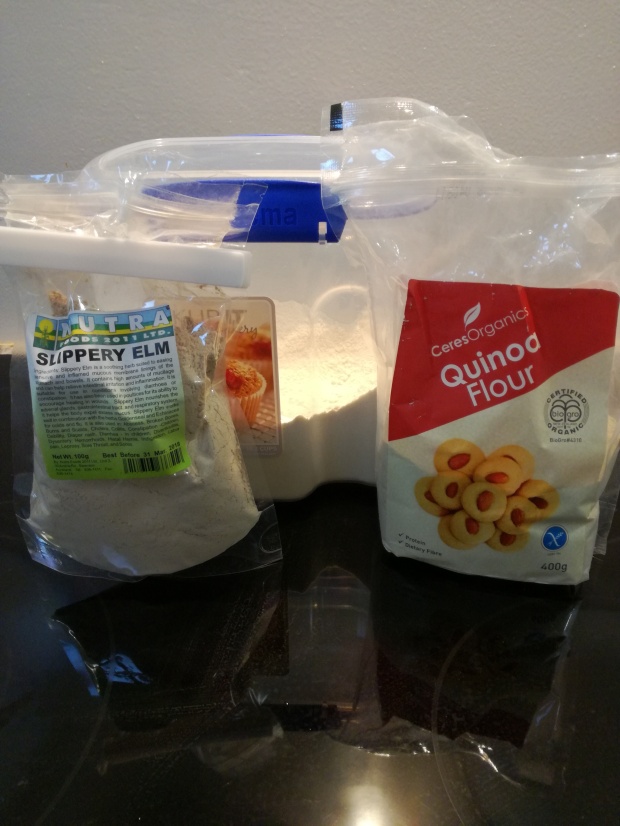
  • 1 1/2 Tbsp Quinoa Flour
  • 1 1/2 Tbsp Brown Rice Flour
  • 1 cup Rice Milk
  • Optional: 1 tsp Slippery Elm
  • Optional: boiling water
  • Optional: Maple Syrup

Allergies: gluten free, dairy free, soy free, egg free, nut free.

Directions

  1. Mix everything in a pot and cook over high heat (stir regularly).
  2. Bring it to a boil and then turn down low. Keep stirring regularly and add more liquid (either rice milk or boiling water) to keep a good consistency.
    • If you have an upset gut then it’s best to include the slippery elm. The slippery elm absorbs water so you will need to slowly add liquid while the porridge is cooking.
  3. Cook for approximately 5 minutes.
  4. Serve plain or as you generally like your porridge. I like this with a little maple syrup stirred in.

How to make a rehydration electrolyte drink at home (for sports or sickness)

Failsafe Rehydration Therapeutic Tonic

Failsafe Rehydration Therapeutic Tonic

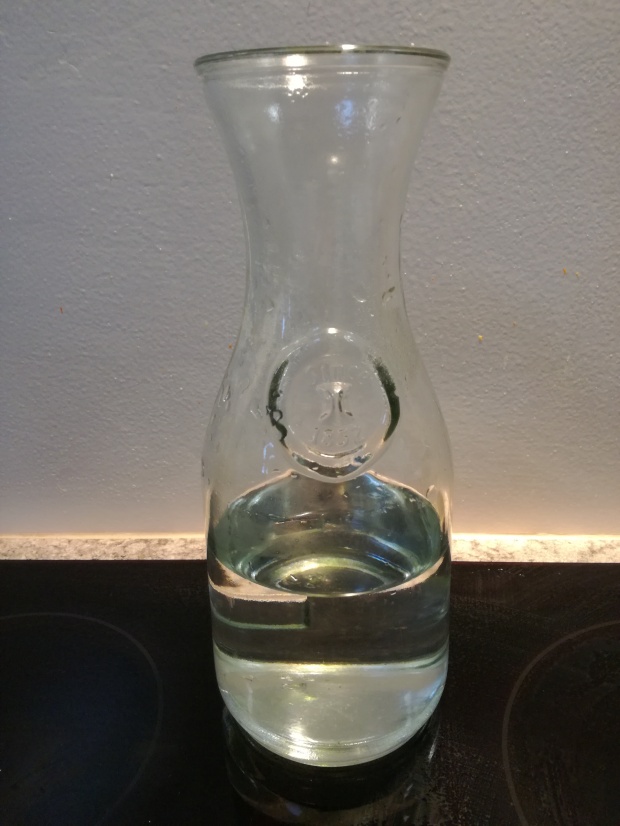
I’ve just been posting about how Miss 2 and I were rushed to hospital by ambulance – her with croup and me with gastro. This Failsafe Rehydration Tonic is from Sue Dengate’s book about understanding food. It’s an easy to make Gastrolyte style solution to rehydrate after vomiting, diarrhoea, or when you’ve been too sick to eat. It’s a handy recipe to have for both adults and sick kids! It can also be used for fitness and wellness reasons after training or after sports – it’s much better for you (and cheaper) than commercial drinks that are packed with preservatives and artificial colours.

Ingredients

  • 1 litre boiled water
  • 2 Tbsp sugar
  • 1/4 tsp salt
  • 1/4 tsp baking soda (sodium bicarbonate)


Directions

  1. Mix well.
  2. Sip regularly.

Blood Orange Icing (a.k.a. how to make pretty pink icing without using artificial colours)

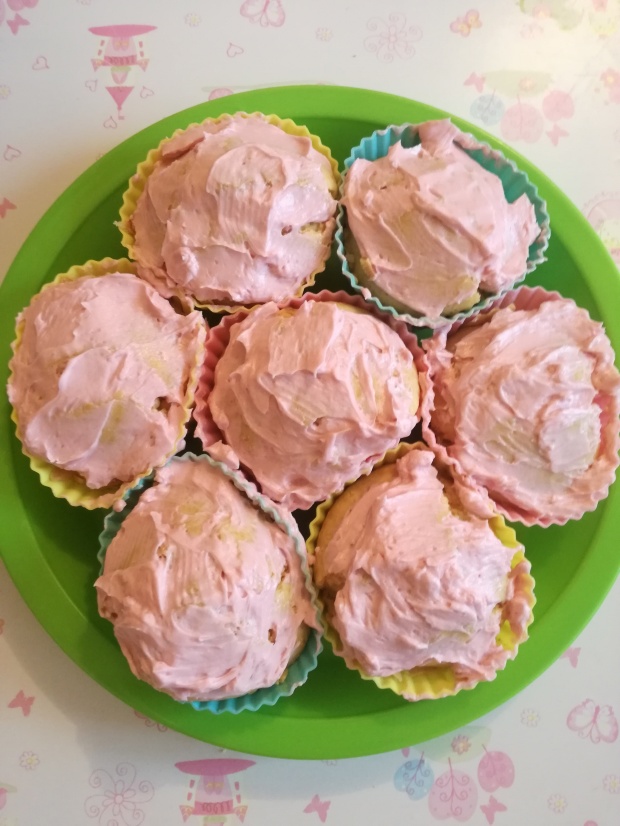
Gluten Free Cupcakes with all natural pink icing

Gluten Free Cupcakes with all natural pink icing

My daughter is sensitive to red food colouring – as are many kids! For some reason New Zealand still allows artificial food colouring agents to be sold here that are banned in many parts of Europe. I’ve been doing more research (as you might have noticed from the post on why to be cautious about annatto as a colouring agent) and am experimenting with natural food colours.

One way to make pink icing is to use beetroot juice but I’m not a big fan of beetroot so instead decided to make a Blood Orange icing that has a beautifully delicate berry flavour and uses fruit tea!

The secret ingredient to this icing mix is Blood Orange fruit tea which uses a mix of

  • Hibiscus
  • Apple
  • Rosehips
  • Natural Flavouring
  • Stevia
  • Orange Peel

Not only do you get to make icing but you can also make yourself a cuppa in the process. Incidentally, this tea is also lovely cold, with sparkling water, or in fruit punch. You could also experiment with other fruit teas (like Blueberry & Blackcurrant) to make other colours.

Ingredients

  • 50g Butter or allergy free spread (i.e. Nuttelex)
  • 1c icing sugar
  • Blood Orange tea bag
  • Hot water

Allergies: gluten free, dairy free*, egg free, soy free, nut free.

Directions

  1. In a mug steep the Blood Orange tea bag in a small amount of boiling water (i.e. about 50 ml). Allow it to cool and it should have a concentrated deep red colour.
  2. Cream the butter and icing sugar.
  3. Slowly add the (cooled) blood-orange-water to the mix until you have the colour and consistency that you desire. (Add more icing sugar if needed).
  4. Ice your cupcakes (like these Gluten Free cupcakes!)

Note: You can also make this with just icing sugar and the Blood Orange mix to make a darker colour.