Potato gnocchi with basil pesto
I’ve never made gnocchi before and was keen to give it a try. I read about ten different recipes / blogs / tips & tricks posts and soon realized that it’s easy to make gnocchi but hard to make good gnocchi. Gnocchi should apparently be light fluffy clouds of joy that practically melt in your mouth rather than dense like they often are. If you’re making them using traditional methods then top tips seem to be: Use russet potatoes (or one’s generally dry & starchy), never use a blender / stick / food processor, use a ricer not a masher, add only just enough flour, and don’t over mix.
My favourite photo-blog by someone truly passionate about gnocchi and experimenting to make perfect gnocchi was by Daniel Gritzer.
This is a cheat’s way of making quick gnocchi for busy mums (apologies to any Italians reading this)! You can also make an egg free version and fry them as a tasty snack!
Ingredients
- 1c potato flakes
- Optional: 2 tsp parmesan powder
- 1/2 tsp salt
- 1/2c boiling water
- 1 egg
- 1/2c – 3/4c plain flour
Note: Makes dinner for one adult. Double (or increase) recipe as needed. You can also lay gnocchi flat (single layer) and freeze for a couple of months.
Allergies: soy free, gluten free, dairy free, tree nut free, peanut free.
Directions
- Put the potato flakes, parmesan, and salt, in a bowl. Add approx. 1/2c boiling water and stir.
- Normally I’d add about 3/4c water to make mashed potato but adding less water means that you don’t need to add as much flour to balance it out.
- Add flour and stir / knead to combine into a dough. The mixture should be smooth, pliable, and not sticky. Don’t over knead.
- Roll mixture into 4 balls (or more depending on if you’ve doubled / tripled the recipe etc.).
- Using a floured bench, roll each ball out into thumb width ‘wriggly worms’ (as Miss 2 deems them).
- Chop them into 1/2″ – 3/4″ pieces.
- If you have a gnocchi board then you can use that to do the ridges. I don’t and used the alternative method which is to press and roll them off a fork and indent the back with your thumb.
- Bring salted water to the boil in a large wide pot.
- Drop in gnocchi in batches (so they’re not touching). They’ll need about 2 minutes to rise to the surface and 1-2 minutes at the top.
- Pull out with a slotted spoon.
- Serve with sauce.

Gnocchi dough

‘Wriggly worms’

Pressing gnocchi

Prepared gnocchi

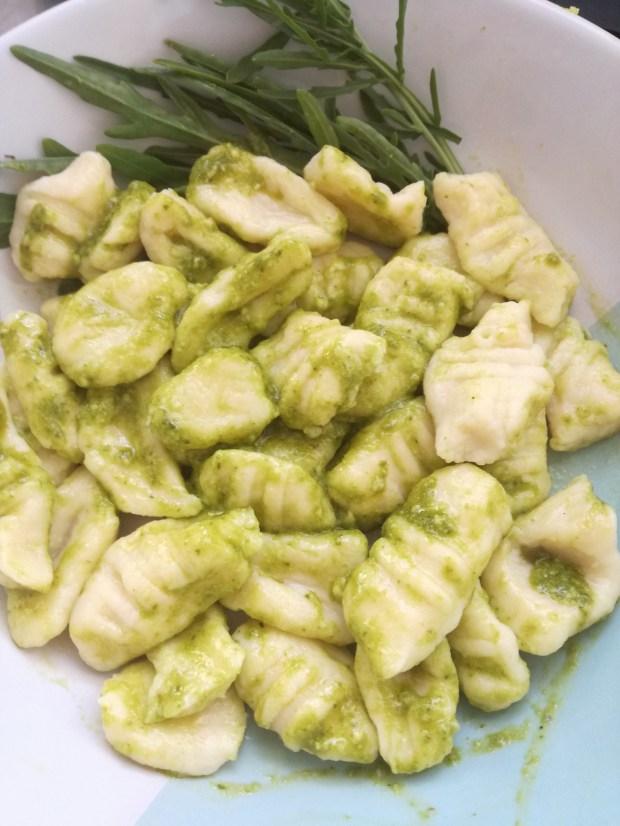
Gnocchi with basil pesto & fresh rocket