Egg in a hole

dsc_0339

Eggs in a hole. Such an easy recipe but one I’ve only discovered recently.

Ingredients

  • Egg (can be gluten free bread)
  • Butter (or dairy-free spread)
  • Bread
  • Optional: Salt & Pepper to taste. Chopped chives. Grated cheese.

Allergies: soy free, dairy free*, peanut free, tree nut free.

Directions

  1. Butter the bread and cut a rectangular window out of the middle.
  2. Heat frying pan (or skillet) and pop both pieces of bread in butter side down. Add a little butter into the ‘window’ and wait for it melt.
  3. Crack an egg into the ‘window’.
  4. Let it cook until the egg white has firmed up and then flip. Also flip your little cut out bread.
  5. Cook for a bit longer so the egg white is firm (you may want the yolk runny).
  6. Serve with any seasonings that you want. The cut out bit of bread is delicious and crunchy and can also be dipped into runny egg yolk.


Companion planting in the garden

companion-planting

Growing vegetables can not only be cost effective but it’s also a great way to involve kids in garden-to-table cooking. They can feel a real sense of accomplishment in growing and cooking something. My toddler (like so many others) goes through odd phases with vegetables. Sometimes the only vegetable she’ll reliably eat is dried seaweed, or peas and corn, or one month it was cucumber and another it was broccoli.

She does, however, have a distinct interest in eating anything she can pick from the garden herself – strawberries, sun-warmed tomatoes, sorrel, peas-in-a-pod, harvesting baby potatoes. We only a small raised square bed but I try to always have something in there (with some plants being more successful than others).

Companion planting is a great way of making the best use of your space and working out what plants are happiest co-habitating. I can only assume that tomatoes and potatoes are not happy flatting together – not only because of this eye-catching infographic but because my potatoes flourished below-ground while the tomato plants dies above-ground.

How to make a simple spider

Thankfully toddlers are not art critics. They take joy in simple pleasures and aren’t going to worry if your arts and crafts skills aren’t going to get you a gallery listing.

You can make a simple spider using:

  • Cardboard inner tube
  • Scissors or sharp knife
  • Pipe cleaners
  • Marker pen or felt tips (or buttons or googly eyes).
  1. Cut your paper tube to size (toilet rolls are a good size but a paper towel roll will need cutting in half or thirds).
  2. Make eyes. The simplest option is to draw then on but googly eyes are great if you have a packet lying around.
  3. Make 4 holes on each side of the paper tube (roughly parallel).
  4. Push 4 pipe cleaners through the parallel holes so they stick out each side. You now have 8 legs!
  5. Draw a web for your spider or print one out from Worksheet Fun.

How to make hanging hand towels

Toddlers love becoming independent and however they phrase it, what they’re thinking is along the lines of ‘Me do! Me do!’.

The first step was putting up some no-damage removeable hooks in the bathroom.

The second step was picking up some gorgeous large-sized adult face cloths at Kmart in attractive eye-catching colours. I found some ribbon in the craft box and selected some large buttons from my Bag-of-Buttons. The trick is to cross over the ends of the ribbon, place the button on top, and then sew through cloth-ribbon-button. Make sure that everything is nice and sturdily attached.

It’s a cheap way to make something practical, eye-catching, unique, and still washable! Plus toddlers love little accent features (like buttons, ribbons, applique etc.).

How to make Milk Bread

dav

Milk bread

To make a 750g loaf. This was a sweeter denser bread that toasted well. It was delicious with butter & jam, and also with vegemite & avocado.

Ingredients

  • 310ml milk (full cream or standard not trim)
  • 3 tsp oil (I use rice bran oil)
  • 1 1/2 tsp salt
  • 2T sugar
  • 3c bread flour
  • 3 tsp bread improver yeast

Allergies: soy free, peanut free, tree nut free.

Directions

  1. Put everything into the breadmaker in order listed. Select Dough only.
  2. When it finishes, select Dough only again so that it goes through another knockdown/rising cycle.
  3. Take out dough, knead for a couple of minutes, and place in bread tin. Let it rise while oven heats
  4. Heat oven to 220’C.
  5. Bake at 220’C for 10 minutes, then at 180’C for 30 minutes.
  6. Bread should sound ‘hollow’ if you take it out of the tin and knock on the bottom.

Watercolours are great for indoor painting

Watercolours are a great form of indoor painting. They’re much less mess than poster paint and easy to wipe up if you’re using a plastic mat or lino. They also handily come with a whole palette of colours!

These are great for encouraging creative messy play, colours (and colour mixing), fine motor control, and learning a process. Encourage them to go: paint, paper, water, paint etc. I find an old glass baby food jar ideal for washing brushes. It’s best to put only a tiny amount of water and change it frequently (that way there’s less to clean up if it gets knocked over!).

Watercolours will often come with a small brush. You can also experiment with other brushes, fingers, even a wet wipe will provide cool textures and colour mixing! If you’re toddler loves painting themselves and is going to do so anyway, why not support them in their experiment and try putting our a hand mirror so that they can see what they’re doing.

Supervision, support, encouragement, and modelling is important for toddlers. It can take a while to learn that the brush needs washing or that it’s not a good idea to smear black paint over all the other paint colours on the palette. On the bright side, they’re easy to wipe with a tissue or wet wipe to get back to a ‘purer’ colour.

Wet wipe watercolour painting

Home made crackers

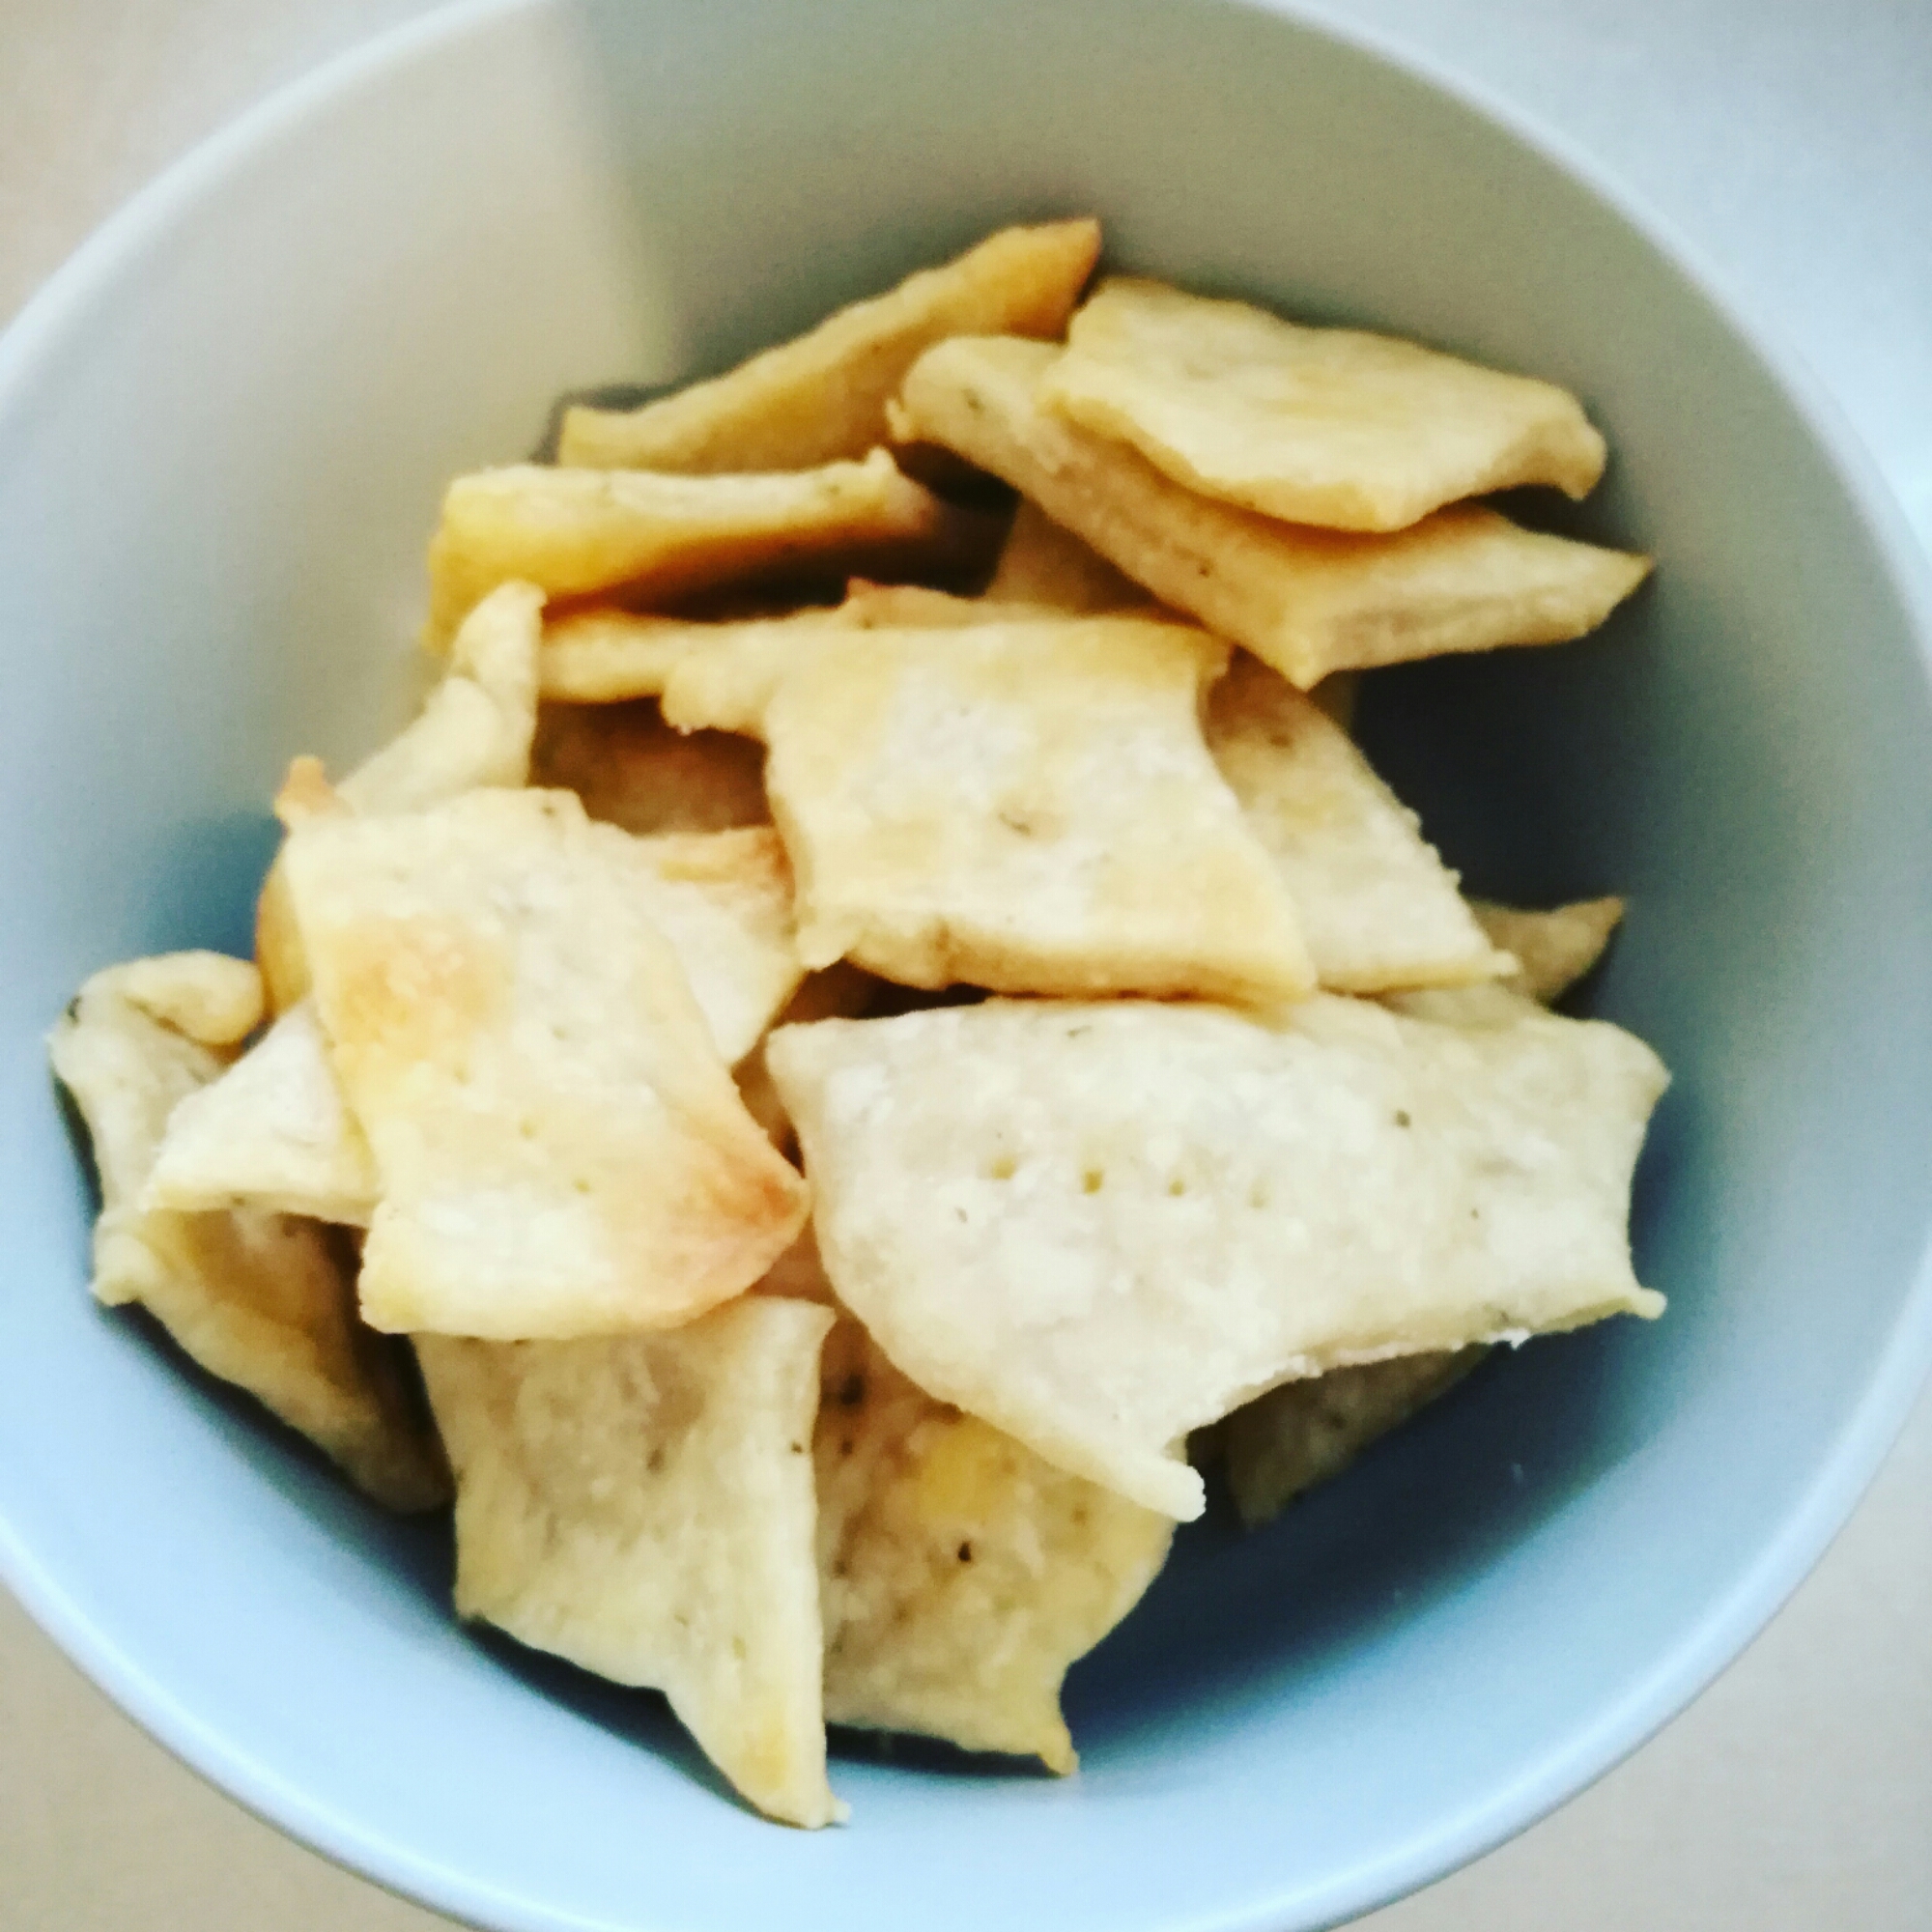
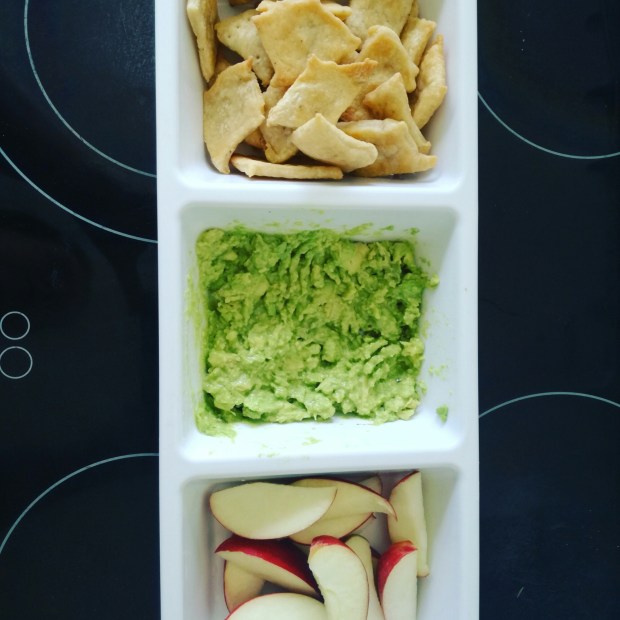
This is a super simple recipe for making your own crackers at home and easy enough to have your toddler help in the kitchen! They’re great for snacks or to use with dip (I love this easy smashed avocado dip!). You can also customise the flavouring and the shapes which makes it a handy recipe to keep in mind for parties. Why not make dinosaur crackers with “molten magma” salsa, or bunny crackers with spiced carrot dip etc. You can also use this recipe to make home made pizza.

Ingredients

  • 1 1/4c flour
  • 1 1/2 tsp sea salt
  • 60ml olive oil
  • 100 ml water

Flavourings

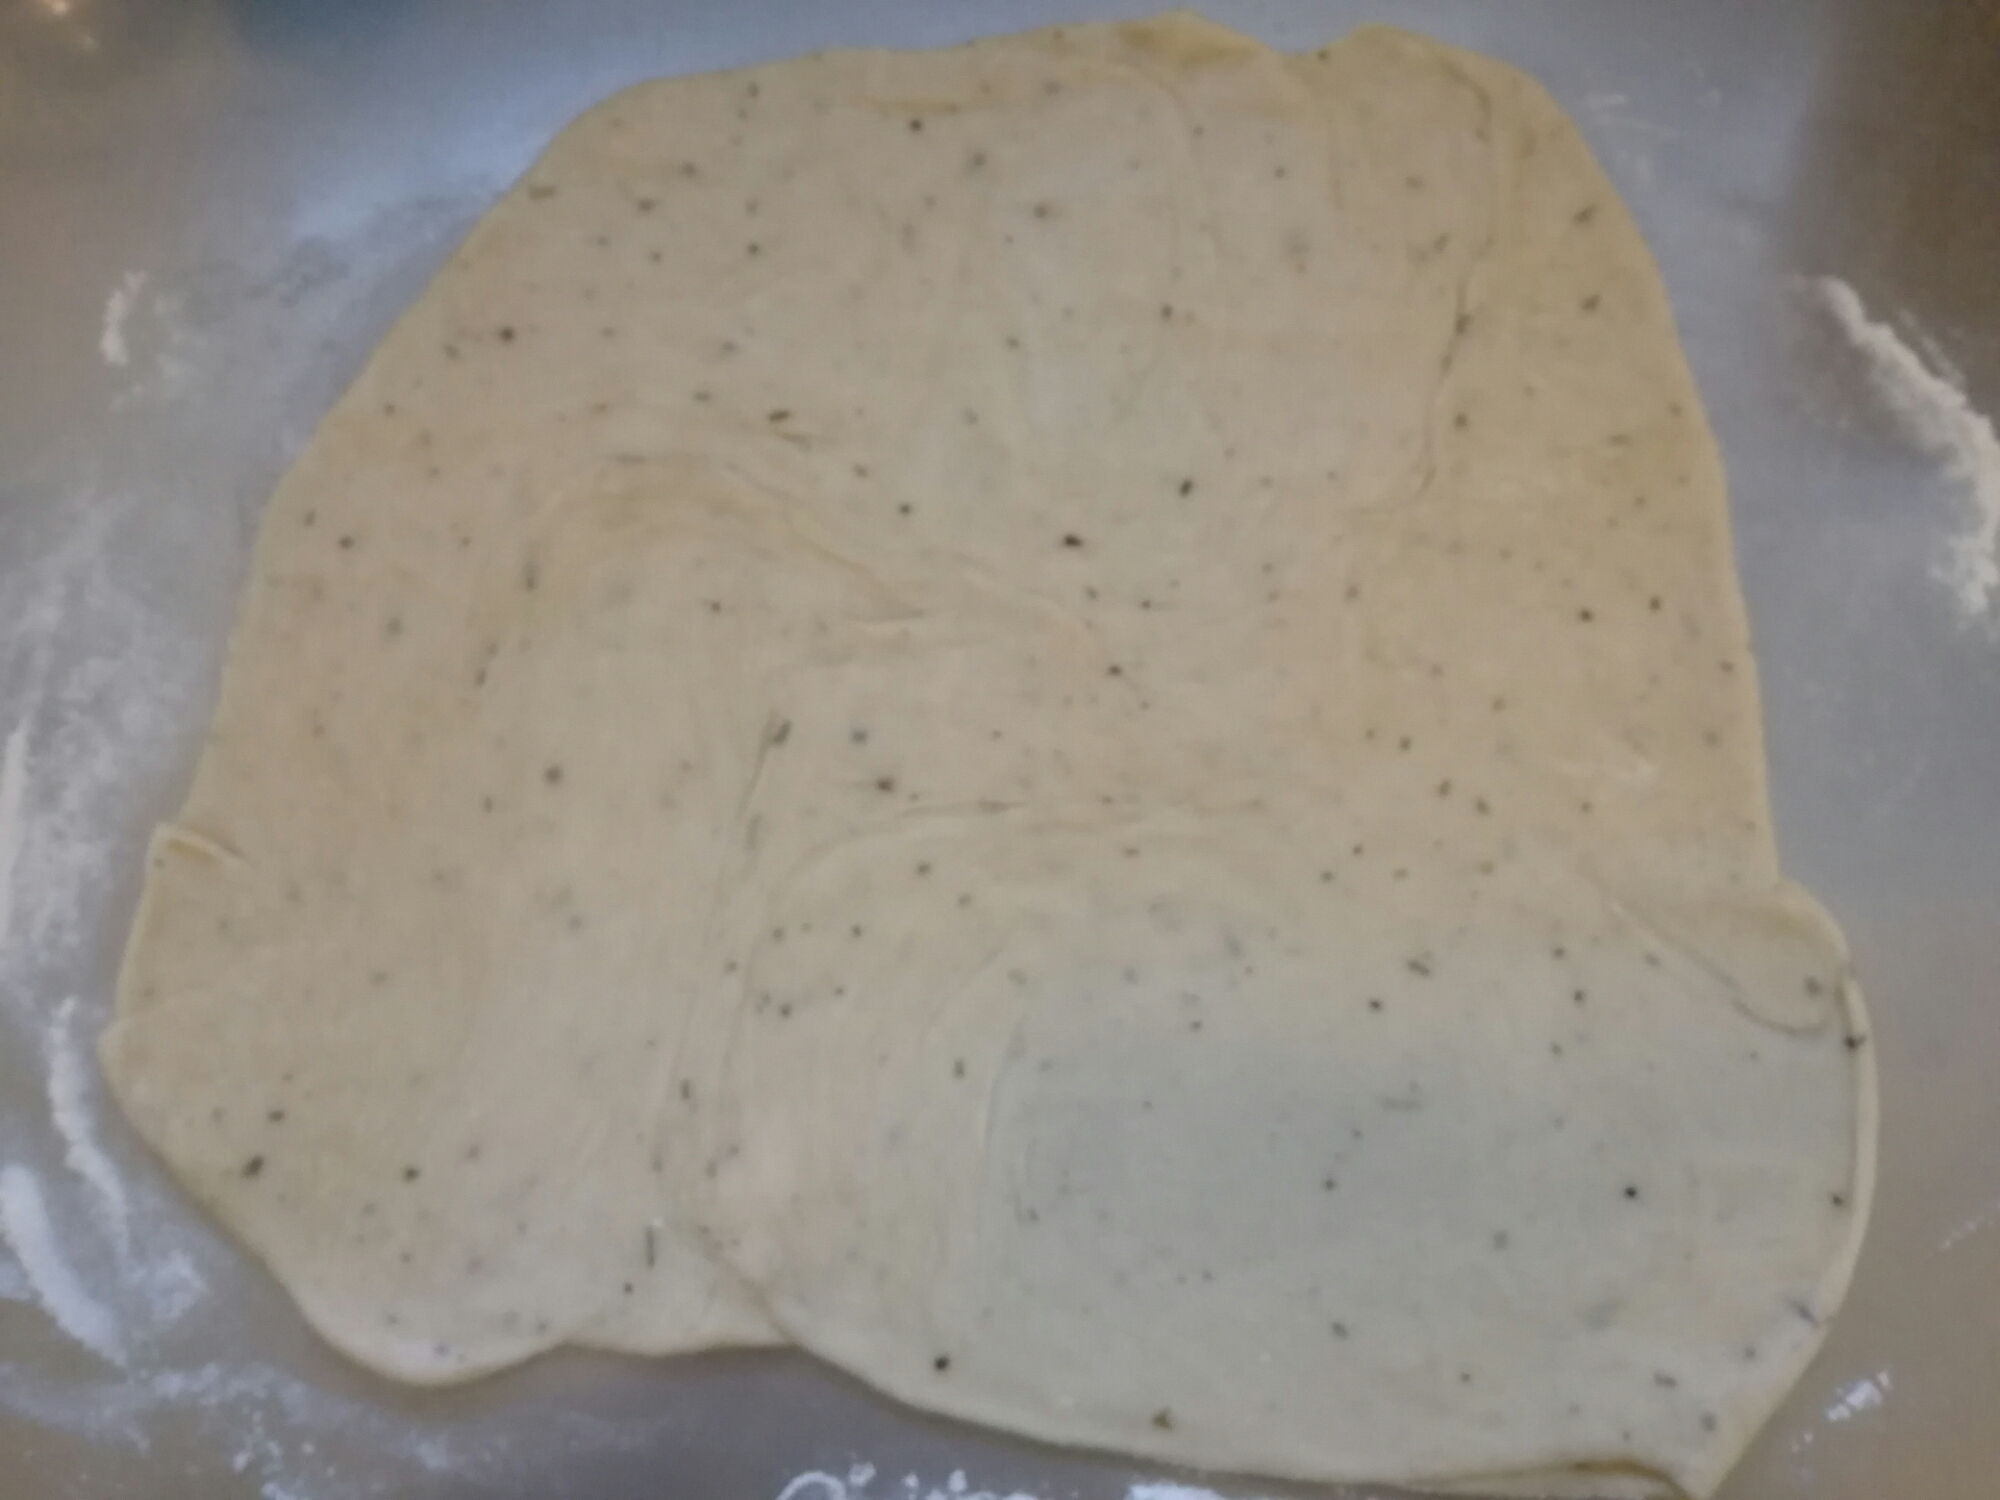
  • 1 tsp dried mixed herbs
  • dash of cracked black pepper

Note: The original recipe called for 1tsp cracked black pepper and no herbs but I changed it for my toddler. It’s an easy recipe to try different flavourings with. You could try herbs and dried garlic, dried onion & grated cheese, dried herbs & marigold petals (they are edible and provide beautiful colouring), chilli & a dash of lime juice etc.

Directions

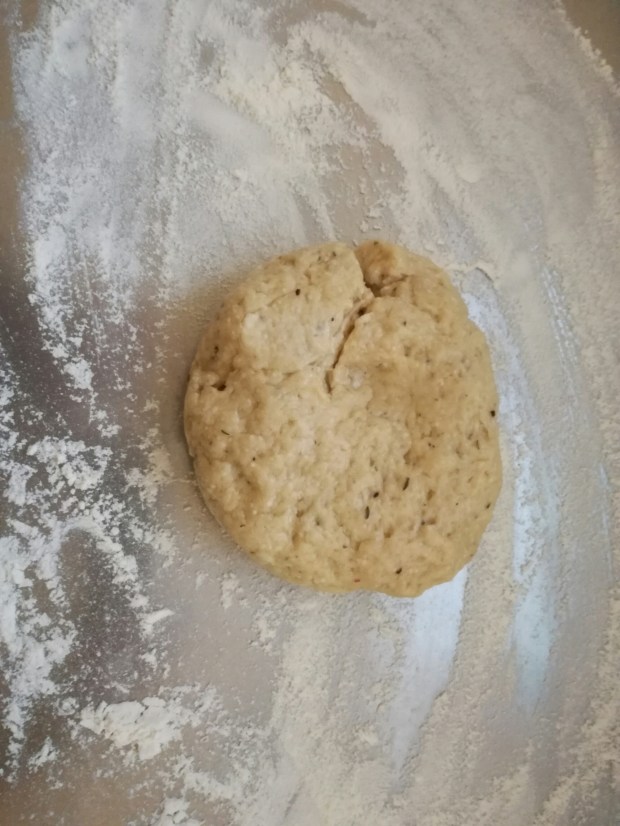
  1. Combine and mix all the ingredients.
  2. Turn dough onto a floured surface and knead for one minute until smooth.
  3. Cover plastic wrap and refridgerate for 30 mins.
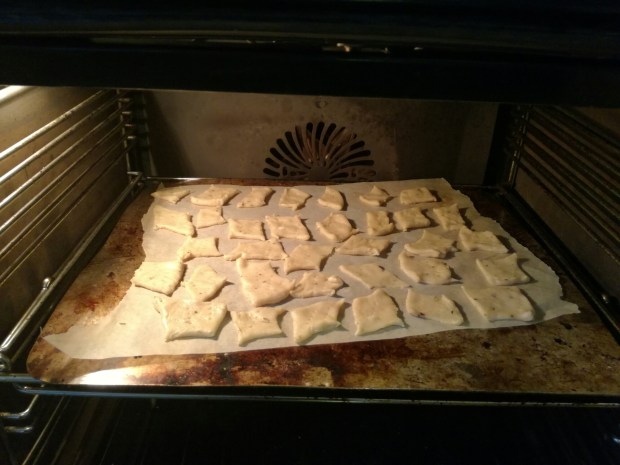
  4. Roll out to 3/4cm thick and cut with a sharp knife. (A toddler friendly wooden bamboo knife also works!).
  5. Use a palette knife (fingers and the bamboo knife also work!) to lift onto oven tray. Prick with a fork to prevent puffing (they really do puff up otherwise!).
  6. Bake at 160’C for 10-12 mins.
    • My ancient oven isn’t very reliable so I turned the tray around after 10 minutes and had them in there for about another 6 mins. They do go crunchier as they cool and dry as well.
  7. Cool on wire rack.

Note: These can be stored for up to a month in an air-tight container. Uncooked dough can be frozen.

Allergies: soy free, dairy free, egg free, peanut free.

FOLLOW UP:

I’ve made these crackers a couple more times experimenting with flavouring ingredients. So far I’ve found them best to eat in the first couple of days. I suspect that I need to cook them for longer at a lower temperature to get them to keep in a  container and be dry and crispy.

Cheese & garlic: 1 1/2 tsp smoked garlic salt, 1 tsp garlic granules, 1/2c grated cheese, dash of cumin seeds. I loved these, my toddler not so much. I suspect that’s because I like cumin and she doesn’t; they do have a distinct flavour so only add a pinch (or omit) if you’re not sure you like them. Alternatively, you could swap the cumin out for a 1/2 tsp mustard powder.

dav

Tomato & Onion: 1T dried onion, 2 tsp tomato paste, pinch sumac, dash paprika, 1/2tsp mixed herbs.

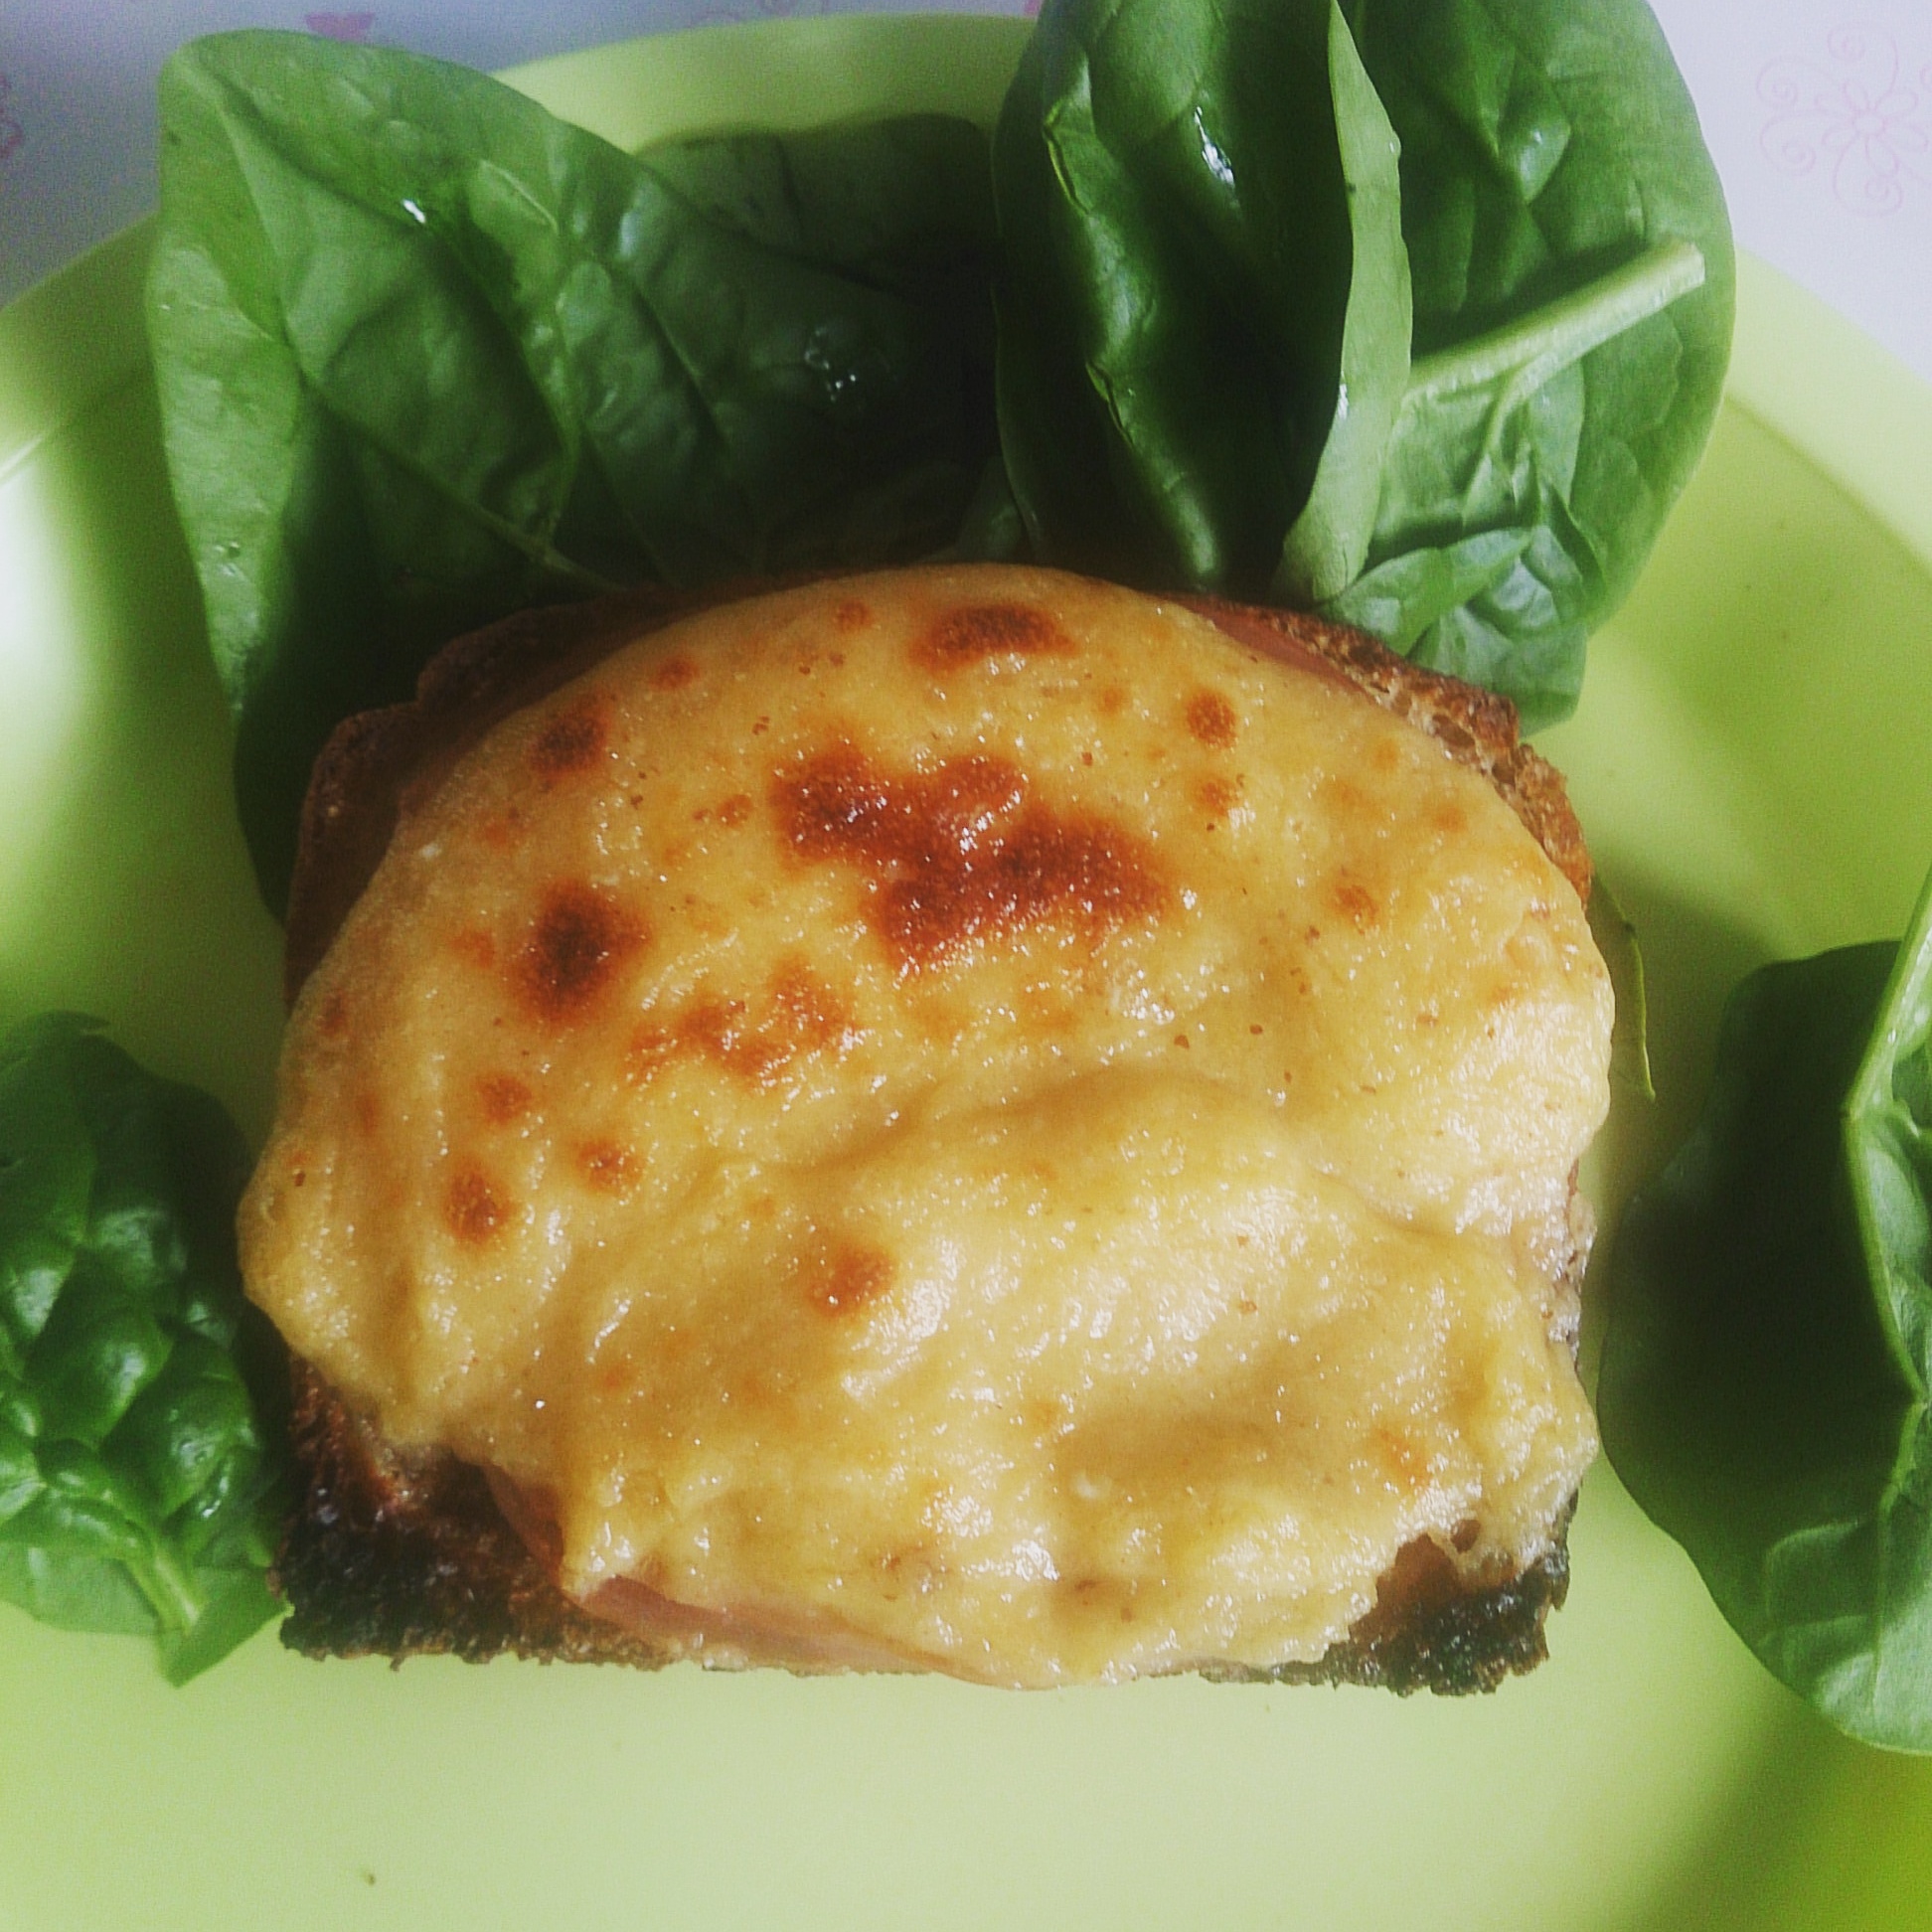
My toddler really liked these; I think I’d prefer this flavour mix when using this recipe to make a pizza base. Would be interesting to try it with finely chopped sundried tomato & fresh basil although it might need to be eaten same day (it might not keep as well with the added wet ingredients).

dav

Welsh Rarebit


This is such a wonderful comfort food. It’s tasty, quick and easy to make (even with a grumpy toddler), and a cheap meal to make if these are the kind of staples you have at home. You’re also likely to end up with leftover cheese sauce that you can use the next day (make mince & cheese pie, lasagne, nachos, or just serve with baked beans or broccoli!).

I also have to confess that I normally mispronounce this and tell my toddler that we’re eating Welsh Rabbit.

Ingredients

  • 4 slices thick bread (can use gluten free bread)
  • 250g strong cheddar cheese
    • (I have had this turn out fine with a mild colby so don’t stress if you don’t have something stronger).
  • 100ml milk
    • (apparently you can replace this with light ale but I haven’t tried)
  • 25g butter
  • 1 beaten egg
  • 1T plain flour (or superfine white rice flour)
  • 1T mustard
    • (I like Dijonnaise)
  • Paprika
  • Worcestershire sauce (optional)
  • Dried onion (optional)

Allergies: soy free, gluten free*, nut free.

Directions

  1. Lightly toast bread.
    • (If soft it will go soggy).
  2. In pot on a low heat, melt cheese + milk + butter.
  3. Turn heat to medium and stir in egg.
  4. Add flour and stir swiftly until fully mixed.
  5. Take off heat. Add mustard; dash in Worcestershire sauce (if desired); add a dash of paprika (or you can sprinkle on top once spread); mix in dried onion (if desired).
  6. Butter toast and lay on baking tray.
  7. Spoon cheese sauce onto toast. Sprinkle on paprika (if not already mixed in).
  8. Grill until cheese goes golden and starts to bubble.


Optional:  You can add ham, cooked bacon, anchovies, or warm baked beans to the bread before spreading the cheese sauce. Remember that everything needs to be warm and cooked before it goes under the grill!

Allergy: peanut free; soy free*.

Note: This can be made soy free as long as you’re careful to select soy free ingredients.