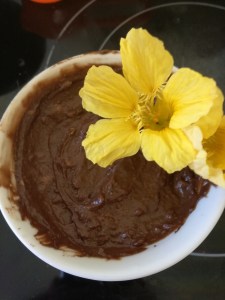
Pumpkin and Yellow Split Pea Dahl
This delicious Pumpkin and Yellow Split Pea Dahl is creamy, sweet, and lightly spiced. It’s a wonderful balance of flavours, it’s cheap, it’s filling, it’s nutritional, and it’s easy to make. I’ve used a slow cooker for this recipie as it means you can prepare the vegetables ahead of time if you want and then just throw everything in so you can be occupied with other things while it’s cooking. It’s also wonderfully allergy friendly!
Ingredients
- 60ml neutral oil (I like rice bran oil)
- 1 chopped carrot
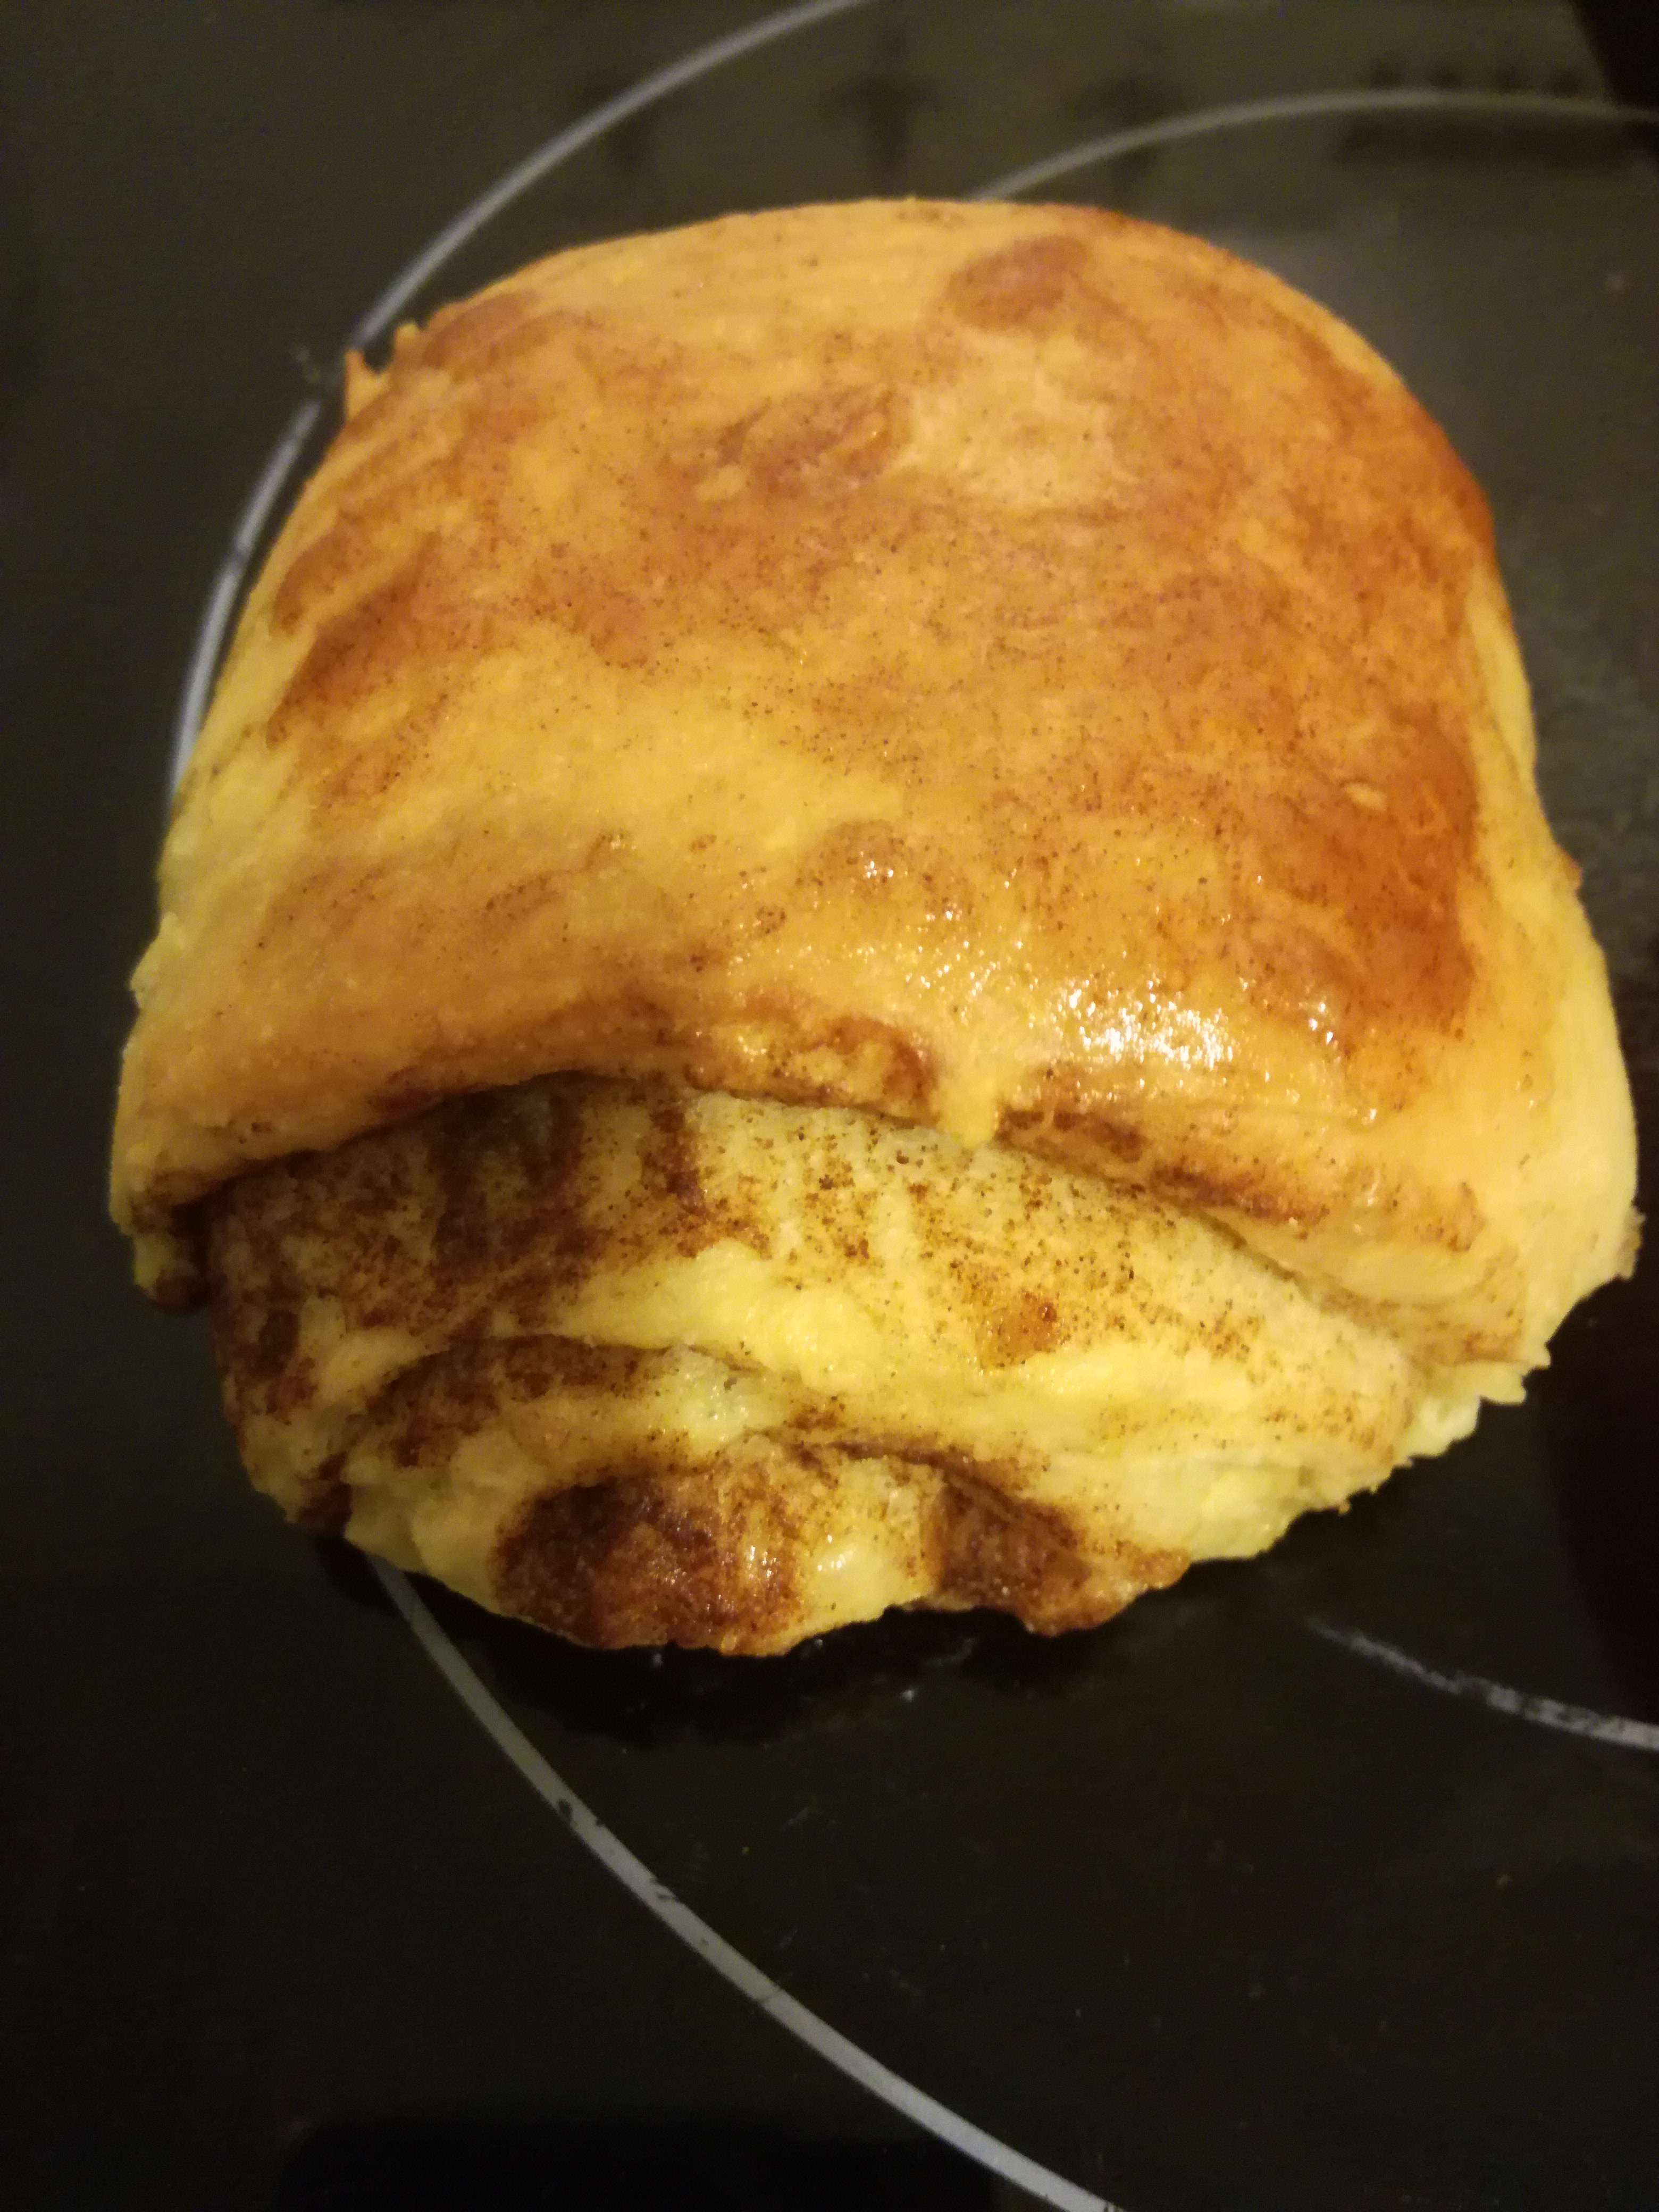
- 1/2 chopped pumpkin (flesh only, skin & seeds removed)
- 2 potatoes, diced.
- 200g yellow split peas (soaked overnight in water)
- 1/2c sultanas
- 3T curry powder
- 400g can coconut cream
You can substitute the pumpkin for butternut squash or kumara if desired.
Allergies: soy free, dairy free, gluten free, egg free, peanut free, tree nut free.

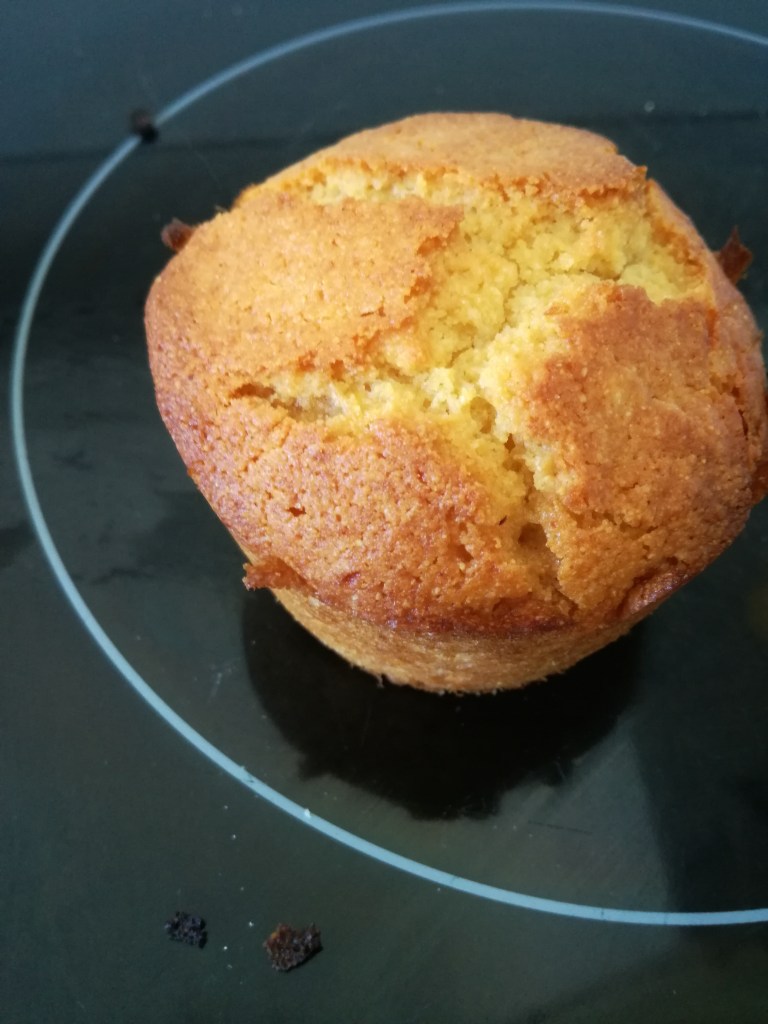
For sizing, I used half of this pumpkin.
Directions
- Put everything in the slow cooker and mix.
- I suggest putting in half the can of coconut cream to begin with. You can then decide part-way through cooking if you want to add the other half. It will take longer for the full can to be fully absorbed but it does give a wonderful creamy flavour.
- Cook on high for 2-4 hours.
- I added the second half of the coconut milk after two hours and switched it to warm after four hours.
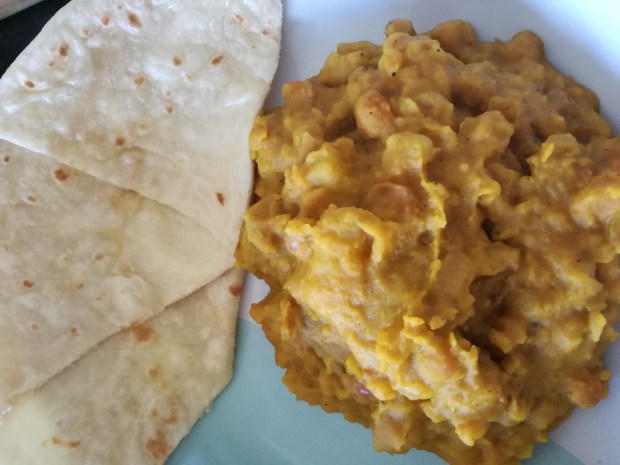
- Eat on it’s own, with flatbread, or with rice. Add salt & pepper to taste.