WHAT IS IN THE MIRROR ILLUSIONS BOX?
This box encourages children to reflect on the question: How do mirrors work? The Explore magazine gives lots of fun ideas on how to explore this, such as : using a mirror map, writing a secret message using mirror writing, and creating infinite reflections.
Kiwi Crate’s Mirror Illusions box comes with materials for three crafts:
DESIGN AND PAINT A JIGSAW
We really liked the colour palette provided for this and that the paint stampers/dabbers can be re-used as an ongoing art resource. There is a selection of special stickers to choose from that will provide a magic ‘negative space’ when they are removed after painting. The two jigsaws can be used double sided which means that you can end up with a total of 4 puzzles (the emoji face + 3 of your own design).
MAKE YOUR OWN MIRROR GOGGLES
These really emphasize just how helpful it is when our brain automatically processes and translates reflected light for us. With these mirror goggles, a disconnect is created. Your hands need to move in the opposite direction from what your eyes are telling you. If you move a puzzle piece towards you, it will look like you are pushing it away (and vice versa). If you try writing your name, it will appear upside down without the goggles. A fun challenge is trying to write a name or phrase ‘upside down’ so that it appears correct without the goggles.
MAKE A MAGIC TRICK BOX
These are fun to make! There are a few options to choose from for your inner illustration (or you can design your own). When performing, simply ask for a coin from a member of the audience, drop it in the slot, and Hey Presto! it appears to vanish right in front of their eyes. The secret to the magic trick is the slanted mirror inside that creates an optical illusion and hides a secret compartment.
HOW DO I ORDER KIWI CRATE?
This is not a paid review. I spent a lot of time searching the internet to find out more information about the Kiwi Crate and Atlas Crate boxes before deciding to try them and found the blog posts / photos that people shared were really useful!
If you would like to try Kiwi Crate (or one of their other lines), you can receive 50% off your first box by clicking here.
What I like about the Kiwi Crate kits is that they use a combination of Science, Technology, Engineering, Arts, and Mathematics to explore a concept or idea. There’s no obligation to sign-up in an on-going capacity so it’s easy to tie them in with birthdays / Christmas; the boxes are quite compact so they also store easily in a cupboard for bringing them out on a rainy day. Mind you, this only works if you spot the package on the door-step first – children become quite adept at recognising the green Kiwi Crate box and screaming with delight at it’s arrival!
The boxes are sent randomly so there’s no way to know what will come in the future; however, you can log-in to your account at the start of each month to see what box has been selected. Your box history is kept which means that even if you cancel and then pick-up again the following year they can make sure that you aren’t sent repeats of boxes.
WHAT IS IN A KIWI CRATE?
The Kiwi Crate is aimed at ages 5-8 years. It comes with a copy of the Explore magazine which opens with a fun comic about Steve the Kiwi and his friends. [As a side note, these are made by an American company despite the use of our New Zealand native bird]. These comics are really approachable for younger kids and a great way of exploring the concepts being introduced in a relateable manner.
The Explore magazine provides a range of information on the topic, it might include some simple games or tricks to try at home, and provide ideas for additional crafts / activities using simple materials. It also has a sticker [unique to each box theme] to put on your Kiwi Crate chart.
The box also includes an instruction manual and the materials that you need to build the main craft. Generally, there are two activities to do – one that is more art related, and one that is more mechanical engineering. What makes the kits special, is how well crafted the engineering components are. They really are designed for the intended age group so that they can either build themselves or help assist an adult. There are handy visual images and checkpoints to make sure that things are aligned correctly. There is no super-bonding-fingers-together wood glue to use with these projects (which makes them great for highly sensory children); instead parts come with double sided tape finely engineered on so that you just need to remove the backing strip of paper.
Interested in more homeschool box reviews?
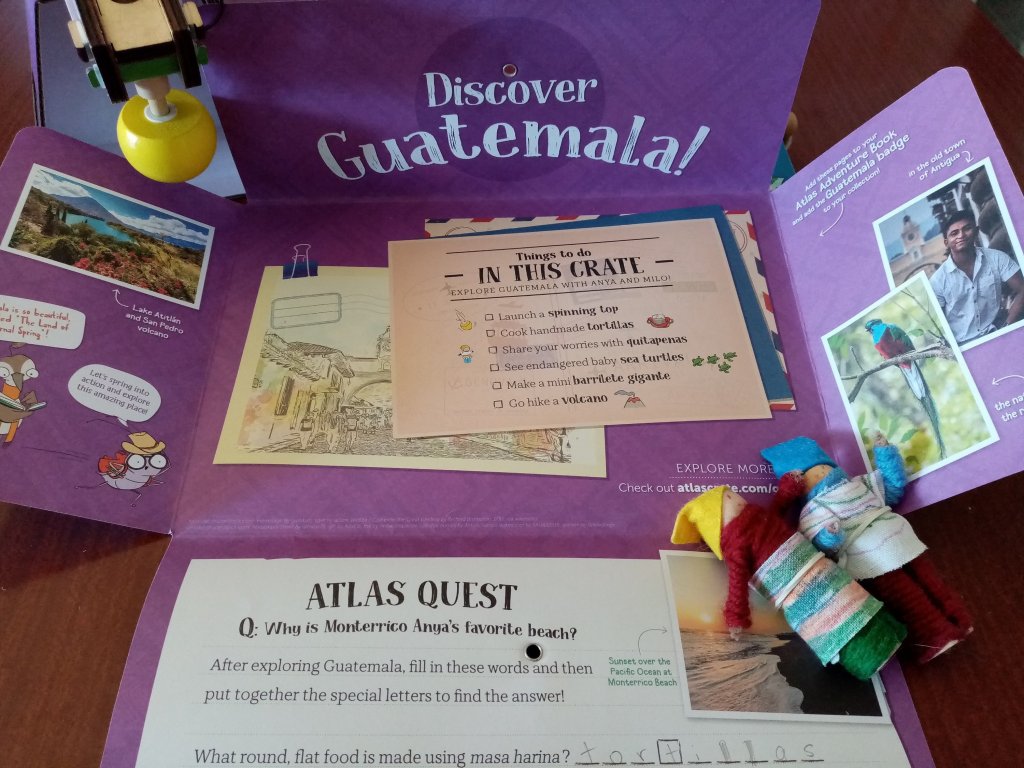
Discover the World with ATLAS Crate
Explore STEM with Kiwi Crate
#2 The Amazing Animation Box (make your own 19th century movie with a Zoetrope!)
#3 The Mechanical Sweeper Box (make your own baleen whale!)
#4 The Disc Launchers Box (play games with physics!)
#5 Kaleidoscope Puzzles (explore symmetry and mirrors!)
#9 Learn about Stars and Constellations
#10 Learn about Time