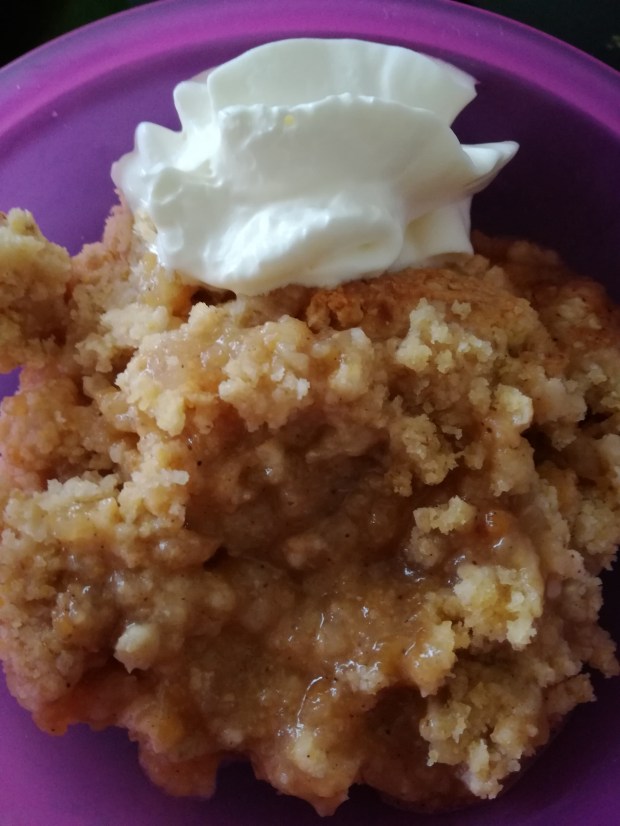
Gluten free fruit crumble
Looking for something easy to make for the family over Easter? Why not try old fashioned fruit crumble? Warm, delicious, comforting, and the leftovers also make a great breakfast. This recipe is a bit of a twist on an old classic as it is free of gluten and other key allergens.
Ingredients
- 3-4c stewed fruit
- Brown sugar
- Cinnamon
- Ginger
- Allspice
Topping
- 1c rolled oats
- 1c superfine rice flour / plain all purpose flour
- 1/4 tsp guar gum or xanthan gum if using gluten free rice flour.
- 1/2c cornmeal (polenta)
- 150g Nuttelex (allergy free vegan spread) / margarine / butter
- 2 tsp Baking Powder
- 3-4T honey, or brown sugar, or maple syrup.
Optional:
- 1/2c finely grated carrots
- 1/4c almond slivers
- 1T ground linseed
- 1T chia seeds
All extra ingredients that I would like to try in the topping! (Though I don’t think I’d add all at once).
Allergies: dairy free, soy free, gluten free, egg free, nut free.
Stewed Fruit
Some fruit does need to be stewed before being used in the crumble; these are mainly harder fruits like apples. You can chop apples up finely, add a little water, and cook them quite quickly using a microwave steamer.
If you have a food processor then it’s easy to blend fruit before putting it in the crumble dish. You’ll still need to stew fruit like apple but the food processor will help get them smooth. You can also put tinned fruits straight into the food processor and soft fresh fruits like feijoas.
Fruit crumbles are a great way to use up leftover fruit (like those apples that your toddler took ONE bite out of). For this crumble I used: 1 1/2 apples, a handful of sultanas, most of a 400g tin of apricots in juice, and a big bunch of fresh feijoas.
Serve with
Depending on allergies and budget, this is delicious hot and cold. You could serve it with things like:
- Whipped cream
- Custard (can be made with almond milk)
- Berry yoghurt
- Ice cream (can use coconut yoghurt)
Directions
- Prepare fruit. Cook and stew the fruit if required; consider blending the fruit in a food processor.
- Pour the fruit into a cooking bowl (i.e. a Pyrex cooking dish or a silicon cake tin).
- Mix in sugar and spices. Remember that it’s easy to add more but you can’t take any out! I suggest starting with 1T brown sugar and a pinch of each of the spices. Keep adding until it is to your liking. Keep in mind that sweet fruits (like strawberries) may need some lemon juice to balance the flavour whereas acidic fruits (like feijoas) may need more sugar. There is also some sweetness being added to the topping so the fruit doesn’t need to be overly sweet.
- Mix all of the topping ingredients together. (I used the food processor again!). It should turn into a malleable topping that you can roll into balls in your hands and then squish and place over the fruit.
- Bake in a pre-heated oven at 190’C for approx. 25 mins.