It looks like we have an early start to summer with hot sunny days in the garden to appreciate our Spring flowers. Spending time outside has been a big part of our Discovering Spring unit as we explore life cycles (plants and insects), do gardening, make art with our flower press, and visit farms to see the baby animals that have been born.
It’s also a great time to explore making hand made body paint using a few simple ingredients. This is a messy play activity that is best done outdoors.
Materials (per colour)
1 Tablespoon cornstarch
1 Tablespoon flour (or rice flour)
1 Tbsp water
A squirt of shaving foam
A few drops of food colouring
Spoon, bowl, paintbrush
Tip: We like using shaving foam in art; we also use it to make marbled paper. Used in this recipe, it creates a puffy consistency that can also be used for textured painting on paper. If you would like a smoother, more liquid consistency, use 1 Tbsp suntan lotion instead.
Directions
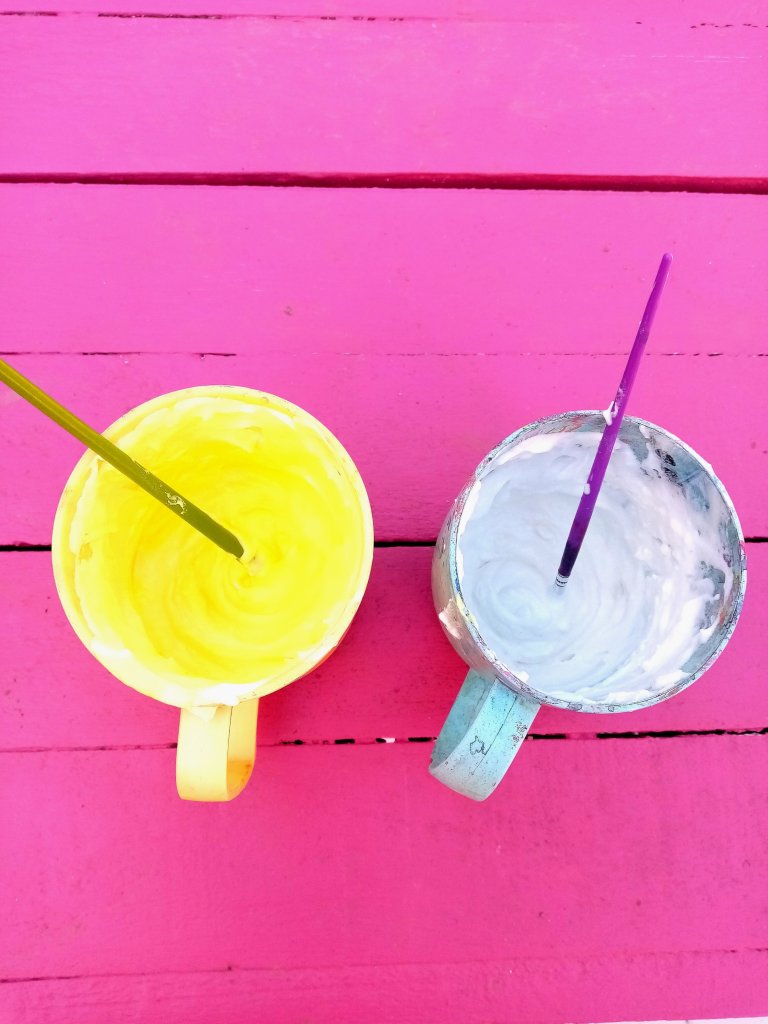
In a small bowl (or cup), place the cornstarch, flour, water, and food colouring. Add a small squirt of shaving foam.
Mix well until smoothly combined. Add a little rice bran oil or shaving foam if too thick.
Use a paintbrush to draw designs. A hand mirror is useful for kids that would like to do their own. Try looking for inspiration outside to create flowers, leaves, and insects!
I love the ExperisenseNZ Life Cycles box which I purchased for $27. I was inspired by our annual Spring unit on seasonal cycles, growing food and flowers in the garden, and observing garden mini-beasts. We were thrilled to watch the hard work we had done earlier in the year, creating new wildflower beds to support our favourite pollinators, burst into colourful bloom.
We wanted to preserve some of our flowers and were excited at the idea of buying a flower press to create seasonal art and gifts. A classic press seems to cost around $24 so I was thrilled to get the ExperisenseNZ kit which comes with a flower press and a number of additional activities.
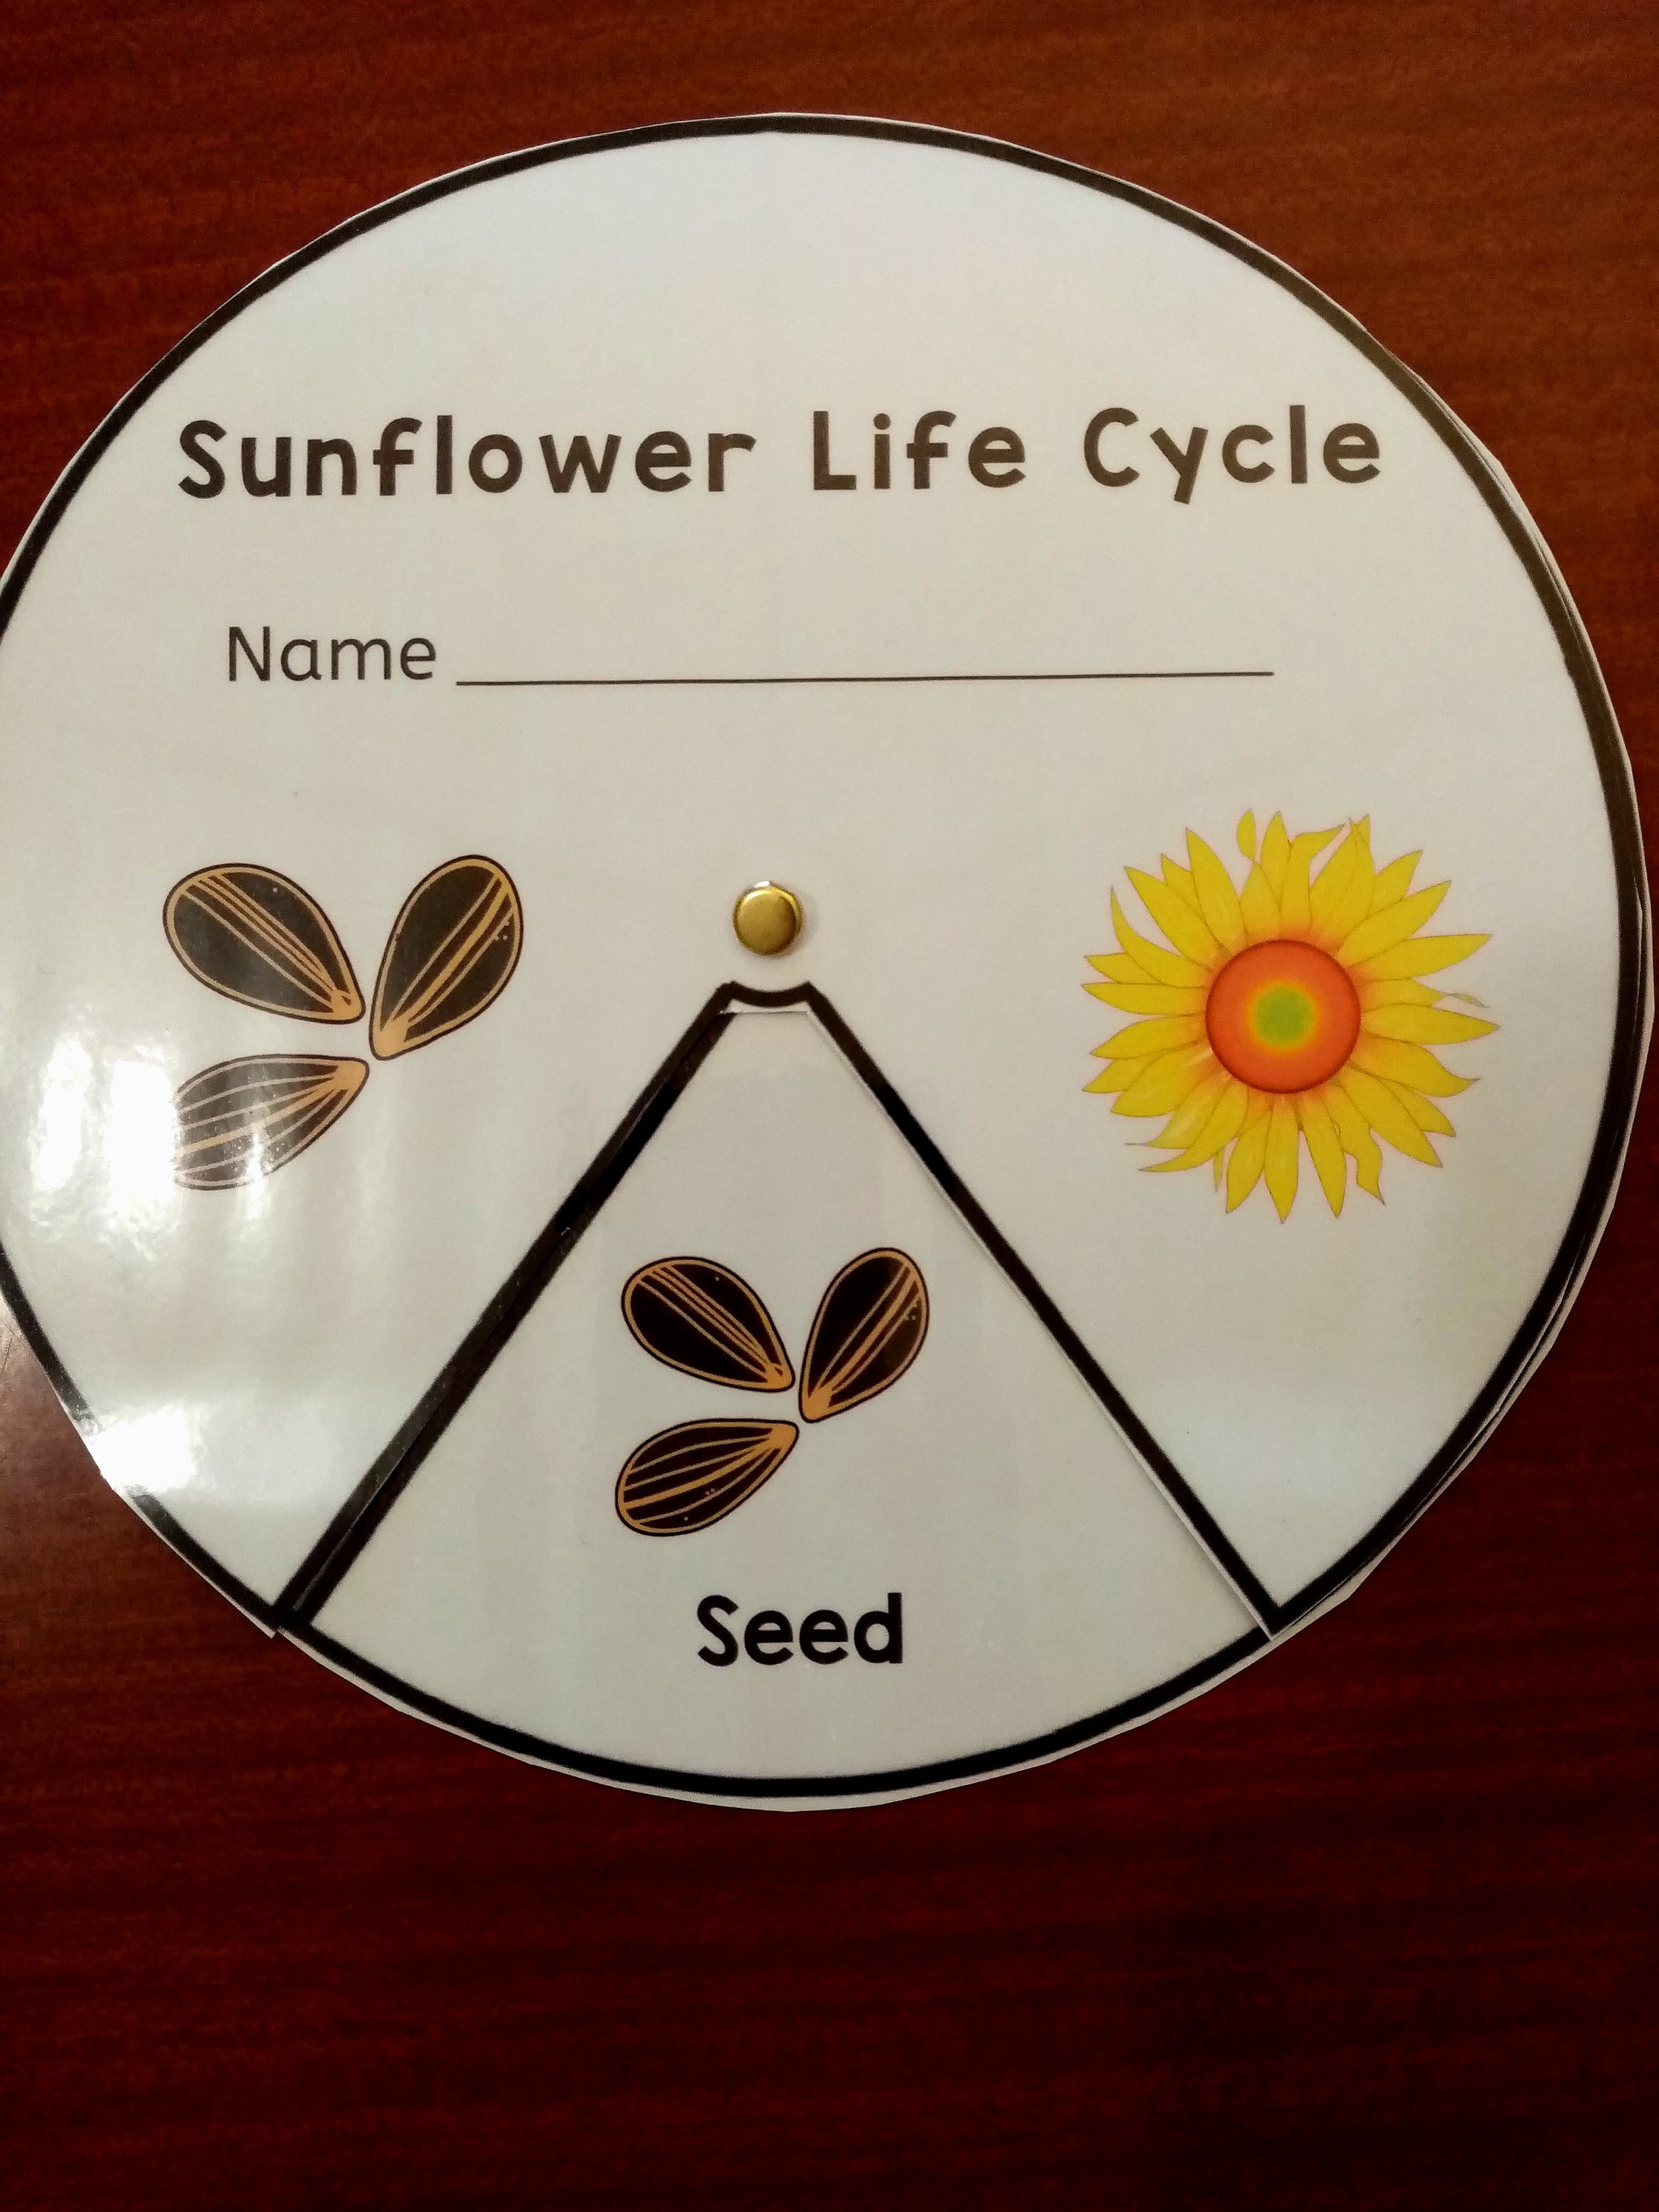
What is the life cycle of a sunflower?
We love sunflowers with their stately and colourful beauty. It’s also fun being able to harvest their seeds; either to dry and sow again, or, to feed to the birds in Autumn.
The kit comes with a laminated life cycle wheel for discussing the sunflower’s life cycle stages. It also comes with a generous amount of sunflower seeds and some compostable pots to get you started.
We made marbled paper and then followed the instructions in the kit to make a beautiful butterfly life cycle. Our wall poster shows the stages from egg, to caterpillar, to cocoon (or pupae), to butterfly.
Tip: Spring is a great time of year to consider growing Swan Plants to watch the Monarch Butterfly life cycle in action!
What is a ladybug life cycle?
What I like about the kit including both Butterfly and Lady Bug life cycles is that the two insects look quite different to each other in their stages. They also differ in what they eat! For instance, a Monarch butterfly caterpillar will eat a huge number of milkweed leaves; whereas, a Ladybug larve will voraciously eat aphids, tiny worms, and insect eggs.
We liked the rainbow foil print on this life cycle so much that we decided to laminate it and add it to our resource collection (rather than use it for a paper plate craft).
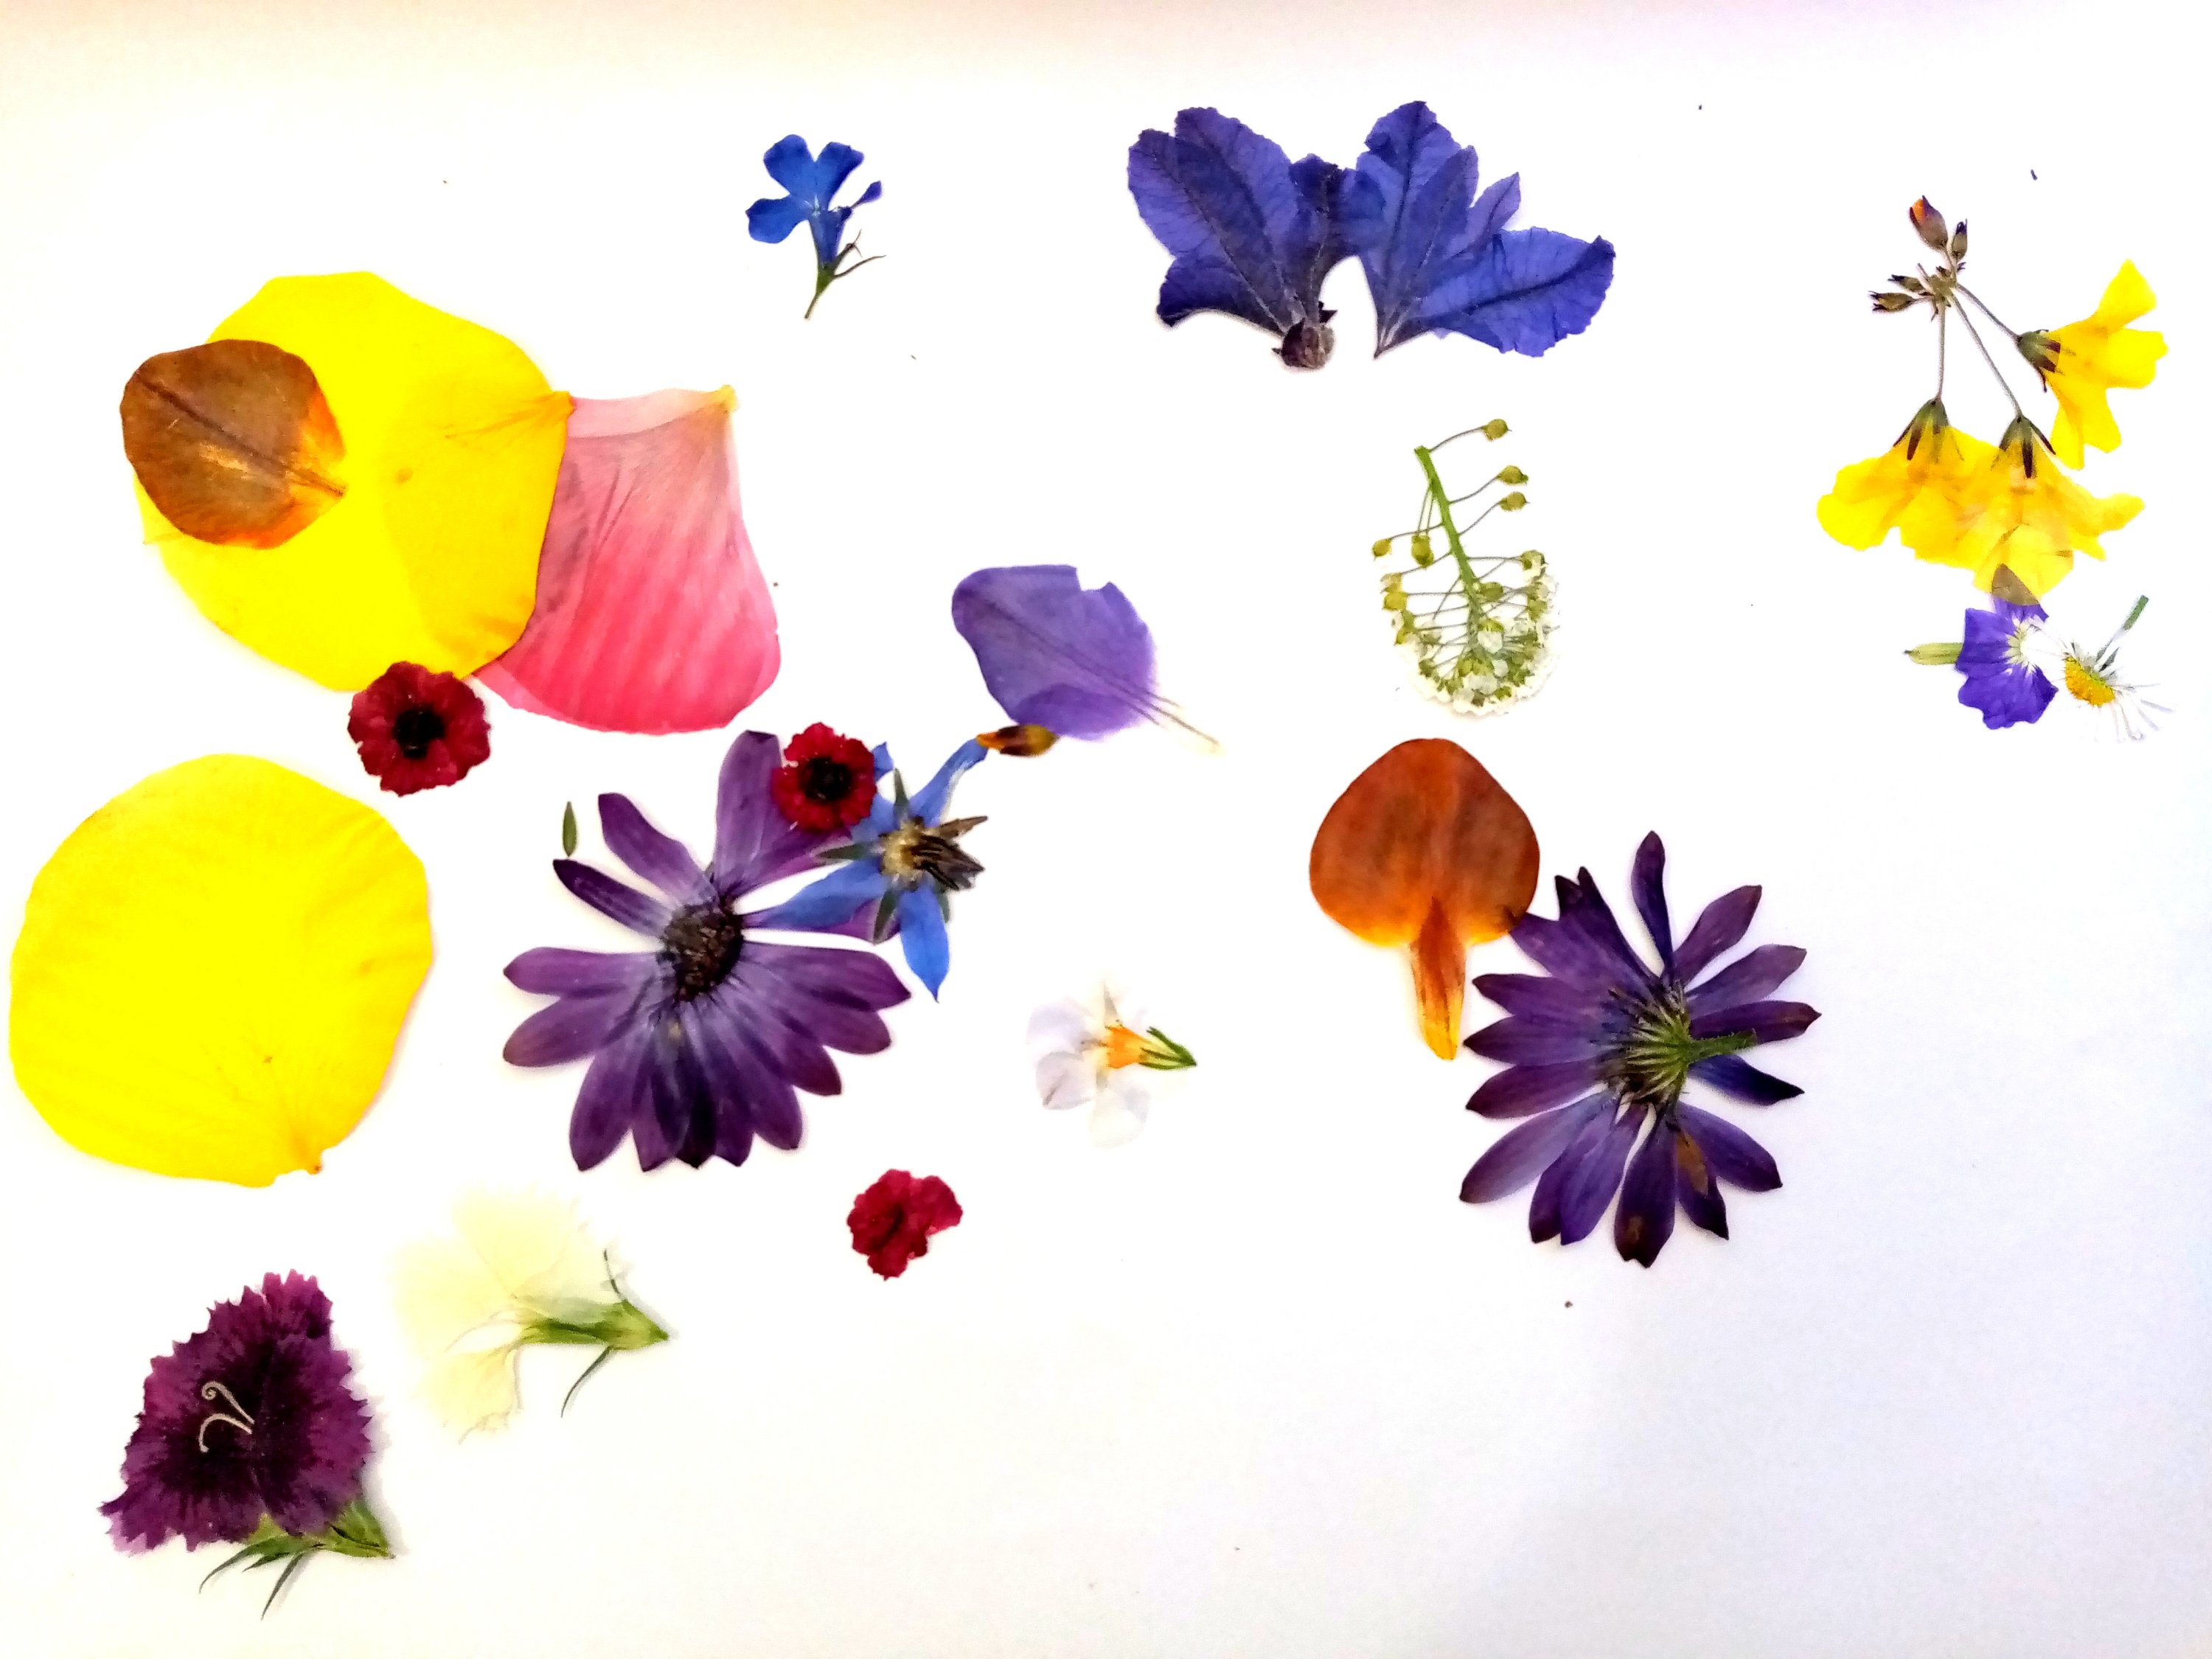
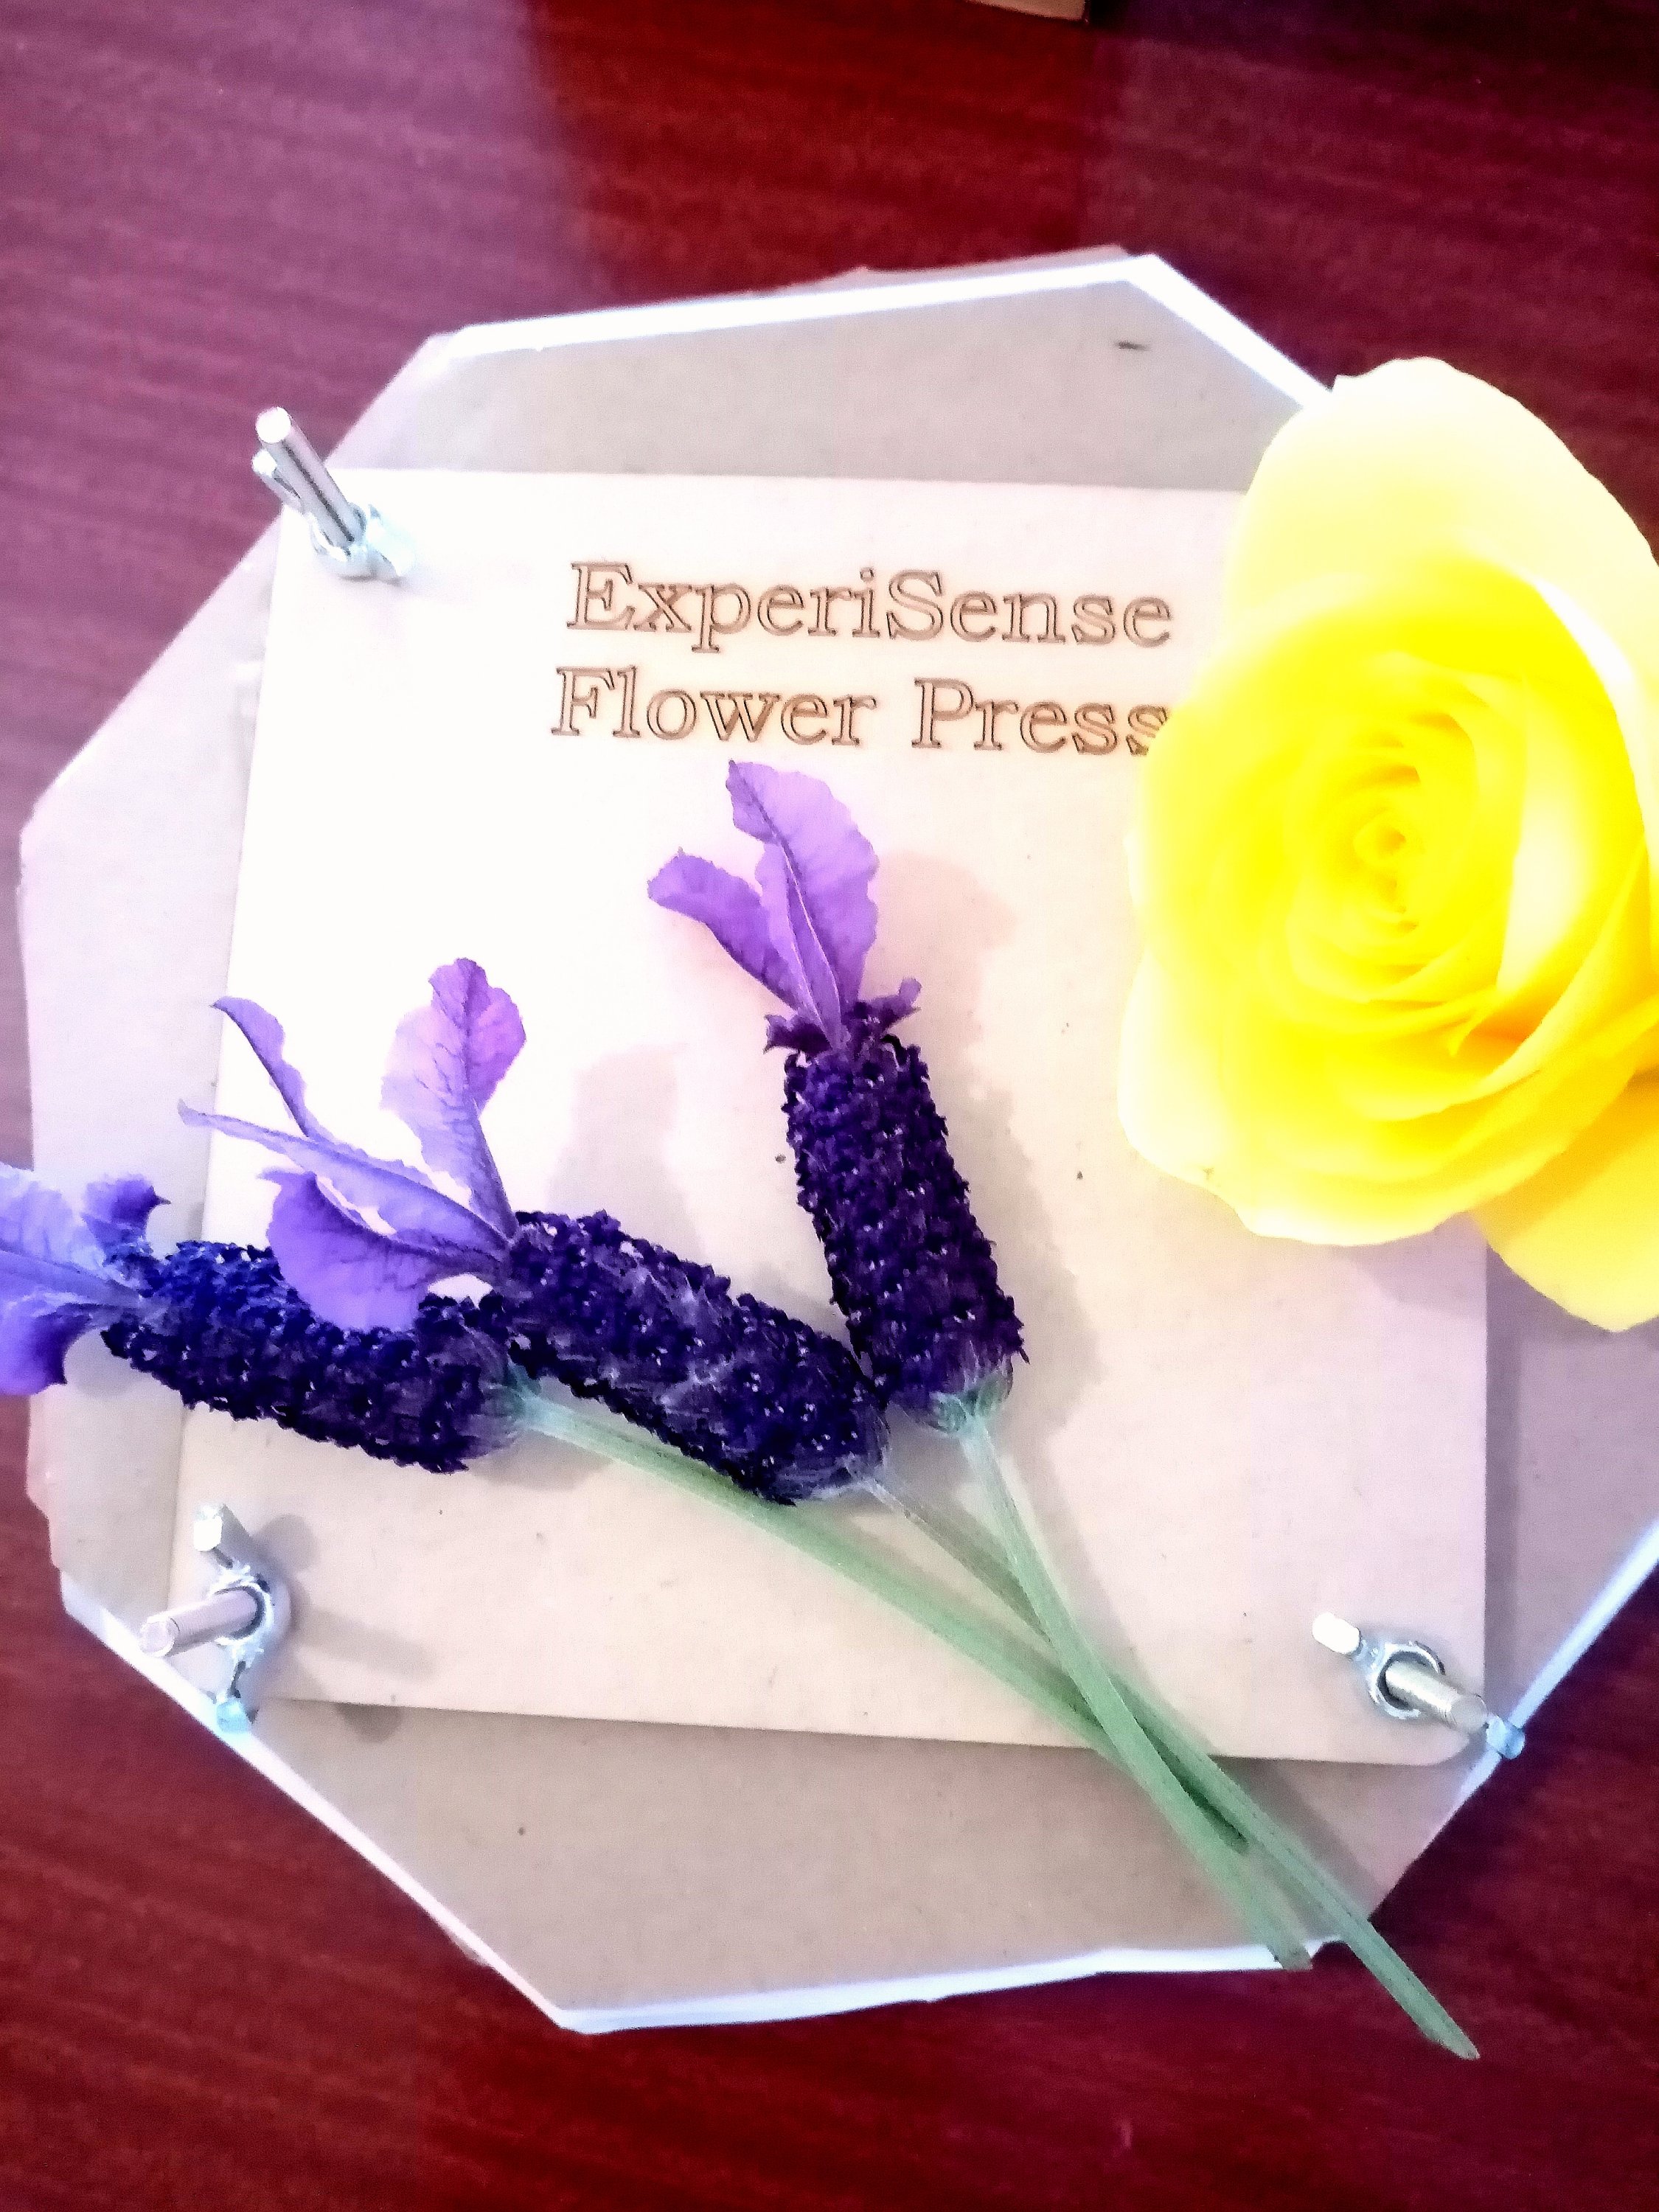
How to press flowers
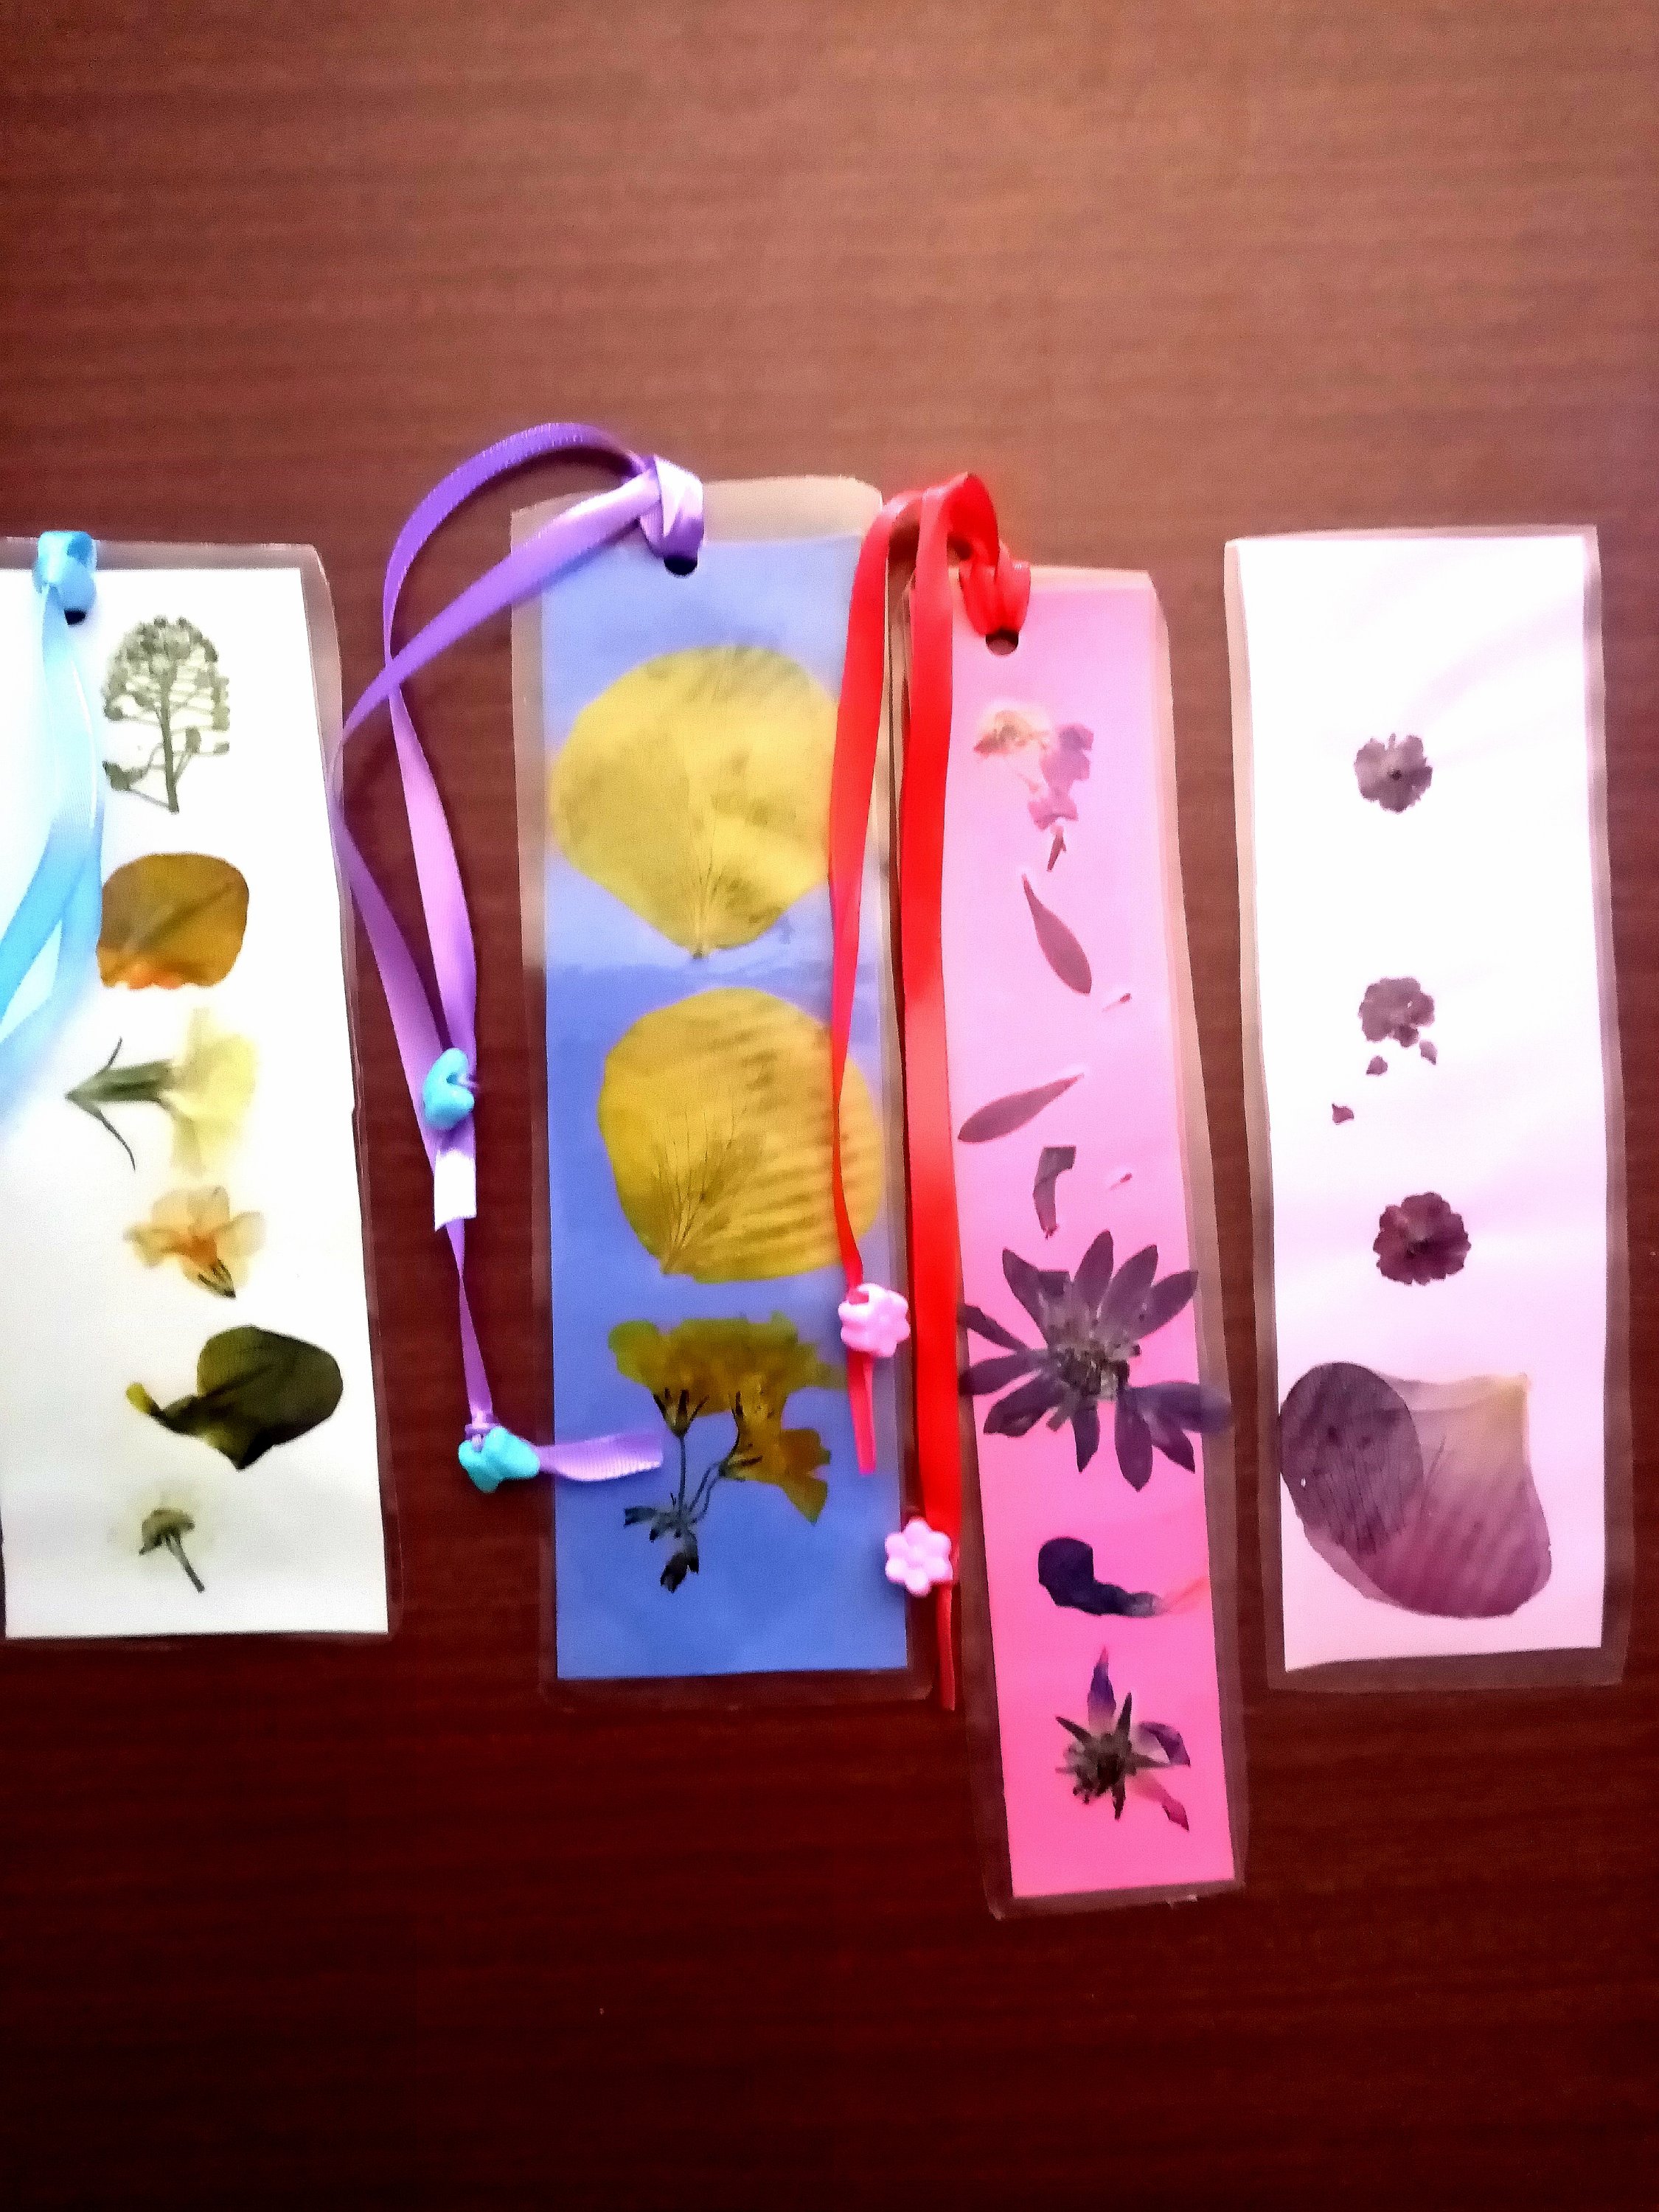
We very much enjoyed using our flower press! We used our pressed flowers to make beautiful bookmarks.
Tip: Gather a variety of flowers on a sunny dry morning. Check flowers for dewdrops (moisture will impact the drying process). Avoid flowers that are very bulky i.e. cut the tips from lavender or choose rose petals rather than a whole rose. Remember that wild flowers, like oxalis, can be as beautiful dried as garden grown.