KiwiCo Review: Kiwi Crate for 5-8 year olds – Learn about Surface Tension

WHAT IS IN THE SURFACE TENSION BOX?

We recently learned about force and tension in the Kiwi Crate Push and Pull box. This time we learn about a different type of tension – surface tension! Ever wonder why water soaks into some materials but pools on top of others? Well, water droplets are pretty sticky and they most like to stick to each other – especially on a surface like wax paper that is water resistant. That ‘stickiness’ is also at it’s strongest on the surface – which is why insects like water striders can delicately move across it.

Kiwi Crate’s Surface Tension box comes with materials for four experiments:

BUILD A BLOB

Liquid watercolours in primary colours are provided along with water resistant wax paper and a stirring stick. When you squeeze the watercolours onto the wax paper, instead of dissolving into the paper – they sit on top and make blobs! You can make small blobs, big blobs, and baby blobs. You can move blobs by herding them with your stick. You can merge blobs and watch the colours change to orange, green, purple, or ‘muddy mix’. The fun science magazine comes with kid friendly infographics to explain why when you drag one water droplet, its friends want to stick together and come along.

MAKE A WATER MAZE

This activity reminded me a little of wooden mazes and steel ball bearings that we played with as kids – twisting, turning, and tilting, to try and guide the ball to the centre of the maze. This brings a whole new level to the game while teaching us about science. The maze that you build combines water absorbent walls with a water resistant floor. It is a fun challenge and the secret is definitely patience (and slow movements!).

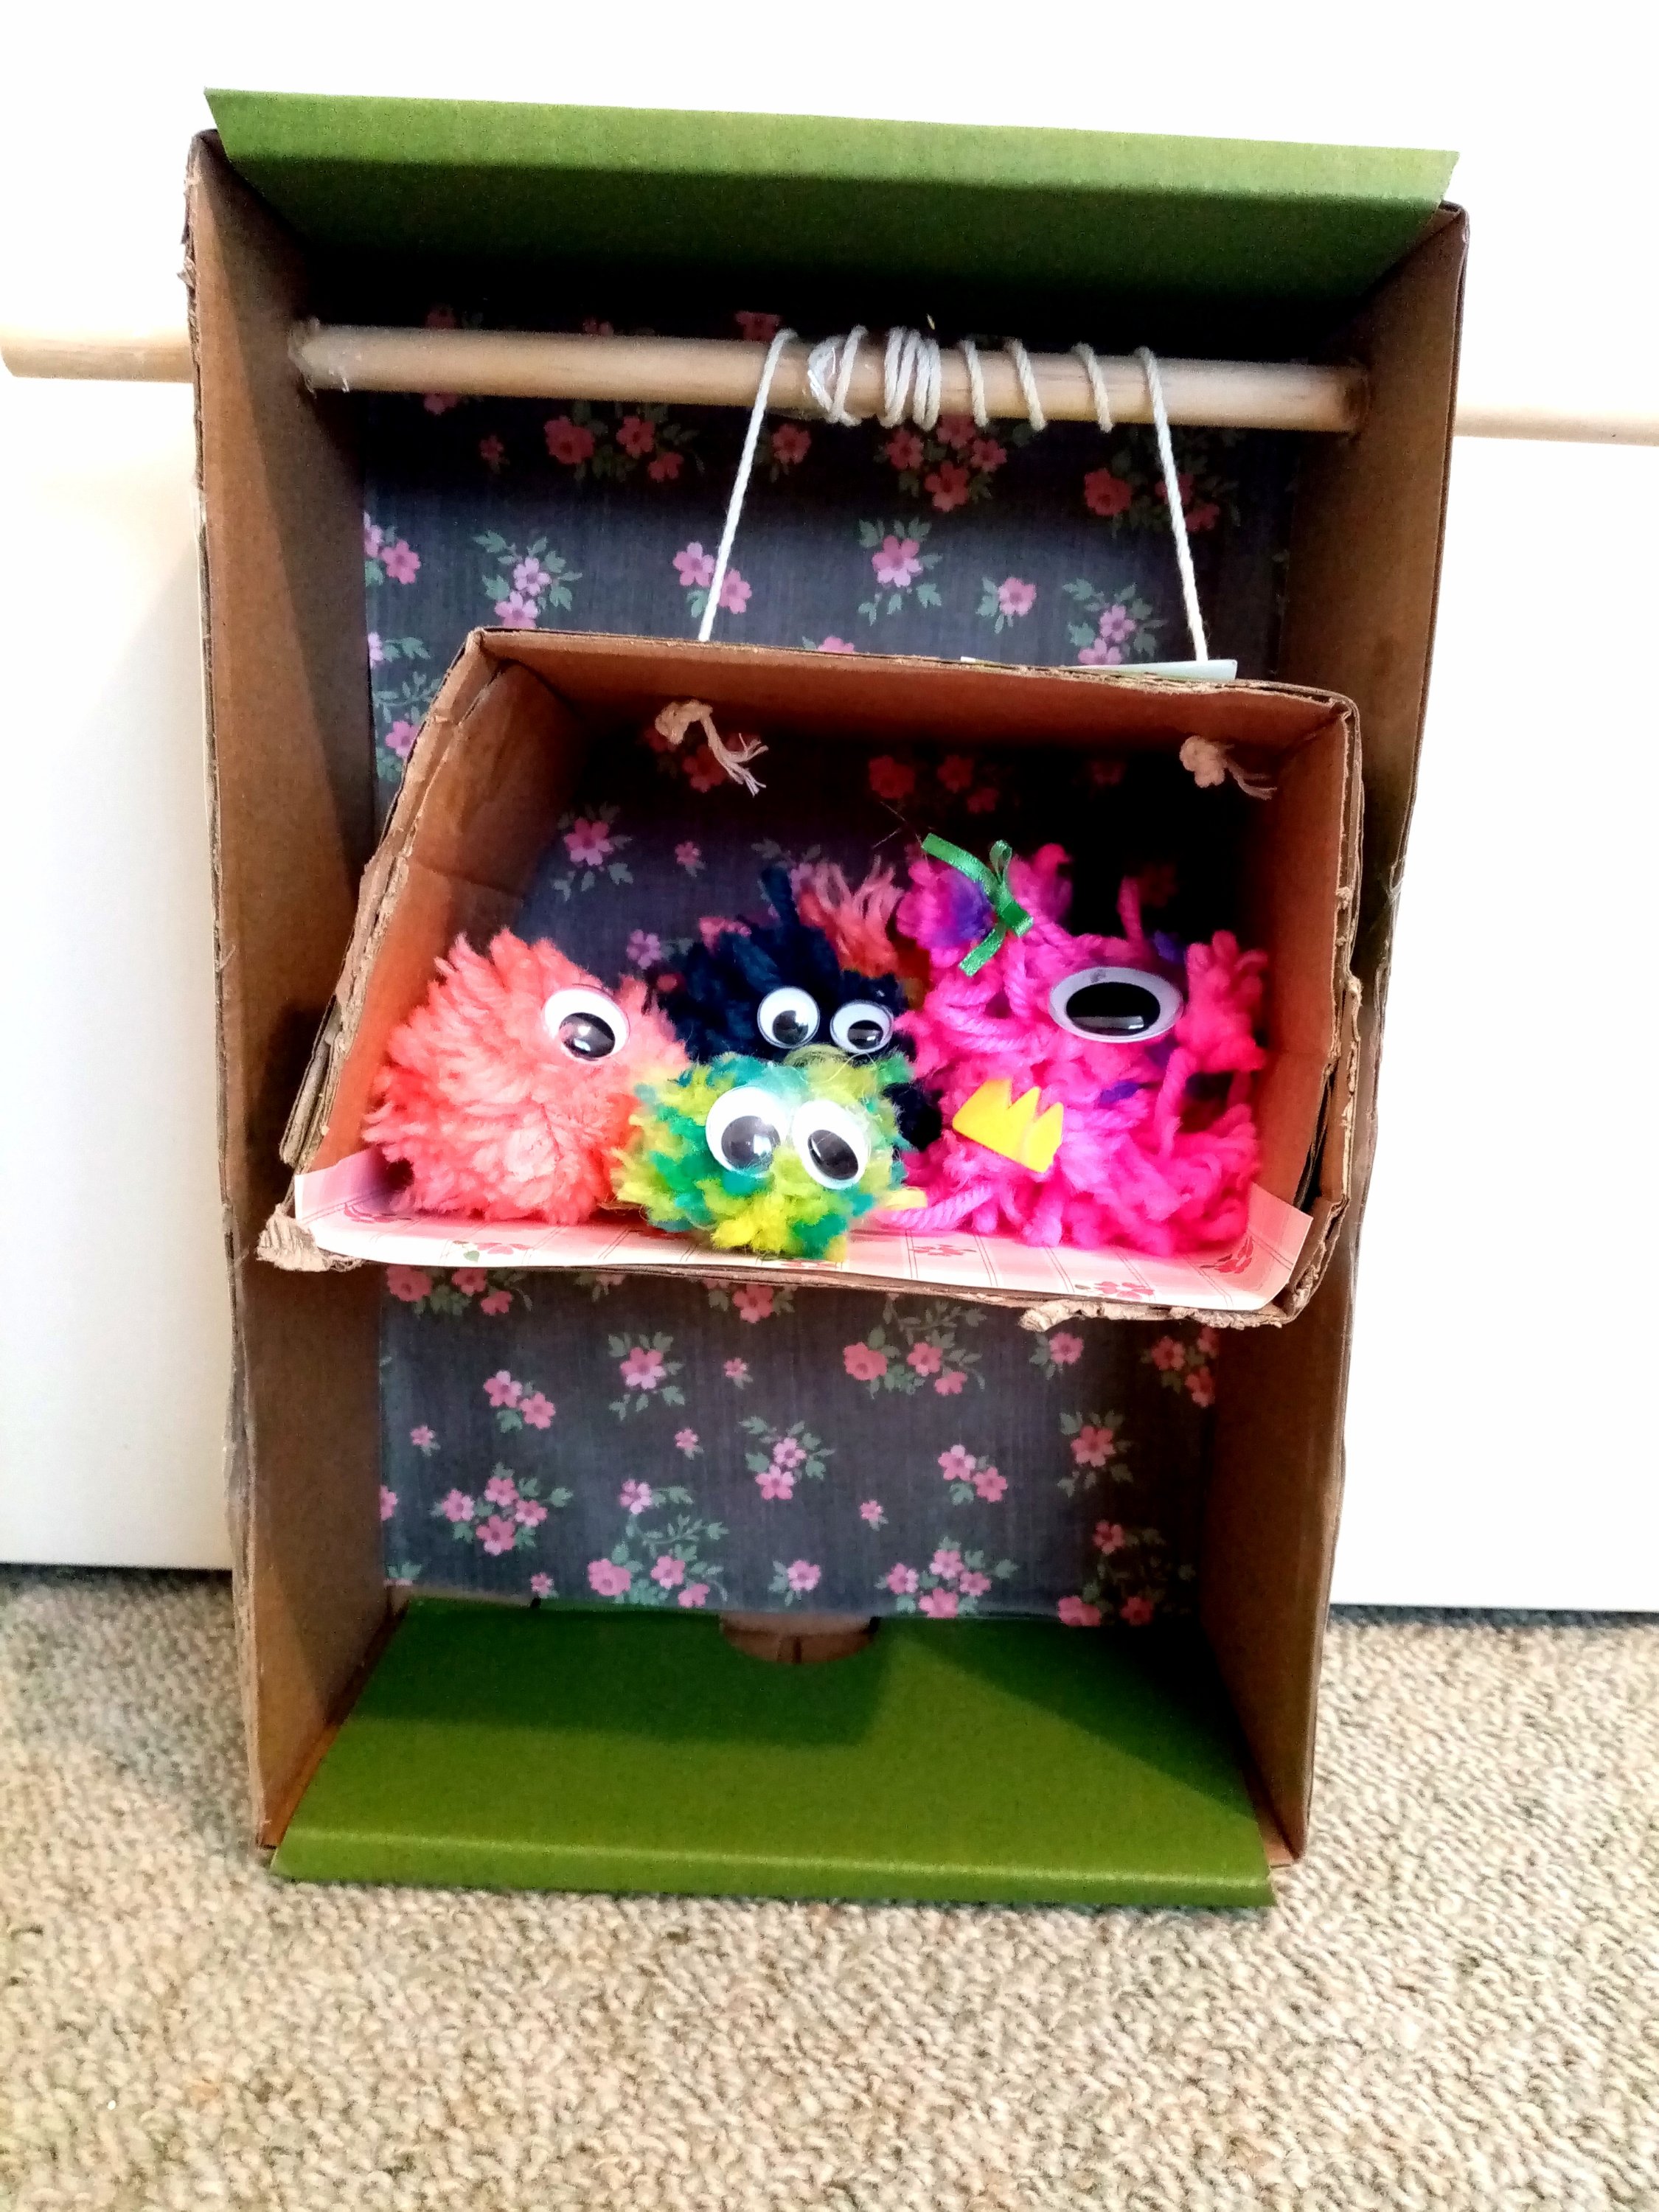
MAKE A WATER ELEVATOR

So, when we were learning about (cable) tension, we built a toy elevator. This time, we’re kind of making an elevator for water and it works because of that principle of water being ‘sticky’. Cool Science Experiments have a great visual demonstration; KiwiCo simplify things by providing a kid friendly kit. We have tested this with friends and it’s a ‘magic trick’ that does not fail to entertain and amaze! It is important that you remember to soak the yarn (water follows water) and that you keep a careful eye on tension + pour speed. Have some towels handy just in case you need to mop up spills.

MAKE YOUR OWN WATER STRIDER

I shared a video at the start of the post about water striders – excitingly, you get to make your own! You get a bunch of wires that you can crimp and then use to make a water strider. You can also experiment with making shapes to float on the top of the water. What gets a bit tricky, is that your insect’s legs and feet need to be balanced on the surface; if the angles are not quite right then they will pierce the surface tension and potentially drag part of your insect under the water. If you’re struggling a big with the water strider, try using the dipper to gently place a needle or paper clip on the surface.

Want more ideas for learning about surface tension?

Did you know that soap impacts surface tension? You could explore this with Nanogirl as to why soap makes a super shield, or you could try the rainbow swirl magic milk experiment.

HOW DO I ORDER KIWI CRATE?

This is not a paid review. I spent a lot of time searching the internet to find out more information about the Kiwi Crate and Atlas Crate boxes before deciding to try them and found the blog posts / photos that people shared were really useful!

If you would like to try Kiwi Crate (or one of their other lines), you can receive 50% off your first box by clicking here.

What I like about the Kiwi Crate kits is that they use a combination of Science, Technology, Engineering, Arts, and Mathematics to explore a concept or idea. There’s no obligation to sign-up in an on-going capacity so it’s easy to tie them in with birthdays / Christmas; the boxes are quite compact so they also store easily in a cupboard for bringing them out on a rainy day. Mind you, this only works if you spot the package on the door-step first – children become quite adept at recognising the green Kiwi Crate box and screaming with delight at it’s arrival!

The boxes are sent randomly so there’s no way to know what will come in the future; however, you can log-in to your account at the start of each month to see what box has been selected. Your box history is kept which means that even if you cancel and then pick-up again the following year they can make sure that you aren’t sent repeats of boxes.

WHAT IS IN A KIWI CRATE?

The Kiwi Crate is aimed at ages 5-8 years. It comes with a copy of the Explore magazine which opens with a fun comic about Steve the Kiwi and his friends. [As a side note, these are made by an American company despite the use of our New Zealand native bird]. These comics are really approachable for younger kids and a great way of exploring the concepts being introduced in a relateable manner.

The Explore magazine provides a range of information on the topic, it might include some simple games or tricks to try at home, and provide ideas for additional crafts / activities using simple materials. It also has a sticker [unique to each box theme] to put on your Kiwi Crate chart.

The box also includes an instruction manual and the materials that you need to build the main craft. Generally, there are two activities to do – one that is more art related, and one that is more mechanical engineering. What makes the kits special, is how well crafted the engineering components are. They really are designed for the intended age group so that they can either build themselves or help assist an adult. There are handy visual images and checkpoints to make sure that things are aligned correctly. There is no super-bonding-fingers-together wood glue to use with these projects (which makes them great for highly sensory children); instead parts come with double sided tape finely engineered on so that you just need to remove the backing strip of paper.

INTERESTED IN MORE HOMESCHOOL BOX REVIEWS?

Discover the World with ATLAS Crate

#1 Introducing the World

#2 Discover Japan

#3 Discover France

#4 Discover Madagascar

#5 Discover Colombia

#6 Discover England

Explore STEM with Kiwi Crate

#1 Arcade Box (and the Claw!)

#2 The Amazing Animation Box (make your own 19th century movie with a Zoetrope!)

#3 The Mechanical Sweeper Box (make your own baleen whale!)

#4 The Disc Launchers Box (play games with physics!)

#5 Kaleidoscope Puzzles (explore symmetry and mirrors!)

#6 The Human Body (learn about biology)

Science: Learning about tension – How to make a toy elevator

How does an elevator lift work?

In our KiwiCo Kiwi Crate Push and Pull Toys box we learned about force and tension. When we hold a rope loosely so that it rests between us, it is slack. When we pull, that force travels along it and it becomes taut. That is tension at work. That pull force and tension can also be used to make something (or someone) move especially when we add a simple machine – like a pulley. SciShow Kids gives a great visual example of how this works: click here to watch.

An elevator lift relies upon the science of tension so that those vertical cables, a pulley, and counterweights, can create a lift force in order to move people or objects. An elevator lift’s science and internal mechanisms can make for fascinating reading and is more complex then this simple build. This craft is a great place to start for younger kids, and older kids may want to engineer their own more complex designs!

How to make a kids toy elevator lift

Our Kiwi Crate came with this great idea in the Explore magazine!

Materials

  • Sturdy cardboard box
  • Wooden dowel (cut to size)
  • String
  • Pencil, scissors, glue, sellotape, ruler.
  • Decorations

Tip: Where can I get a wooden dowel? Turns out, lots of places! Craft stores and hardware stores are a good place to start. Keep in mind that you’ll want the wooden dowel to be at least the width of your box (with some extra length each side as turning handles).

Instructions

  1. Cut the lid / flaps off the top face of the box. (Save them)
  2. You want to make a small hole for your wooden dowel. Stand your box and choose a short end to be the top of the ‘building’. Choose a ‘side’ of the building and use a ruler to measure about an inch down from the ‘roof’ and make a pencil mark. Use a sharp pencil (or scissors) to carefully push a hole through the cardboard.
  3. Slide the wooden dowel through the hole and use it (as well as your ruler) to help you position a matching hole on the far side of the ‘building’.
  4. To make your ‘elevator’, cut the cardboard that you saved into two strips. Experiment with scoring and folding these, then slide them together to make a rectangle (you’ll need to tape or glue the sides). You will need to trim them to size as if they press too closely against the building walls, friction will slow the elevator’s rise.
  5. Make two holes in the ‘roof’ of the elevator.
  6. Measure and cut your string; you want it about twice as long as your building is high.
  7. Thread string through one hole and tie a knot inside the elevator lift. Take the other end of the string and wrap it around the wooden dowel (acting as a pulley) and then place the end through the roof of the elevator and knot it off.
  8. Make sure your string has equal lengths on each side and then tape the centre of the loop to the dowel.
  9. Have fun decorating your building and elevator 🙂
  10. You are now ready to lift! Simply twist the handles and watch the elevator rise as the string wraps itself around the dowel. Observe how the lift force requires the cable (string) to retain tension in order to operate. Discuss what would happen if the string was too long and stayed like limp spaghetti. What can you lift? Are some things too big or too heavy? Do some shapes wobble and fall off? Is it the right height to transport cars or dinosaurs or dolls where they want to go? What size might you need to reach a floor in a dollhouse, or the top of a coffee table, or the seat of the couch?

KiwiCo Review – Kiwi Crate for 5-8 year olds: Learn about the Science of Tension

WHAT IS IN THE PUSH AND PULL TOYS BOX?

This is a great way of introducing kids to early scientific concepts found in physics – namely, force and tension. We love playing tug of war every evening with our wearable chewable cotton terrycloth band. When we hold it loosely so that it rests between us, it is slack. When we pull, that force travels along it and it becomes taut. That is tension at work. That pull force and tension can also be used to make something (or someone) move.

The first thing that you build with the crate is a simple puppet show. The handy diagrams and kid friendly physics explanations will help you understand that while building and playing with this you are demonstrating the use of levers, force, and tension. There are multiple backgrounds included and you can design your own.

The second activity sees you constructing two racing turtles and weaving their shells. You then experiment with string tension to race your turtles!

The nice thing about the solid wood shell is that if your turtles deteriorate in the future, you can use brightly coloured yarn to turn these into wall art or christmas tree decorations.

Want more ideas for learning about tension?

Get busy in the great outdoors! Go fishing. Play tug of war. Lie in a hammock. Carefully set up a tightrope between trees (low to the ground!). Play tennis. Visit a suspension bridge in your area. Go on a high wire obstacle course. Ride a zipline!

Get busy indoors! Ride an elevator. Play a guitar. Create a toy elevator (coming soon!). Create your own ‘floating structure’.

HOW DO I ORDER KIWI CRATE?

This is not a paid review. I spent a lot of time searching the internet to find out more information about the Kiwi Crate and Atlas Crate boxes before deciding to try them and found the blog posts / photos that people shared were really useful!

If you would like to try Kiwi Crate (or one of their other lines), you can receive 50% off your first box by clicking here.

What I like about the Kiwi Crate kits is that they use a combination of Science, Technology, Engineering, Arts, and Mathematics to explore a concept or idea. There’s no obligation to sign-up in an on-going capacity so it’s easy to tie them in with birthdays / Christmas; the boxes are quite compact so they also store easily in a cupboard for bringing them out on a rainy day. Mind you, this only works if you spot the package on the door-step first – children become quite adept at recognising the green Kiwi Crate box and screaming with delight at it’s arrival!

The boxes are sent randomly so there’s no way to know what will come in the future; however, you can log-in to your account at the start of each month to see what box has been selected. Your box history is kept which means that even if you cancel and then pick-up again the following year they can make sure that you aren’t sent repeats of boxes.

WHAT IS IN A KIWI CRATE?

The Kiwi Crate is aimed at ages 5-8 years. It comes with a copy of the Explore magazine which opens with a fun comic about Steve the Kiwi and his friends. [As a side note, these are made by an American company despite the use of our New Zealand native bird]. These comics are really approachable for younger kids and a great way of exploring the concepts being introduced in a relateable manner.

The Explore magazine provides a range of information on the topic, it might include some simple games or tricks to try at home, and provide ideas for additional crafts / activities using simple materials. It also has a sticker [unique to each box theme] to put on your Kiwi Crate chart.

The box also includes an instruction manual and the materials that you need to build the main craft. Generally, there are two activities to do – one that is more art related, and one that is more mechanical engineering. What makes the kits special, is how well crafted the engineering components are. They really are designed for the intended age group so that they can either build themselves or help assist an adult. There are handy visual images and checkpoints to make sure that things are aligned correctly. There is no super-bonding-fingers-together wood glue to use with these projects (which makes them great for highly sensory children); instead parts come with double sided tape finely engineered on so that you just need to remove the backing strip of paper.

INTERESTED IN MORE HOMESCHOOL BOX REVIEWS?

Discover the World with ATLAS Crate

#1 Introducing the World

#2 Discover Japan

#3 Discover France

#4 Discover Madagascar

#5 Discover Colombia

#6 Discover England

Explore STEM with Kiwi Crate

#1 Arcade Box (and the Claw!)

#2 The Amazing Animation Box (make your own 19th century movie with a Zoetrope!)

#3 The Mechanical Sweeper Box (make your own baleen whale!)

#4 The Disc Launchers Box (play games with physics!)

#5 Kaleidoscope Puzzles (explore symmetry and mirrors!)

#6 The Human Body (learn about biology)