Mixing spices

Chicken in the crockpot

Laying out the veggies

Chicken broth

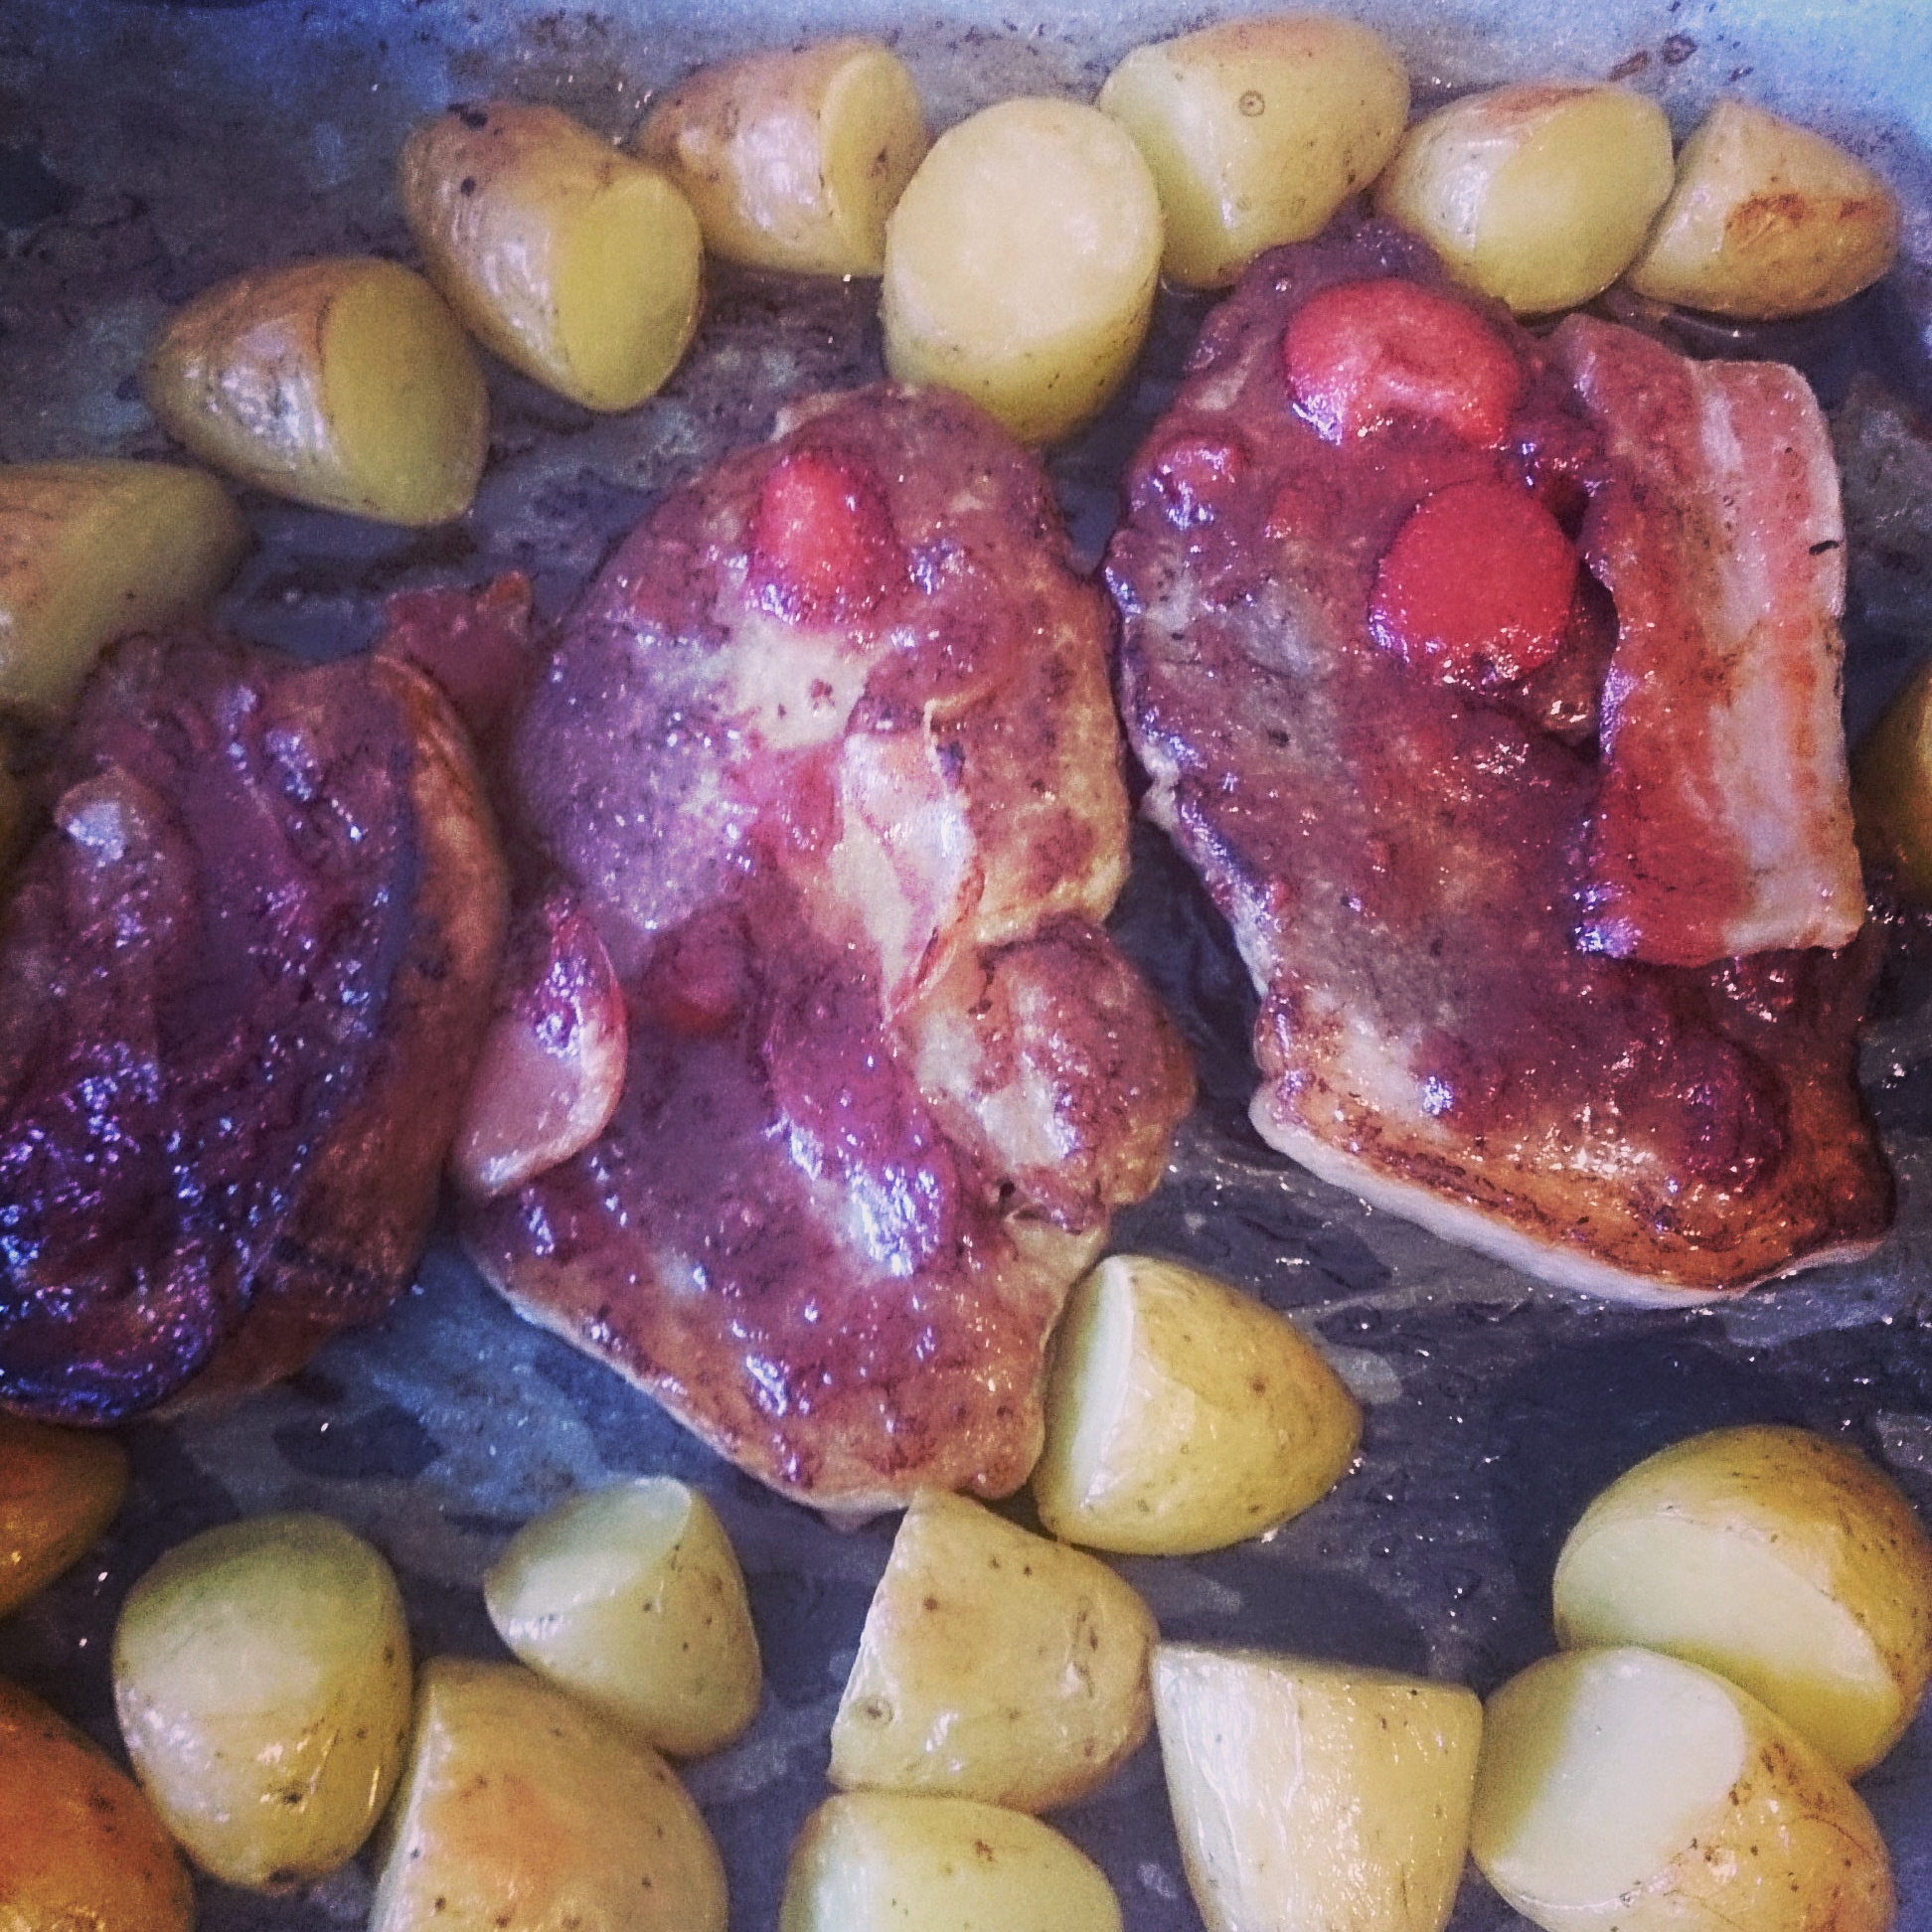
Ready for the oven

Corn in broth

Thick gravy

Amazing slow cooked corn

Moist left over over chicken

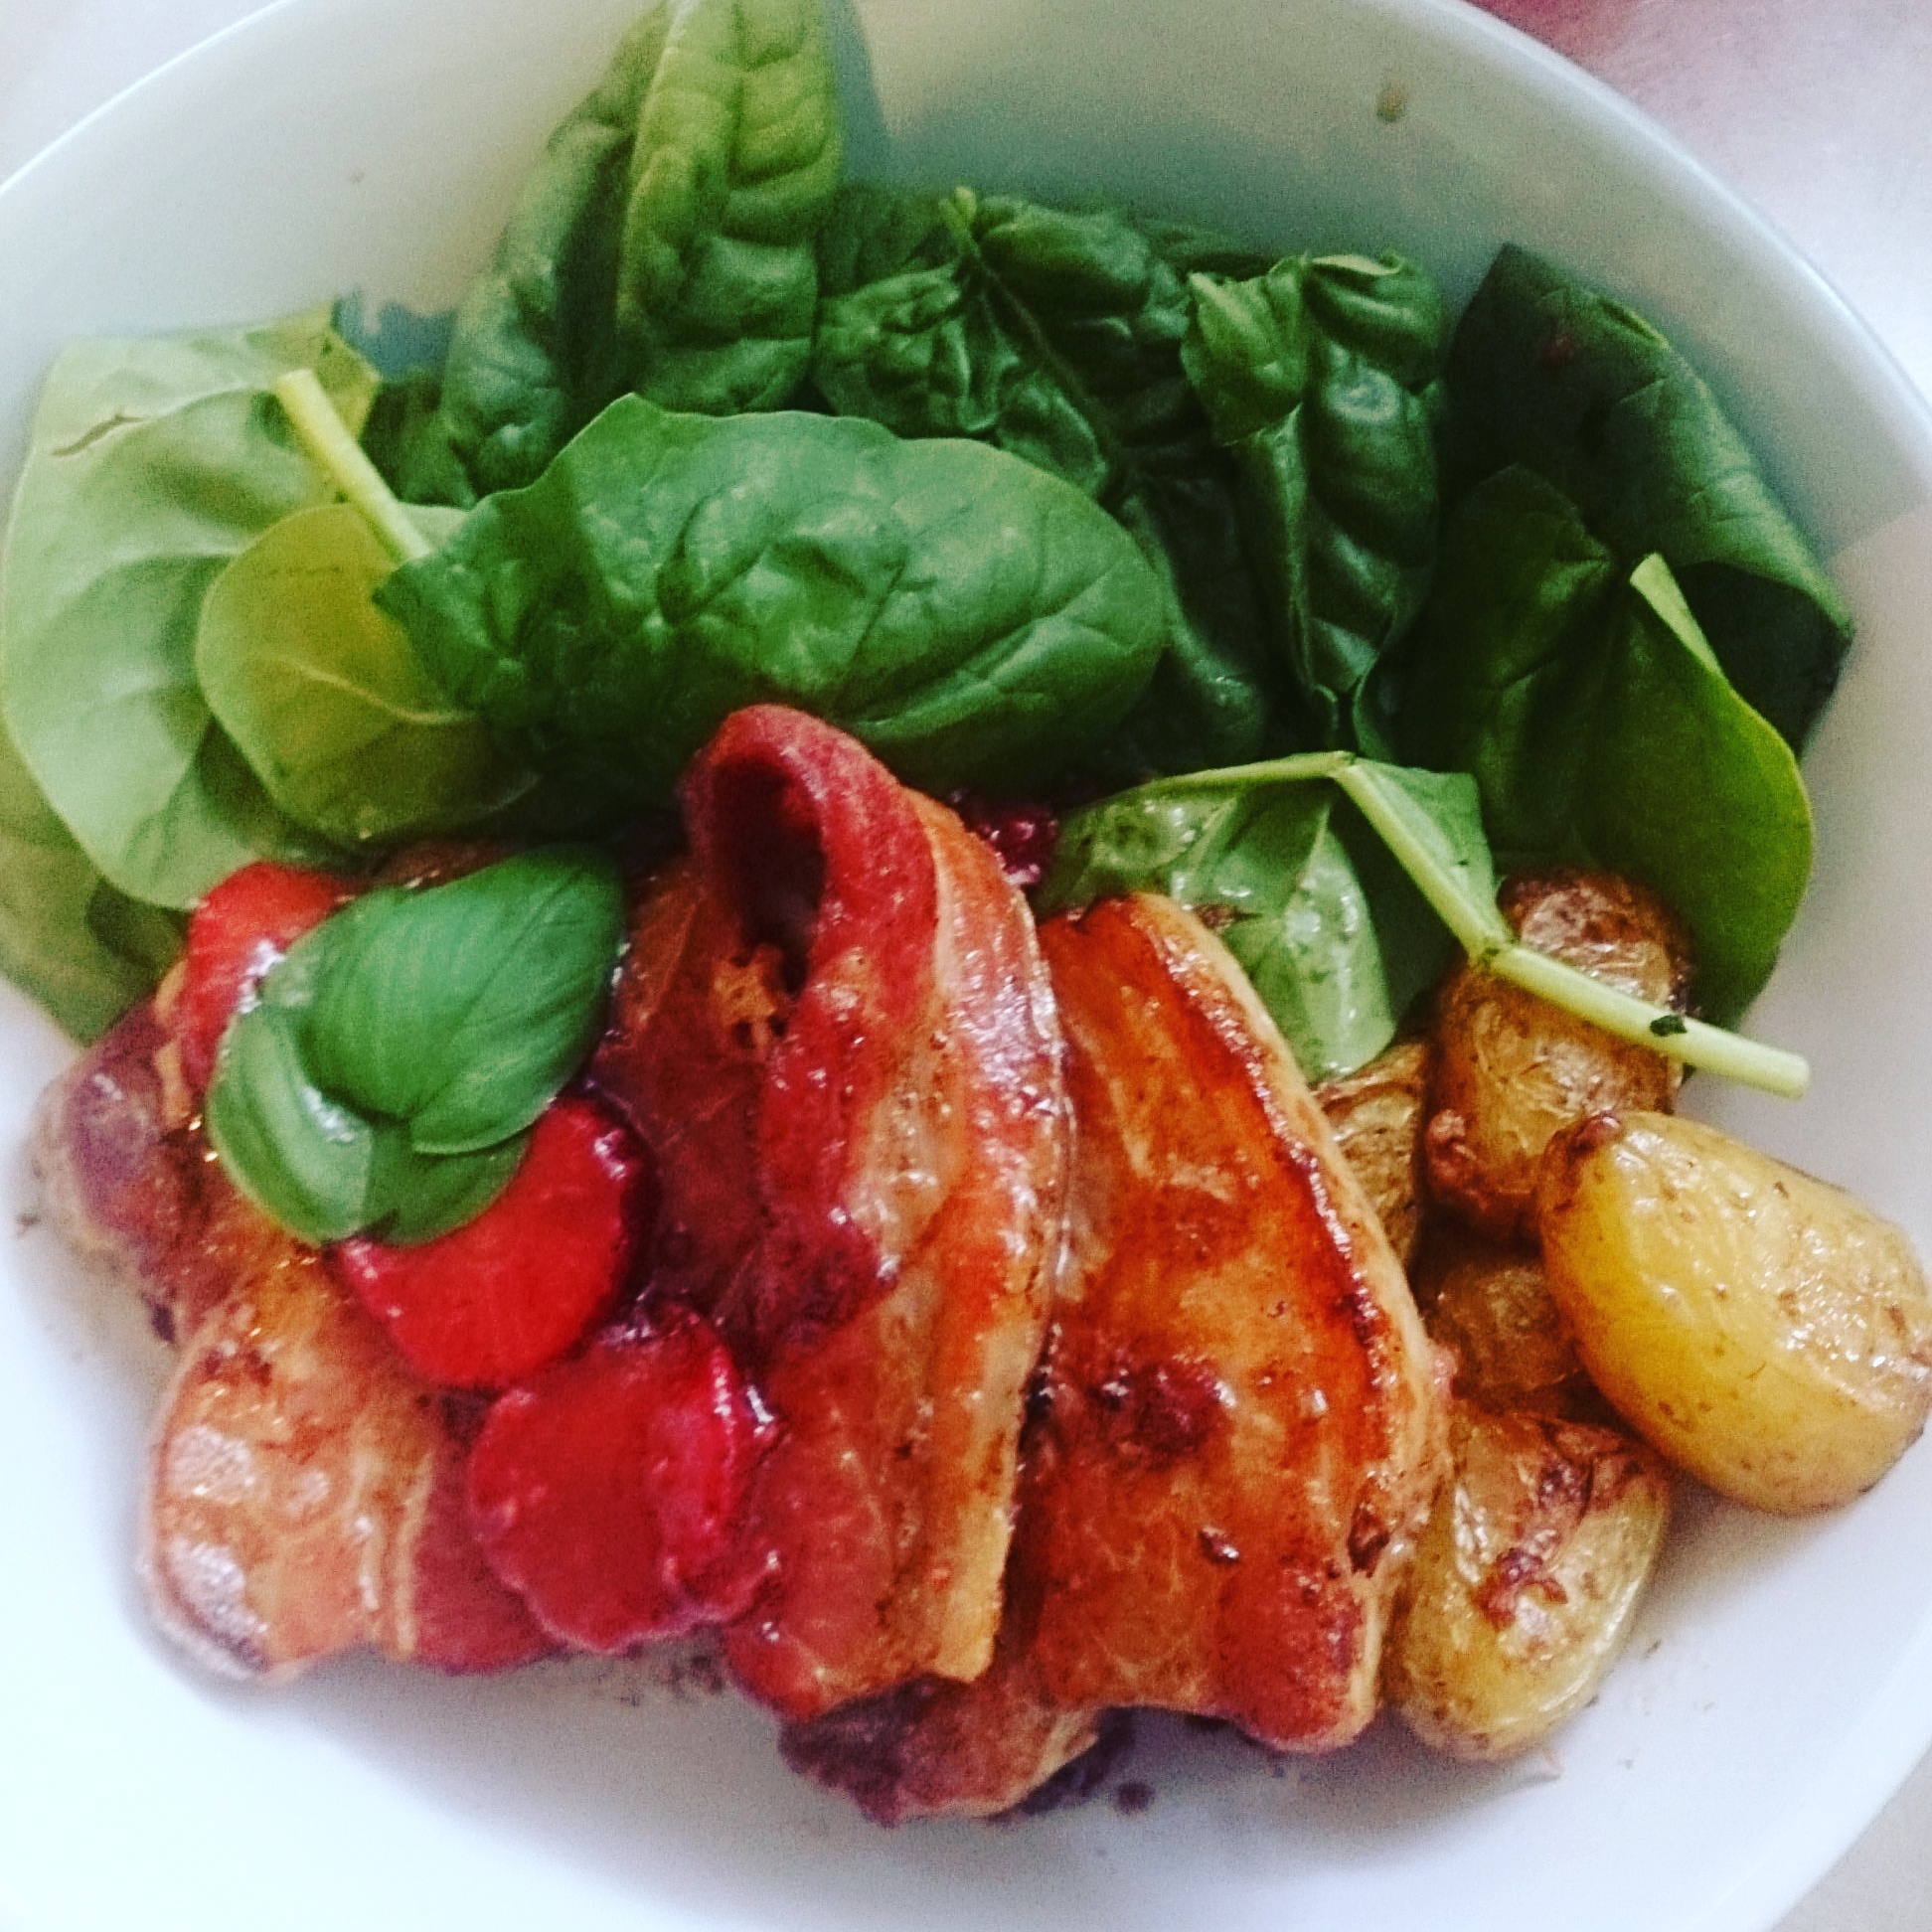
Gorgeous roast chicken
This creates amazing melting-off-the-bone roast chicken with crispy skin and fantastic gravy. For best results (and practicality) it uses both a slow cooker and a oven. (The alternative is 5 hours in the oven but then you won’t get the amazing corn!).
Ingredients
- Spice blend
- 2 tsp salt
- 1 tsp smoked paprika
- 1 tsp onion powder
- 1/2 tsp dried thyme
- 1/2 tsp white pepper + 1/4 tsp black pepper (or just fresh grind in tri-colour peppercorns)
- 1/4 tsp cayenne pepper
- 1 tsp garlic powder
- 1 large onion
- 1 chicken to roast
- Vegetables to roast (i.e. potatoes, zucchini, carrot, whole peeled garlic, corn-on-the-cob).
- Oil (I like rice bran oil)
- Potato flakes or cornstarch (for the gravy)
Allergy friendly: soy free, dairy free, gluten free, peanut free, tree nut free.
Tip: Whole peeled garlic is often sold in large bags; consider portioning it out into little bags and freezing it. You can pull it out of the freezer each time you have a roast.
Directions
- Mix the spice blend together.
- Peel the onion & top’n’tail it.
- Make sure the chicken is ready for cooking (i.e. giblets removed).
- Rinse the cavity and pat dry with a paper towel.
- Rub the spice blend over the chicken inside and out.
- Put the onion inside the chicken cavity.
- Put the chicken into the slow cooker.
- A note on timing: You can rub the chicken the night before, wrap it in a plastic bag, and marinade it overnight in the fridge so that all you have to do in the morning is pop it in the slow cooker. The choice on whether to put the cooker on Low or High depends on how long it will be in there and how long you want to have it in the oven. My chicken wasn’t 100% defrosted so I had it on High in the slow cooker for 5 hours and then in the oven for 1.5 hours.
- Prepare your vegetables to roast.
- I chop the potatoes up and put them in the steamer in the microwave for about 10 minutes to give them a bit of a head start before placing them in the roasting pan. You can brush the veggies lightly with oil before placing the chicken on top – they just need a touch to keep from drying out before the fat from the chicken starts to drip out.
- Carefully pull the chicken out of the slow cooker and put it in the roasting pan. Baste it with the juices from the slow cooker.
- Roast the chicken for 60-90 mins. Start the oven at 180-200’C; you’ll be able to drop the temperature to 150’C and cover the chicken in tin foil once it has browned. Keep basting the chicken periodically with juices from the slow cooker.
- Put the corn-on-the-cob in the slow cooker (in the chicken juices) as soon as you take the chicken out. Cook on High for 60-90 minutes.
- The juices will only cover the bottom of the corn; this is fine. It comes out cooked, still with a good steamed firmness, sweet, and lightly flavoured by the chicken broth.
- Once the chicken, roast veggies, and corn are all cooked, you can use the juices in the slow cooker to make gravy. You can use flour or cornstarch, or try potato flakes. It’s not just that these are gluten free, it’s that they thicken the gravy quickly and don’t go lumpy like cornflour sometimes does. Add potato flakes gradually (leaving the slow cooker on) and stirring; I made my gravy quite thick.
Leftover roast chicken can be used for the next night, sandwiches, to make chicken fried rice, or as a pizza topping on a flat or scone base.