How to make easy bracelets and crowns for kids

How to make easy bracelets and crowns for kids

How to make easy bracelets and crowns for kids

Kids are so wonderfully creative! There are lots of kit-sets for crafts at toy stores but it’s often much cheaper to visit a craft store or emporium.

All you need to make a crown, necklace, or bracelet is some pretty pipe cleaners, beads, and imagination! They’re a great activity for birthday parties, playgroups, and rainy days.

Fun things to do with beads!

Fun things to do with beads!

Make sure that you choose beads (or bells) with large enough holes for the pipe cleaners to feed through. Younger kids will need active supervision and assistance but by 4 years they’ll be shaking you off 🙂 You’ll also find they start coming up with their own ideas like making swords or funny glasses or monster crowns!

Warning: This isn’t suitable for babies and young toddlers due to small parts and choking hazards. Make sure young children are old enough to follow instructions and will not put beads in their mouths.

Bedazzling bags (rainy day crafts)

Bedazzling bags (rainy day crafts)

Bedazzling bags (rainy day crafts)

This is a great way to pass a rainy day – especially since a trip to the craft store will take up time as well! It’s also a fun activity for playgroups!

What do I need?

This is really up to your imagination!

  • Coloured paper bags
  • Glue (You may need a mix of paste, PVA, and a glue gun depending on what you’re using)
  • Wooden clips
  • Scissors
  • Buttons, sequins, stickers, fabric, wooden beads etc!

Directions

Play around with your materials to find a look that you like and start gluing!

These have wooden ladybugs hot-glued to the wooden clips. The flower is layered; there are plastic petals glued to the bag and then a fabric flower glued on top of that.

Make your own rainbow crayons!

Making rainbow crayons.jpg

Making rainbow crayons

Have you ever seen those PinInterest posts where they talk about how easy it is to make your own crayons? They tell the truth! These are a great idea for a special & personalized gift, or as favours in homemade christmas crackers (bonbons), or just because it’s a rainy day!

Ingredients

  • Silicon mould tray
    • Be careful to choose one that can go in the oven.
  • Crayons
    • This can be a great way to use up spare crayons or crayon ends.
  • Optional: glitter & sparkles!

Directions

  1. Break your crayons into small pieces (i.e. adult thumb nail); you may need to use a knife.
  2. Pop them into the silicon mould. Have a think about what kind of colours you want (i.e. rainbow? ocean theme with various shades of blue & green?)
  3. Add sparkles & glitter shapes if you want.
  4. Bake in the oven at 200’C. Keep a close eye on them as you only need it in there until the crayon has melted into a thick liquid (i.e. you’re not trying to get it to bubble & boil).
  5. Remove from oven and allow to cool.
  6. Pop out of the moulds and have fun!
Rainbow heart crayons.jpg

Rainbow heart crayons

Hint: Wondering what to use the silicon mould tray for afterwards? It’ll probably need to get relegated to your arts & crafts box (rather than cooking in the kitchen). The good news is that it’s great for paint!

Silicon moulds as artists easel.jpg

Silicon moulds as artists easel

Making play dough is easy

Home made play dough

Home made play dough is super easy to make. It’s cheap, keeps well, you can choose what colours you want, and it doesn’t colour little hands the way commercial play dough often does. It also retains its colour much better if you’re using more than one colour rather than turning into an amorphous purple-brown.

Ingredients

  • 1c plain flour
  • 1/4c salt
  • 1T cream of tartar
  • 1T oil
  • 1/2 tsp food colouring
  • 1c boiling water

Note: This makes a small batch, just double if you want a big batch.

Directions

  1. Mix dry ingredients.
  2. Mix in oil.
  3. Slowly add boiling water. (You may not need all of. It should be smooth and pliable not sticky).
  4. Store in air tight container.

Orange play dough

Combining colours

How to make a simple spider

Thankfully toddlers are not art critics. They take joy in simple pleasures and aren’t going to worry if your arts and crafts skills aren’t going to get you a gallery listing.

You can make a simple spider using:

  • Cardboard inner tube
  • Scissors or sharp knife
  • Pipe cleaners
  • Marker pen or felt tips (or buttons or googly eyes).
  1. Cut your paper tube to size (toilet rolls are a good size but a paper towel roll will need cutting in half or thirds).
  2. Make eyes. The simplest option is to draw then on but googly eyes are great if you have a packet lying around.
  3. Make 4 holes on each side of the paper tube (roughly parallel).
  4. Push 4 pipe cleaners through the parallel holes so they stick out each side. You now have 8 legs!
  5. Draw a web for your spider or print one out from Worksheet Fun.

How to make hanging hand towels

Toddlers love becoming independent and however they phrase it, what they’re thinking is along the lines of ‘Me do! Me do!’.

The first step was putting up some no-damage removeable hooks in the bathroom.

The second step was picking up some gorgeous large-sized adult face cloths at Kmart in attractive eye-catching colours. I found some ribbon in the craft box and selected some large buttons from my Bag-of-Buttons. The trick is to cross over the ends of the ribbon, place the button on top, and then sew through cloth-ribbon-button. Make sure that everything is nice and sturdily attached.

It’s a cheap way to make something practical, eye-catching, unique, and still washable! Plus toddlers love little accent features (like buttons, ribbons, applique etc.).

How to make your own Christmas Crackers 

Making your own Christmas Crackers (or Bonbons) can be a lot of fun, cost effective,  and a nice way to really personalise them. It can also be a relief as a parent with a young toddler because you can tailor them to be age appropriate (i.e. avoiding choking hazards).

Ingredients 

  • Cracker snaps
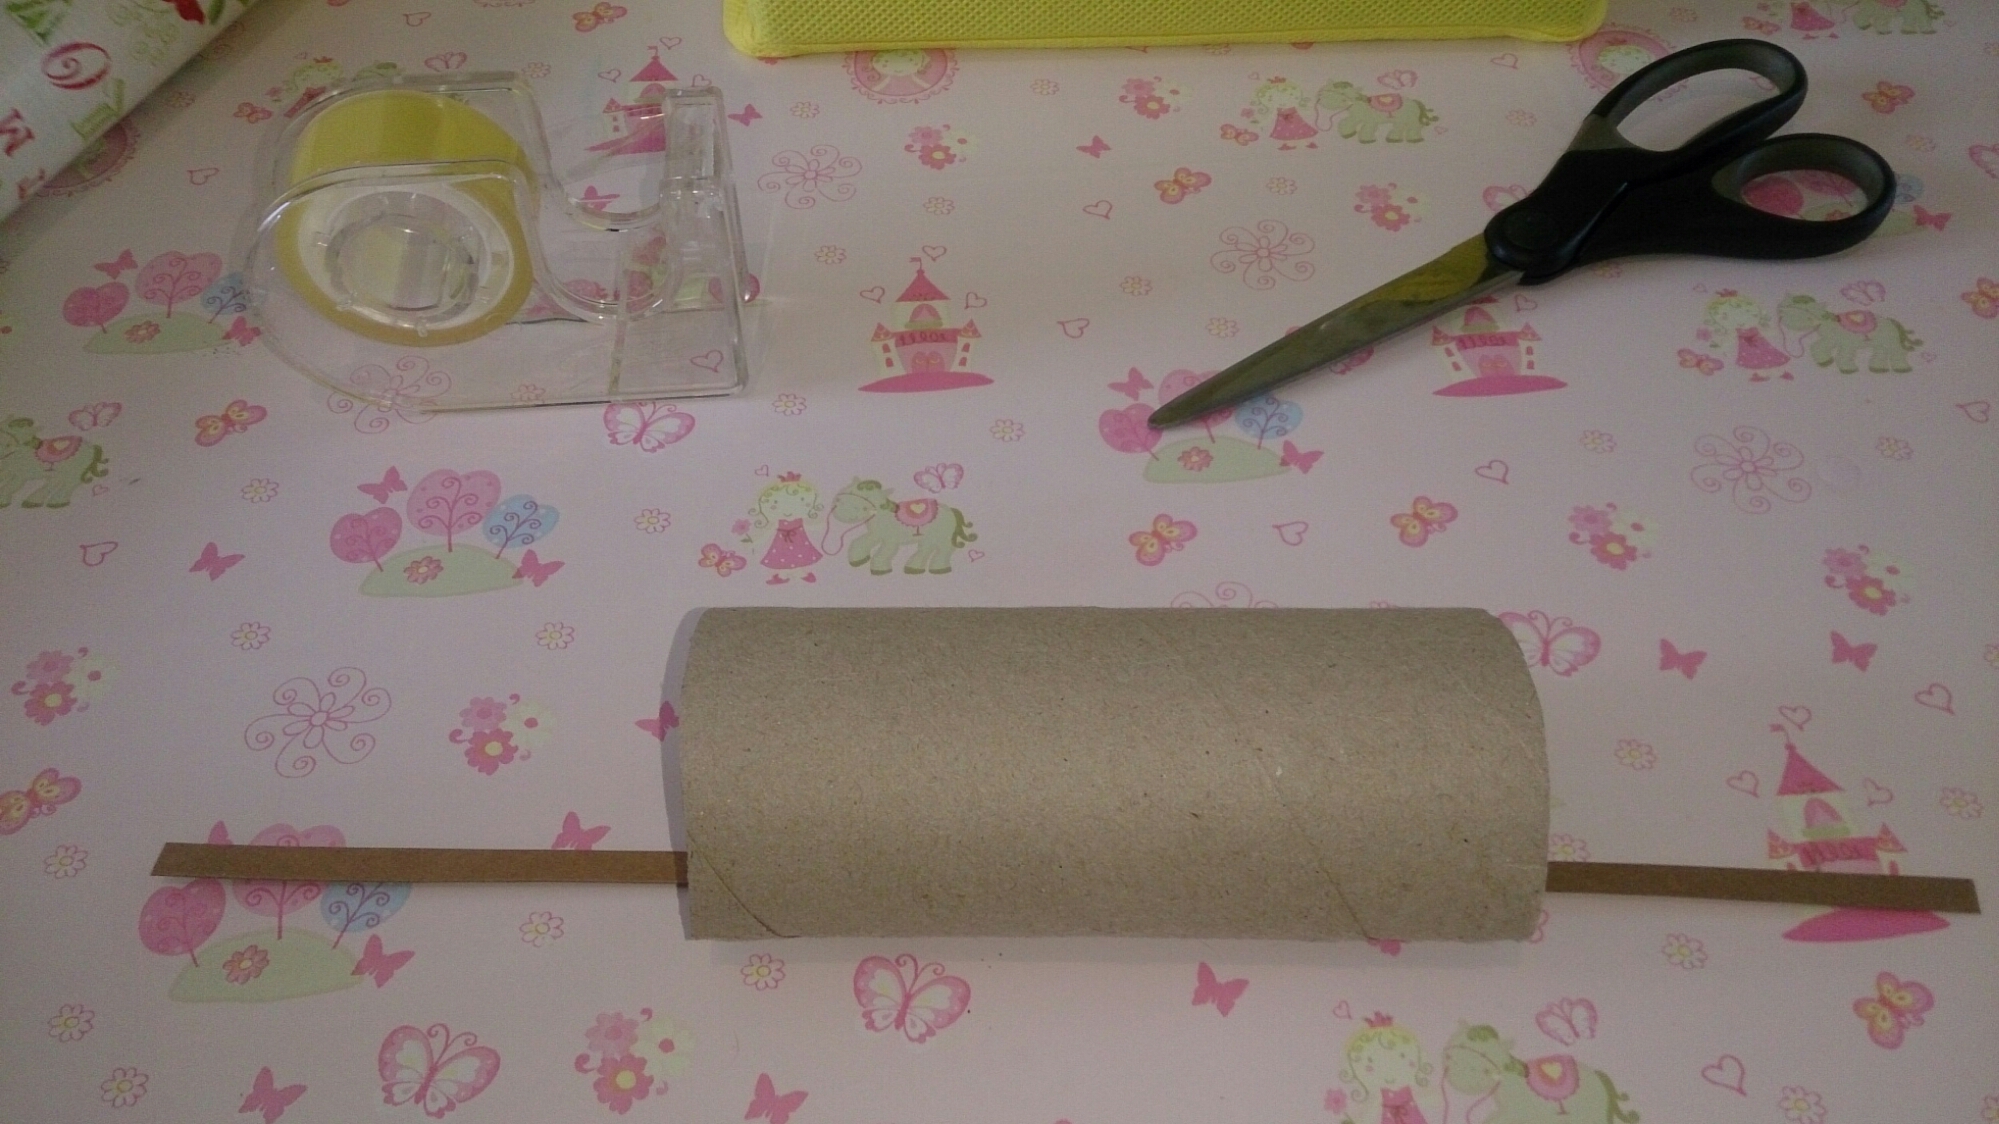
  • Cardboard tubes (inner tubes from paper towels are perfect,  just cut in half).
  • Your choice of cracker filling.
  • Wrapping paper
  • Ribbon
  • Sellotape
  • Scissors

Note: Davids Emporium  sells cracker snaps for 30 cents each just ask at the sales counter.

You can have a lot of fun choosing what you want to put inside your crackers depending on your budget, ages, and family interests. You might love silly kids jokes (like: What does a duck eat at Christmas? Quackers!), or love Minties, or want to do a toy car each. Party / variety shops can be useful, so can buying stuff from the supermarket when it’s on sale.

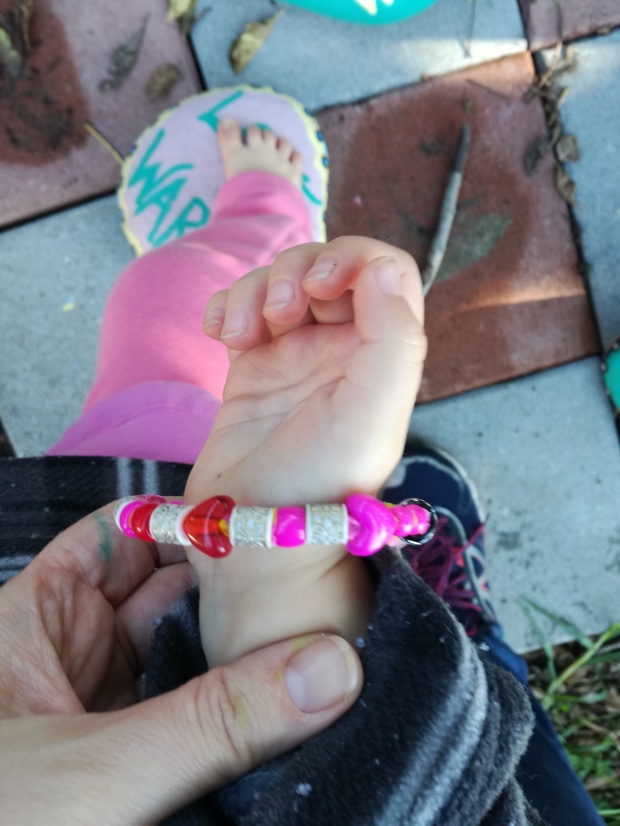
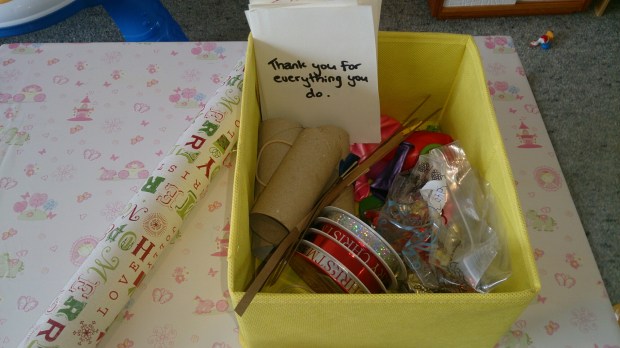
I decided to include in each cracker a little note, balloon, a wooden animal (from the button section of the craft store) and a chocolate. My toddler loves balloons and the chocolates are my mum’s favourite flavour. I also decided to add little wooden beads as decorations that I knew my toddler would enjoy playing with afterwards.

Directions

  1. Take a cracker snap and place it inside in your tube (it should stick out each end with a comfortable amount to pull on). Lightly sellotape it at each end to hold in place.
  2. Assemble your cracker filling and slide it into the tube. I wrapped mine in the note & then used an elastic band to hold it together.
  3. Roll the tube in paper and tie at each end;  make sure that you have enough paper at each end to cover the cracker snap that is sticking out & to comfortably pull it.  I found Christmas paper & ribbon to be ideal. You could also try something like crepe paper, twine, and hot glue on sea shells. You can be as creative as you like!