These are a few fun experiments that you can amaze your friends with that only require a few household items and are based around two things: a balloon and static electricity.
When we rub a balloon on the right kind of surface (like a wool jumper), it goes from being neutral to building up a negative charge. This can then be used to manipulate electrons on other surfaces by repelling negative electrons and drawing positive electrons. More importantly, this can look really, really cool!
Want to see the science behind it? Check out this cool interactive digital experiment.
TIP: The science behind this magic trick is impacted by the weather, so be sure to perform when the air is dry!
Materials
Balloon
Pencil
Salt
Scrap paper
Tip: We found plain balloons worked best. Thicker balloons designed for helium, or heavily patterned ones didn’t seem to build up a charge.
Directions
Blow up a balloon and tie it off.
Rub the balloon repeatedly. You may need to experiment with different surfaces such as hair, woollen clothes, jumpers, carpet; (conductive materials will give up their electrons more readily). You may need to experiment with how long it takes to build up a charge; note that the charge will only build up on the side that is rubbed.
Experiment away!
Dancing Salt: Place a pile of fine table salt on a bench and hold a charged balloon above it. Watch the salt leap up and cling to the balloon!
Magic Pencil: Move a pencil without touching it! Balance a wooden pencil on top of a glass or bottle. Hold the charged balloon nearby and watch the pencil roll.
Shifting paper: Make a pile of paper (ripped into small squares) and hold the charged balloon nearby. Watch the paper shift (and hopefully leap up to the balloon!).
Sticky walls: Charge the balloon and then try sticking it to the wall or curtain.
This box encourages children to reflect on the question: How do mirrors work? The Explore magazine gives lots of fun ideas on how to explore this, such as : using a mirror map, writing a secret message using mirror writing, and creating infinite reflections.
Kiwi Crate’s Mirror Illusions box comes with materials for three crafts:
DESIGN AND PAINT A JIGSAW
We really liked the colour palette provided for this and that the paint stampers/dabbers can be re-used as an ongoing art resource. There is a selection of special stickers to choose from that will provide a magic ‘negative space’ when they are removed after painting. The two jigsaws can be used double sided which means that you can end up with a total of 4 puzzles (the emoji face + 3 of your own design).
MAKE YOUR OWN MIRROR GOGGLES
These really emphasize just how helpful it is when our brain automatically processes and translates reflected light for us. With these mirror goggles, a disconnect is created. Your hands need to move in the opposite direction from what your eyes are telling you. If you move a puzzle piece towards you, it will look like you are pushing it away (and vice versa). If you try writing your name, it will appear upside down without the goggles. A fun challenge is trying to write a name or phrase ‘upside down’ so that it appears correct without the goggles.
MAKE A MAGIC TRICK BOX
These are fun to make! There are a few options to choose from for your inner illustration (or you can design your own). When performing, simply ask for a coin from a member of the audience, drop it in the slot, and Hey Presto! it appears to vanish right in front of their eyes. The secret to the magic trick is the slanted mirror inside that creates an optical illusion and hides a secret compartment.
HOW DO I ORDER KIWI CRATE?
This is not a paid review. I spent a lot of time searching the internet to find out more information about the Kiwi Crate and Atlas Crate boxes before deciding to try them and found the blog posts / photos that people shared were really useful!
If you would like to try Kiwi Crate (or one of their other lines), you can receive 50% off your first box by clicking here.
What I like about the Kiwi Crate kits is that they use a combination of Science, Technology, Engineering, Arts, and Mathematics to explore a concept or idea. There’s no obligation to sign-up in an on-going capacity so it’s easy to tie them in with birthdays / Christmas; the boxes are quite compact so they also store easily in a cupboard for bringing them out on a rainy day. Mind you, this only works if you spot the package on the door-step first – children become quite adept at recognising the green Kiwi Crate box and screaming with delight at it’s arrival!
The boxes are sent randomly so there’s no way to know what will come in the future; however, you can log-in to your account at the start of each month to see what box has been selected. Your box history is kept which means that even if you cancel and then pick-up again the following year they can make sure that you aren’t sent repeats of boxes.
WHAT IS IN A KIWI CRATE?
The Kiwi Crate is aimed at ages 5-8 years. It comes with a copy of the Explore magazine which opens with a fun comic about Steve the Kiwi and his friends. [As a side note, these are made by an American company despite the use of our New Zealand native bird]. These comics are really approachable for younger kids and a great way of exploring the concepts being introduced in a relateable manner.
The Explore magazine provides a range of information on the topic, it might include some simple games or tricks to try at home, and provide ideas for additional crafts / activities using simple materials. It also has a sticker [unique to each box theme] to put on your Kiwi Crate chart.
The box also includes an instruction manual and the materials that you need to build the main craft. Generally, there are two activities to do – one that is more art related, and one that is more mechanical engineering. What makes the kits special, is how well crafted the engineering components are. They really are designed for the intended age group so that they can either build themselves or help assist an adult. There are handy visual images and checkpoints to make sure that things are aligned correctly. There is no super-bonding-fingers-together wood glue to use with these projects (which makes them great for highly sensory children); instead parts come with double sided tape finely engineered on so that you just need to remove the backing strip of paper.
WHAT IS IN THE EXPERISENSE NZ SCIENCE EXPERIMENT HOMESCHOOL BOX?
This kit is all about having some scientific fun with experiments and adding in artistic flair. I love adding a kinaesthetic dimension to our learning! The box provides seven learning activities to do that are fully aligned with the NZ Curriculum and are highly adaptable to age, interest, and special needs.
The kit comes with a guide that outlines how to conduct each experiment and also provides information on the scientific principles being demonstrated. It’s a great way for kids to build on prior knowledge, as well as asking new questions!
The ExperiSense NZ Science Box sells for NZD$27 online; I’ve bought and reviewed a number of their boxes with this one being received free in exchange for an honest review.
How to make your own lava lamp
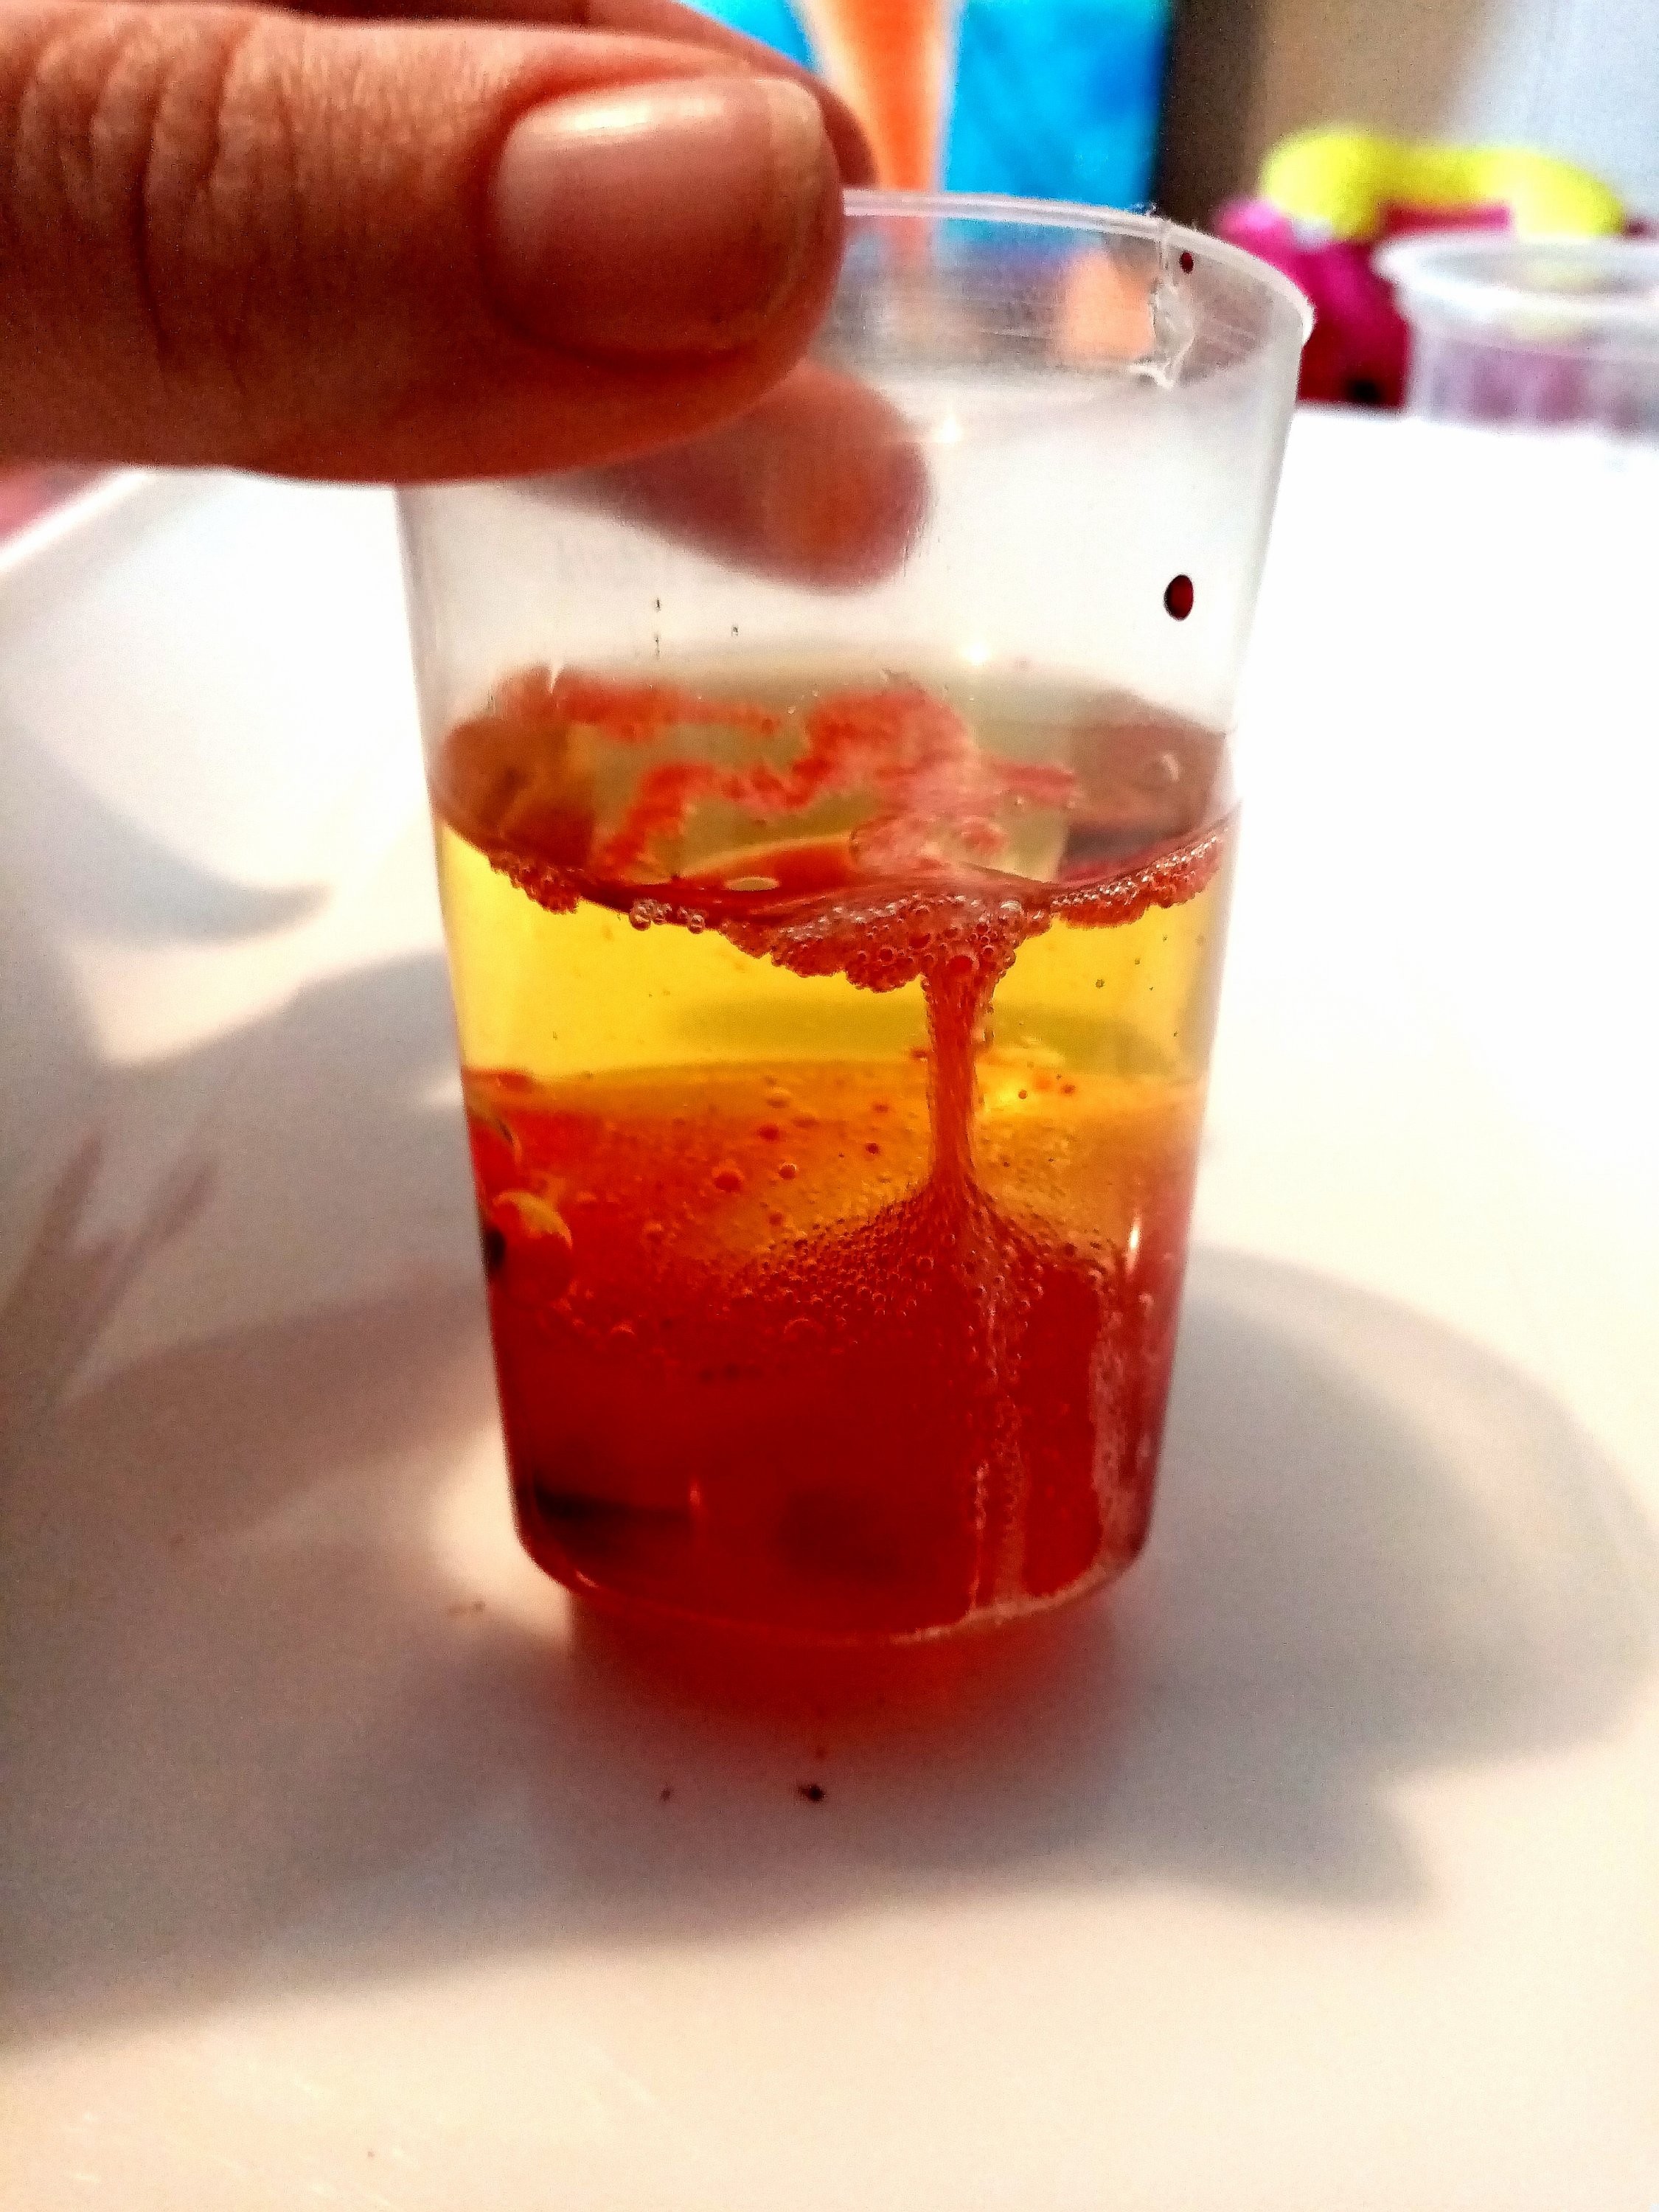
Have you ever looked at a lava lamp and wondered how they work? Well, this experiment will let you make your own temporary lava lamp! We loved it to so much that we did it twice.
Fundamentally, it comes down to the fact that oil and water do not mix. This is because they are different densities (and oil will actually rise up to float on top of water – which you can see happen in the experiment). As you slowly drop food dye into the oil, watch how the droplets retain their own separate form (“immiscible” was our cool new word of the day). Once water is added, the food dye will slowly dissolve into the water but differences in density mean the oil will rise to the surface.
The magic happens when carbon dioxide gas is created by introducing a fizzing tablet! The chemistry being demonstrated means that as the solid tablet dissolves, bubbles of water-and-gas raise to the surface. As the carbon dioxide gas dissipates, density changes causing the bubbles to sink. FYI – in a real lava lamp what you are watching is caused by thermodynamic changes (i.e. the application of heat).
In our first experiment, we used 1/4 tablet, red + yellow food dye, the oil provided, and the cup provided. In our second experiment, we used 3/4 tablet, a recycled glass jar, our own kitchen oil, the blue dye provided + some red dye.
Extra Activities
The lava lamp experiment looks at both density and states of matter. You may want to explore these further with simple experiments such as:
Why do things float or sink? A great way to start is in natural environments, such as a river or beach, by gathering up materials such as driftwood, shells, rocks, and mangrove pods to experiment with. At home, consider experiments with buoyancy such as why an orange will float (unless you peel it!).
How does water demonstrate states of matter? I love using water to demonstrate how something can so easily change forms between solid > liquid > gas. A fun experiment relating to buoyancy is to freeze water in a bag (food delivery boxes can be great sources of pre-formed ice) and create an iceberg diorama in a sink or bucket; have fun seeing what toys can balance on the iceberg before it melts!
Oil and Water Painting
We really enjoy making marbled paper using shaving foam; this was our first time using oil. We used a large plastic tray and simply recycled our lava lamps (with some extra colours dropped onto the surface of the oil). We chose to use our own paper and dye, in addition to the card stock provided, and made lots of beautiful art work.
Tip: Have layers of cardboard and paper towels beneath your art so that it can absorb the excess oil. We waited until the next day (once the dye was dry) before layering the artwork between layers of paper towels and popping in hot water cupboard to finish drying.
Magic Trick: Once the paintings are completely dry, the oil will have changed the appearance of the paper but any ‘virgin’ paper will still appear white. If you hold the art up to a bright light then not only can you see your beautiful colours clearly but any ‘white’ corners will disappear and smokey ‘shadows’ will appear in their place instead!
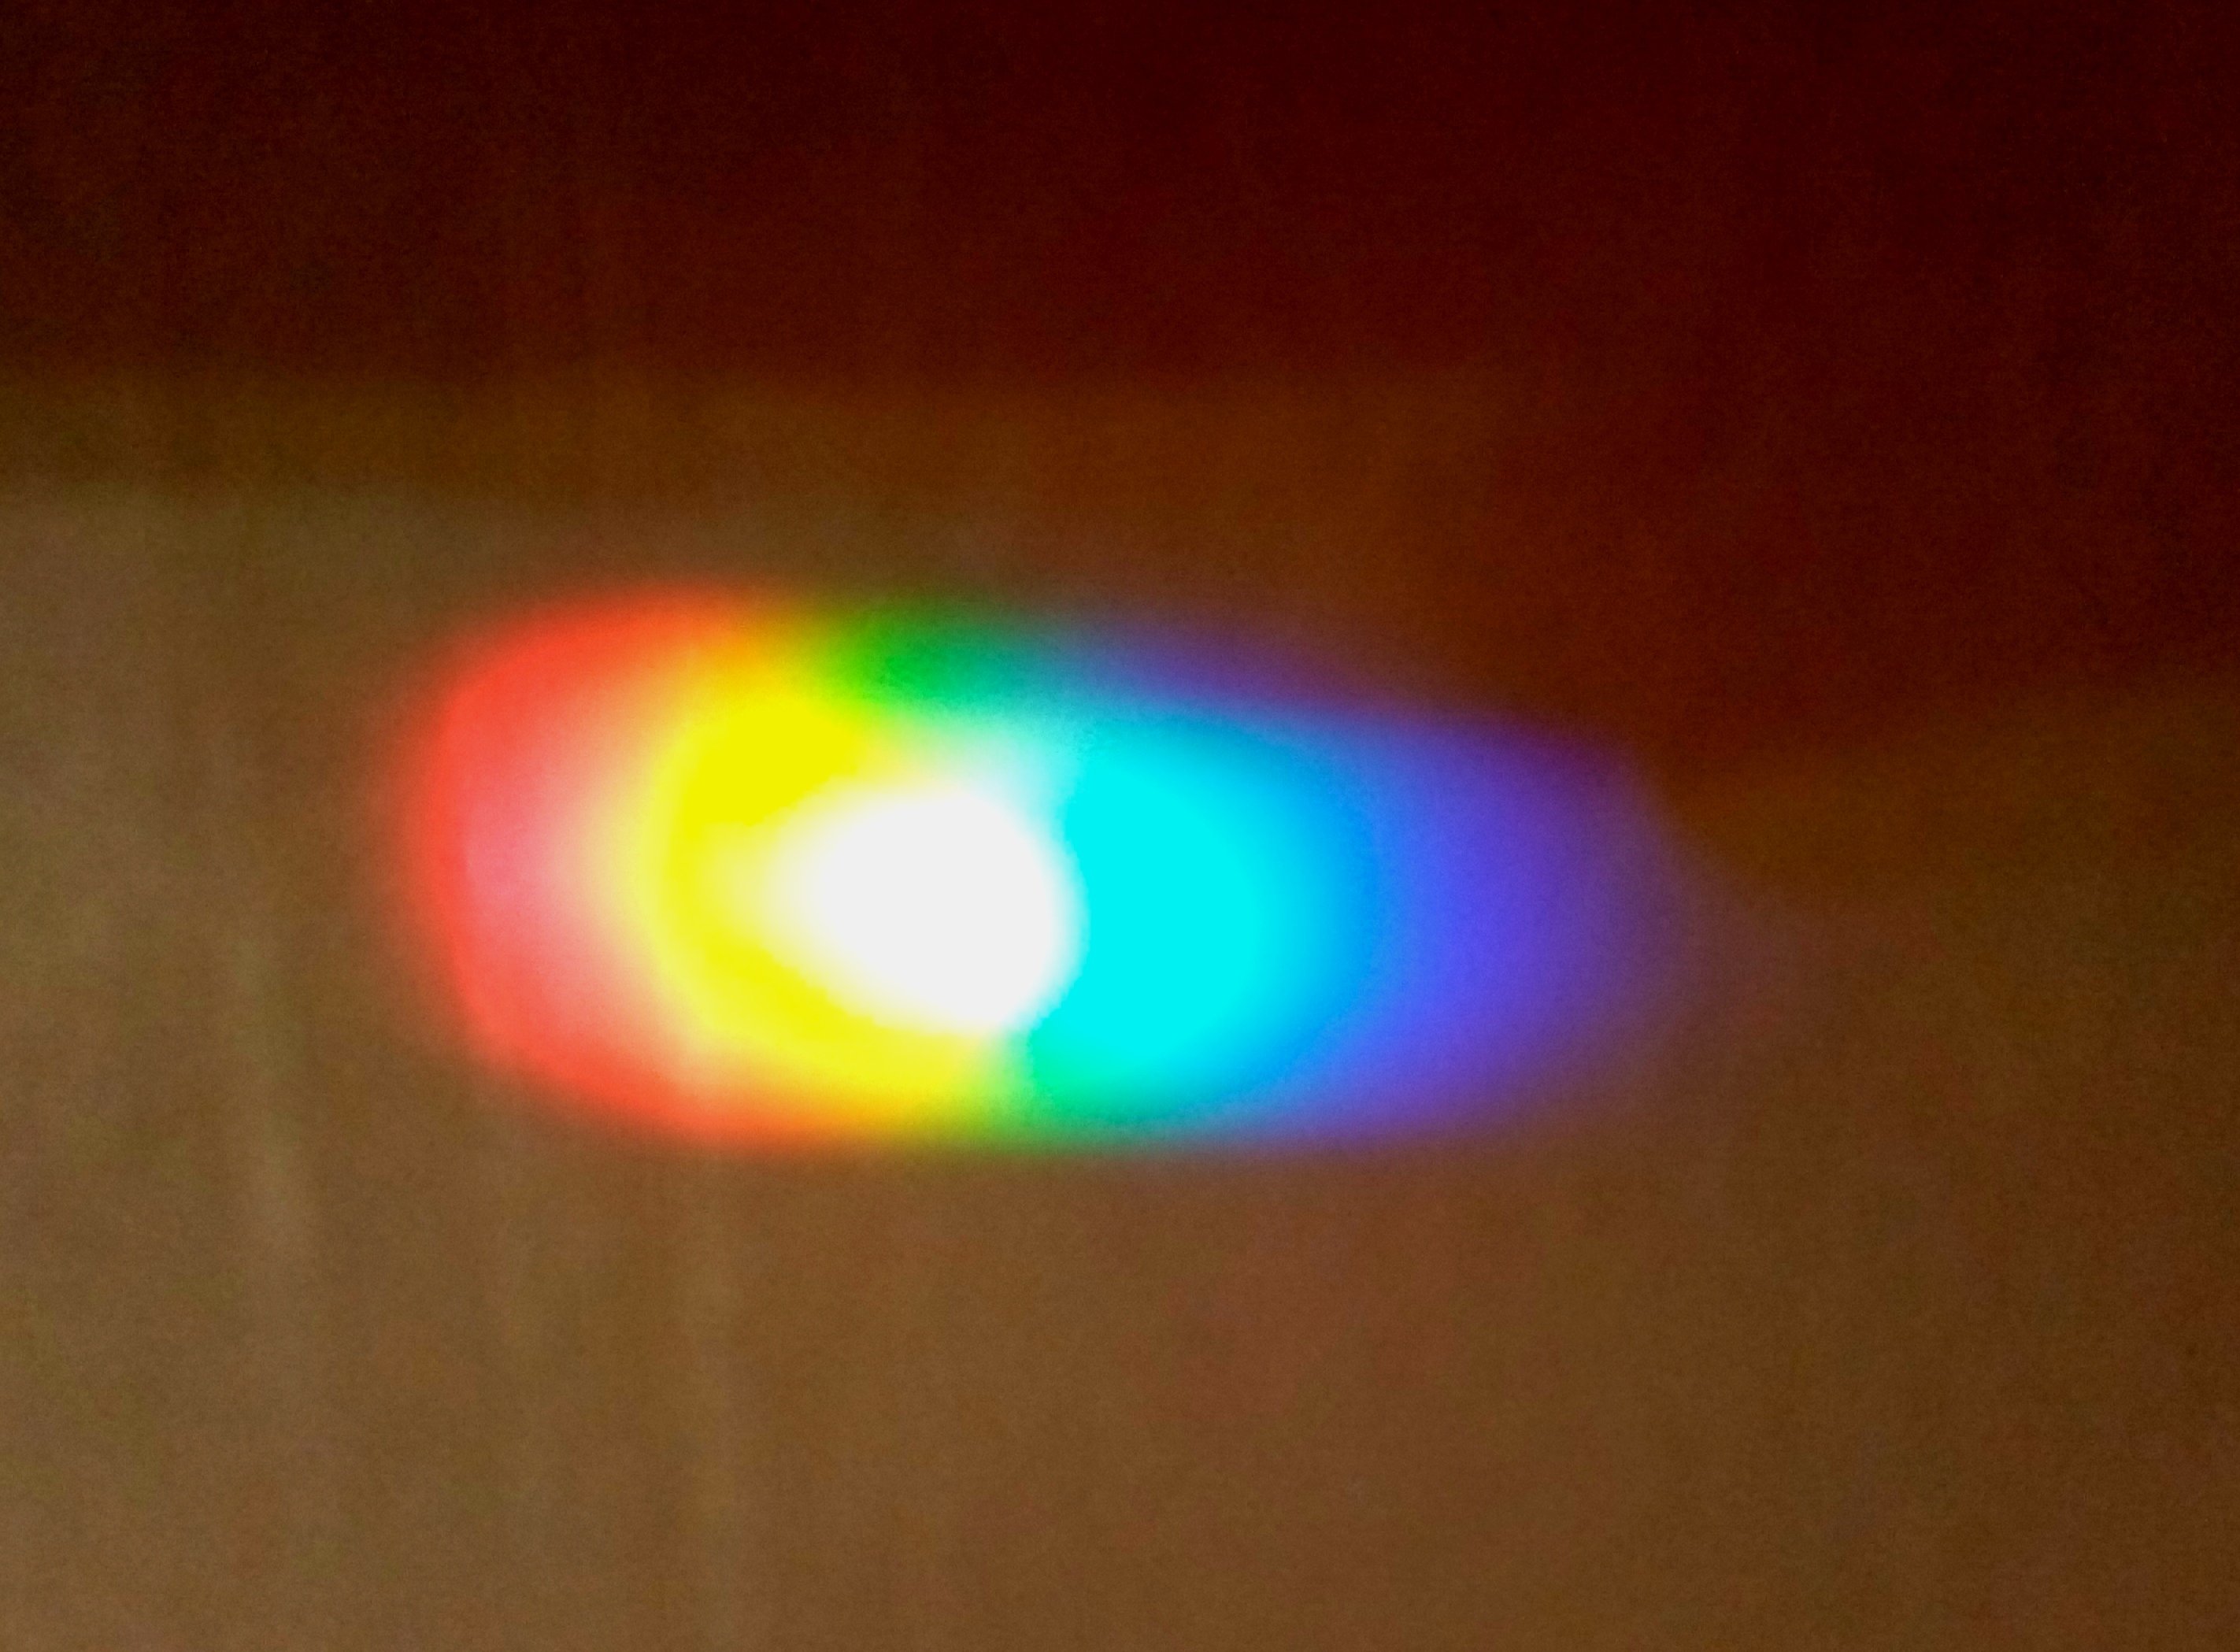
How to make a rainbow
The kit comes with a very small prism that you can use to split light. As light enters the prism, it bends, and the different wavelengths will create a spectrum of colours as they exit. For us, the light exited onto the opposite wall and we found creating some shadow helped us see it more clearly. We lined up the prism with the sun after catching a wonderful rainbow that was refracting through our fish tank!
The kit also comes with a second rainbow experiment where a bendable ‘mirror’ is placed in a glass of water to reflect and refract light. We found this one a bit tricky but we did achieve a little colour splitting. Miss 6 actually most enjoyed casting shapes of reflected light onto the shadowed ceiling!
Extra Activity
Want to combine rainbows AND learning about the density of different liquids? Check out this fun experiment to make a sugar rainbow!
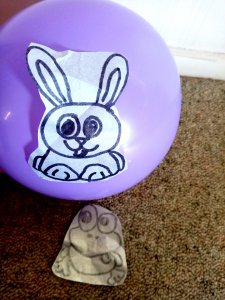
How to experiment with static electricity
The kit comes with a balloon, templates, and craft paper to make your own ‘jumping bunnies’ or frogs; we also had fun designing our own creatures in a variety of sizes. Rubbing the balloon energetically on clothes creates a temporary static charge which allows your creations to ‘jump’ or ‘dance’.
Extra Activity
Want to see and feel another invisible force? Pop one end of a straw partially into a balloon and secure the neck with a tight rubber band. Blow down the straw and watch the balloon inflate (just like a lung!) and then feel the air exit again out the straw! Talk about how some natural forces we can’t see (like gravity, or air in motion) but we can observe their effects on the world around us.
How to make magic tea
Beautiful colour changing butterfly tea!
The kit comes with two experiments for exploring acids and bases. One is experimenting with litmus paper and the other is making butterfly pea flower tea. I find the tea has a light floral flavour and like to drink it with a little liquid honey. When you brew it, the tea comes out a stunning vibrant blue; the addition of a little freshly squeezed lemon juice (changing the pH level) magically makes it a purple-pink colour!
Tip: Wet litmus paper can leave a yellow mark on benchtops (easily removed with Chemco) so it’s a good idea to place the strips on a piece of white card.
Tip: Hot water will have a more dramatic effect (than cold) when added to a teaspoon of baking soda (alkaline) or a teaspoon of baking powder (acidic).
After watching how baking powder dramatically foams up when a little hot water is added, try making these light and fluffy scones and imagine how the baking powder helps the dough to rise when combined with the heat of the oven.