
Making a drawstring bag for marbles
Making a drawstring bag is a fun and easy project to do with kids! I still remember the soft nubby green cloth of the drawstring bag of marbles my brother and I shared as kids. I wanted to make something similar for Miss 3 and gaining access to a sewing machine at kindy seemed like a great opportunity.
There is an easy project to follow in this book by Jane Bull, My Sewing Machine. I didn’t think to look so I actually designed my own project for this bag. My daughter’s sensory sensitivities mean she doesn’t like being in the same room as the sewing machine when it’s operating but she likes looking at the sewing book and she liked helping me with the pattern, cutting, and pinning.
Making a drawstring bag (for marbles)
Materials
- Paper, sellotape, pencil
- Fabric
- Cord or ribbon
- Ruler
- Pins
- Chalk / fabric pencil
- Scissors (paper, fabric, pinking)
- Safety pin
Tip: Shop around to find good prices for fabric. Sometimes you’ll find fabric in unexpected places – I bought a giant polyester fleece blanket for NZD$3 / USD$2. It was perfect for making a drawstring bag for marbles (though I wouldn’t use it to make a dress).
Design
I made up a design template using paper, scissors sellotape, and pencil. I could see there were two different ways of approaching the bag and decided to have the fold at the bottom and seams up the sides; this results in the cord being on on two sides (instead of one) which I thought would be easier for Little Miss.

Making a paper template for the drawstring bag
Once I’d worked out the design, and order of sewing seams, I transferred the template into the fabric. My fabric pencil didn’t work on the fleece but chalk did 🙂

Fabric cut and pinned
I kept my seams about 1.5cm from the edges, allowed plenty of space for the cord, and made sure the fabric was ‘wrong side’ facing out (not as important with this fleece but good practice).
Sewing the bag
I made sure the threads were all set up and then my sewing order was:
- Sew short end (for cord).
- Sew other short end (for cord).
- Loop silky cord through safety pin. Miss 3 loved helping wriggle the silver fish (safety pin) through the ‘tunnel’. We did that on both sides and then I tied the loose ends.
- Sew each of the long sides. I started with a curve at the bottom and then went up to the drawstring (enough to just go over that seam but not go over the cord). Then I turned the fabric around and did a small zig-zag back to reinforce.
- The nice thing with this fabric is that I didn’t need to hem or worry about fraying like I werewolf with cotton. I did use the pinking shears to cut the bottom corners off (being careful of the curved corners I’d stitched).

Inside the bag
- Turn bag right side out!

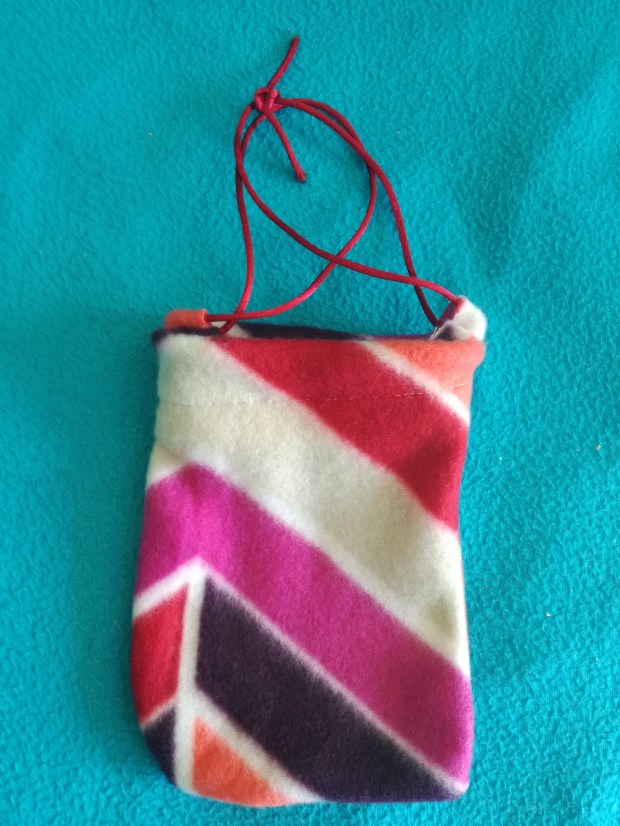
Drawstring bag for marbles
Bag of marbles
Next week we can go on a treasure hunt expedition to buy marbles for the bag we made!
